
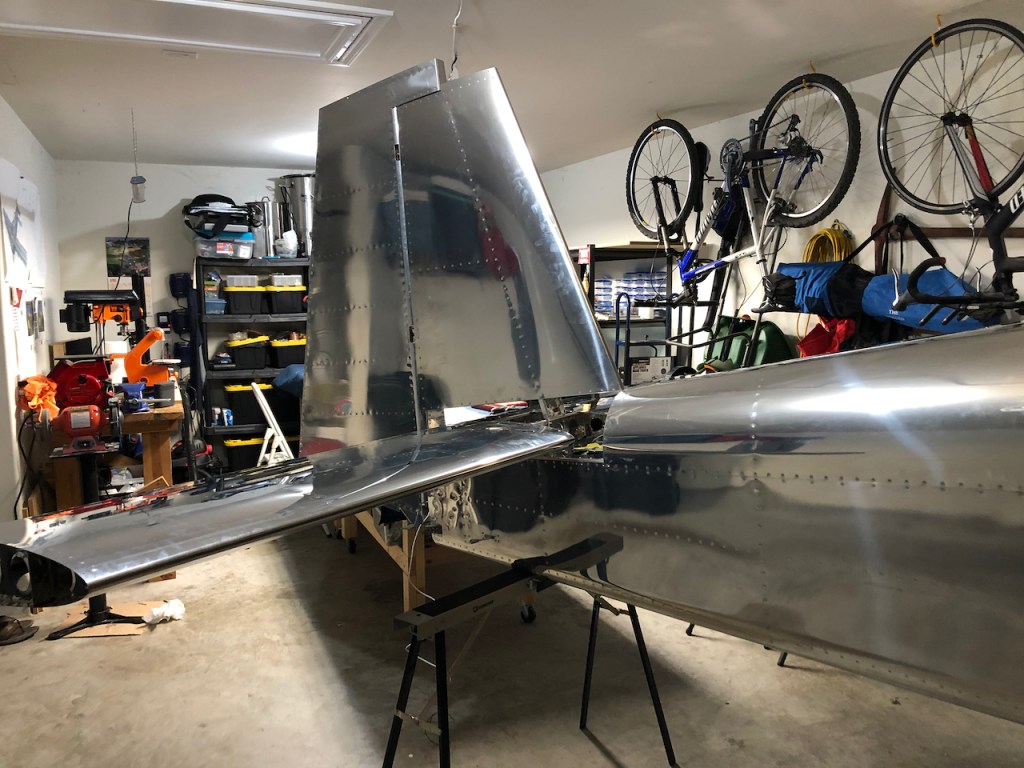
Section 11 seemed like it was just marking time until the wing kit arrives. It basically is the step where you attach the empennage pieces (rudder, vertical stabilizer, horizontal stabilizer, and elevator) to the aft fuselage. It talks you through the entire attachment steps; however, I am not doing this permanently until much later. For now, I am only temporarily fitting the pieces together to be taken apart and then stored for a later time.

First, the elevator sections are attached to the horizontal stabilizers. I struggled with getting the bolts into the small rectangular areas seen below until I found an appropriate pair of pliers that holds the bolts nicely.
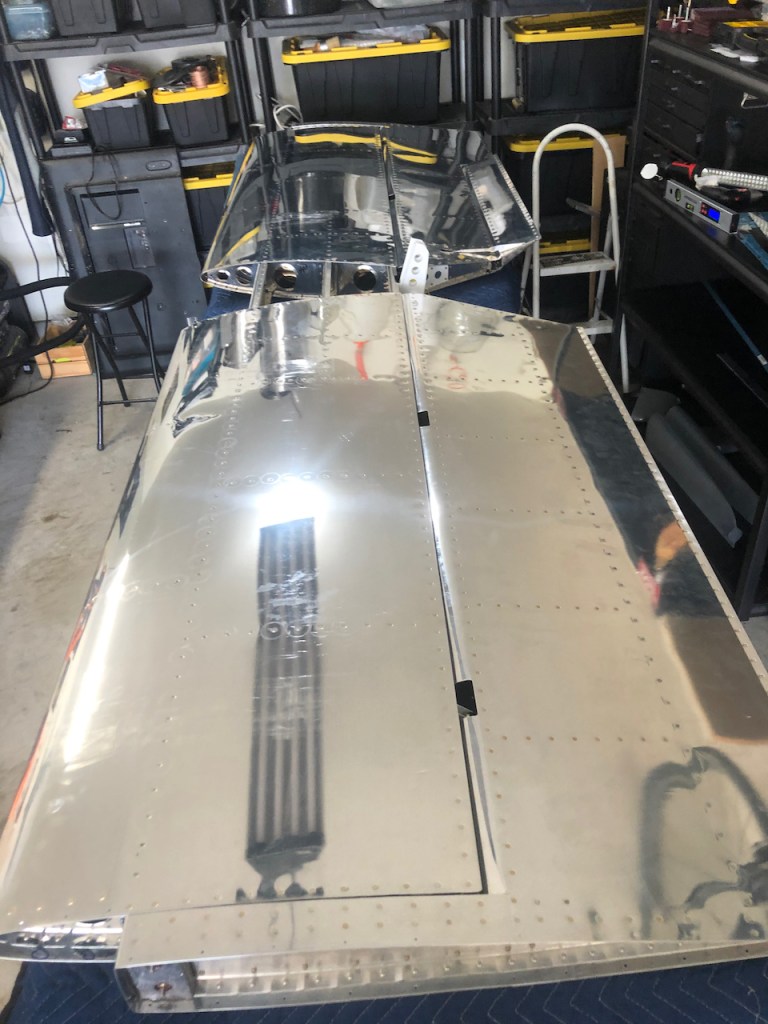
The elevator movement, up and down, needed to be measured in order to ensure it travels enough distance either way.

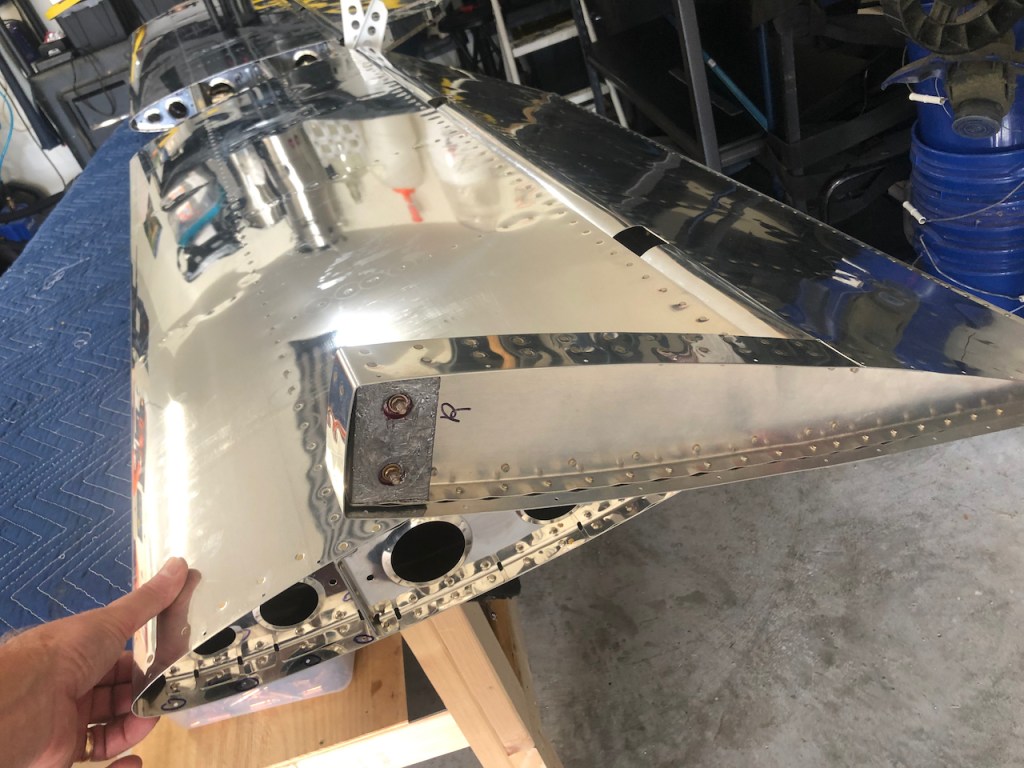
Some careful drilling on the elevator horns was performed. This will basically attach the two elevator sections together to work as one.
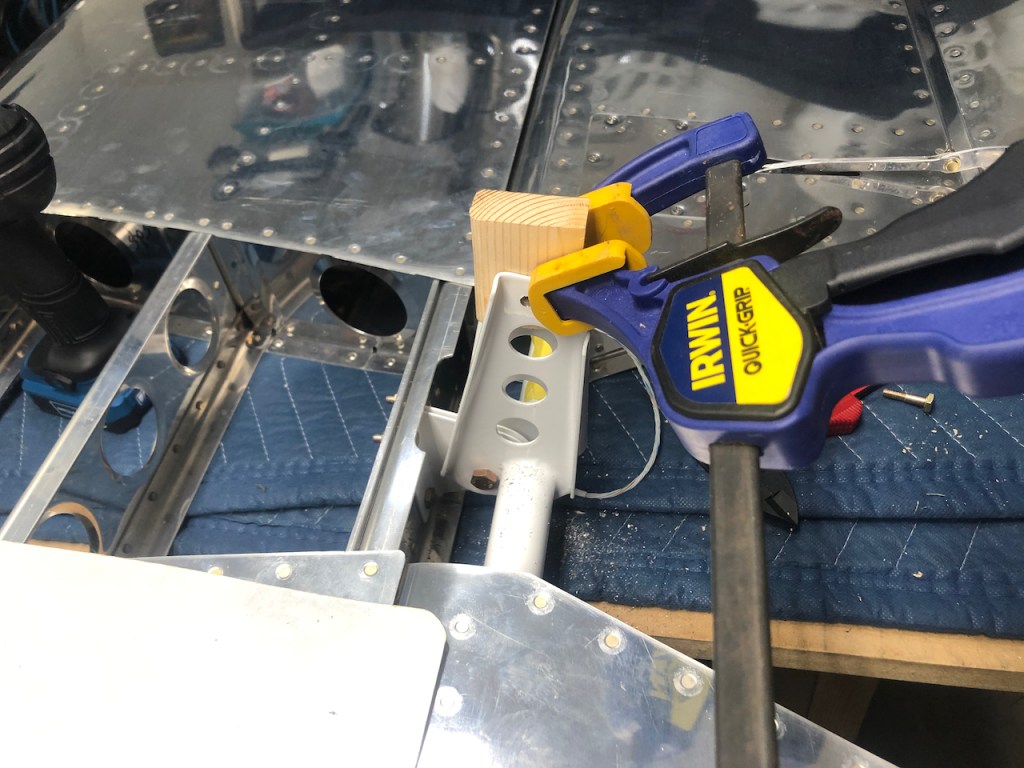
The various pieces were then temporarily attached to the Aft Fuselage. If you squint really hard and hold a hand over the forward part of the aft fuselage, it appears that an airplane is actually inside the garage.
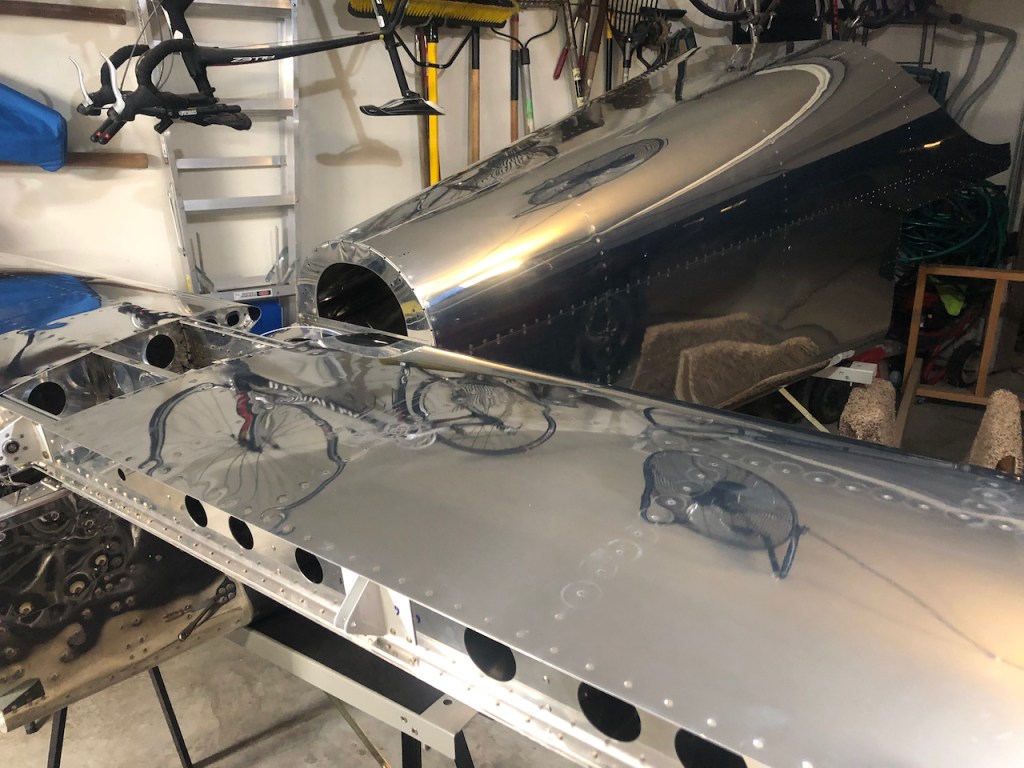
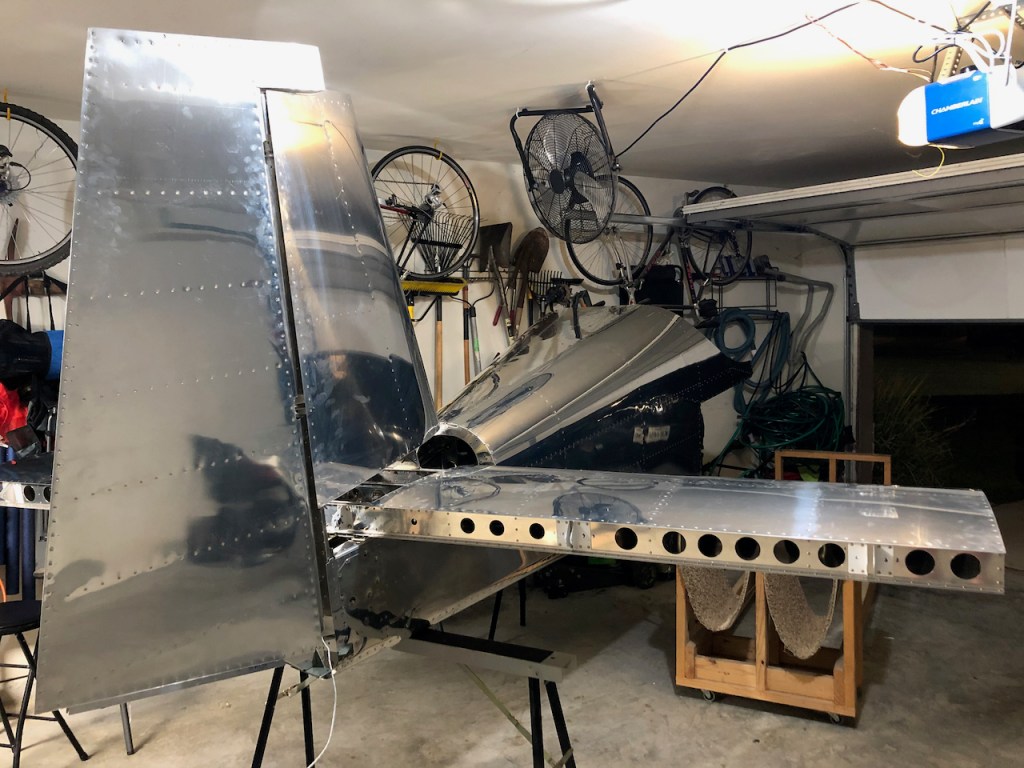
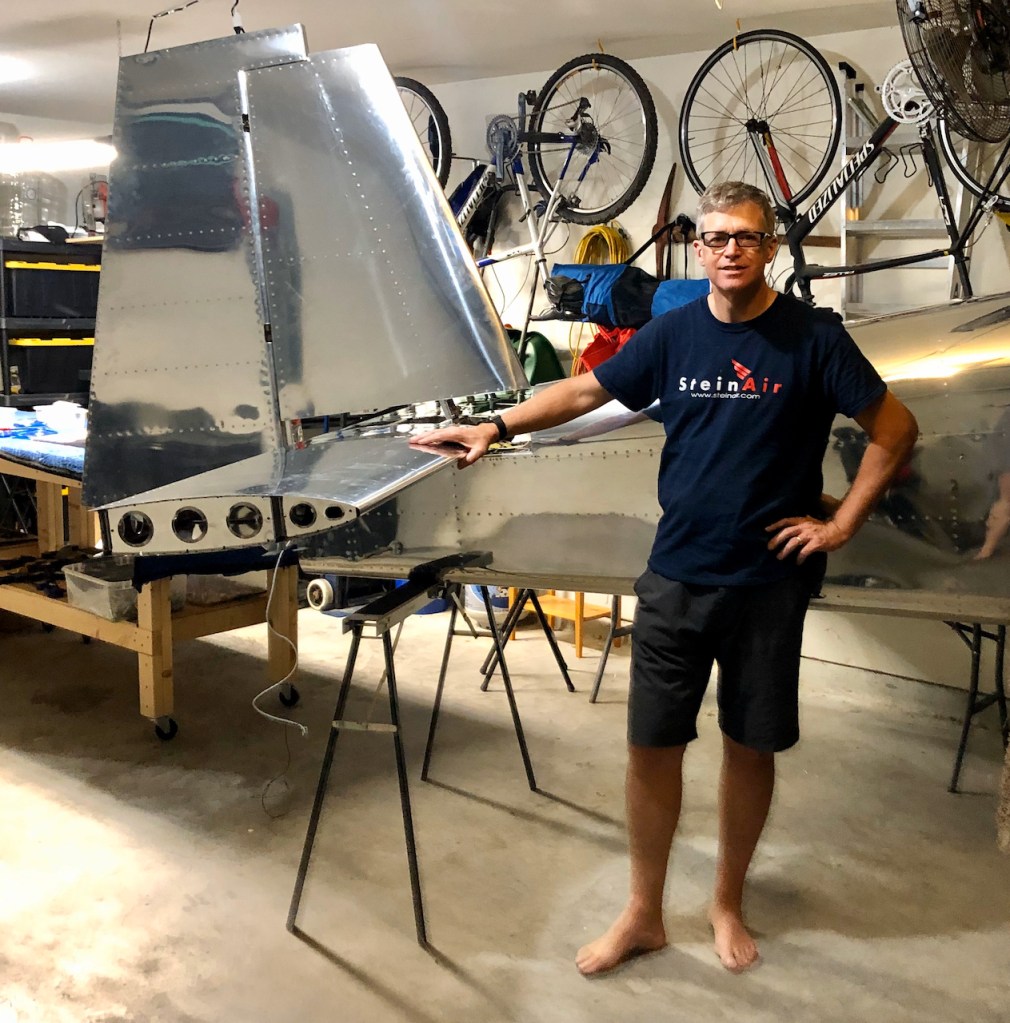

Taking shape and very exciting. Ya baby