
This seems to be a post that is actually taking longer to write than the parts shown below to assemble. At long last, I was about to put Section 10 to bed with the completion of the Aft Fuselage.
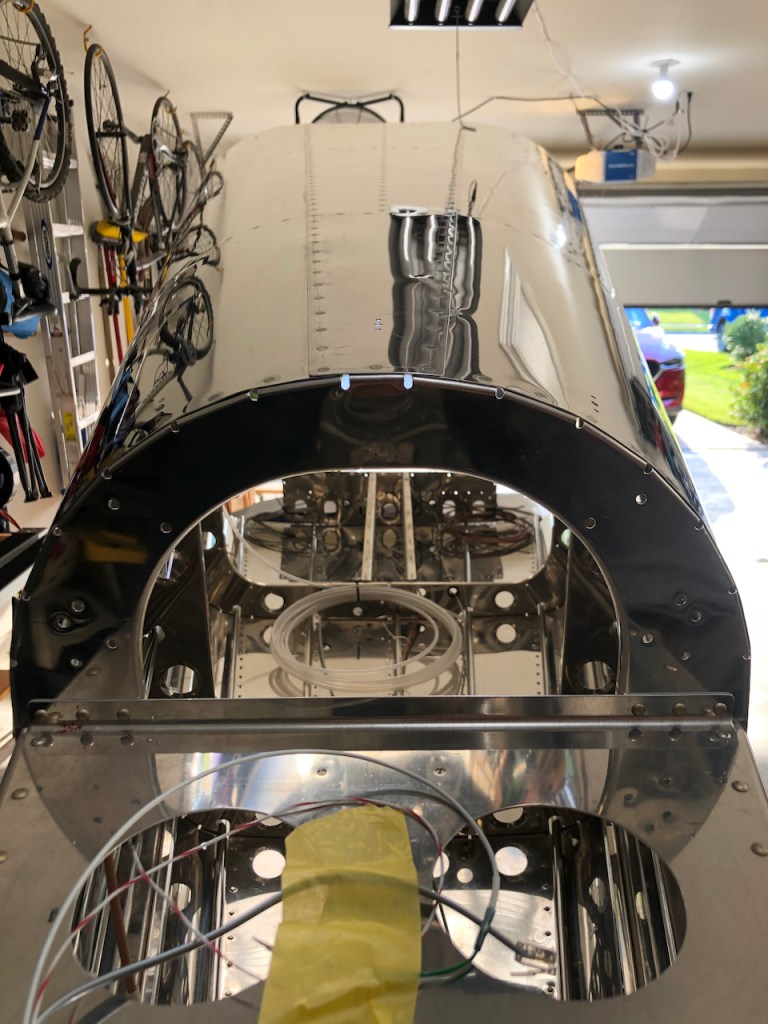
After leaving off the previous, the next step was to cleco the aft deck to the back end of the fuselage. This is where the vertical and horizontal stabilizer would attach to the airplane.
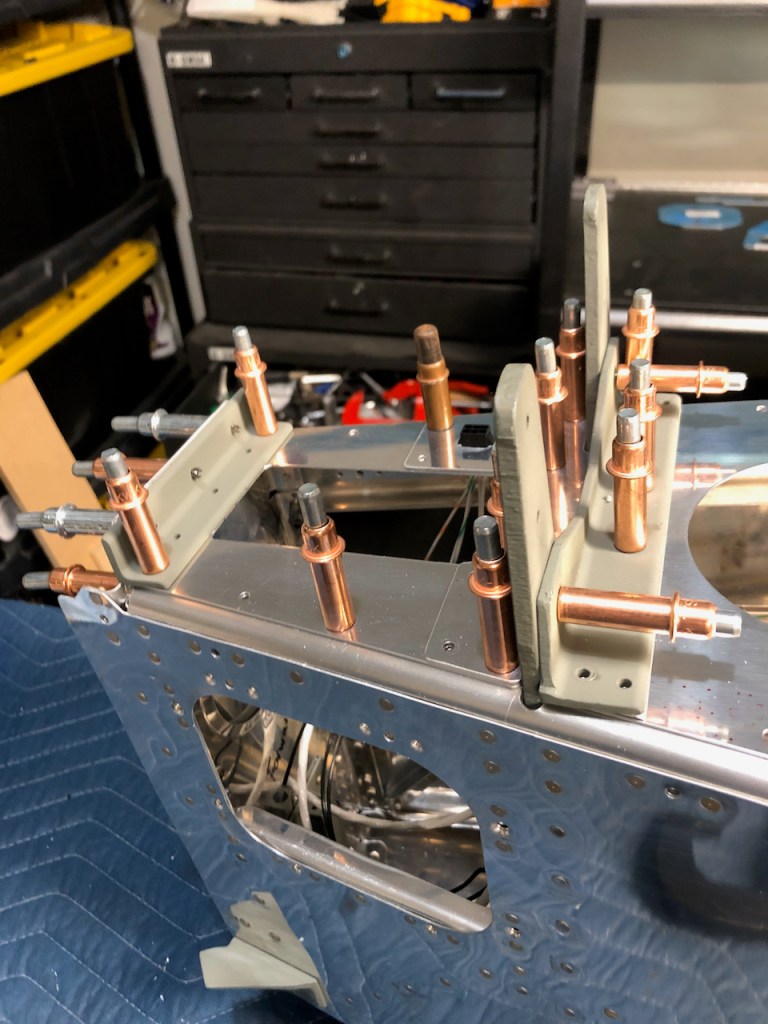
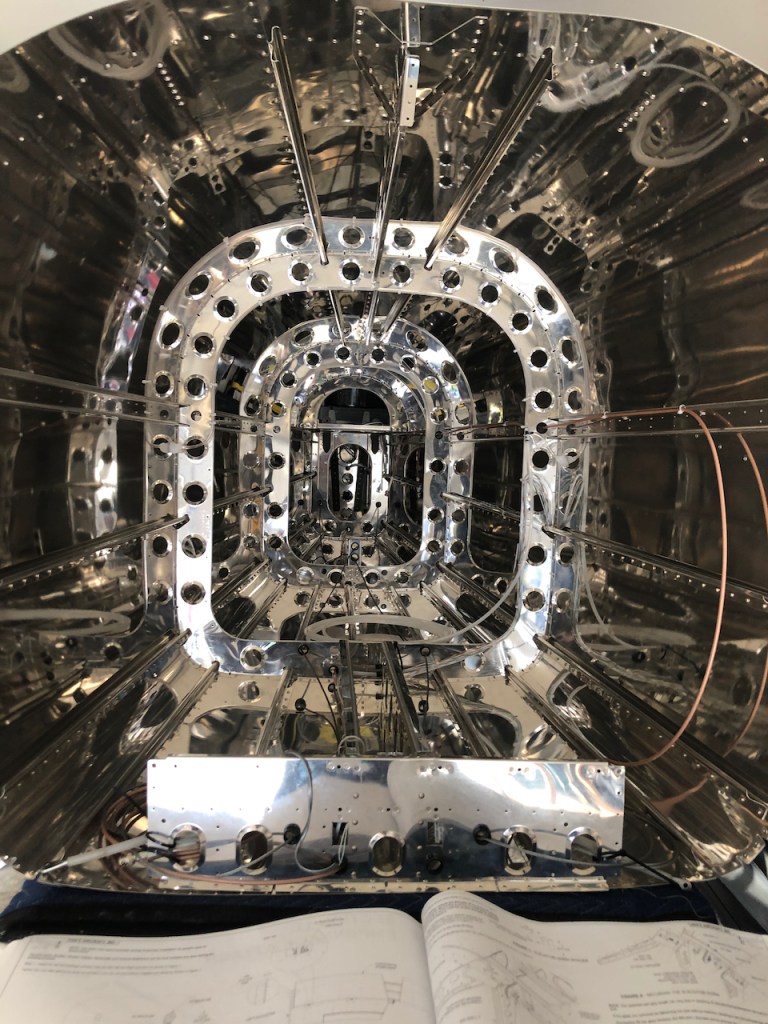
The riveting went fairly well and straight forward. I was able to mostly get my hands inside the lightening holes seen below in order to hold the bucking bar while riveting from the outside.
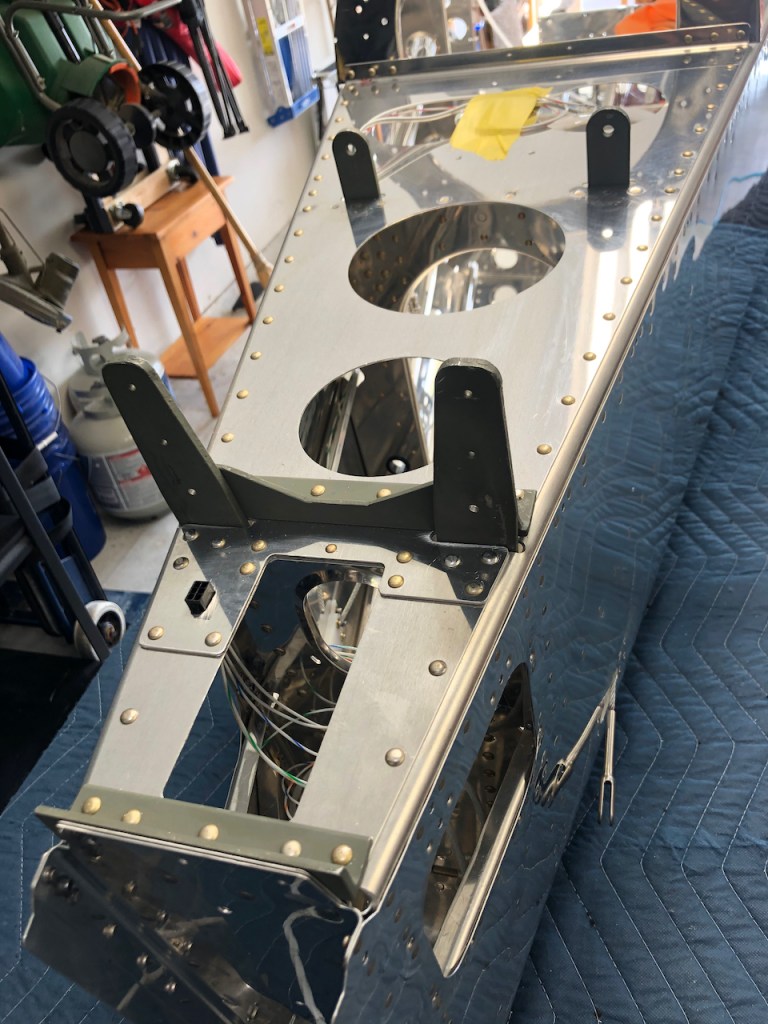
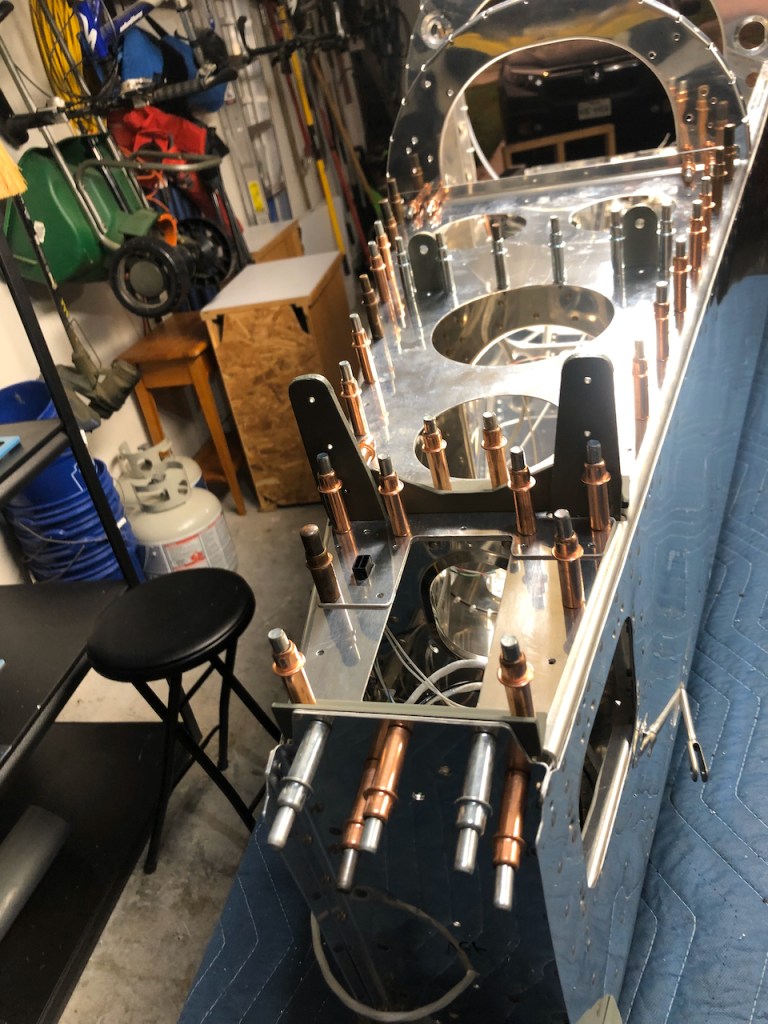
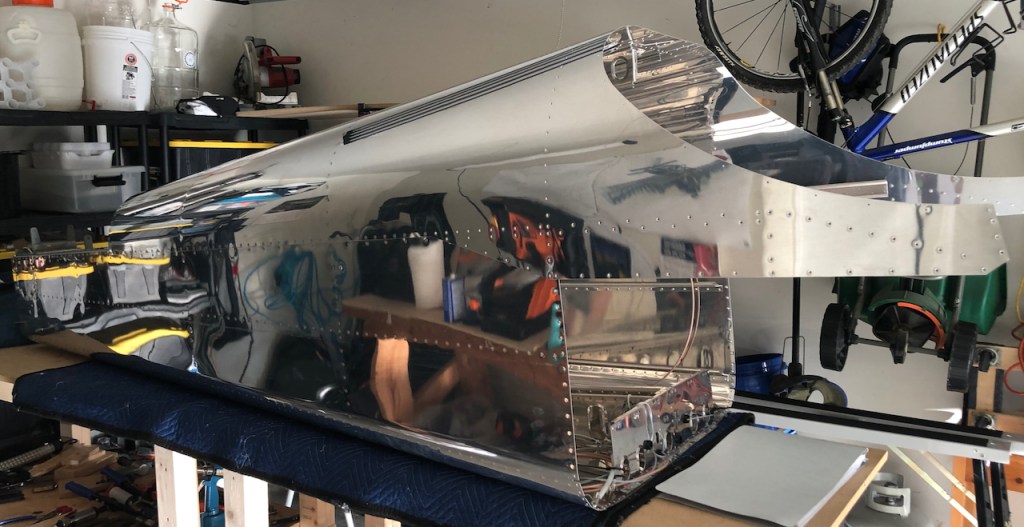
Next was to cleco the top side skins and the top skin to the bulkheads. This was pretty cool to see because it was a glimpse of an airplane. There seems to be a few of these moments causing much excitement as an airplane takes shape.
I don’t have any pictures of this but before the top skin was Cleco’d on for the final time (shown here cleco’d), I was able to reach in with the bucking bar while riveting the outside.

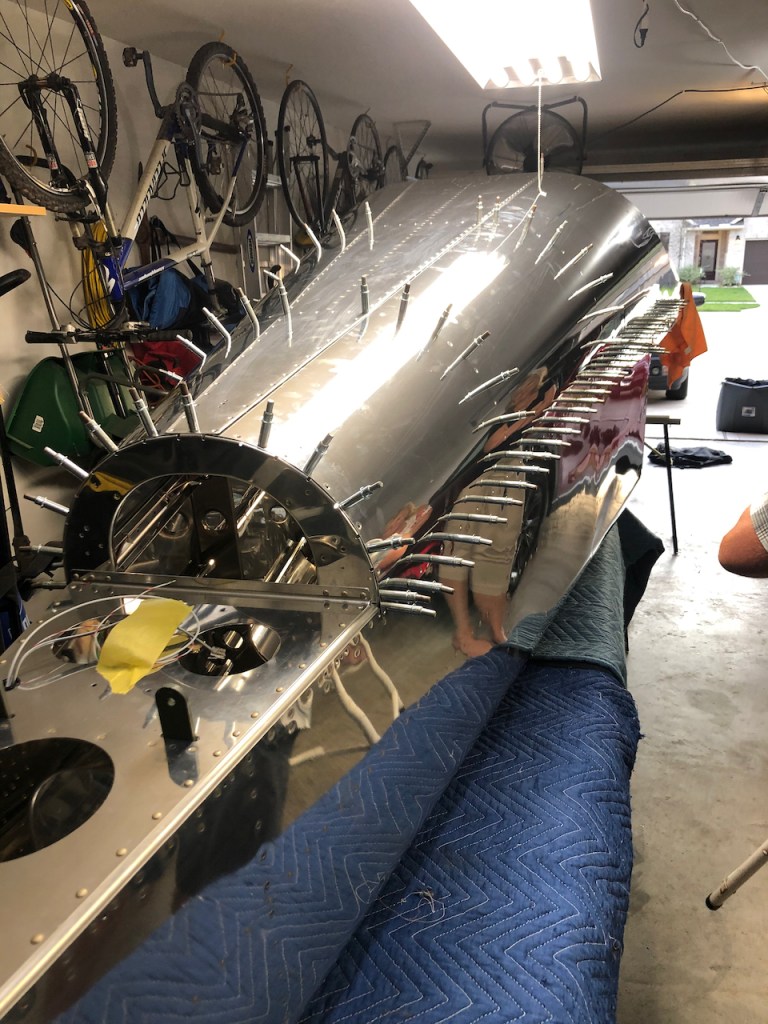
This is pretty much a simulation of what I was doing but in order to rivet the top skin, there was no way I could do it myself. So I recruited my trusty co-pilot to hold a back riveting bucking bar on the outside while I back riveted on the inside. I took on the task of crawling inside to hold the rivet gun.
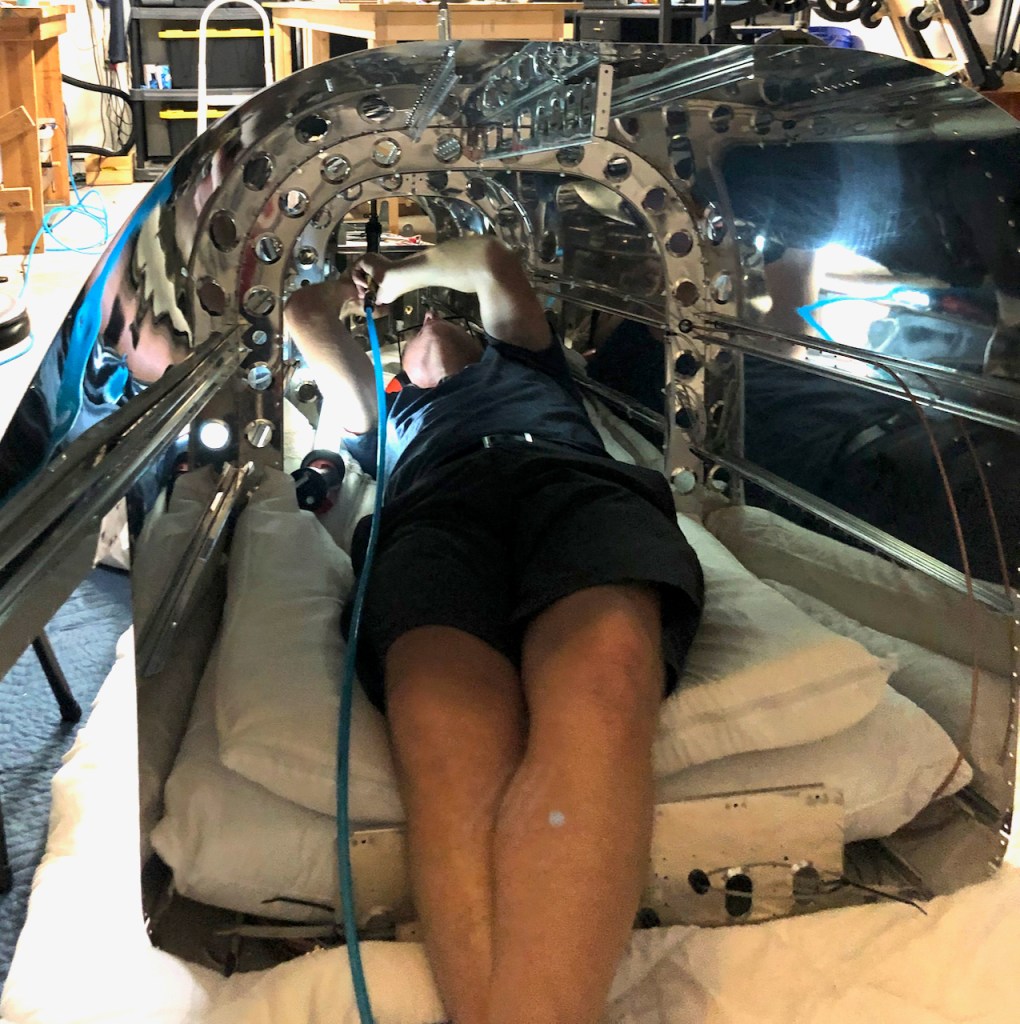
The results were pretty good with good rivets on the top skin.

Bob this is a beauty taking shape. You and your co pilot are doing an awesome job. Intricacy and fastidiousness take supreme.