
Wow, that took a minute. The canopy is finally complete but that had to be the longest section, so far, with the most hours, and the most time span. I left off in the previous post, which seems several months ago, with preparing to fiberglass the leading edge of the point where the canopy meets the aluminum canopy structure.
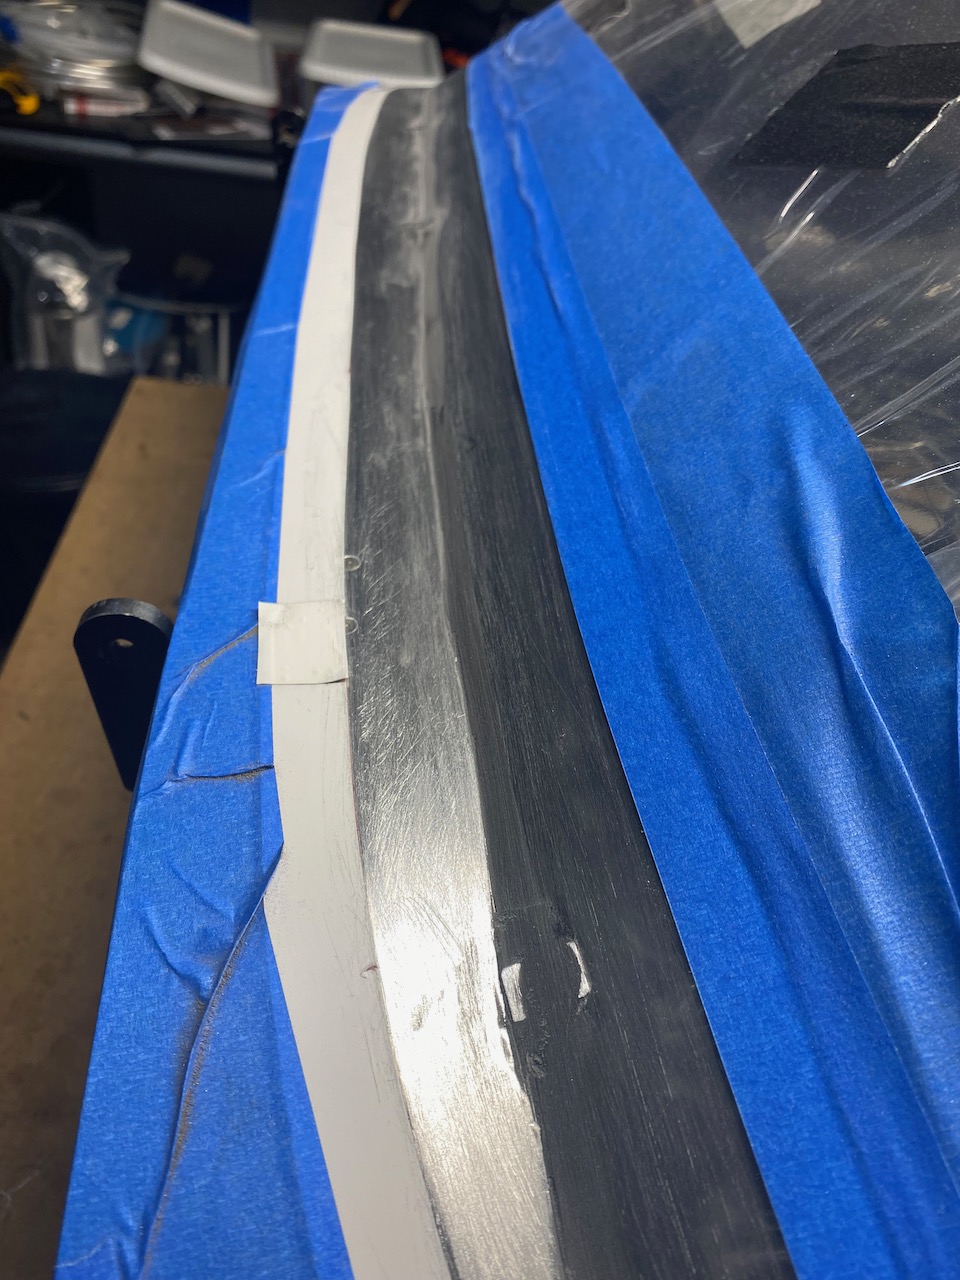
First, it was using electrical tape to mask off the areas that will not be fiberglassed. I used two layers of tape, different colors, in order to indicate if I was sanding too close to the surface. If I saw red peaking through the white, it was time to replace the white.
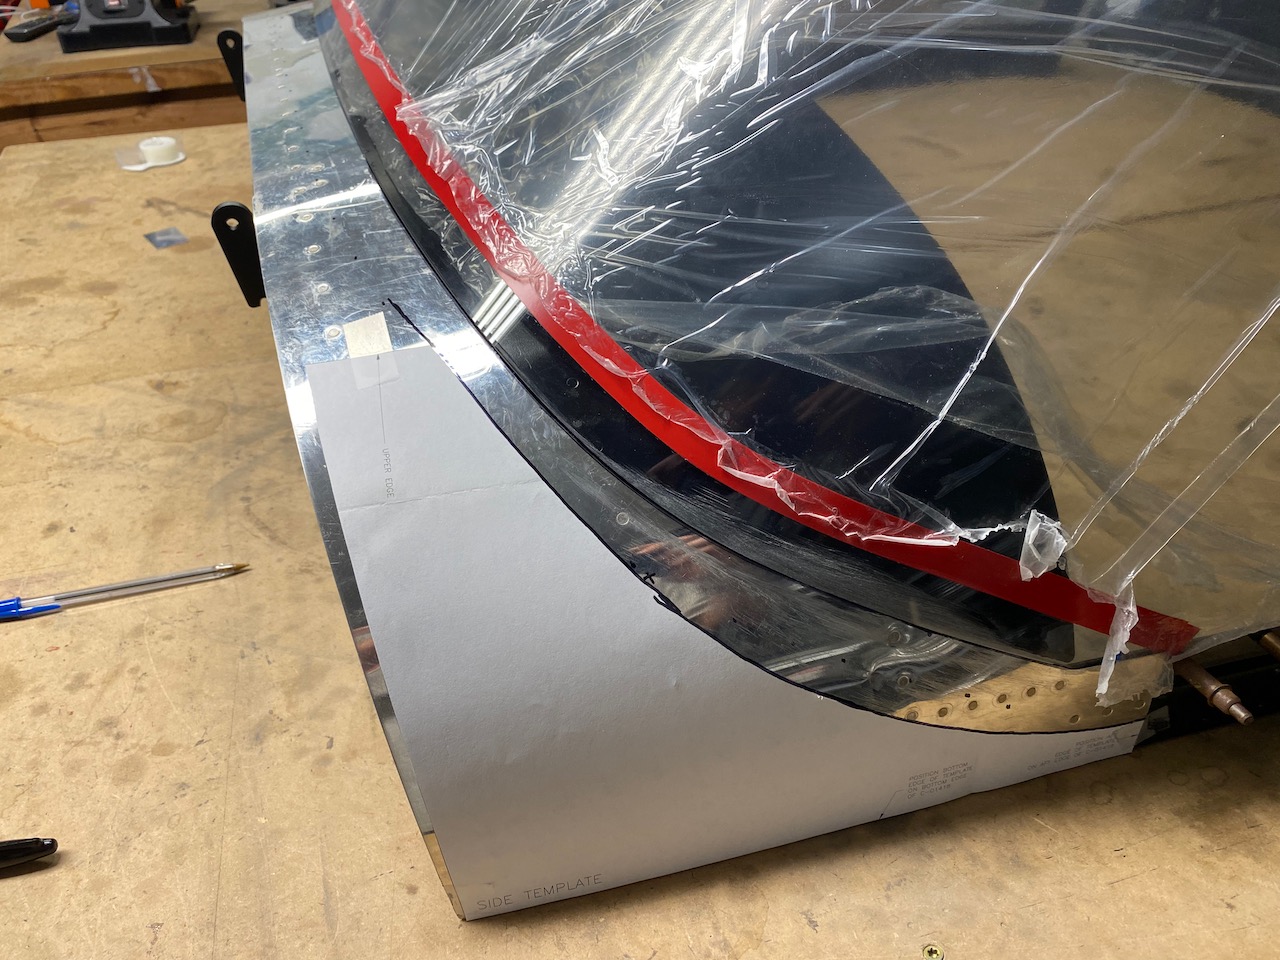
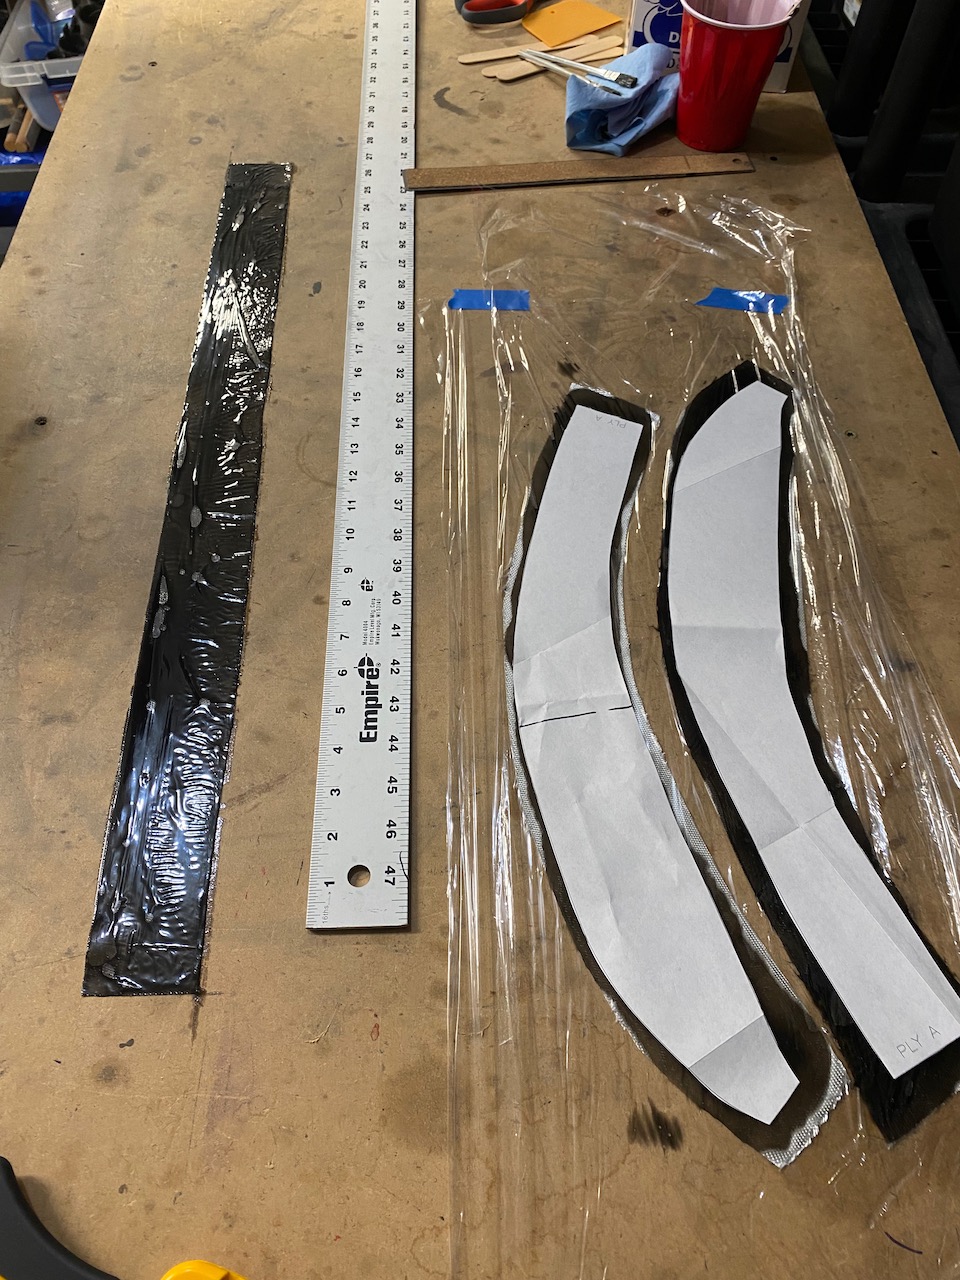
Paper templates were used to define the areas where the electrical tape should go.
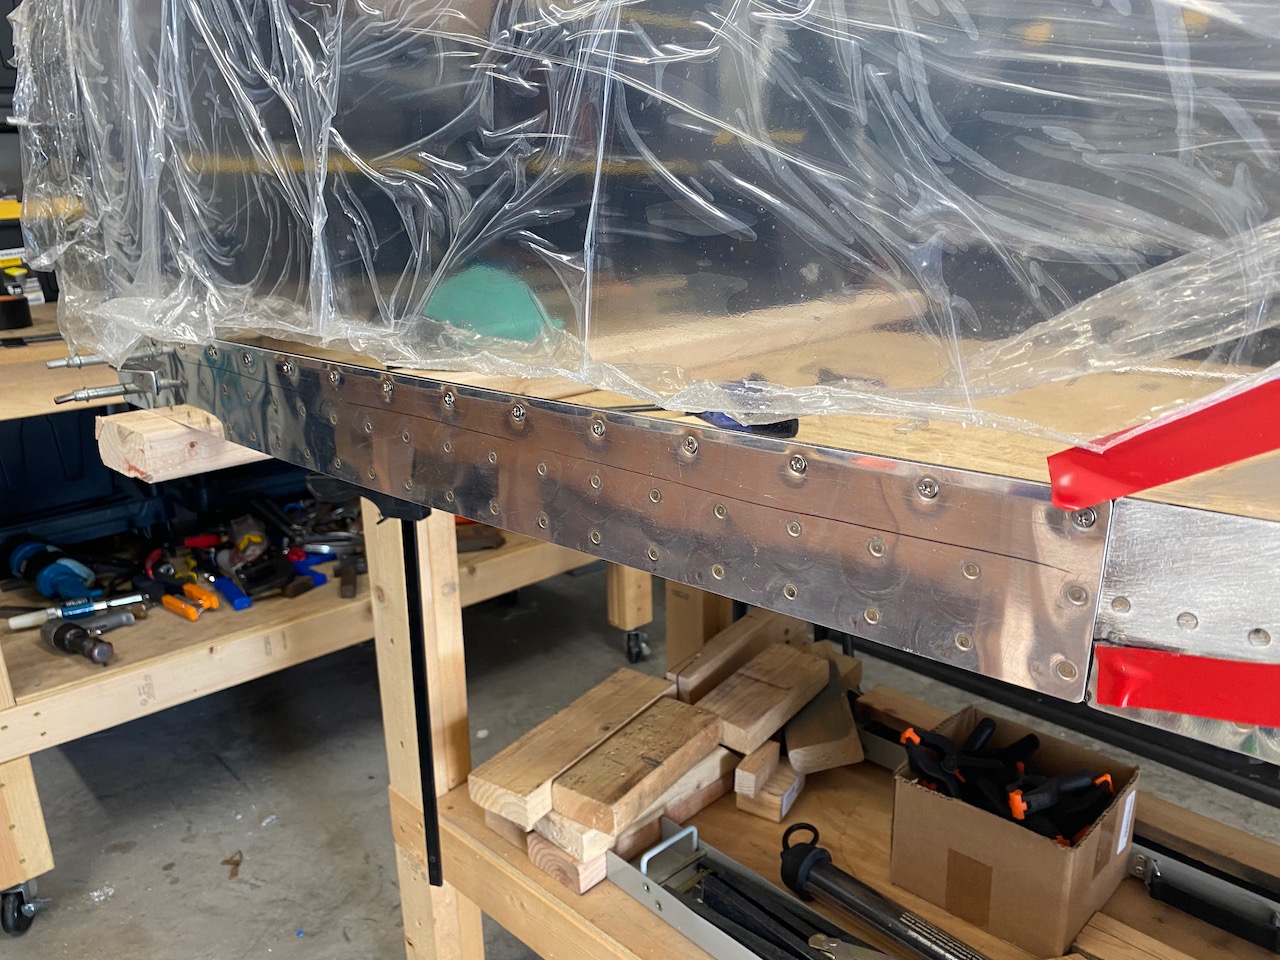
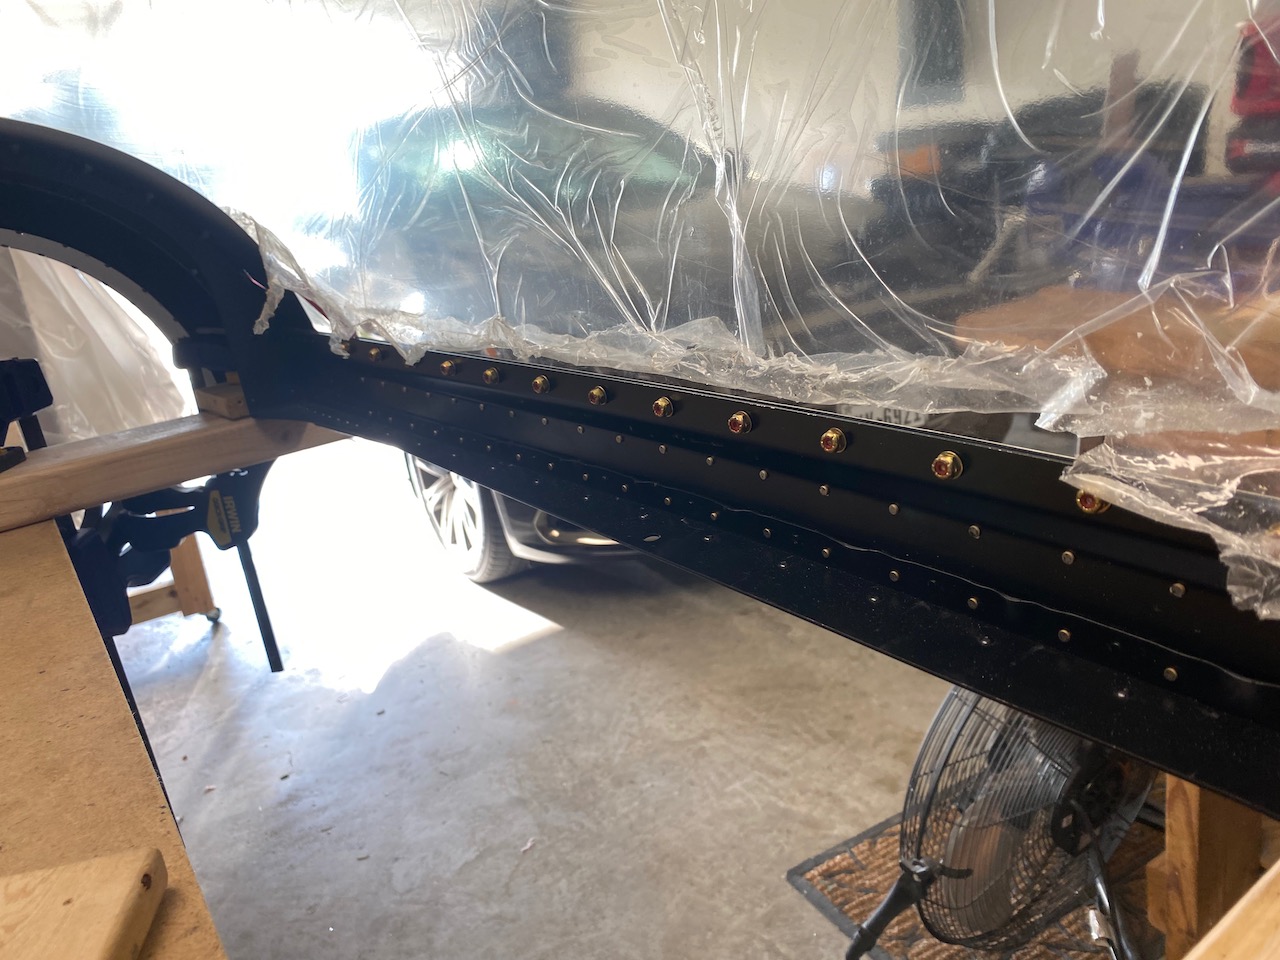
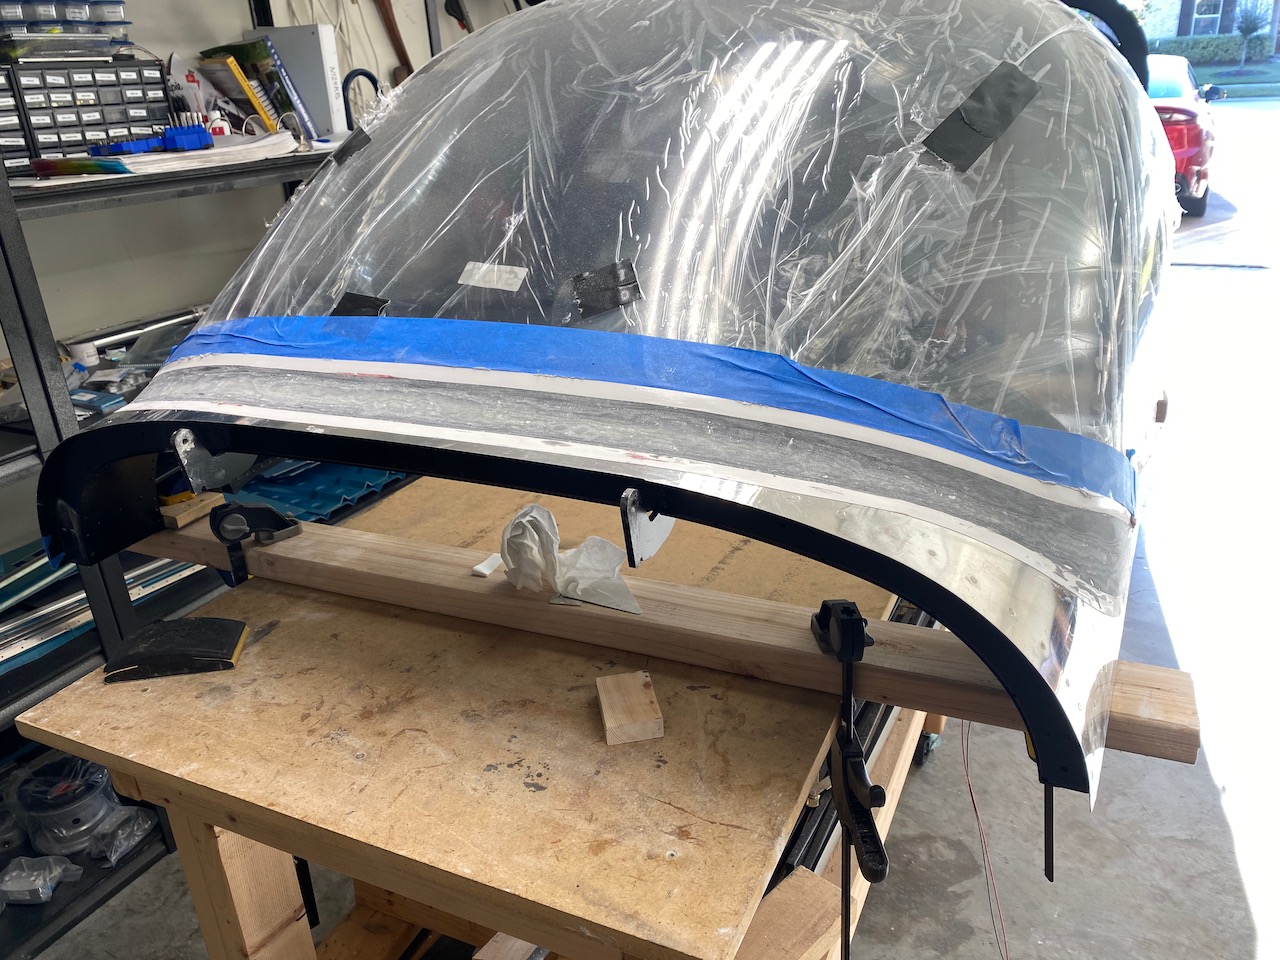
Meanwhile, a diversion was needed to rivet the side skins of the canopy as well as add screws to the area closest to the canopy. This was rather nerve wracking in that I did not want to torque too tight causing many tears, swearing, and tequila drinking inducing canopy cracks.
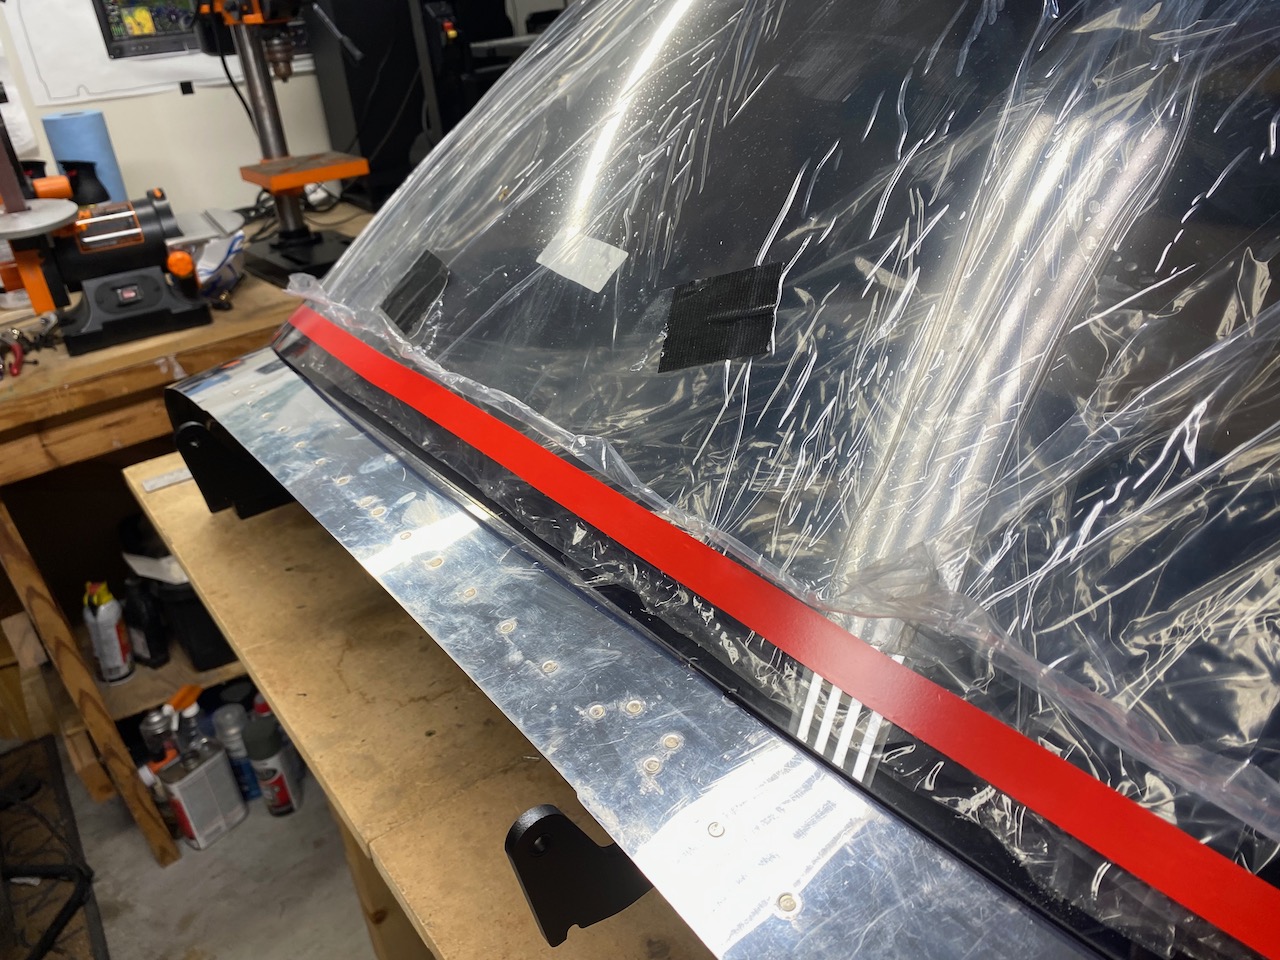
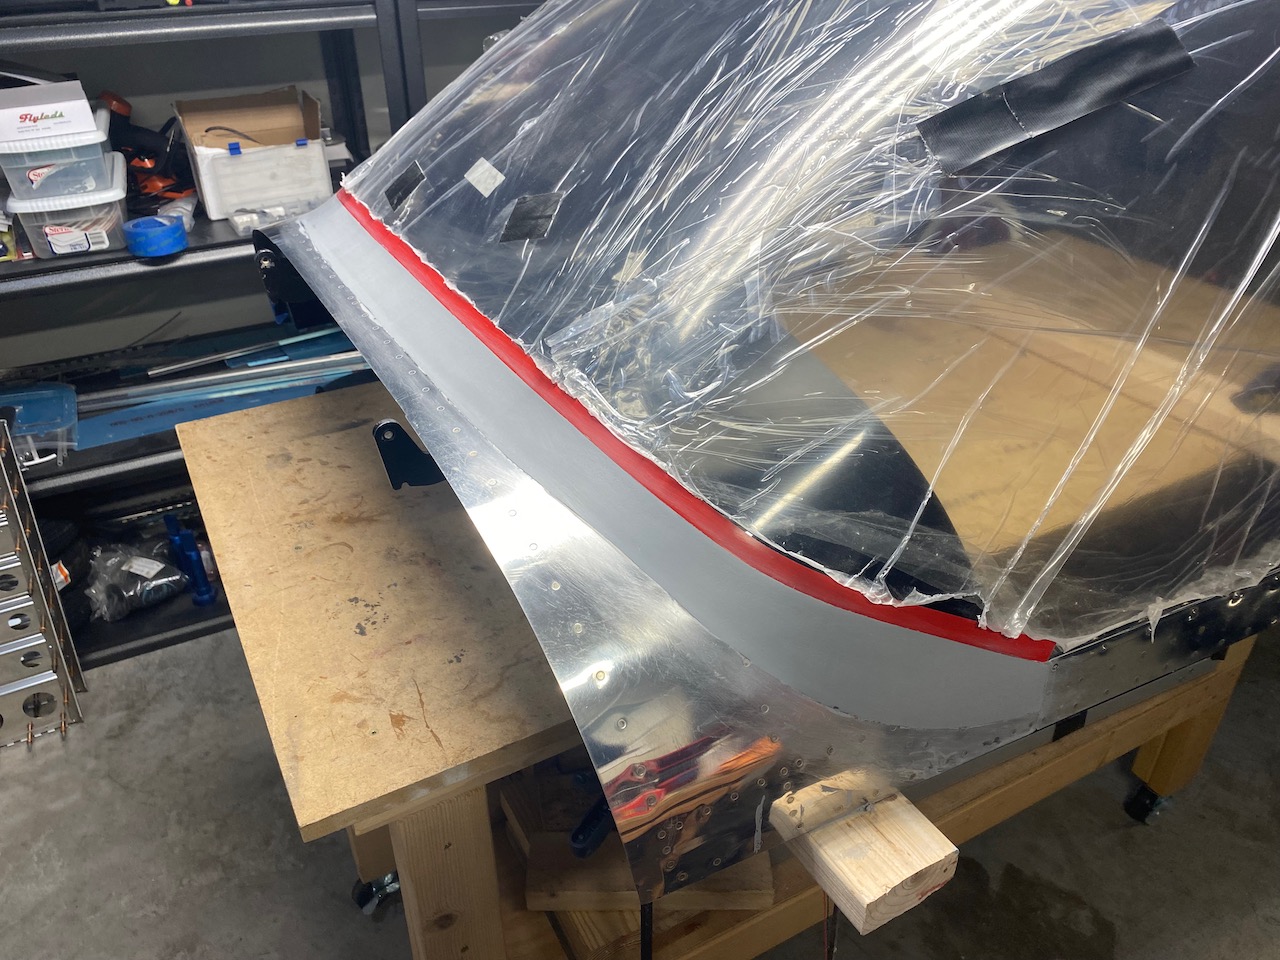
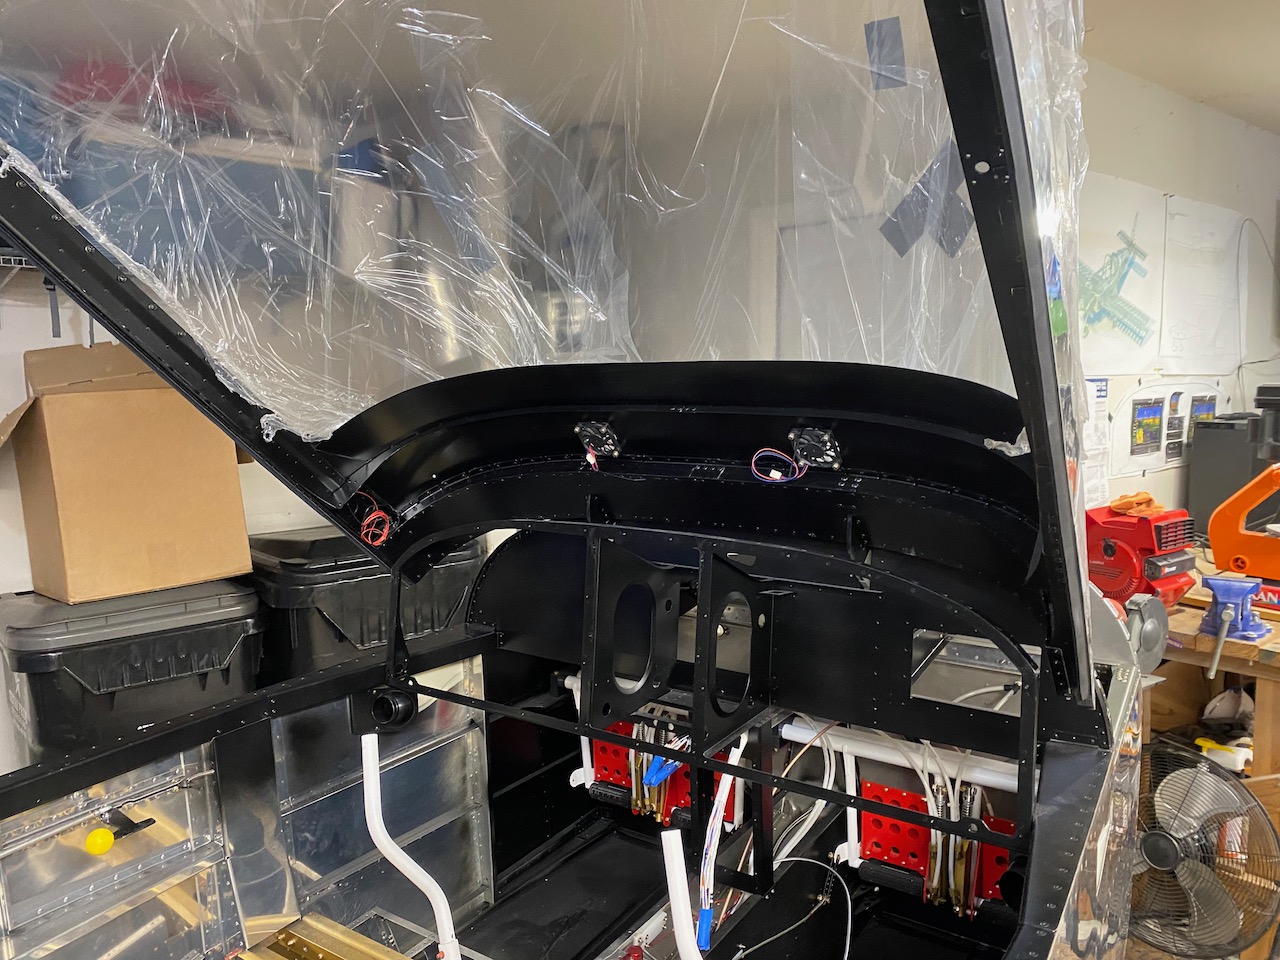
This shows the inside. By the way, the stuff covering the canopy is a plastic film which will be left in place until the last possible moment in order to prevent scratches on the plexiglass.
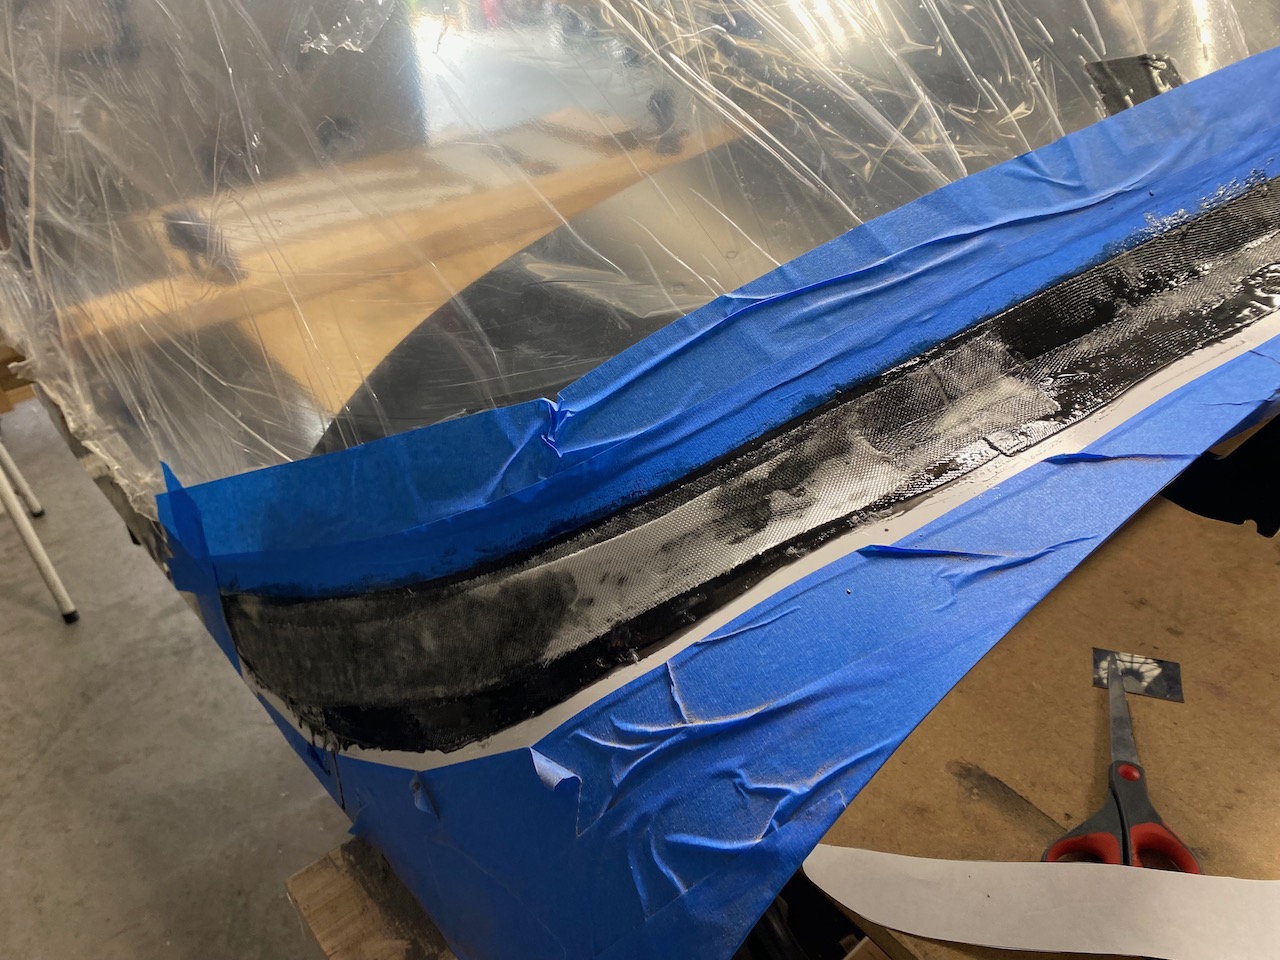
Next, a mixture of West Systems resin and hardner, microbeads, and black epoxy tint, was used as a fillet to even out the transition between the plexiglass canopy and aluminum canopy skin.
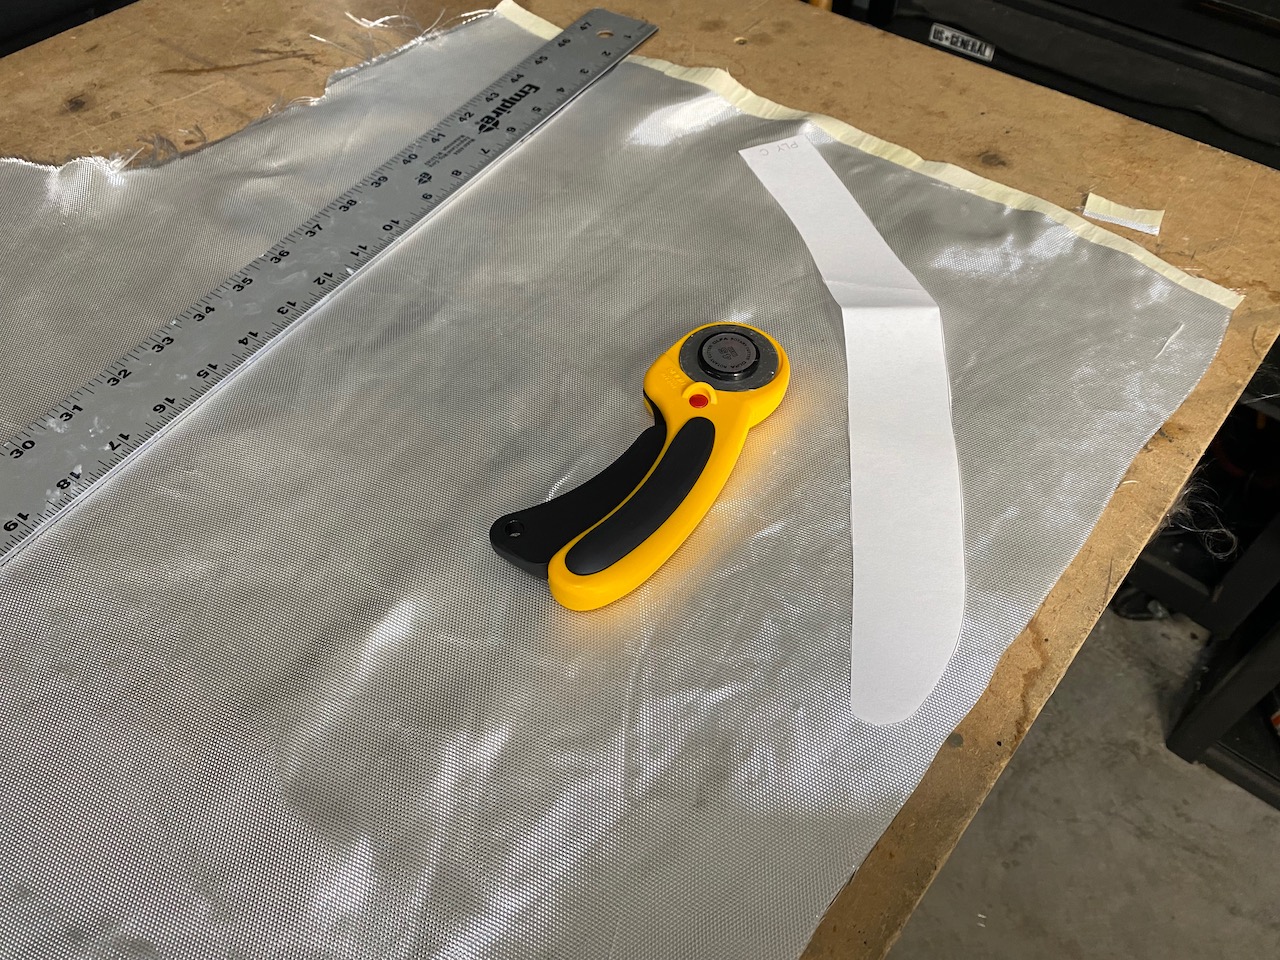
Next, is the big step of laying fiberglass, which every RV builder dreads with anticipation but says in hindsight: “it wasn’t that bad”. First, I cut some fiberglass cloth, with a rotary cutter, using templates supplied in the plans. The idea was to cut diagonal to the fiberglass cloth weaves.
The fiberglass pieces were placed on plastic wrap (Saranwrap), then coated with the same West Systems Resin and Hardener.
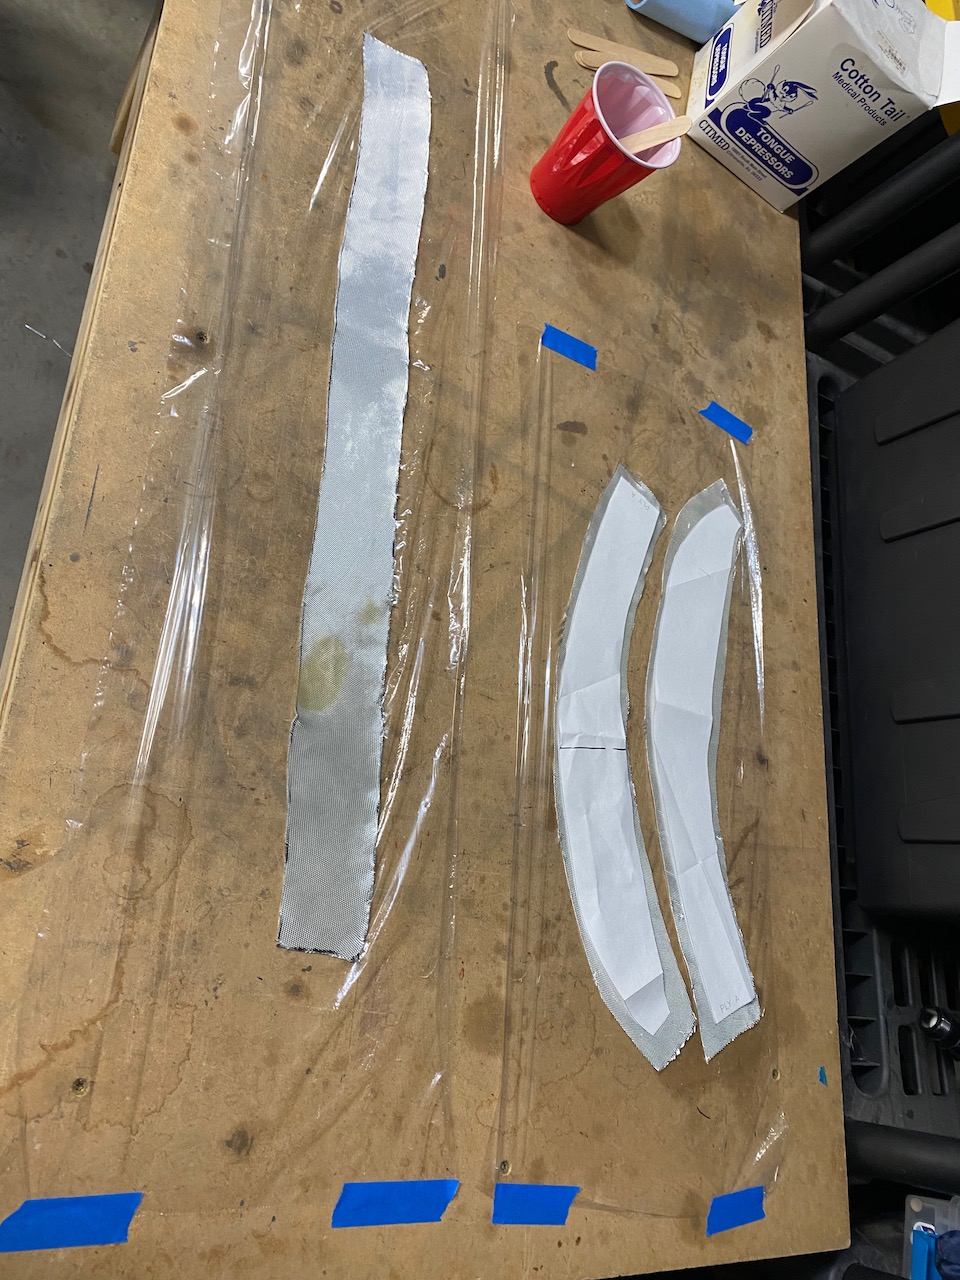
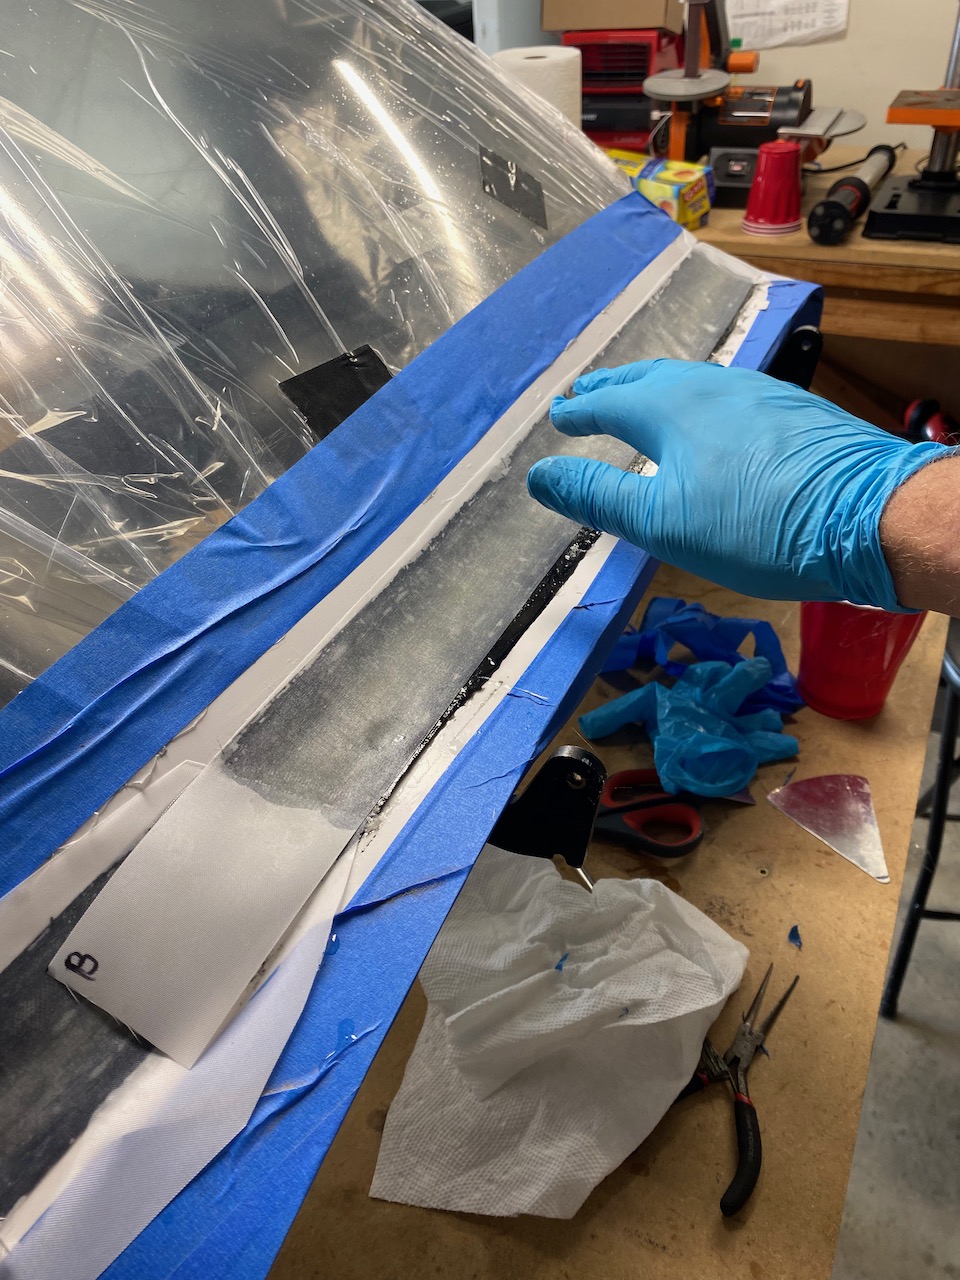
Another layer of plastic wrap was laid over the top, and then using the rotary cutter, the pieces were cut to the pattern of the precut fiberglass cloth. One side of plastic wrap was removed, the cloth was laid on a “buttered” surface of resin (see below), and then the top layer of plastic wrap was removed. This made for a relatively clean method of laying the glass cloth.

Now it was time to build up the convex shape of the fairing (to match the triangular template seen lying on the table above) by using several layers of progressively wider pieces of fiberglass cloth.
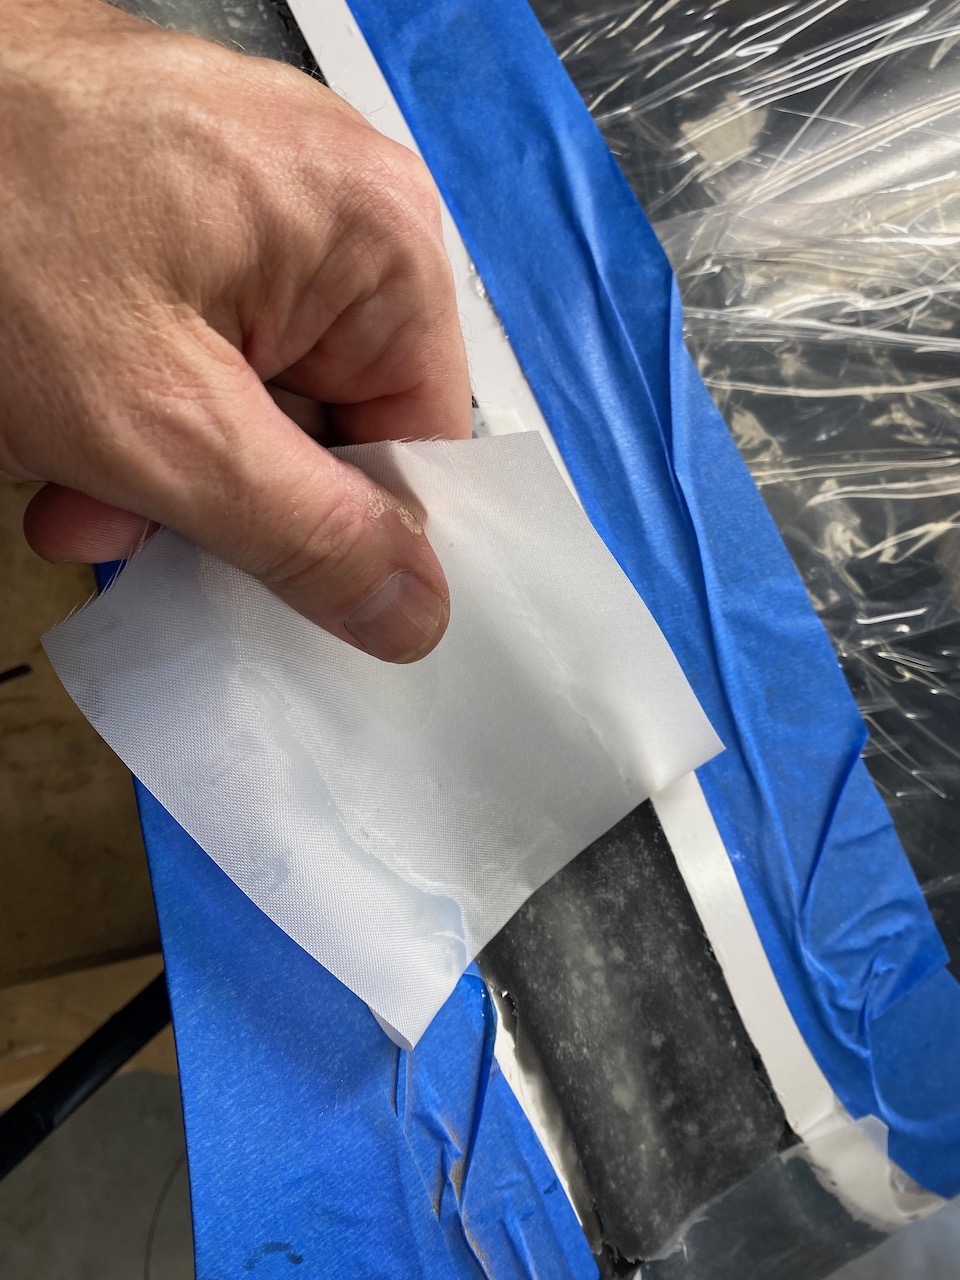
Finally, when I was satisfied with the shape, a layer of resin was applied to the cloth layers, and peel ply was put on top of all the fiberglass cloth. This helped to give a uniform and more smooth surface.
This is the act of removing the peel ply. You can see a relatively smooth surface after the epoxy cured.
I am skipping a description of many hours of sanding to shape, adding more resin and fiberglass cloth, some Bondo to fill low spots, and more sanding, and even more sanding. Then I sanded again. Finally I achieved a surface that was shaped correctly and relatively smooth. The photo below was not the final shape due to the undulations that I can see from here. Then I sanded again.
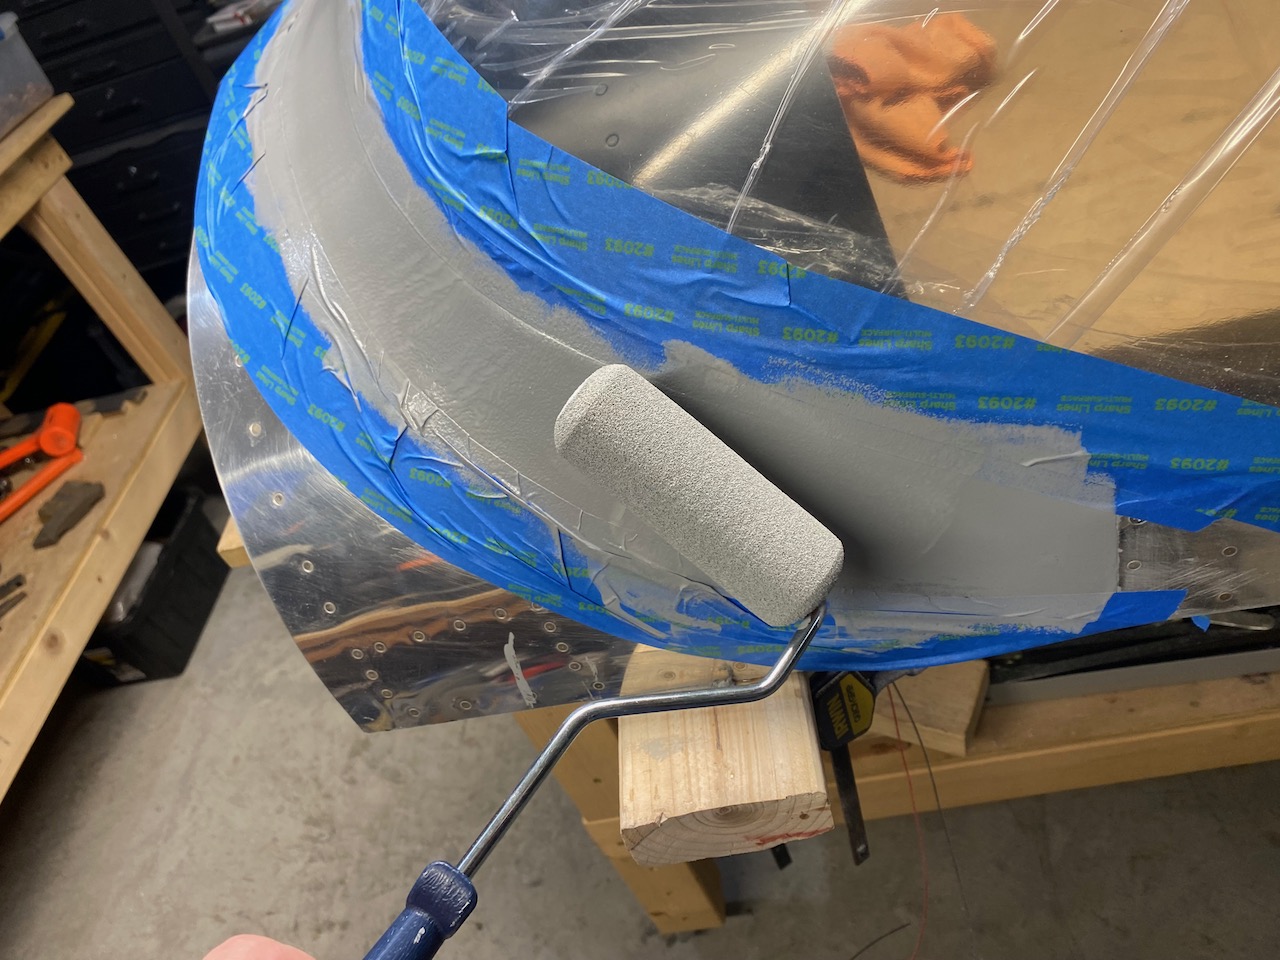
I used a few layers of this but the final steps were to add Filler Primer with a roller. This will help to further fill in the area to make a smooth surface after, yes, more sanding.

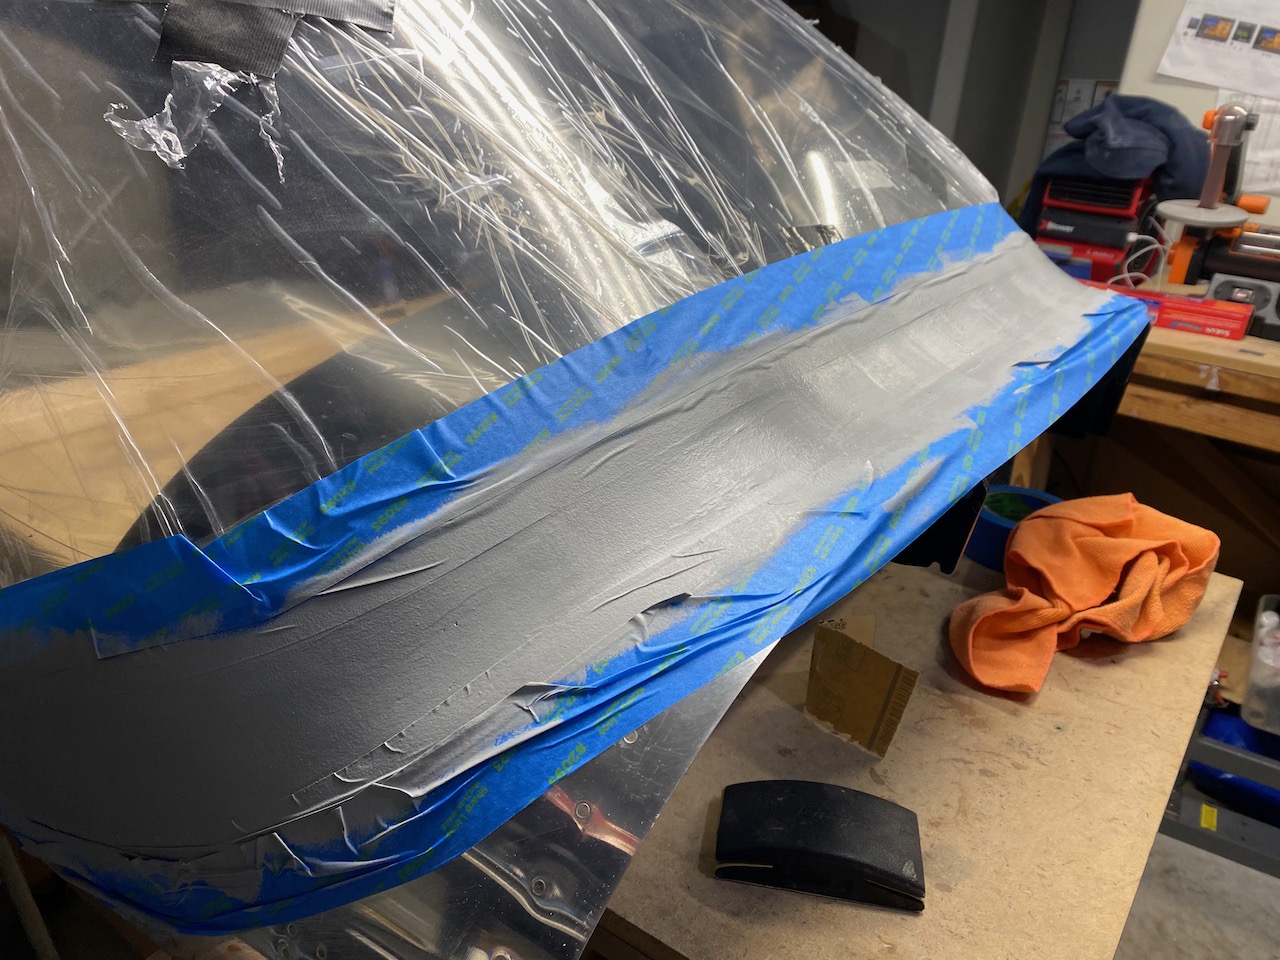
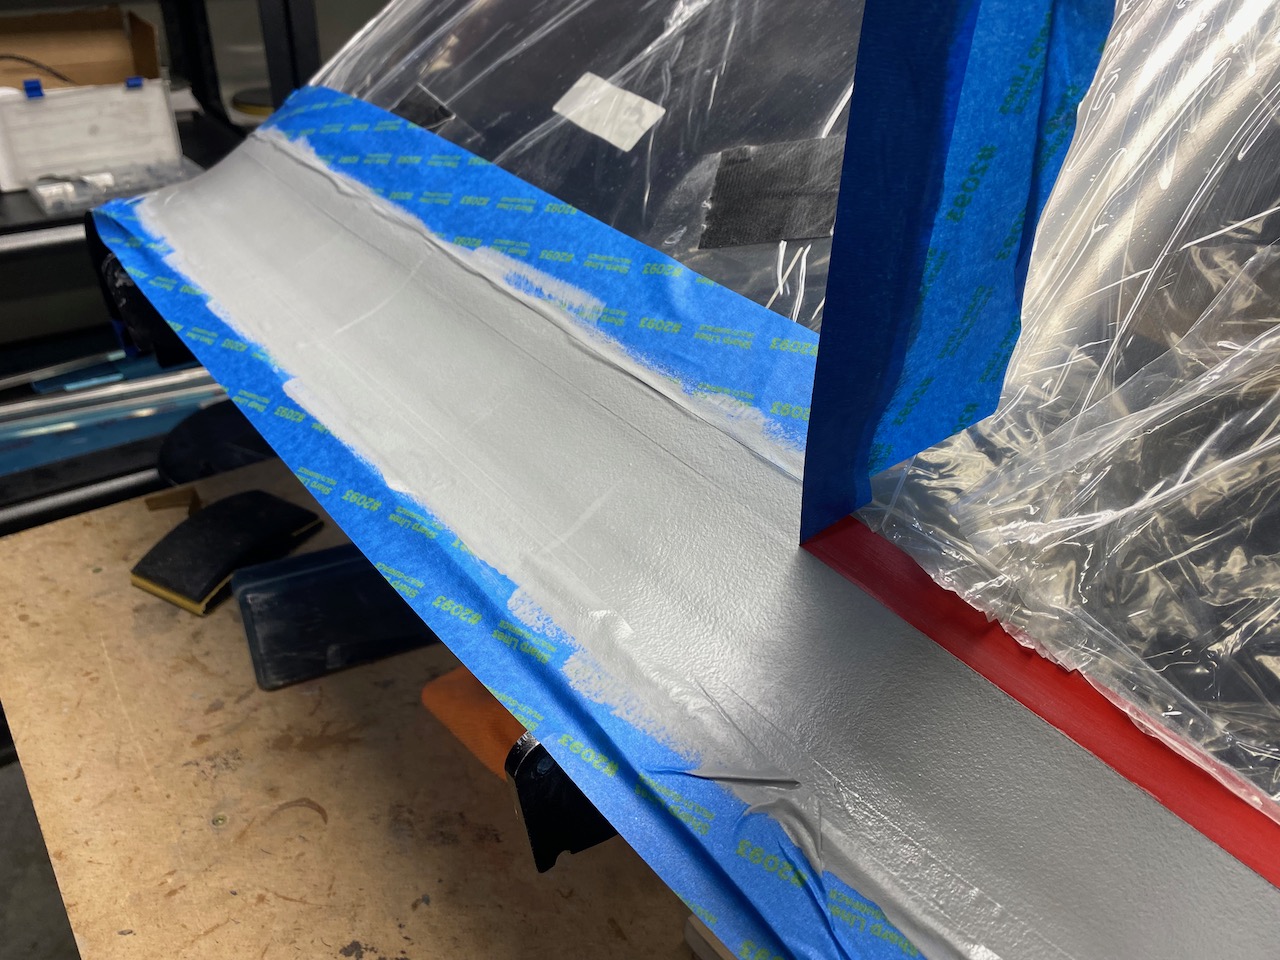
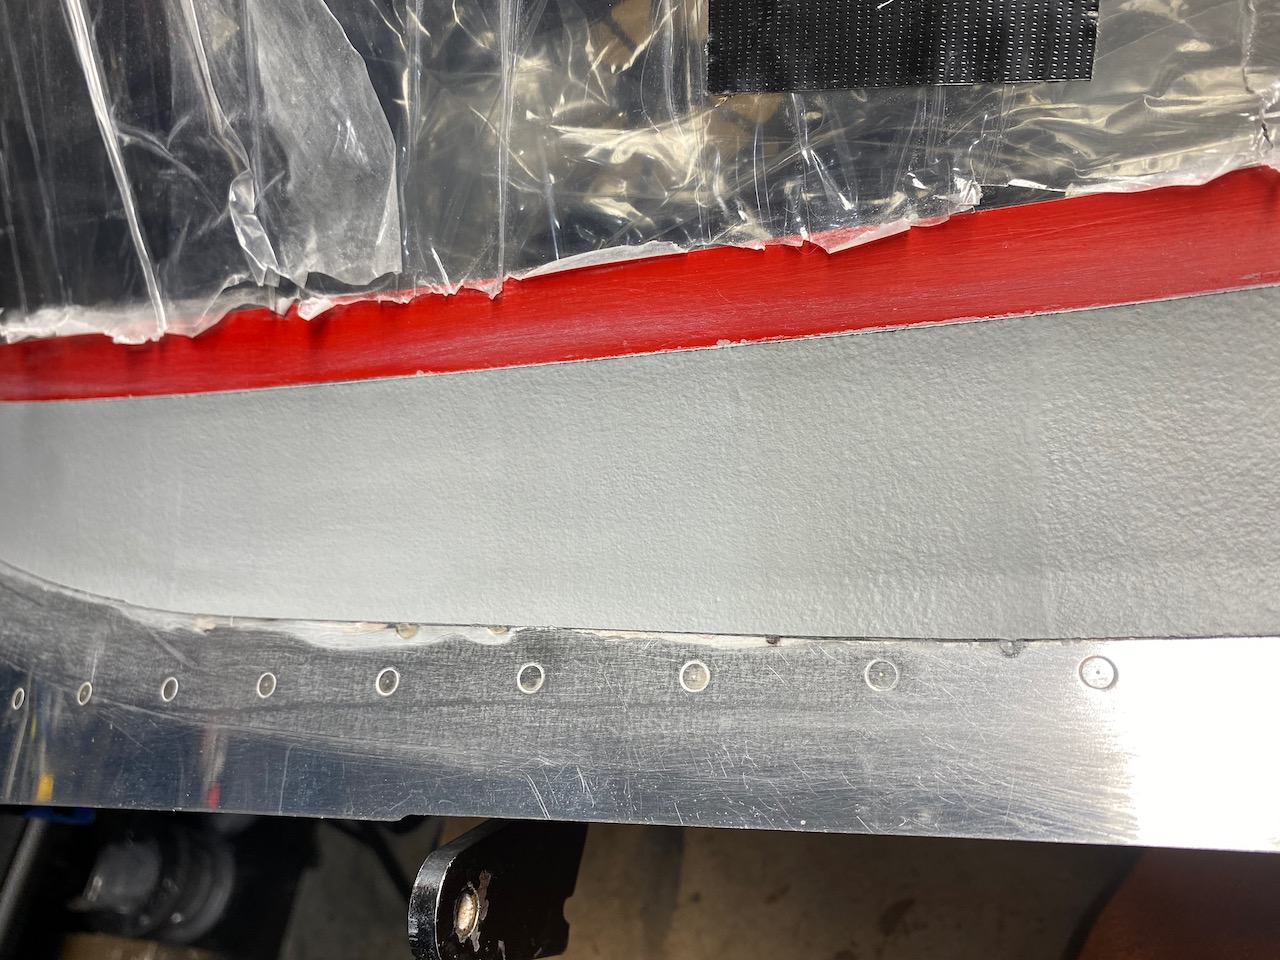
Finally, I sanded one more time, or two or three, with fine sand paper to achieve a surface that was nice and smooth and after one more try with very fine sandpaper, I said enough is enough.
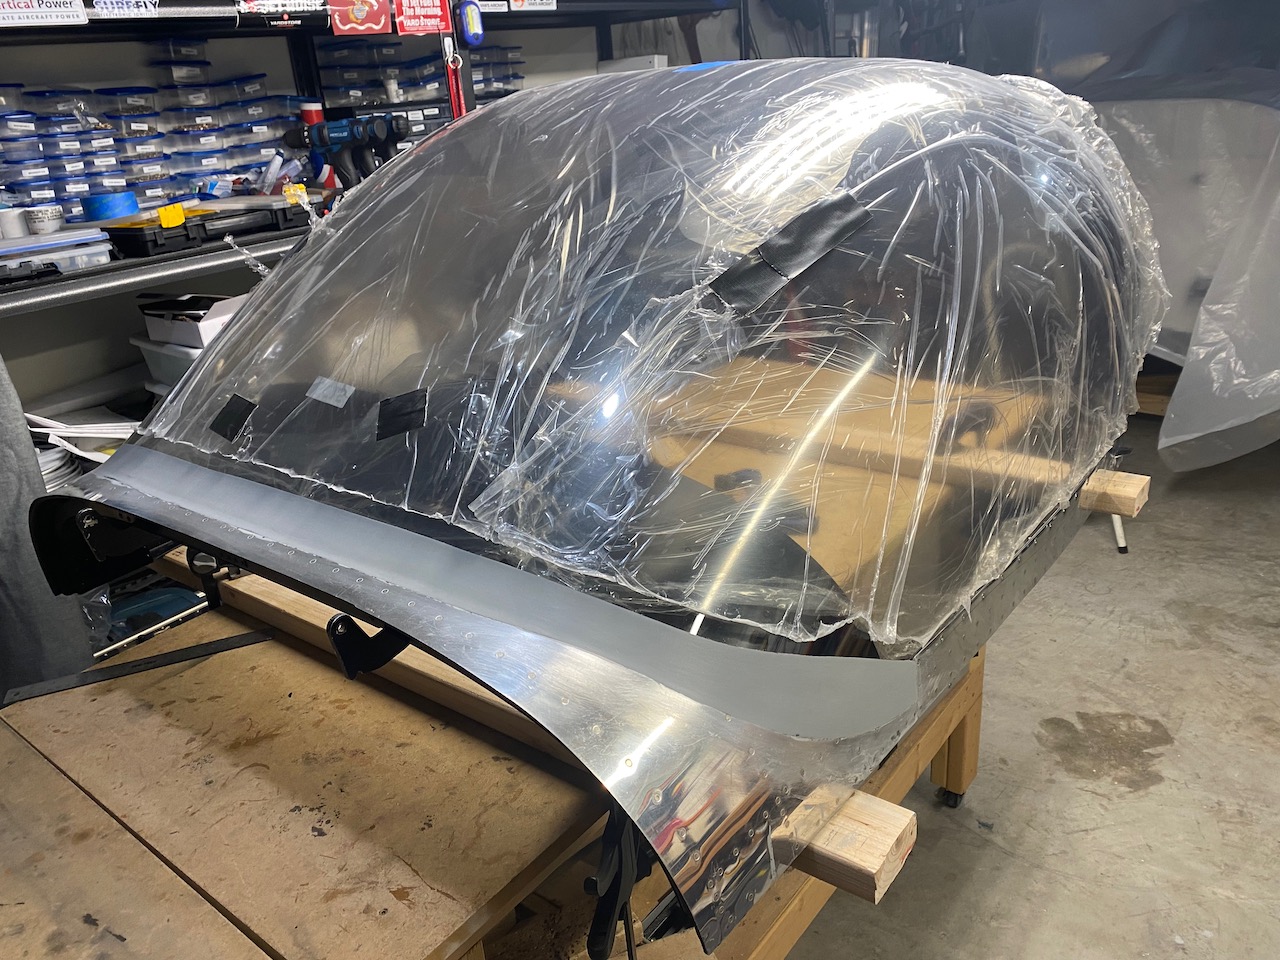
Here I had to do the cursory reattaching of the canopy and performing much squinting to see the airplane in the garage.
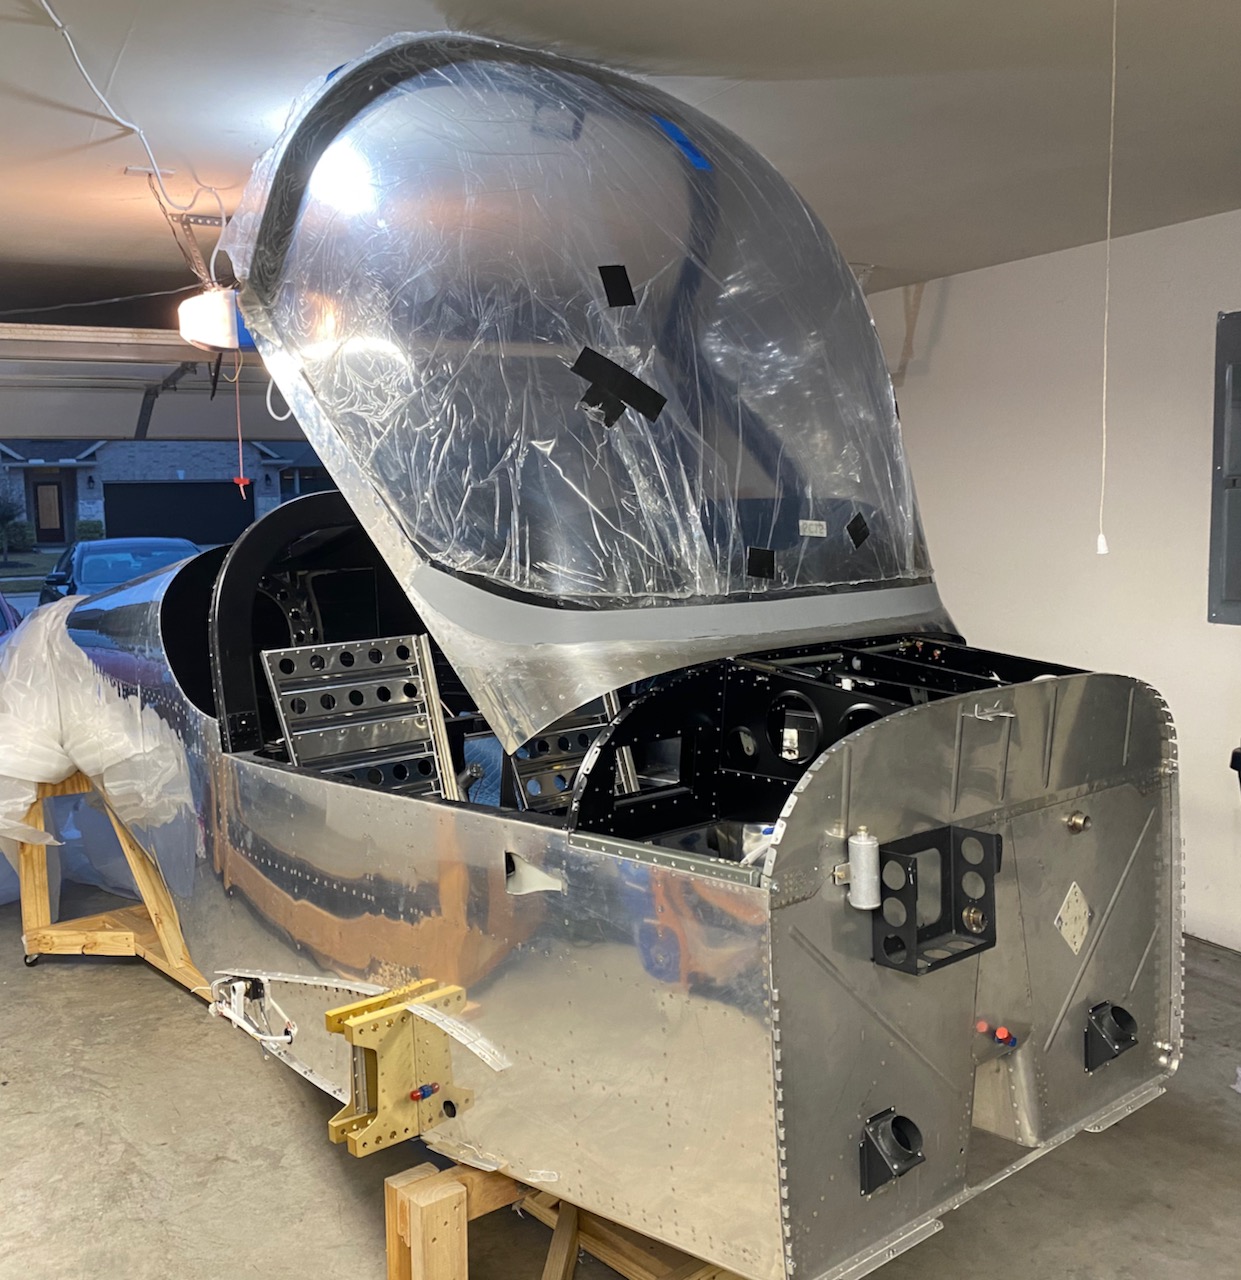
There are never enough opportunities to climb inside, pull the canopy shut, and make airplane noises while moving the control stick side to side.


Congratulations! I’m just about done with getting my post-relocation workspace setup and then time to get started on my canopy…
It is relief to have this behind me for sure
This is so cool. I’ve used the West system resin and hardener in some turnings. In fact I had a mould burst and 4cans emptied on my garage floor. Very mad.
I’m so impressed.