
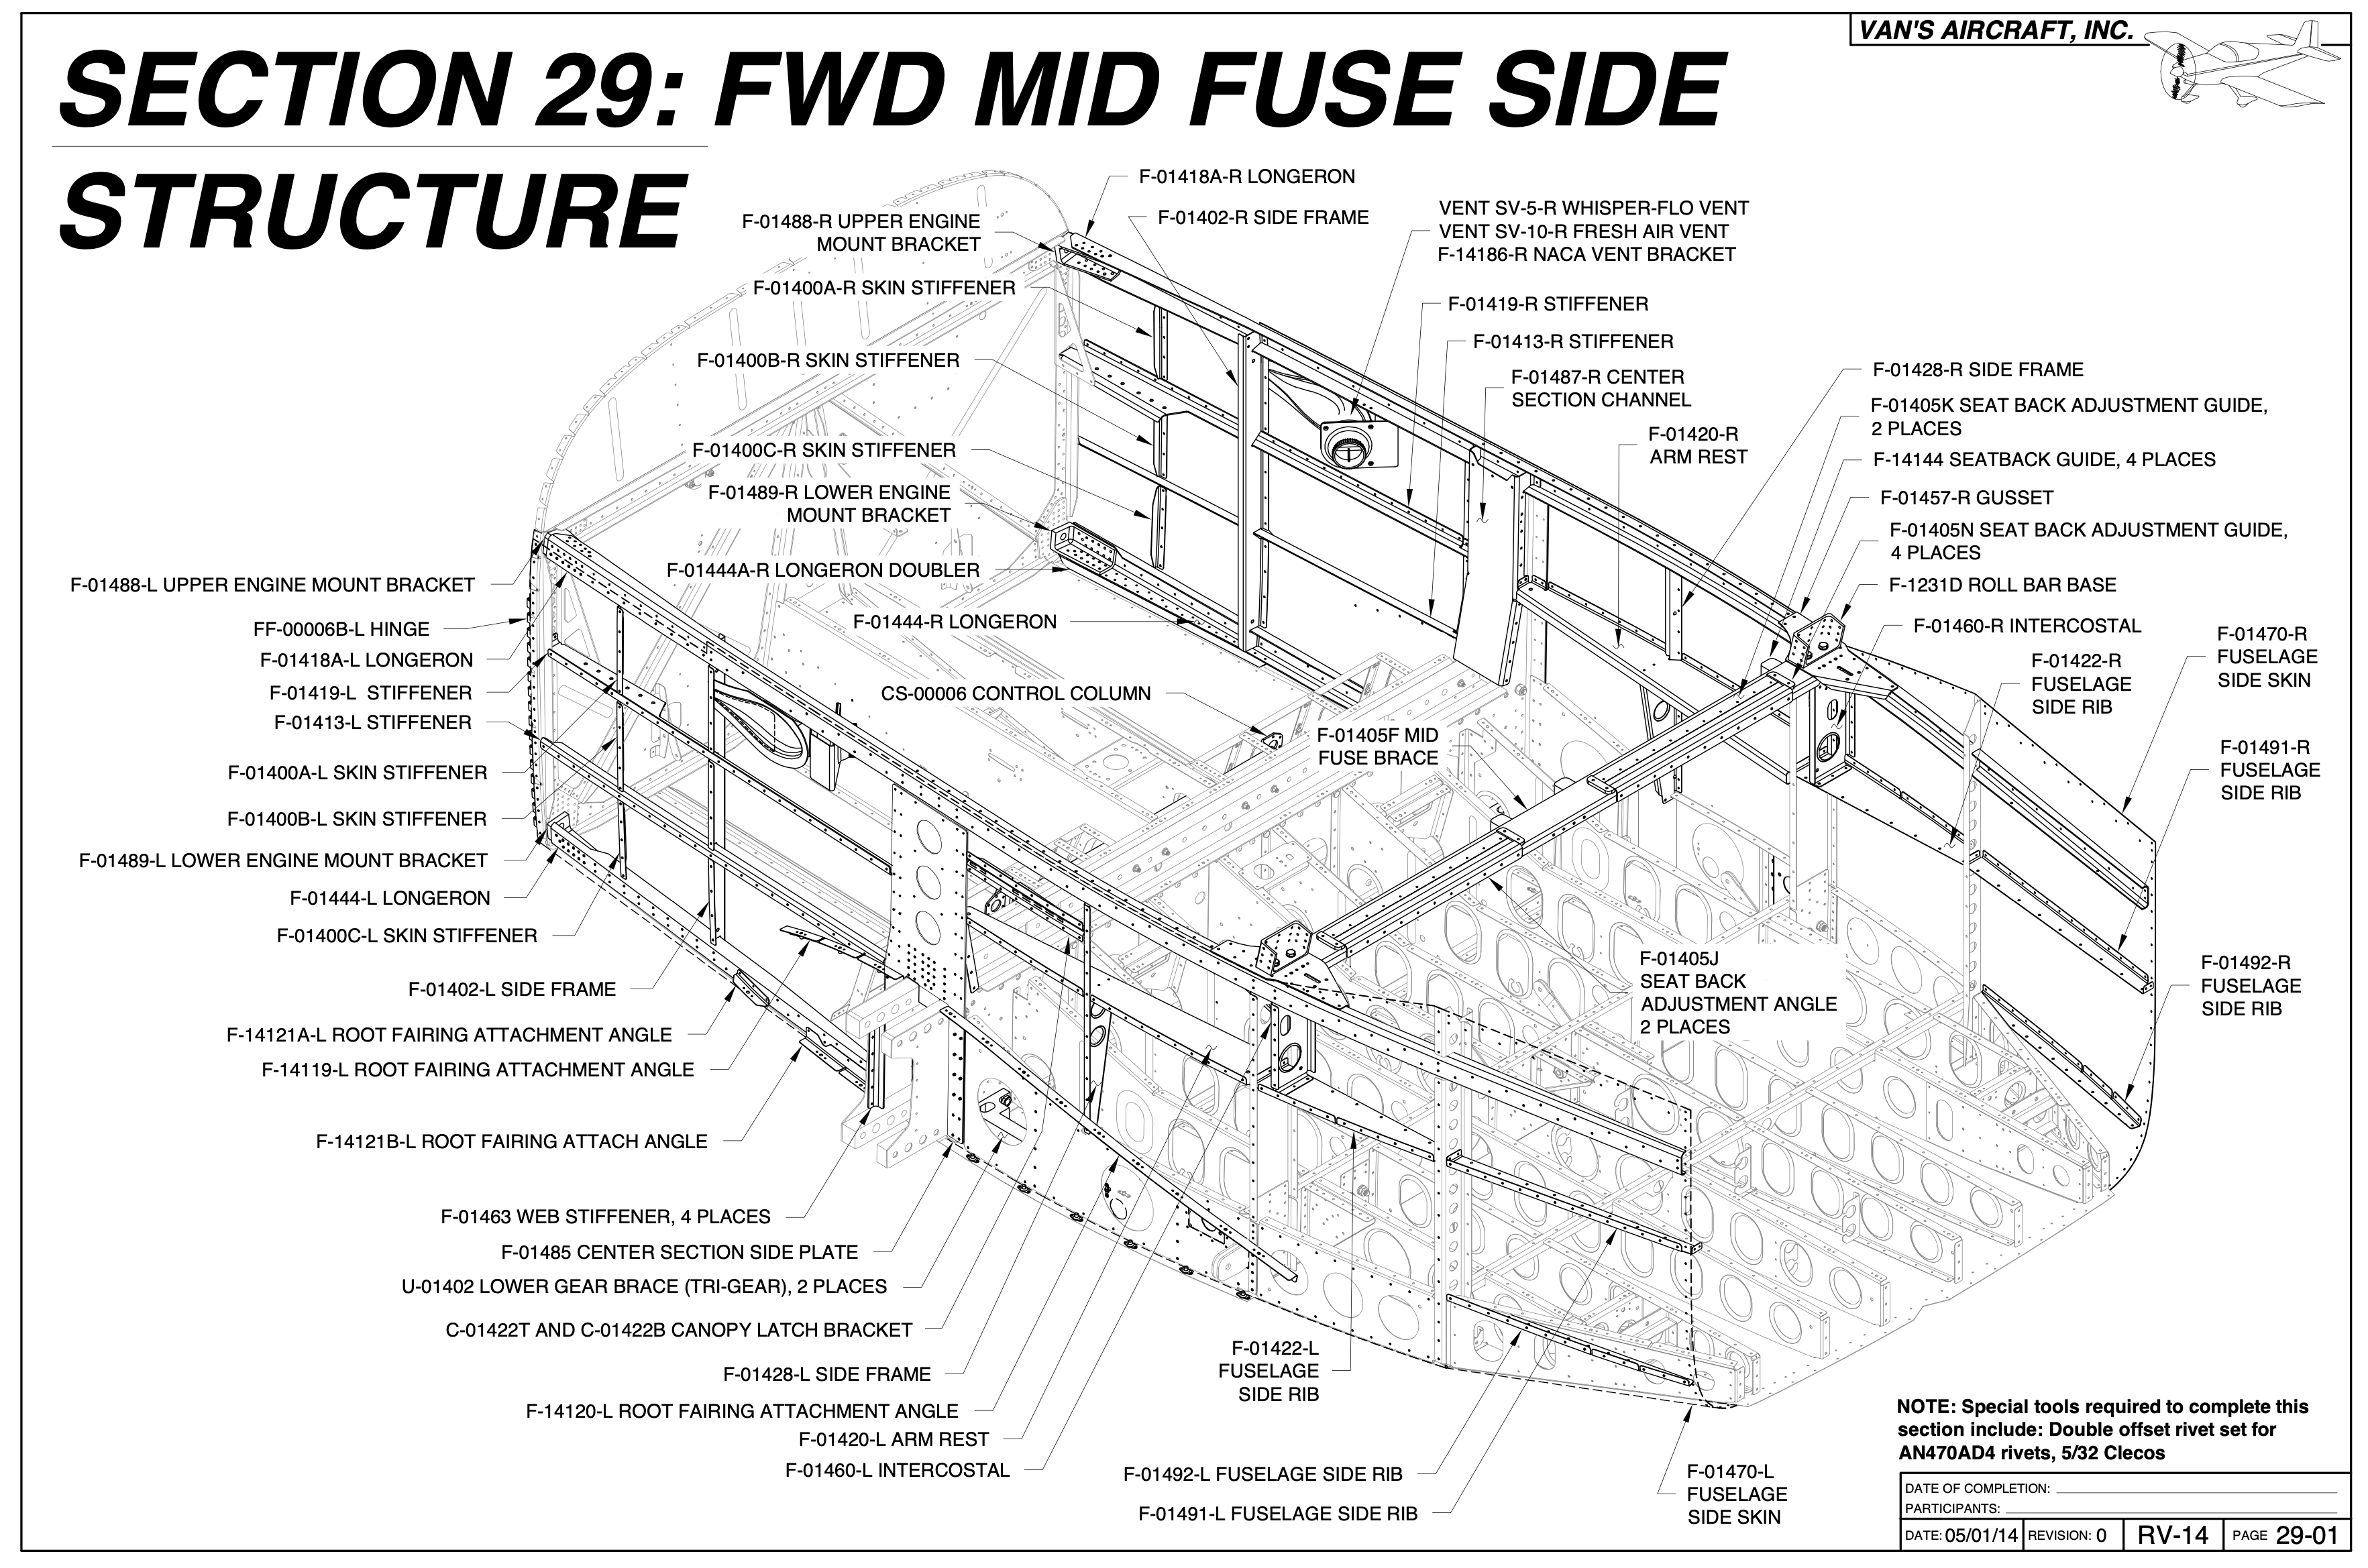
Wow! This was a big one. Lots of detailed work and lots and lots of rivets. This section mostly consisted of attaching the two side skins to the forward fuselage section. At the conclusion of this section, I believe I am over 80% complete with the riveting, and no more big skins to dimple. This doesn’t mean I am close to finishing, far from it.
The amount of photos taken while building this section was probably inversely proportional to the number of hours worked. I think I was more concerned with rivet pounding than photo taking. Even though this section mostly consisted of two equal halves, I think these photos are a bit random on which side they are depicting.
The first major step involved joining the Forward Fuselage Lower Structure to the Mid Fuselage Lower Structure. Basically I am talking about the big pieces I assembled in the previous four sections. This photo is about the only thing I have. It shows the bottom skins mated together with cleo’s. The whole structure is on its side standing on the floor.
After employing a rivet partner, all the cleco’s in the above were replaced by rivets, and the mated sections were once again placed on the table.
Don’t worry, there are also bolts holding the two spars together.
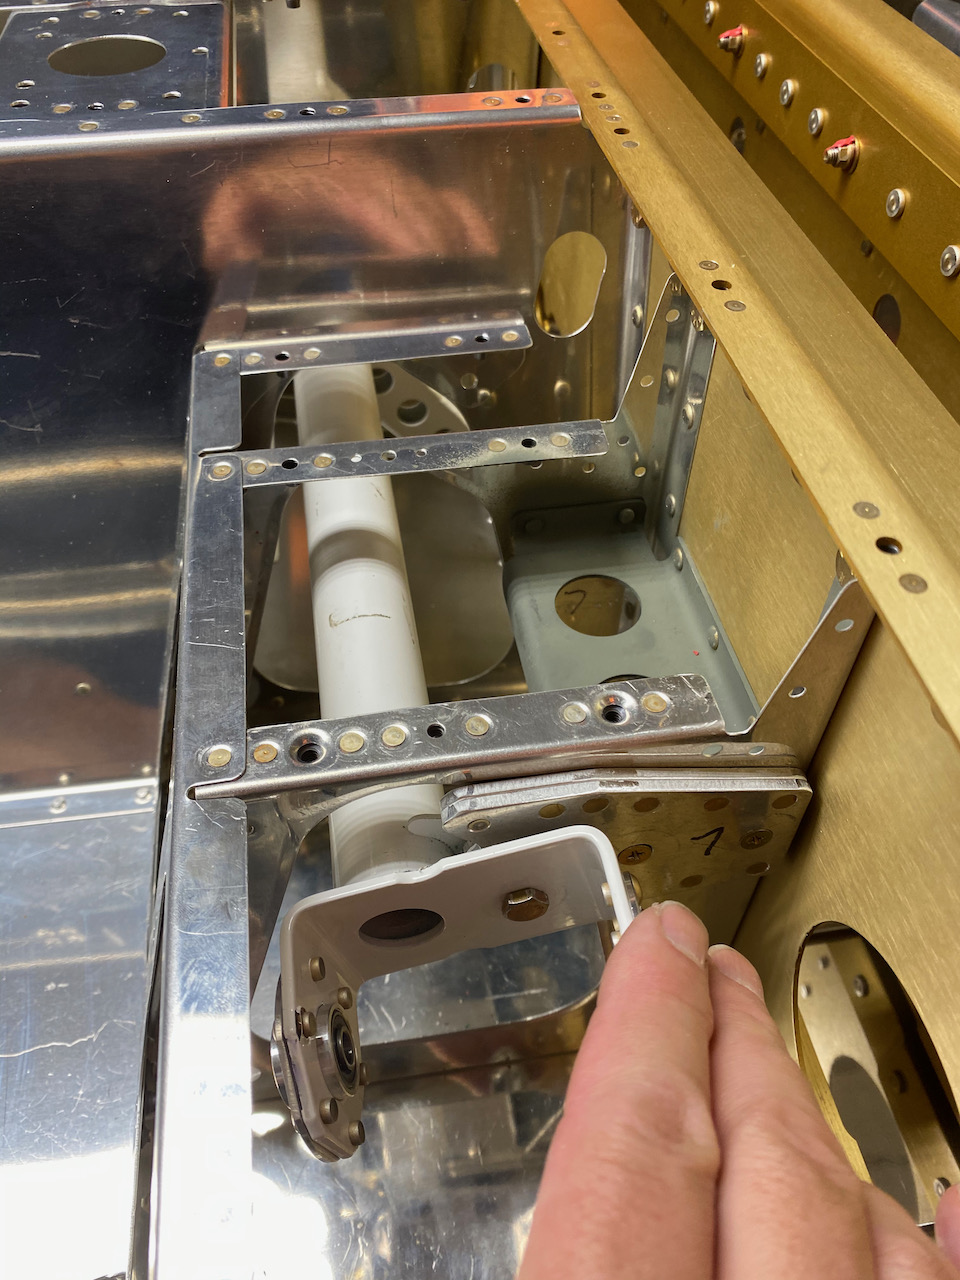
Before the side skins are attached, the control column assembly is inserted into the Fwd Fuselage in front of the spars. This control column is attached to the control stick and it actuates the elevator and ailerons. This is done now because once the skins are attached, there is no way to put this in.
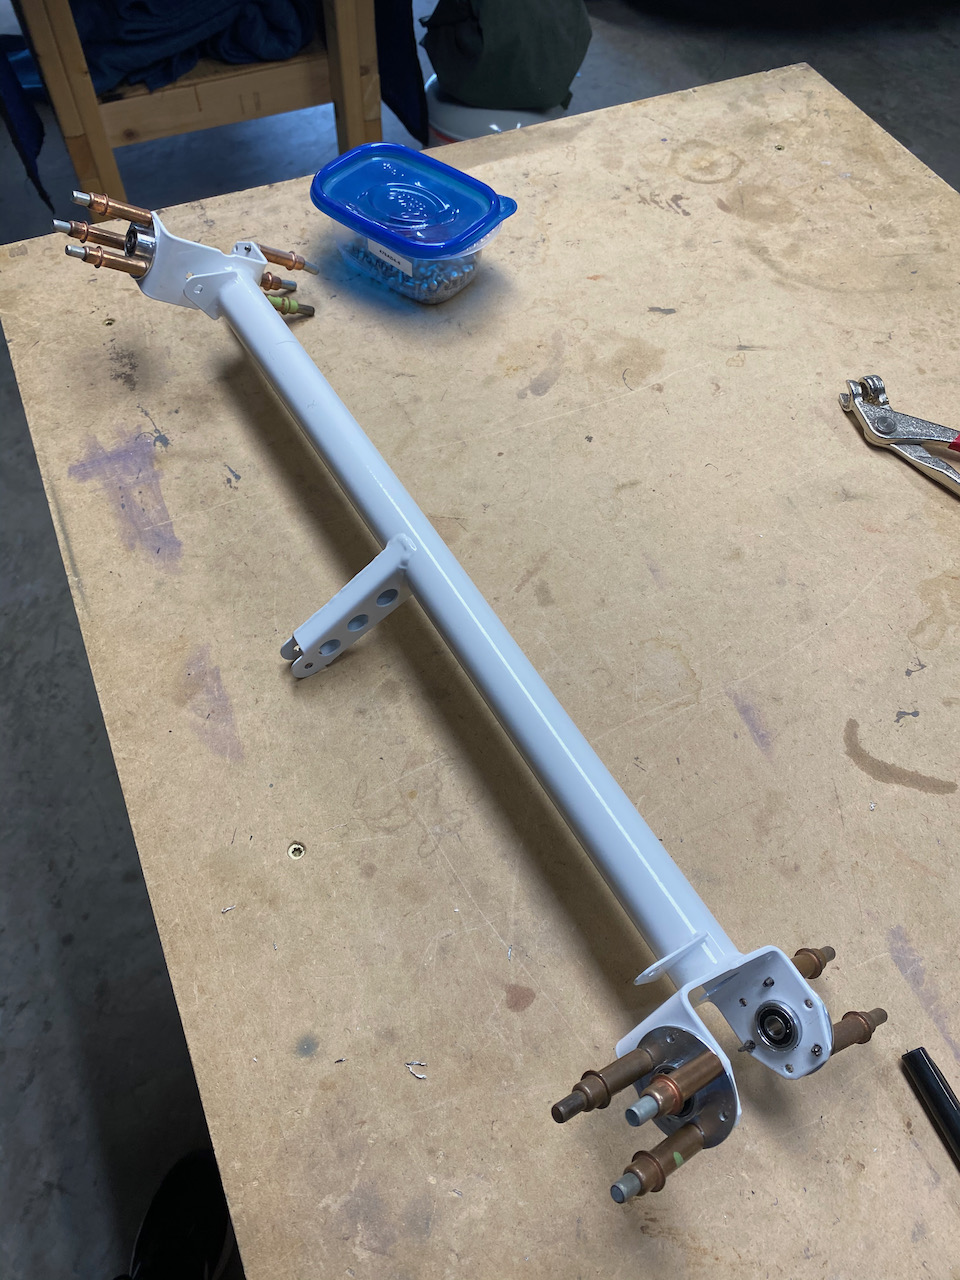
The instructions state that the control column must rotate up and down with no binding and no side loading on the bearings. It gets adjusted by adding and removing washers in the bolt next to my fingers. It took a while and lots of adjustment but I think I got it right.
I am skipping over a lot here but the side skins were prepped by riveting the side section plate and upper drag fitting with many AN470-4 rivets. I learned the best way to do this is with the C-Frame and Rivet gun. I think it worked out really well with this method.

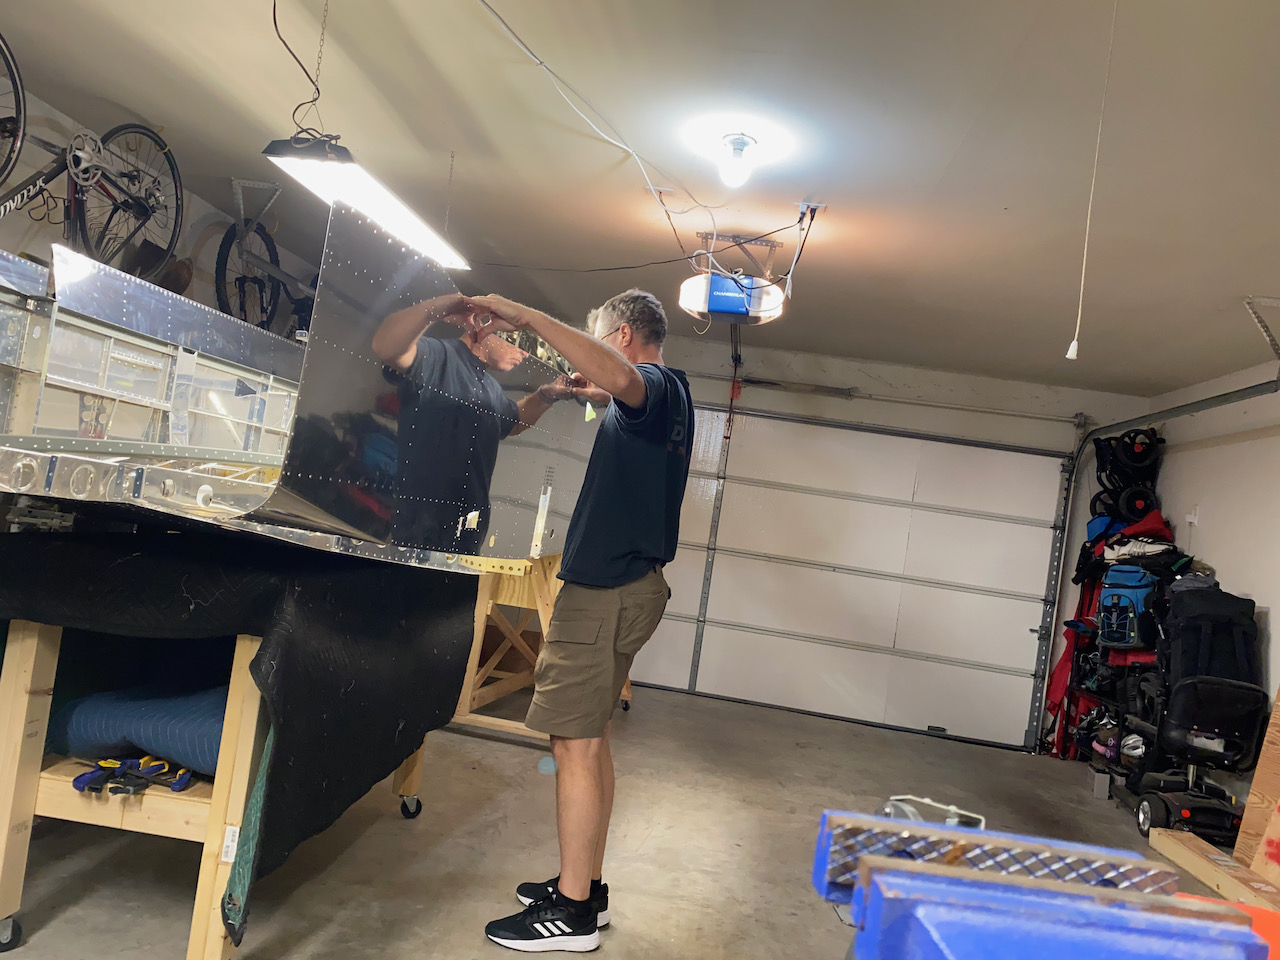
A little bit of wrangling got the skins nicely in place. Mass quantities of cleo’s were needed to hold it all in place.

I took no photos of the riveting process but each side used several different sizes of rivets. It was a riveting frenzy, and my worktable became littered with the evidence.
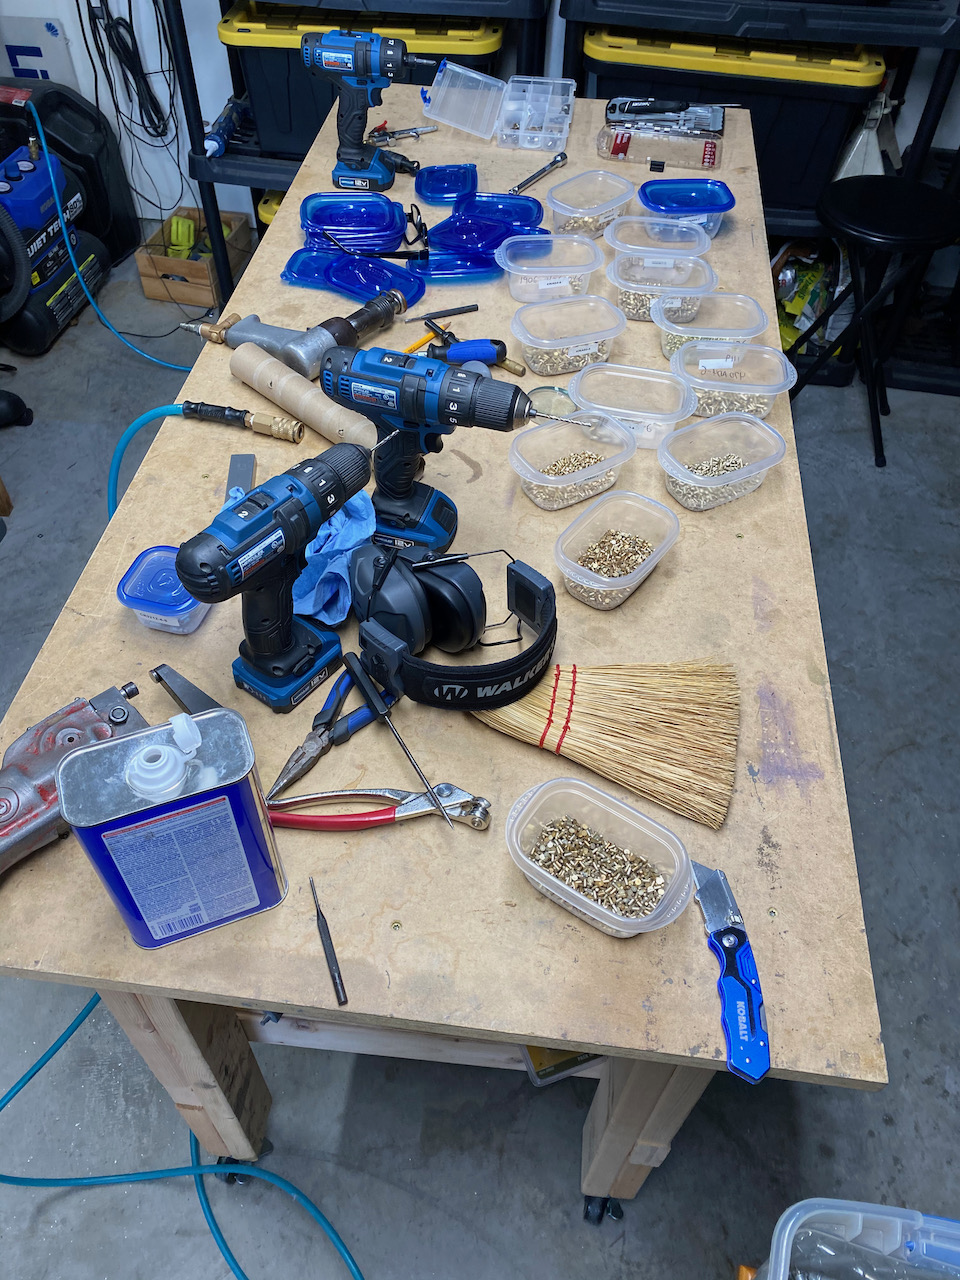
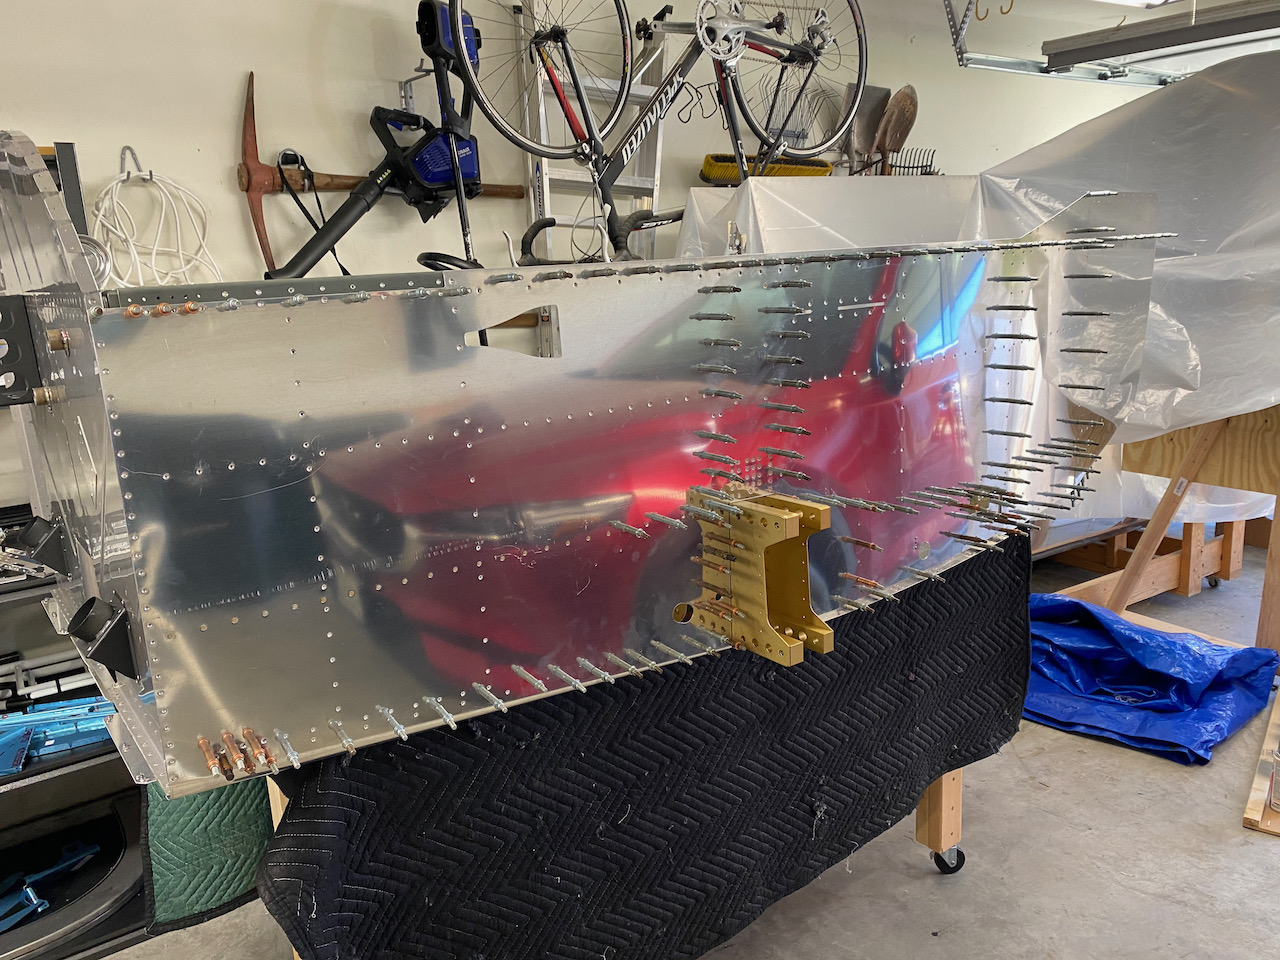
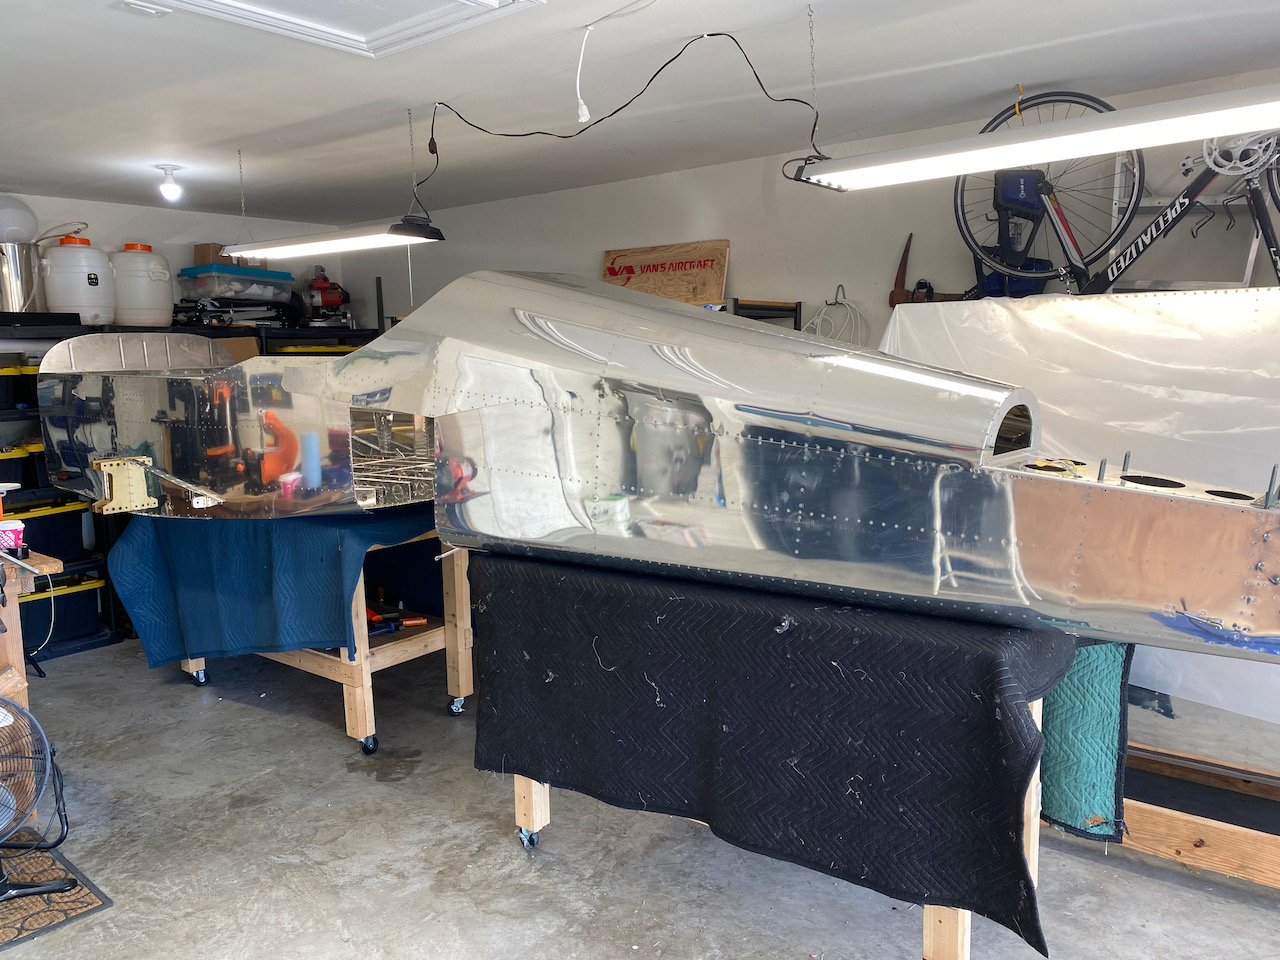
The next several photos show the results. Each side took about 10 hours to complete.
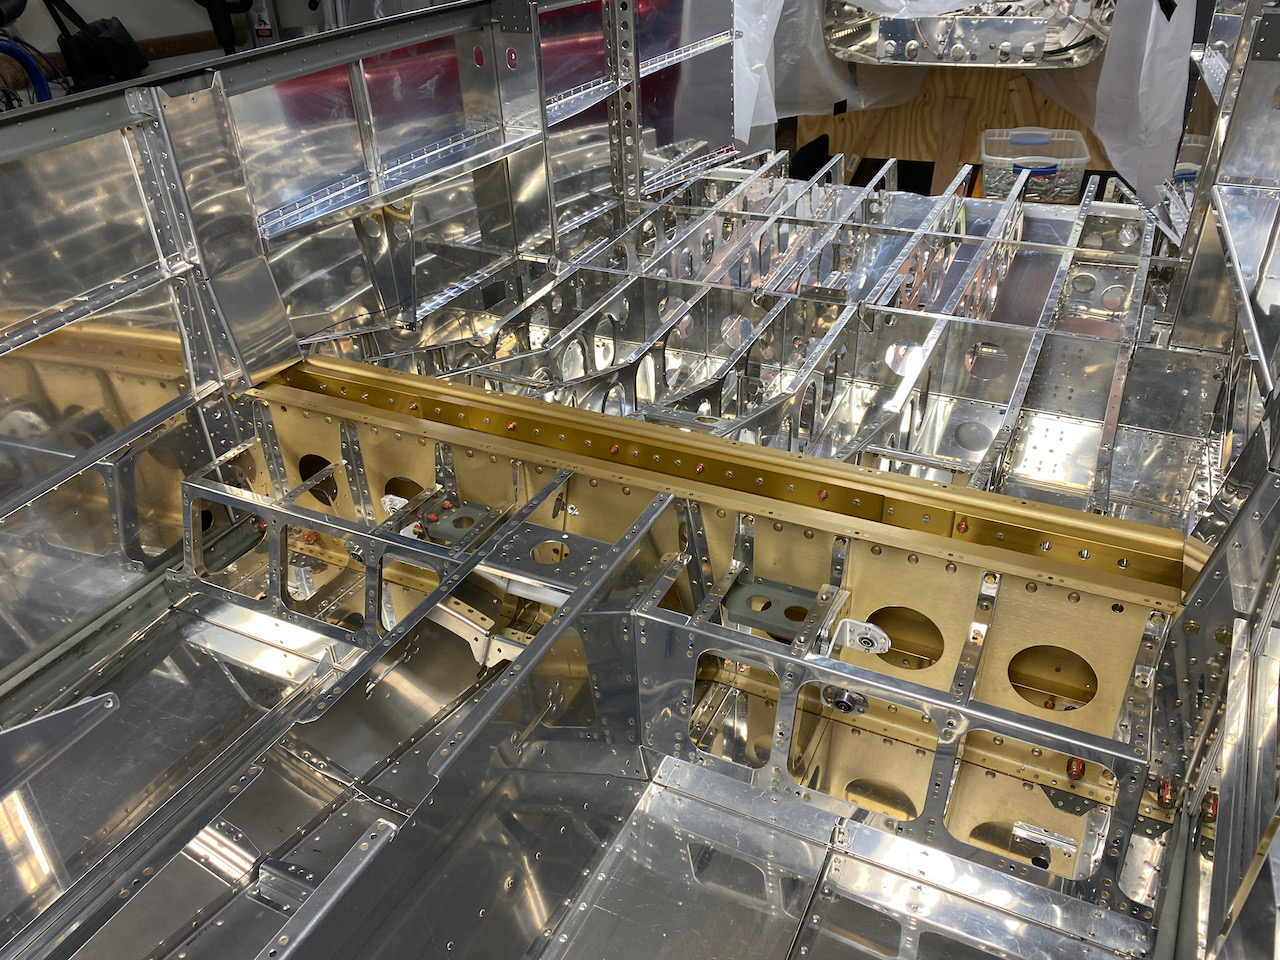

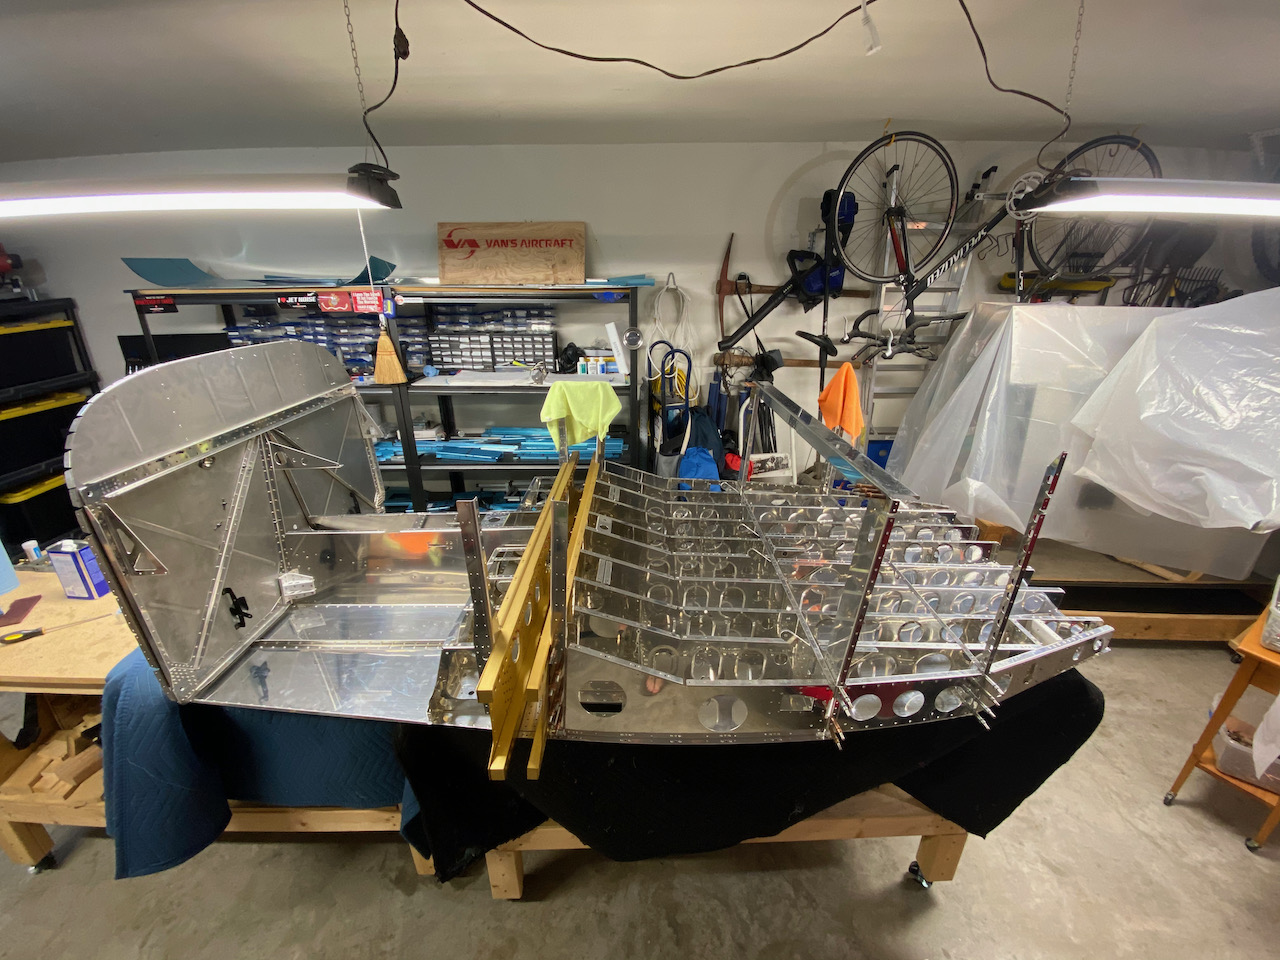
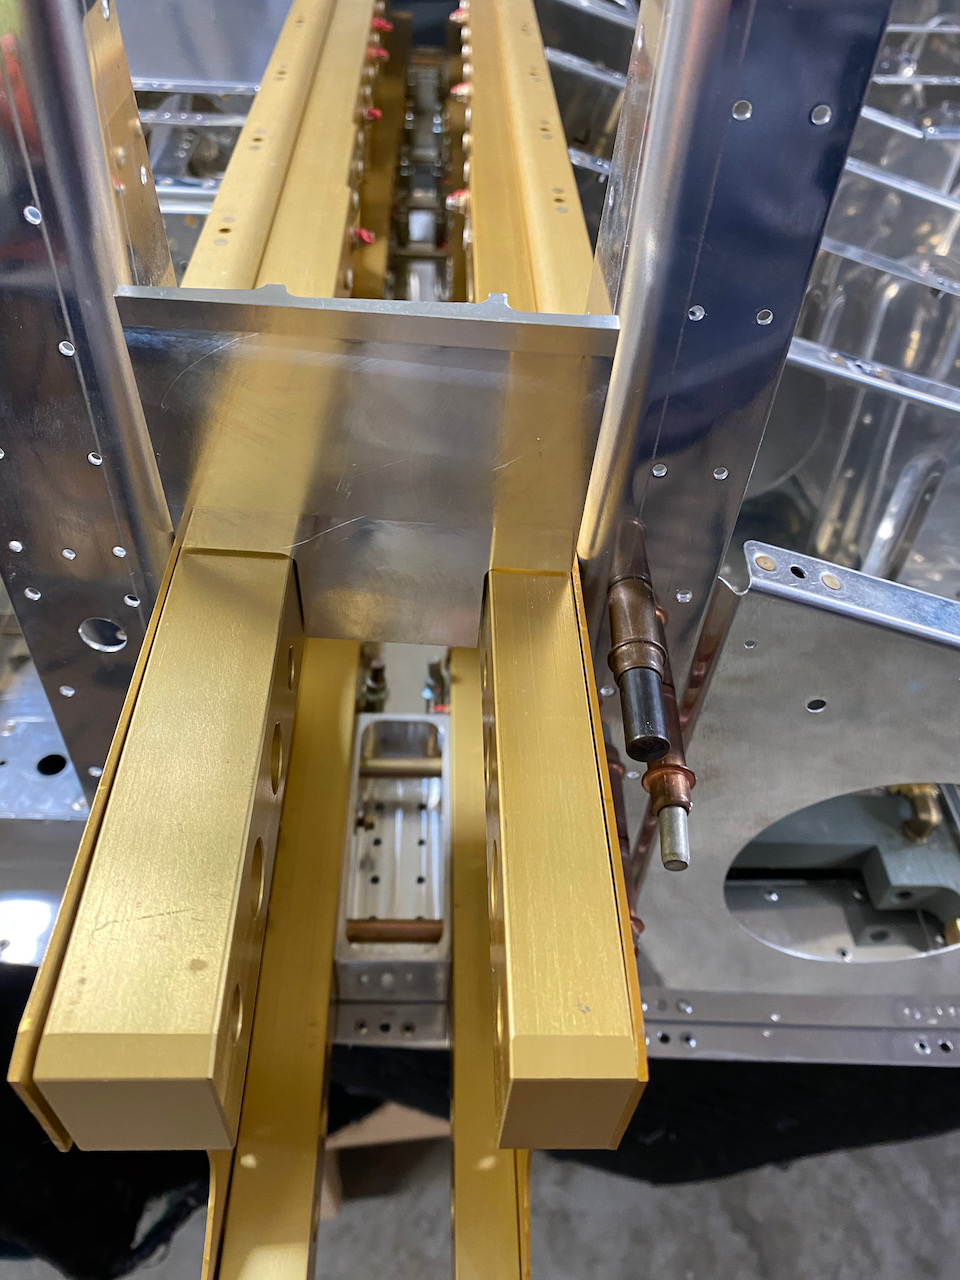
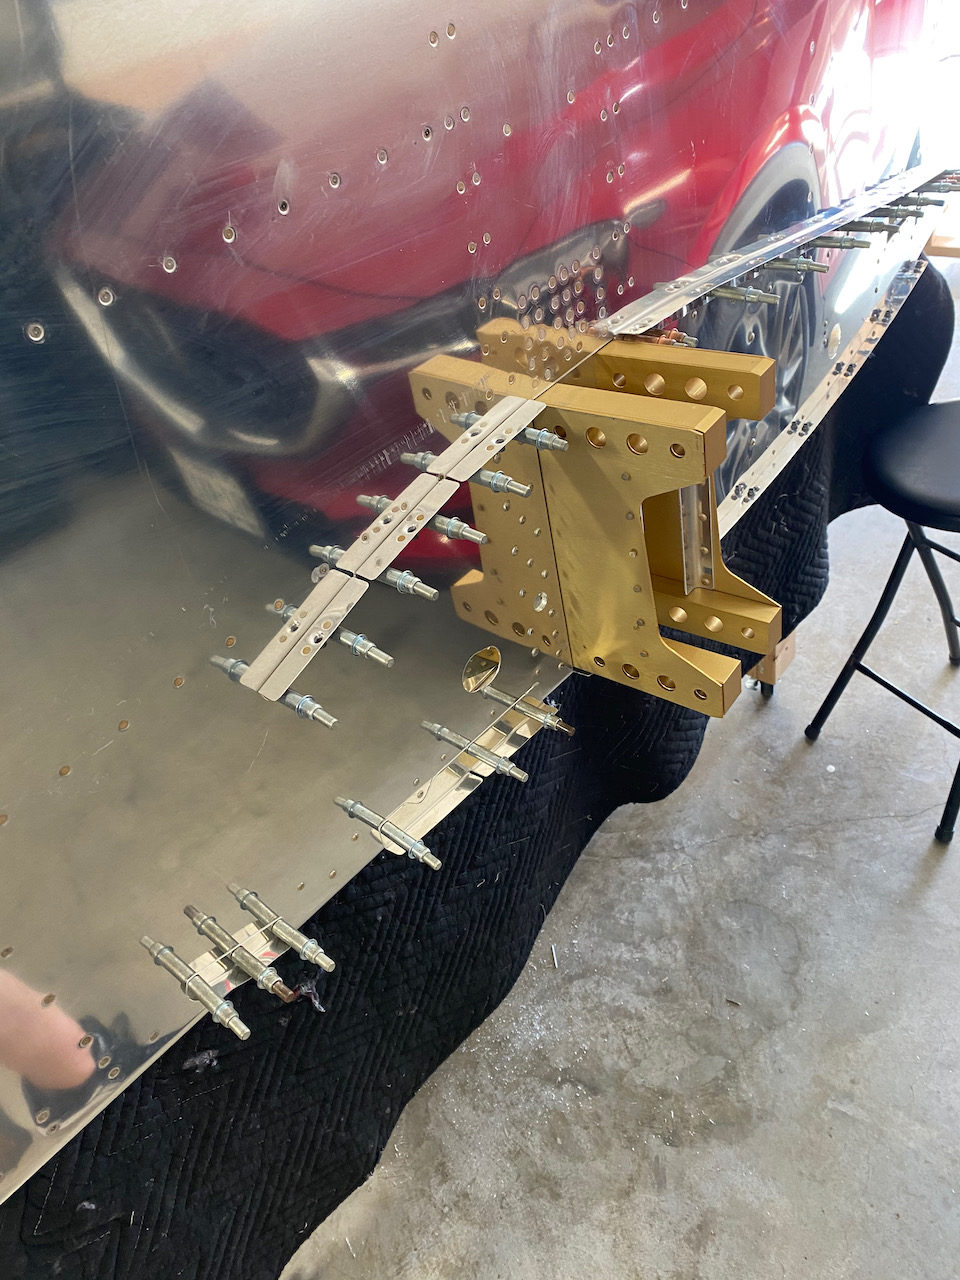
The 2nd to last task in this section was to attach the wing root attach fittings. This will eventually serve as the attachment points for the wing fairings. The wing itself is attached to the gold anodized spars. The big holes on the top and bottom will hold the large bolts holding the wing spar in between.
And the last thing to do here was to complete the Seat Back Brace. This goes across the fuselage and its purpose is as its name implies.

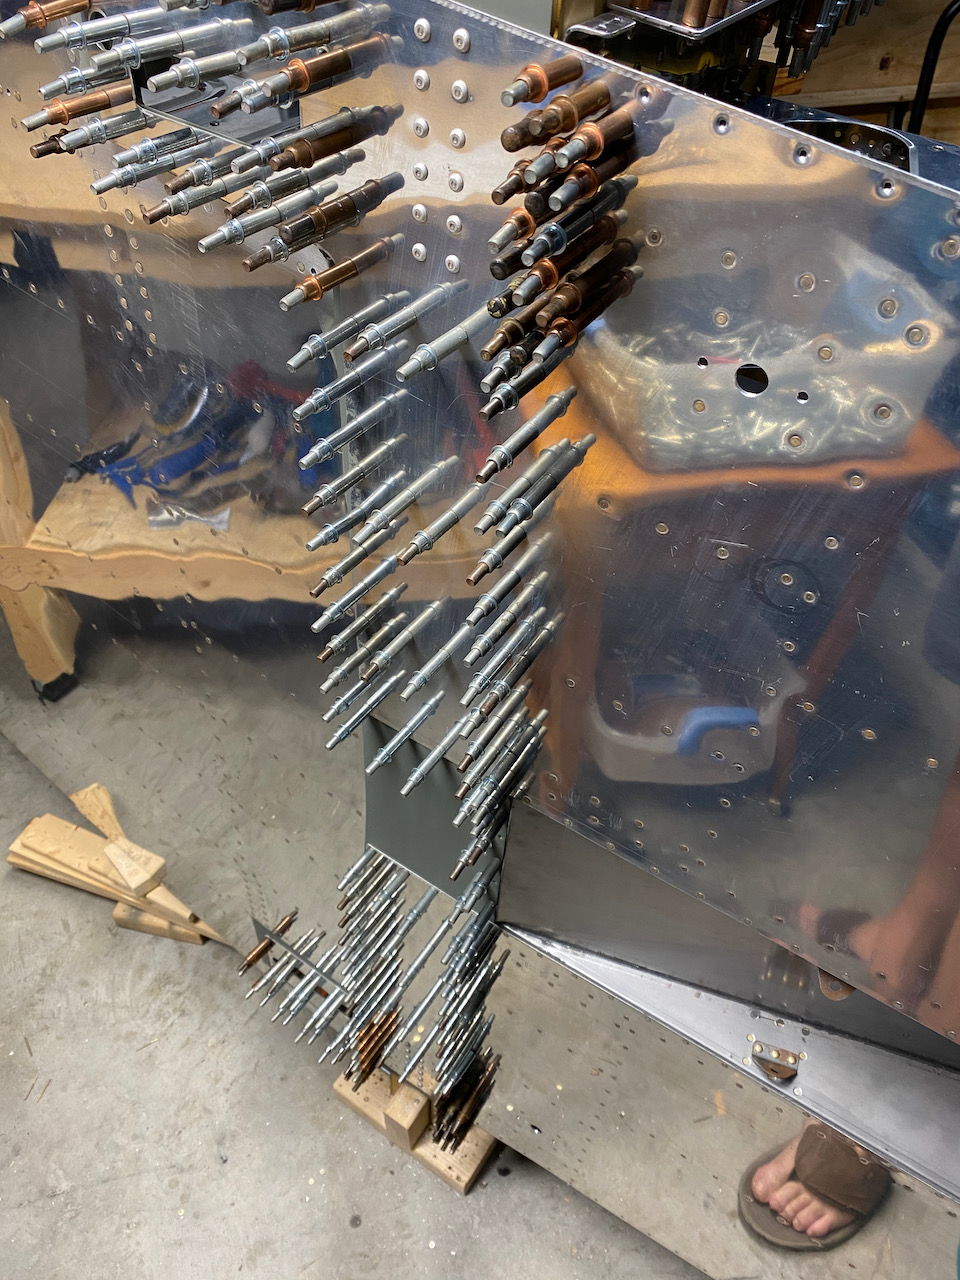
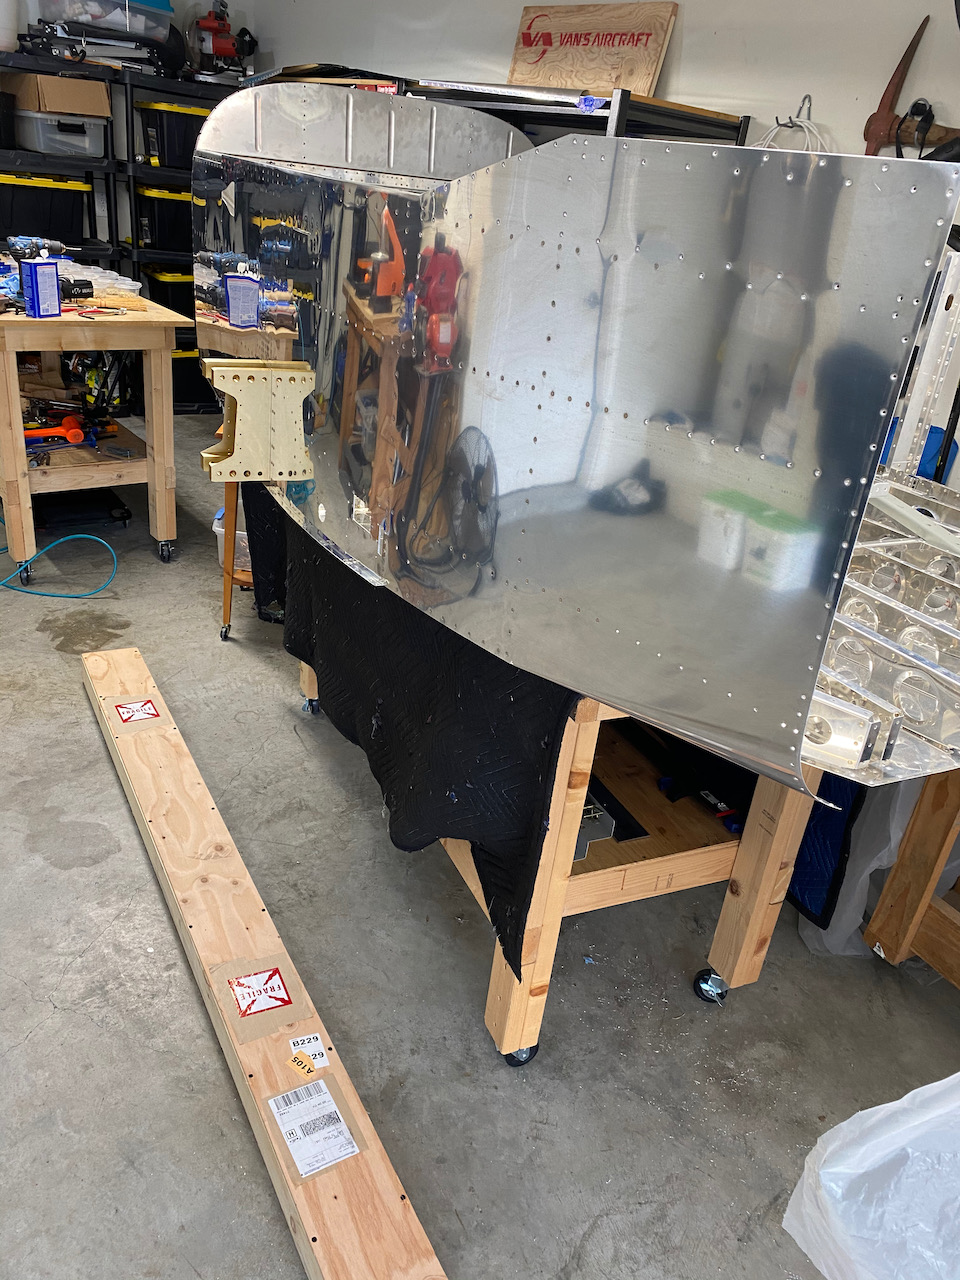
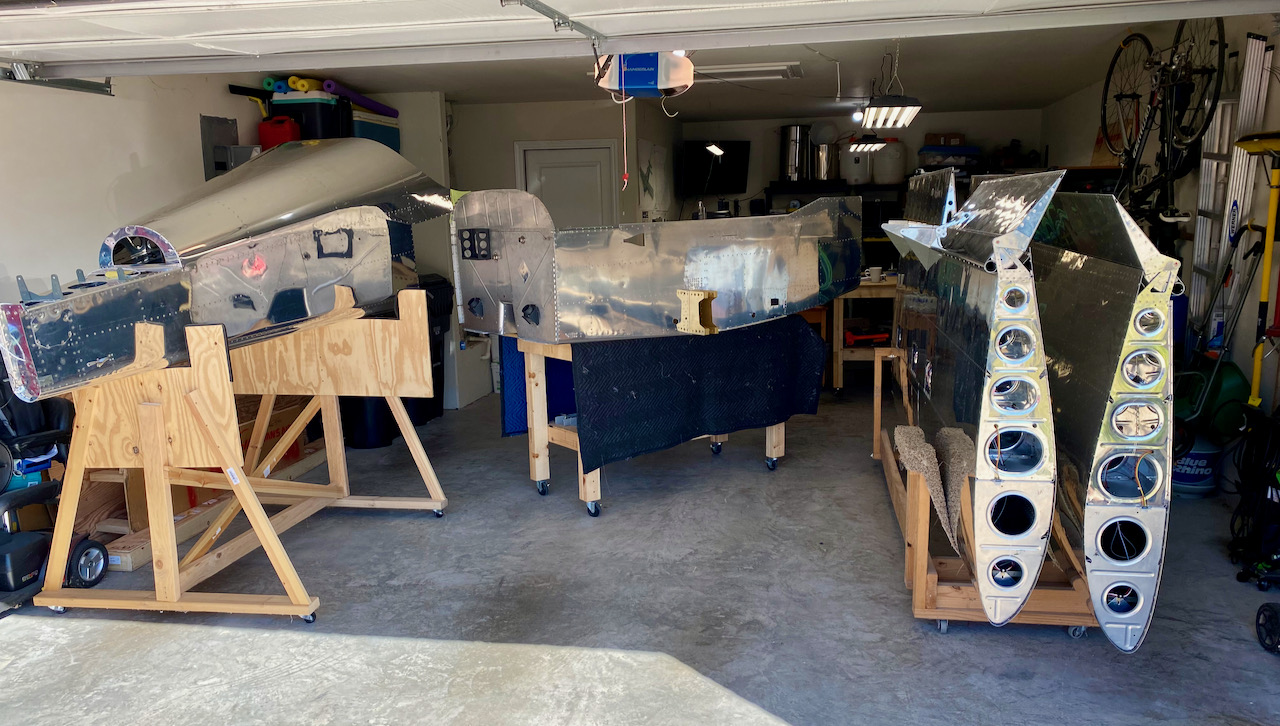
I arranged the Forward Fuselage section in front of the aft fuselage section for a preview of what is coming next.
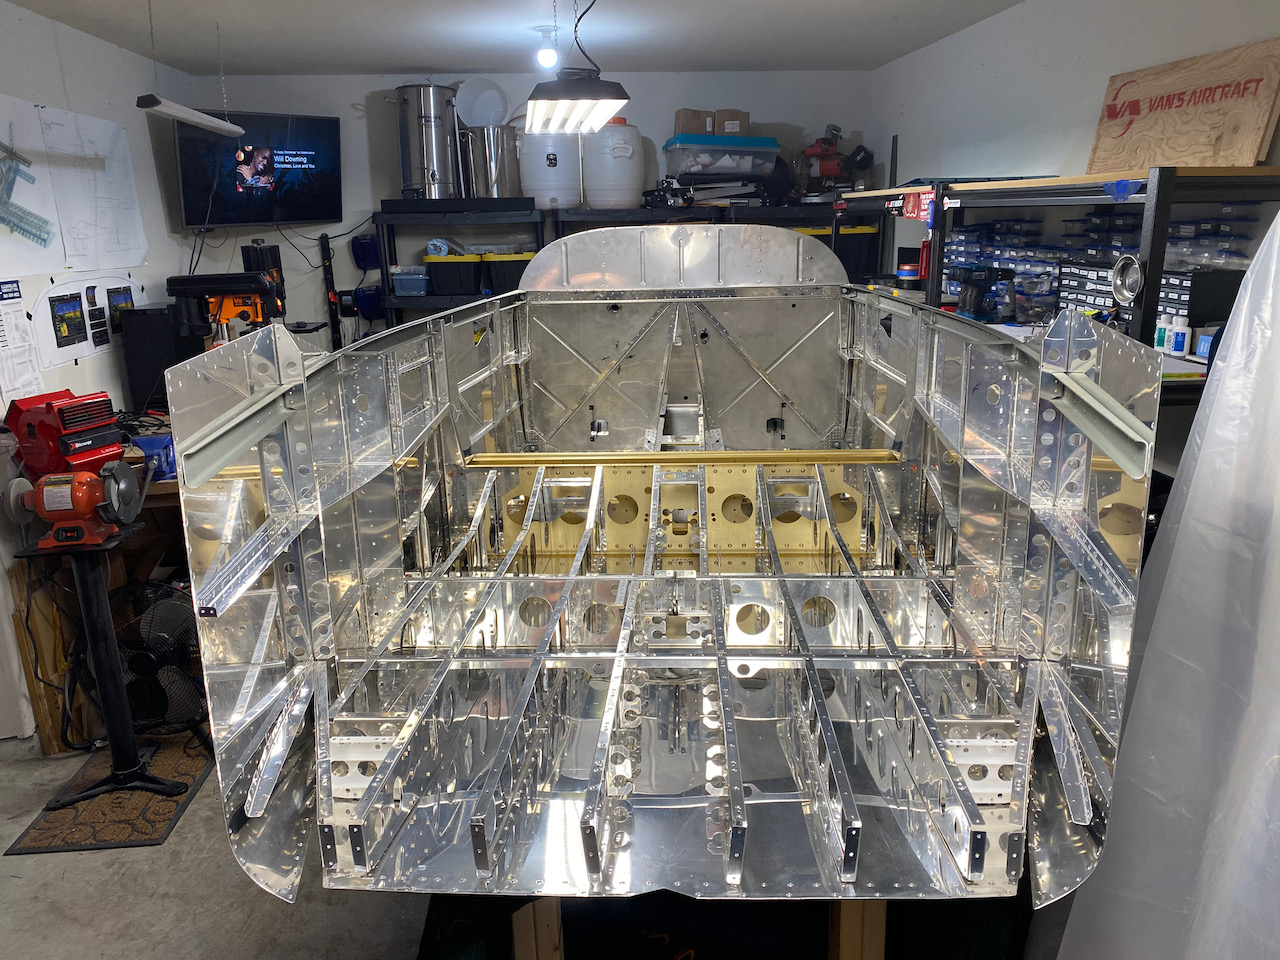
About the time I completed this section I had a technical counselor visit to look over my work so far (it went well). Naturally, everything must be arranged nicely for the inspection as per below.

Looks good! I appreciated the comment about the inverse proportionality of photos to hours worked – my experience also.