

As I cross over 500 hours in the build, I feel that I am still pretty much on time for an early 2023 completion. This still seems to be a way off but I am sure it will come really quick. There is a lot to do of course, and a lot of money to spend on parts, engines, and avionics. The fuselage kit is ordered, and I should see it by late August.
Working on the flaps seem like such a breath of fresh air after the fun with proseal in the tanks and the physically contorting efforts of riveting the bottom skins. At last, all the parts were easily accessible on a table top, and everything was pretty straight forward. The most critical step in the flaps is to ensure the trailing edges are straight. This is true for the next section, ailerons, as well.
Like always, the workflow is to locate all the framework parts like nose ribs, ribs, brackets, spars and such, and then deburr, drill, and dimple as necessary. This required nowhere near the time needed as on the wing ribs.
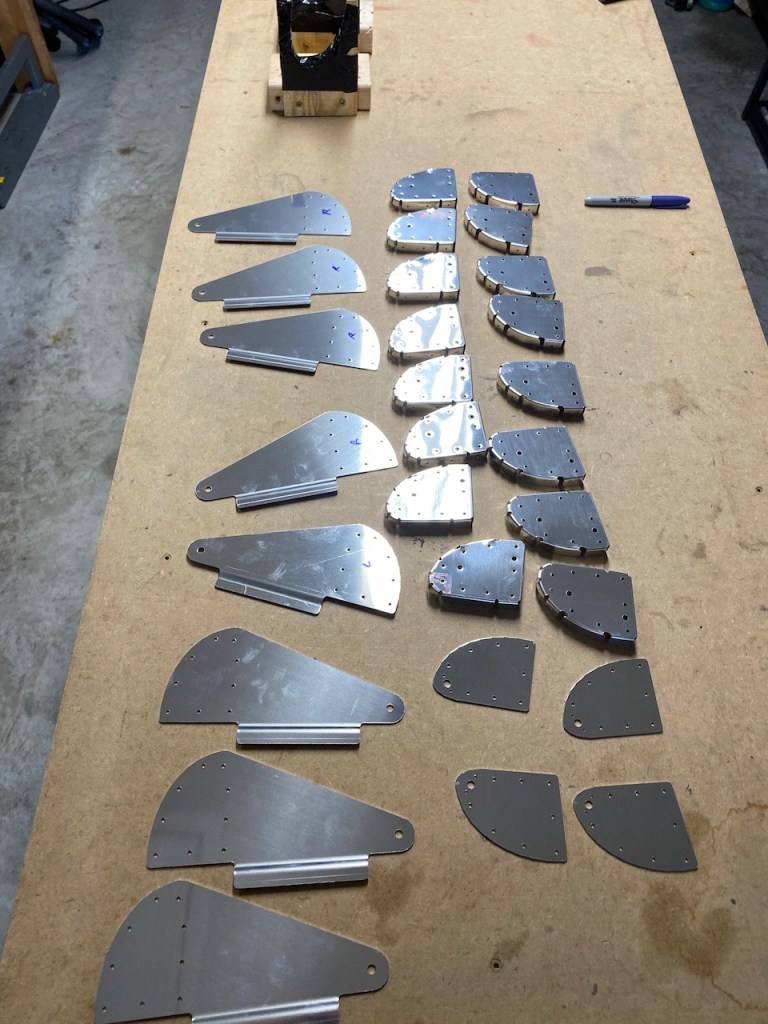

Some of the nose ribs had doubler plates riveted to them. The following shows the clecos holding the doubler plates on the other side of these parts.

This shows the structure of the two flaps cleco’d together on top of the skins. It was very important obviously, and I took a lot of time to make sure it was correct, that the parts were in their correct position, and the correct side of the skins were selected to dimple. I read many stories of guys dimpling the wrong side which means more money to spend on replacement parts. Fortunately I got it all correct on the first try.

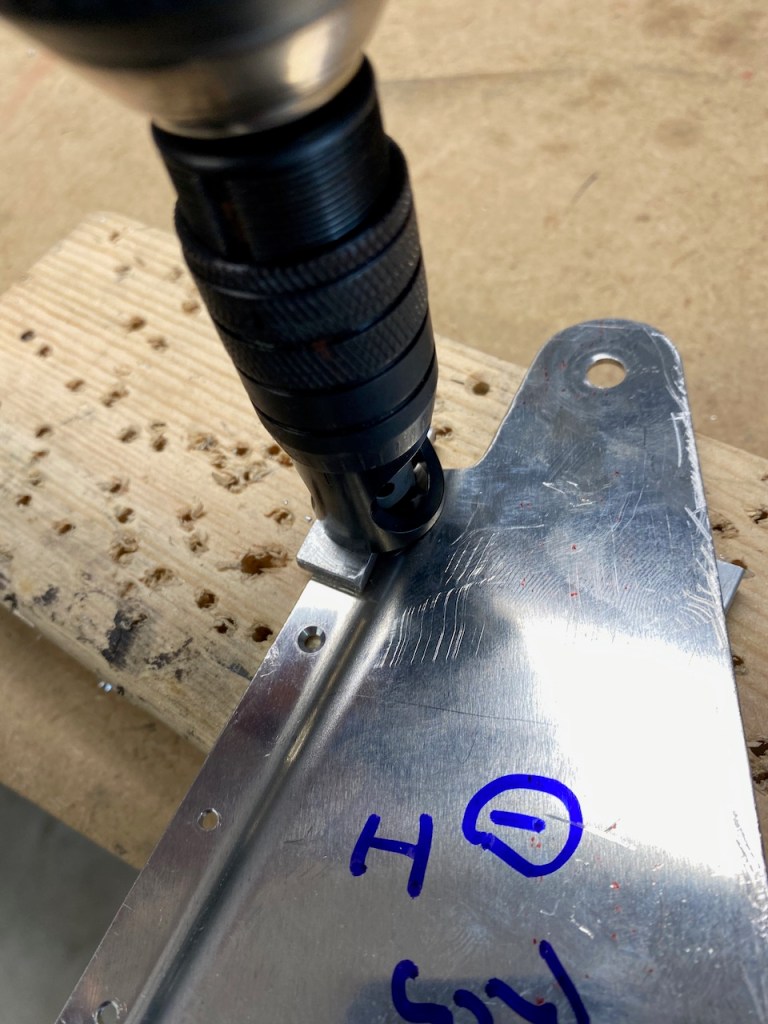
The hinge brackets for the flaps consist of two halves riveted together using a double rivet technique. This requires both parts to be countersunk: one side for the flush factory head of the rivet, and the other side for the flattened shop head of the rivet. This is basically the same technique used for the trailing edge of the flap.
Here the instructions specify that a wedge be fabricated to align the micro-stop counter sink in order to make a proper countersink.
Then it was off to rivet all the parts together.
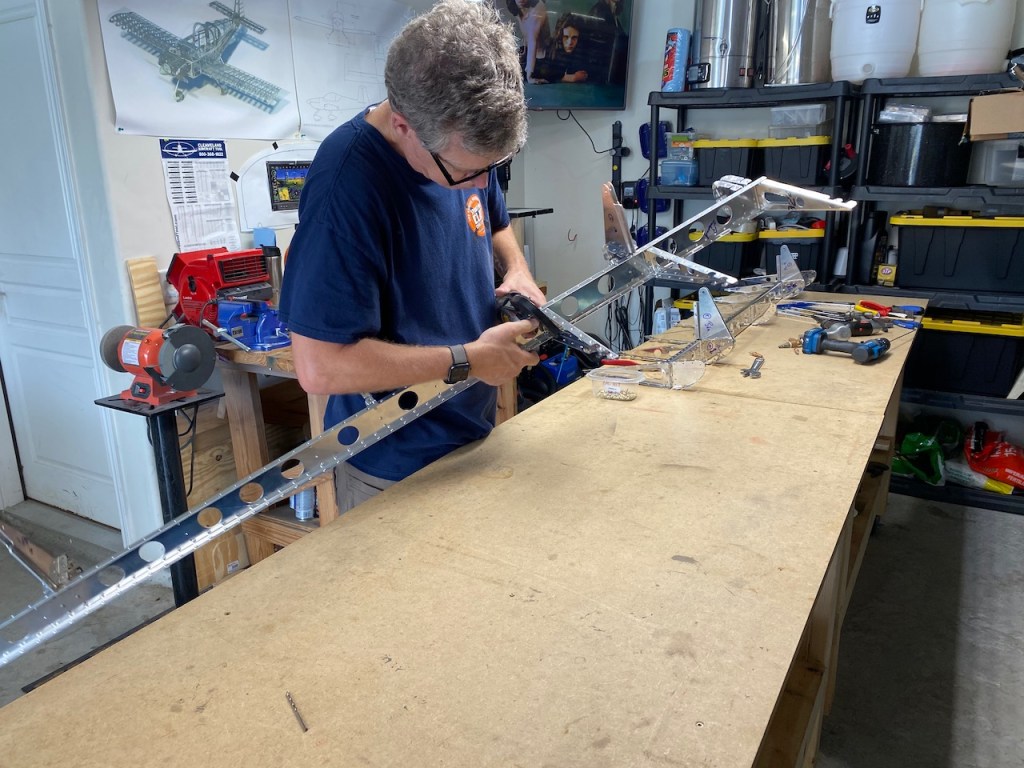

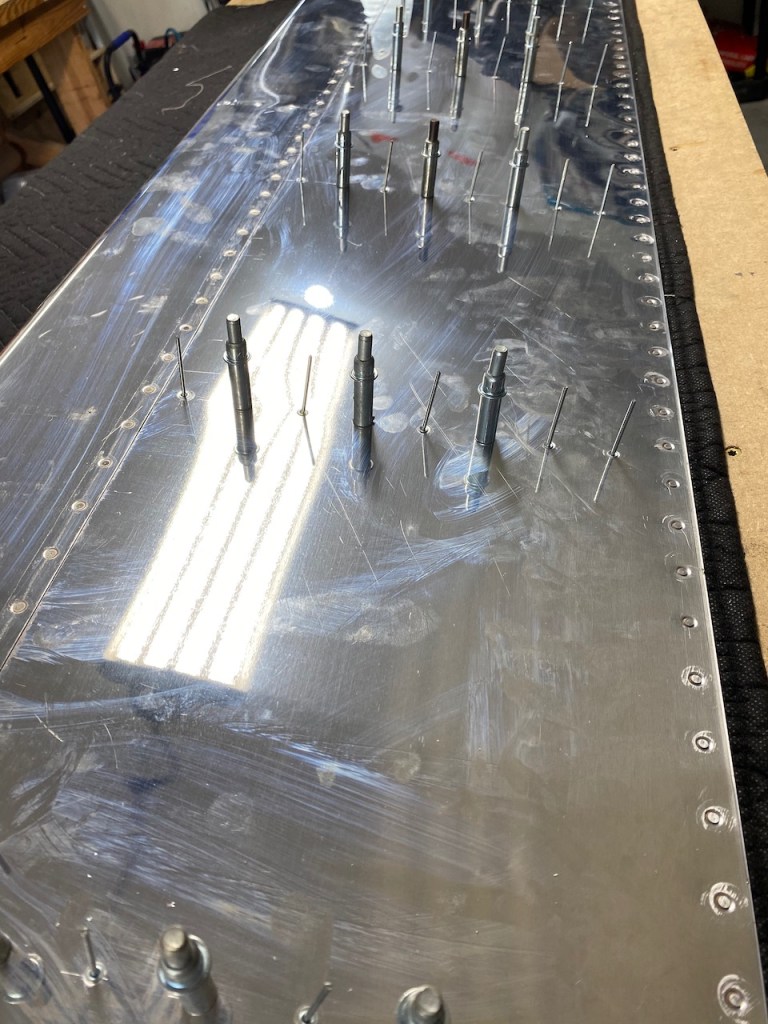
The wing skins and nose skin were riveted to the framework in the normal manner but the last two rivets on each rib were riveted using the back riveting method. There is a big steel plated underneath the skins, and it was vital that I kept everything lined up on top of the plate while riveting.
It looks like here the top is riveted and now ready for the bottom skins.

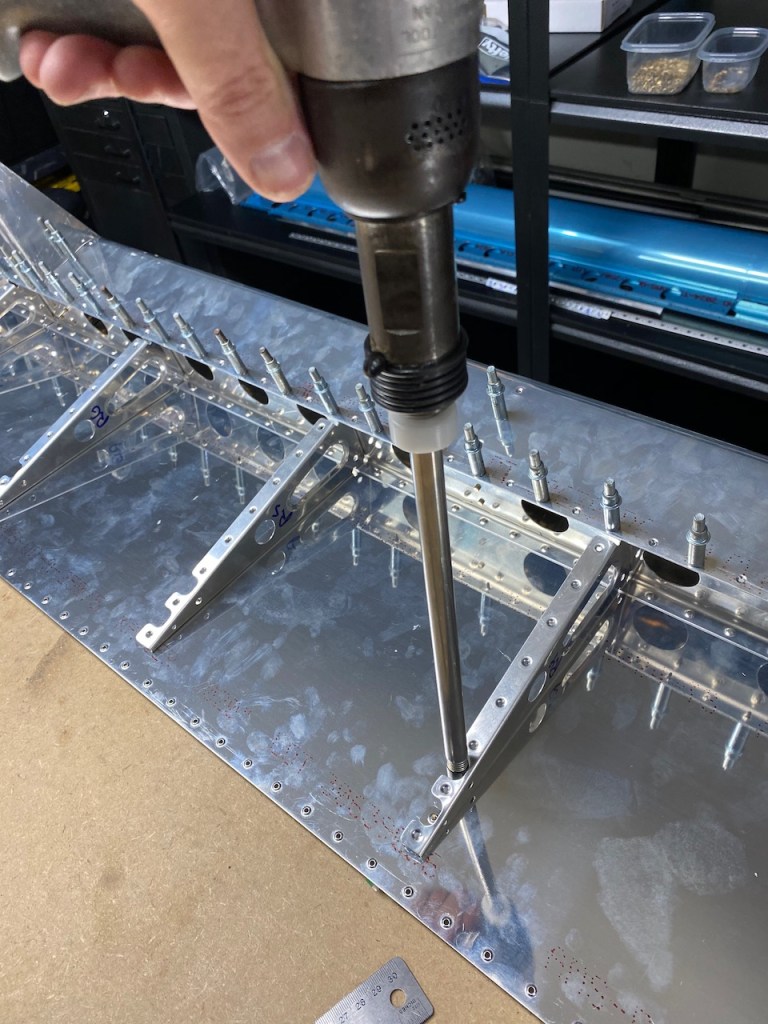
The bottom skins were riveted using blind rivets, or otherwise known as pop rivets, due to no access to the other side of the rivets.
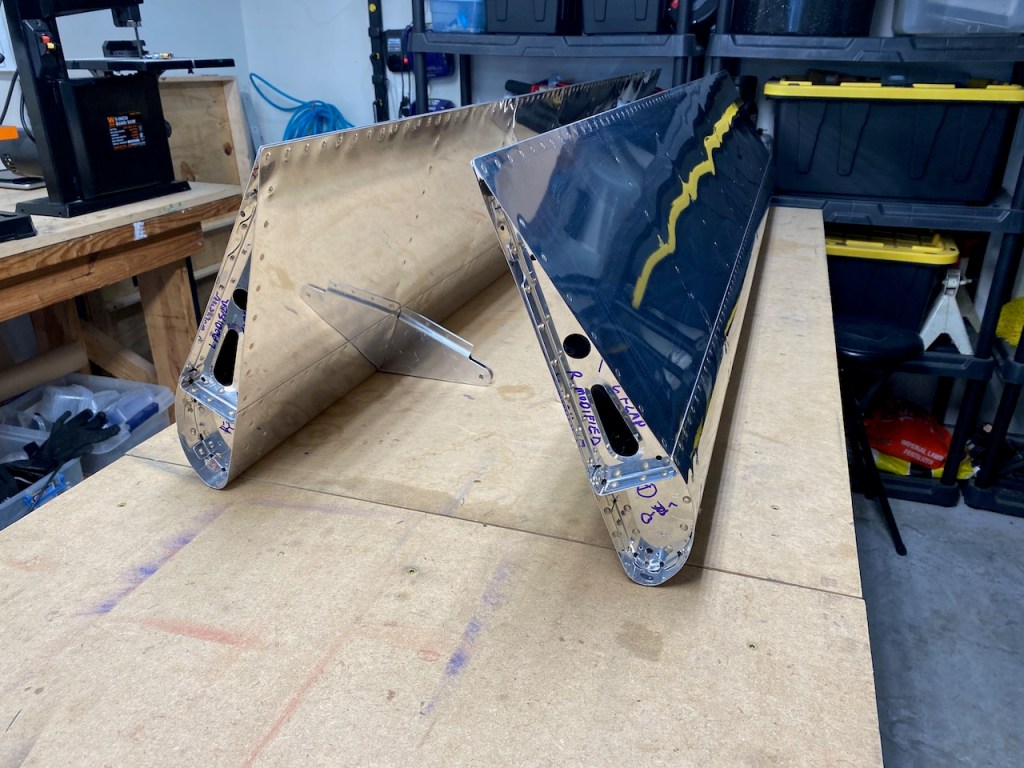
Two completed and straight flaps were the result of all this work. I now see that I didn’t get any photos of the trailing edge riveting. Hopefully I can make this up to you by taking more photos of the aileron trailing edges.
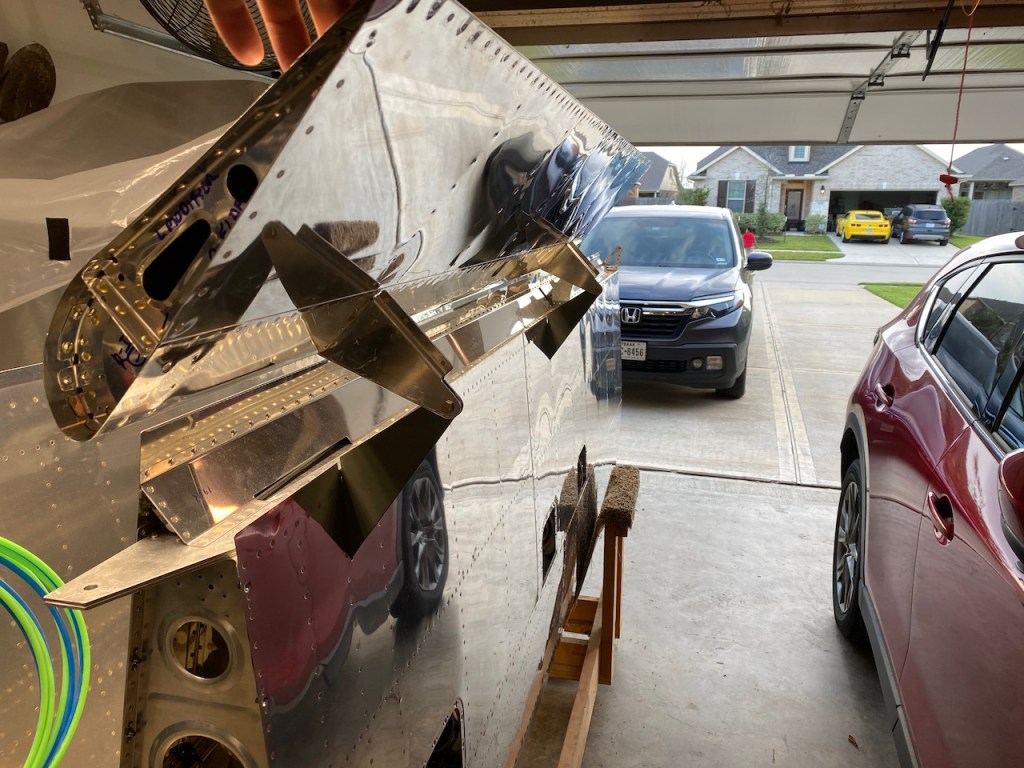
I will do more of this after the ailerons but I did a quick test fit of the flaps on the wing, and all looks good.

I have lots of admiration for you and your craft. Happy Happy Independence Day. I pray for your safety and well being
Thanks Randy. This is a lot of fun for sure.