

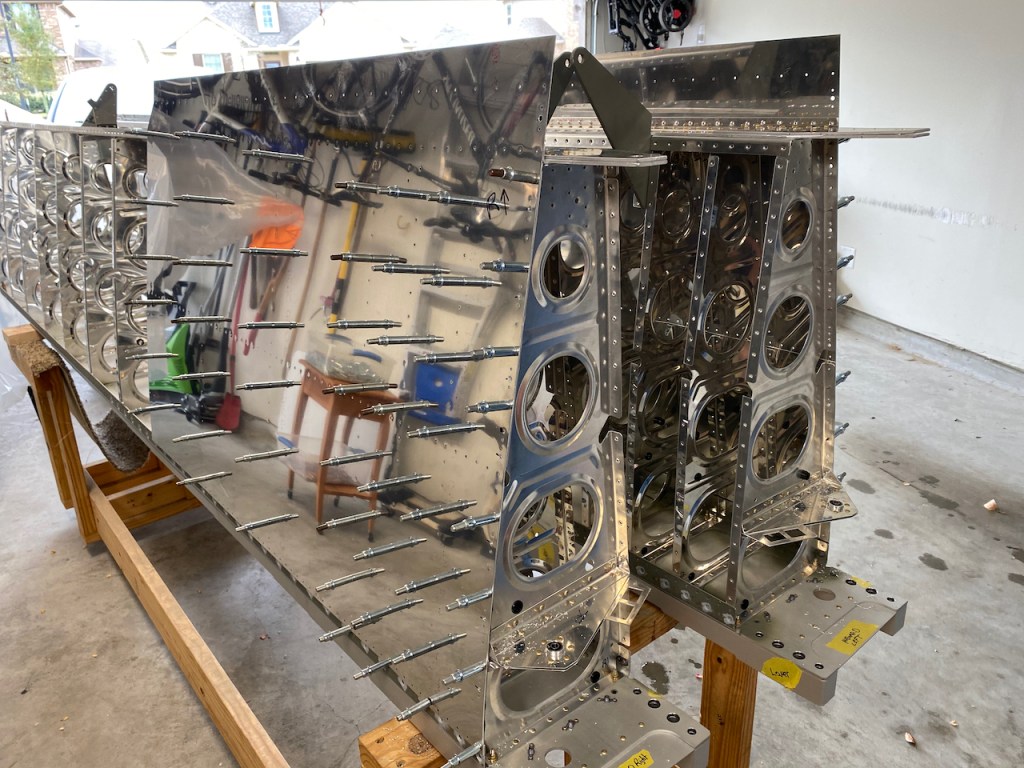
This section of the plans only covered 3 pages but the density of the work was probably the highest so far. Section 16 is attaching the top skins, essentially 2 large sheets of aluminum, to the framework completed in Section 15.
I did a rough estimate of the number of rivets, and it totaled about 633 rivets for each wing. I utilized the back rivet method as suggested by Vans, and I have to say, the results were very good. I am happy with the results, and I think these rivets will be most noticeable, which is a good thing, to whoever looks at the airplane down the road.
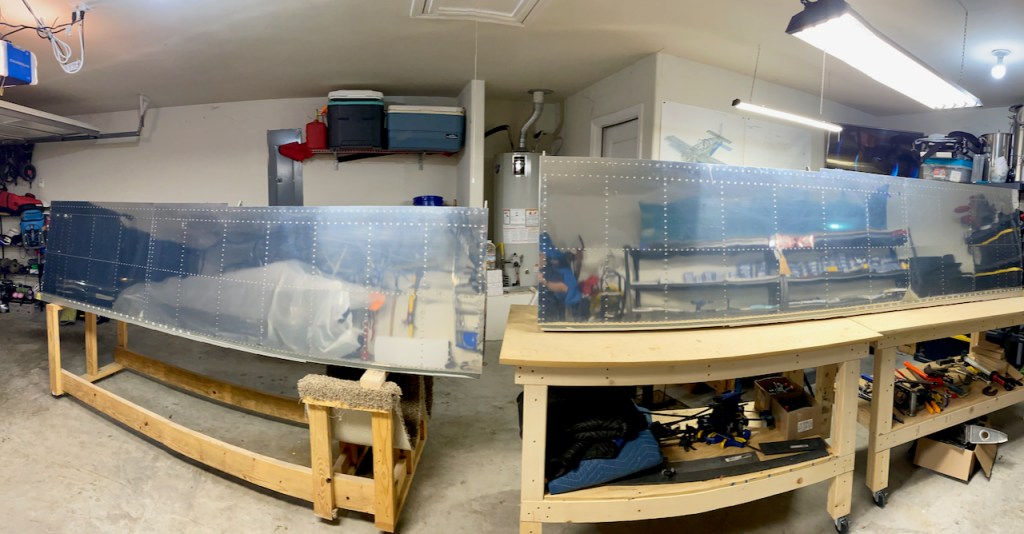
Each wing was done separately. I basically finished the majority of one wing and went on to the next.
Before riveting, both sections of the skin were laid out, deburred, and then dimpled.
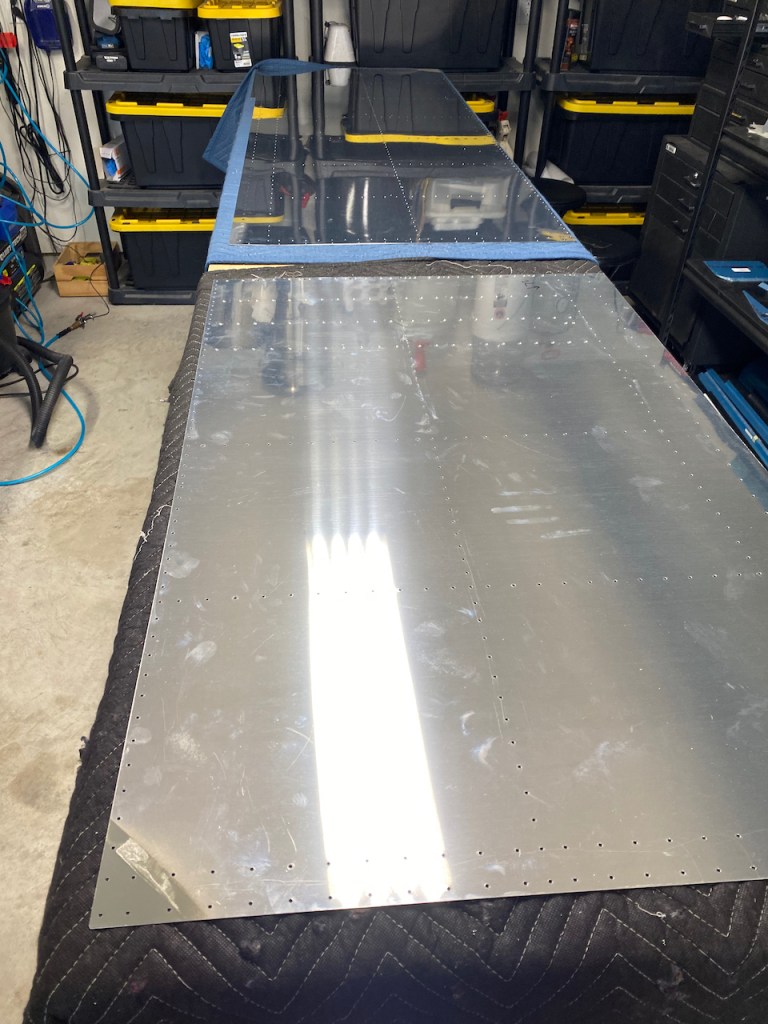

Then, of course, the skins were cleco’d to the ribs and spars prepared previously.
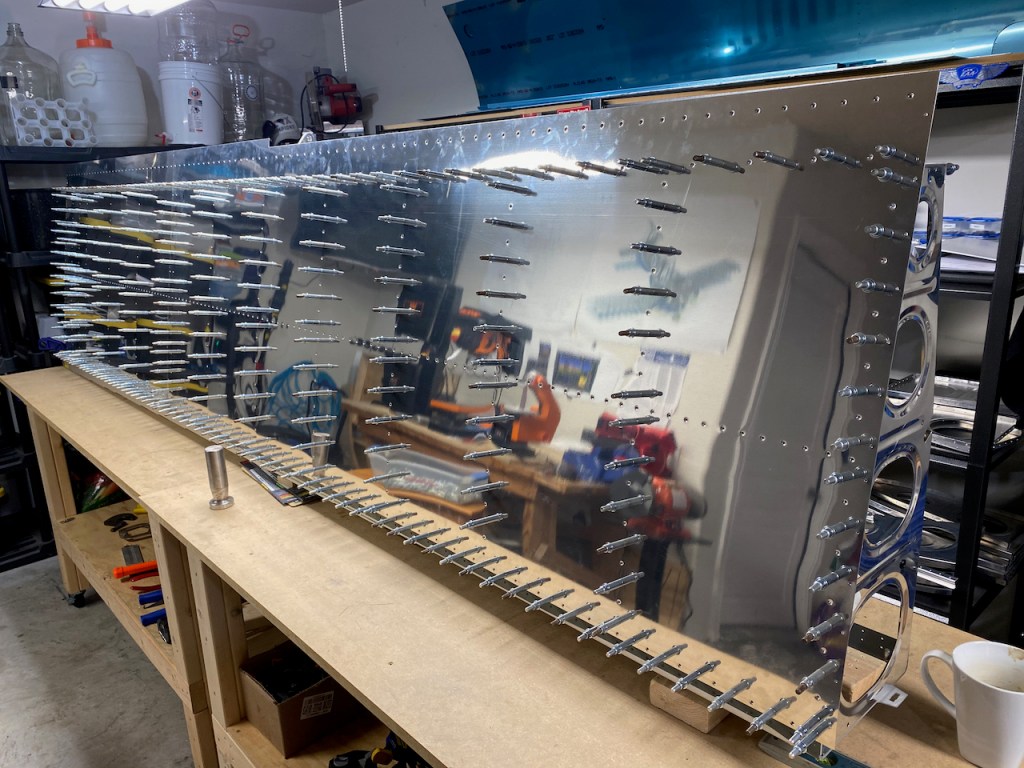
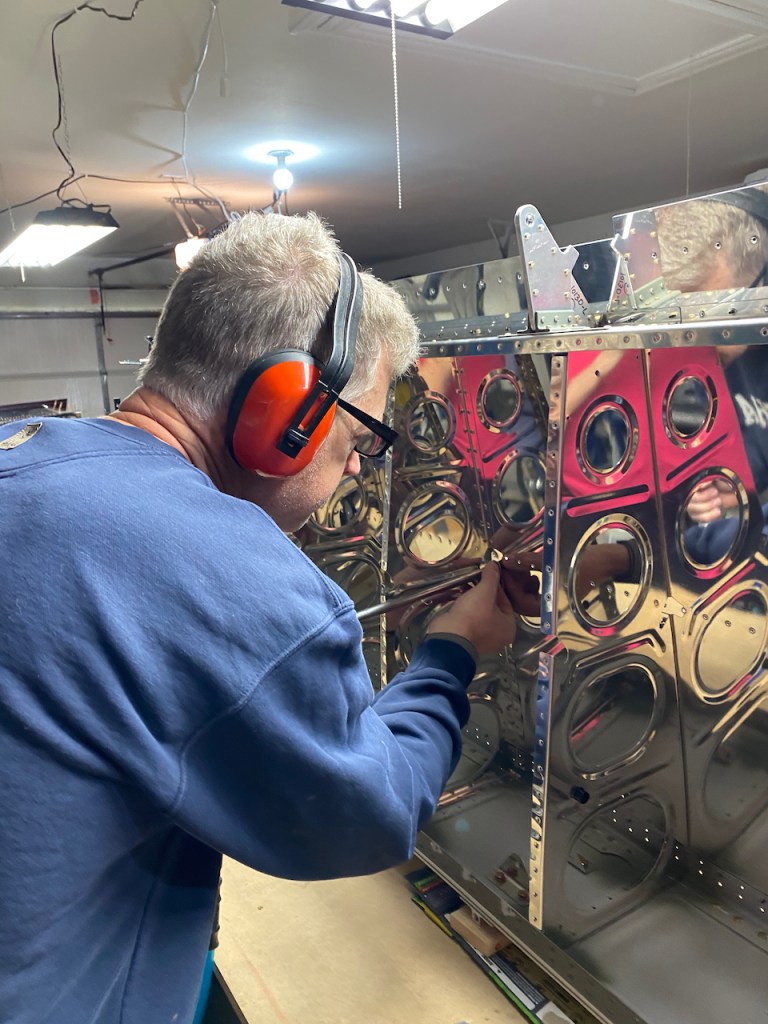
The back riveting was accomplished with the use of a 12″ Backriveting tool attached to the rivet gun. The bucking partner was on the other side using a big mushroom shaped bucking bar. Their job was easy: just hold the bucking bar and insert the next rivet.
This method seemed to work fairly well. We were able to complete most of the wing, about 1266 rivets, with only about 20 or so needing to be drilled out and redone. I think that was a pretty decent percentage of success.

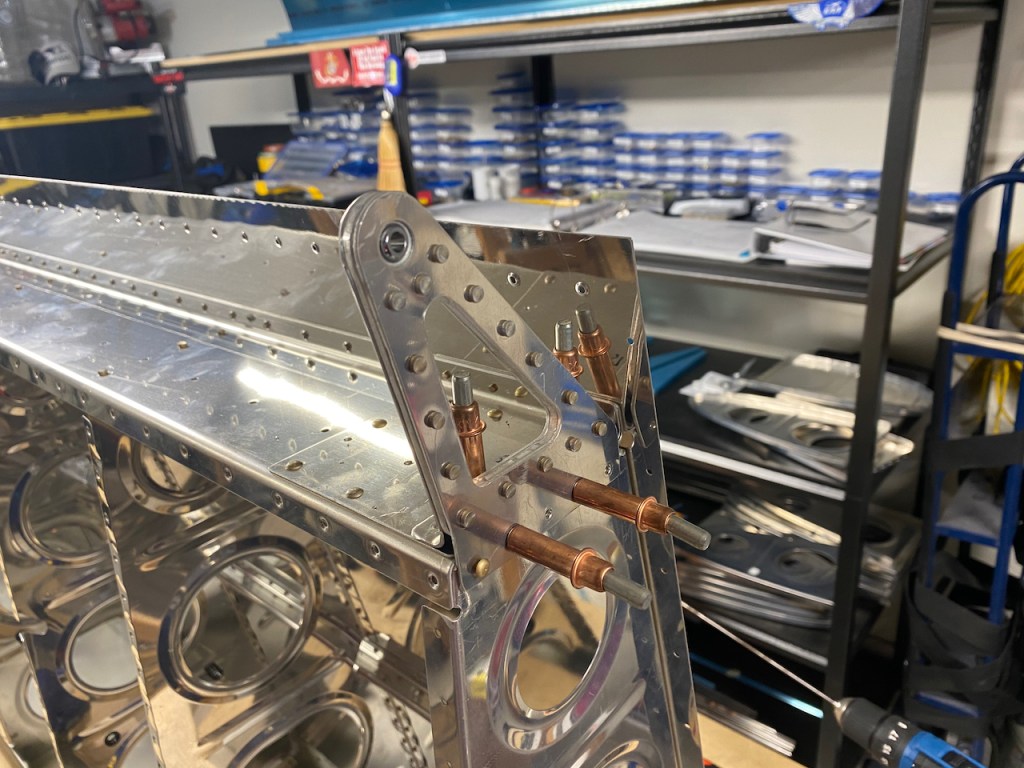
After the skins were riveted, the remaining aileron hinge brackets were riveted to the outboard section of the wing.
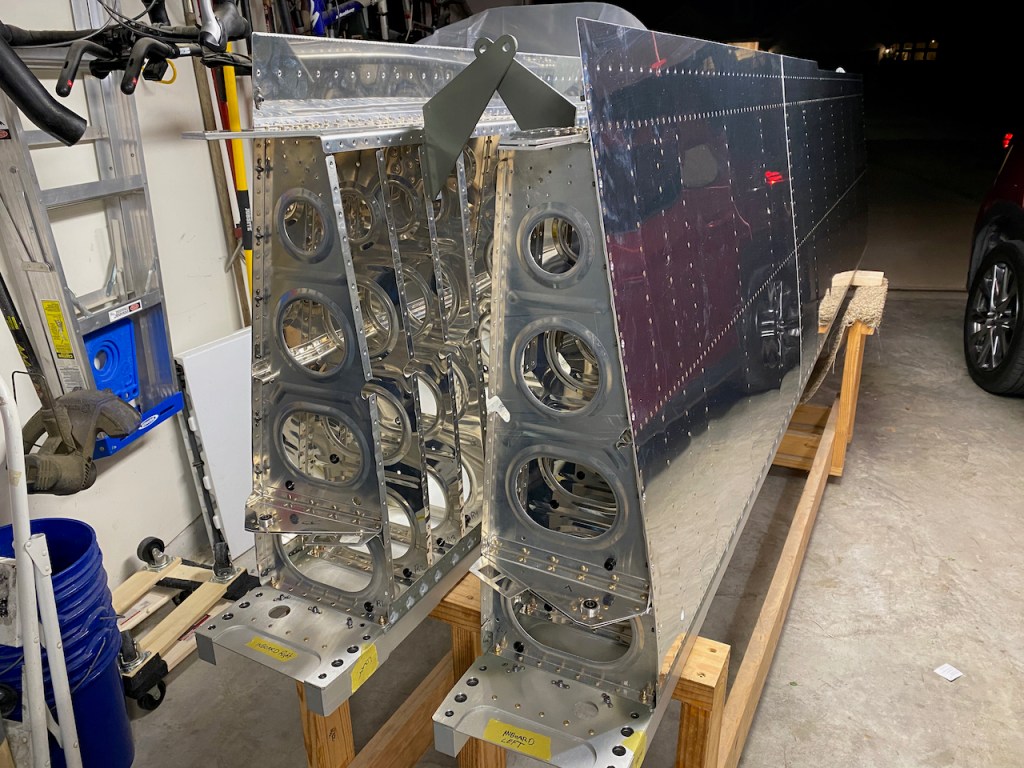
Two nice looking sections of wings are now safely stored in the garage. It is on to assembling the leading edges, and then the fuel tanks (uggh).

Astounding, absolutely astounding.I love looking at this and visualizing the focus and sense of accomplishment. Proud to know you. Happy birthday