This section consisted of 3 pages so I thought I would be able to crank this out over a weekend. Well, I always seem to forget the 6 cardinal rules of building an airplane:
1. deburr edges
2. cleco everything together
3. match drill and/or final drill
4. take everything apart
5. deburr all the holes
6. cleco everything back together
All of the above may take up one sentence in each section of the plans but these probably take up 80% of the total build time.
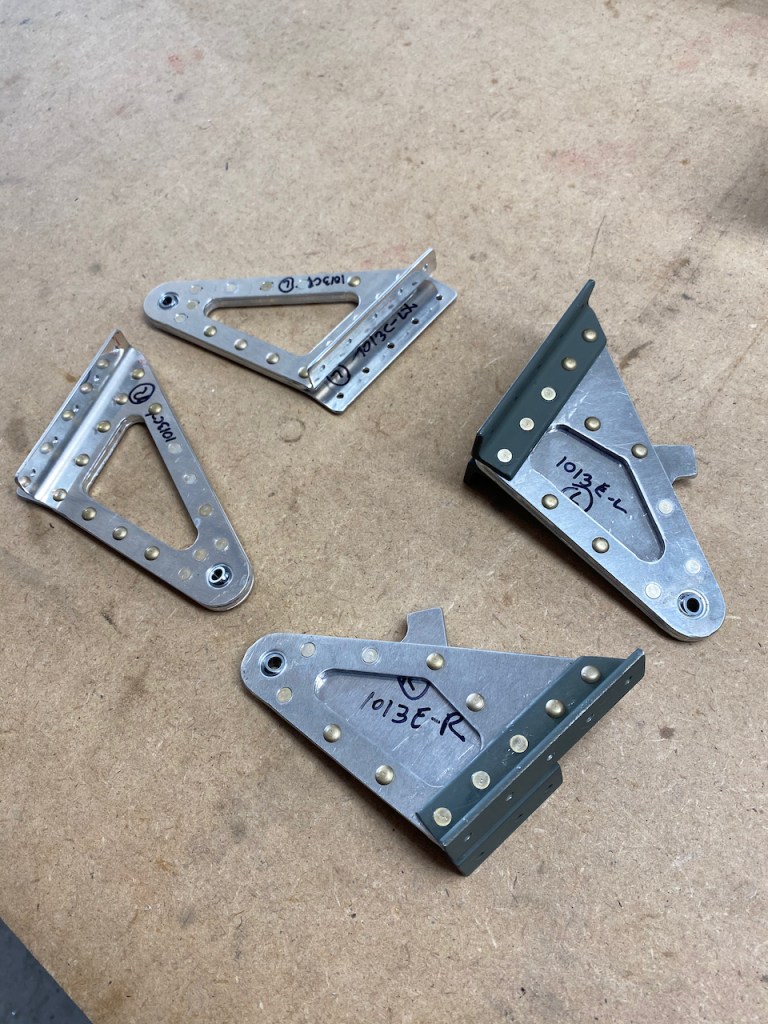
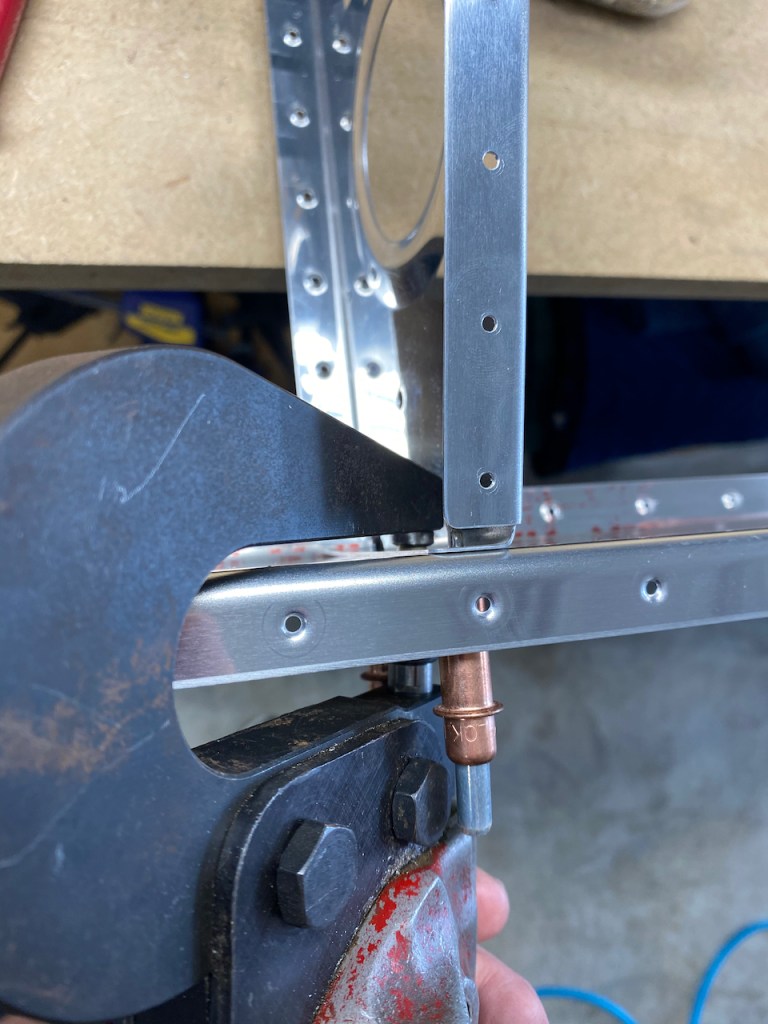
The first task (in the middle of the above) was to figure out the assembly of the inner and outer aileron brackets. The inner brackets (with the green primer on the doublers below) were from a Service Bulletin that Van’s put out to address cracking of rivet holes in the rear spar. The service bulletin basically dealt with how to remove the old brackets from a finished airplane, assemble new ones, and then install on to the spar. When building new, it is up to the builder to figure out what steps to ignore (finished airplane) and what steps to do (new build). After a lot of head scratching, I think I figured it all out.
The rear spars had 3 doublers each that required final drilling and match drilling and countersinking along the flange. One doubler required one to remove material in a sort of oval shape that match the hole already drilled in the spar. Each section of the build seems to add one more skill or tool to the mix.
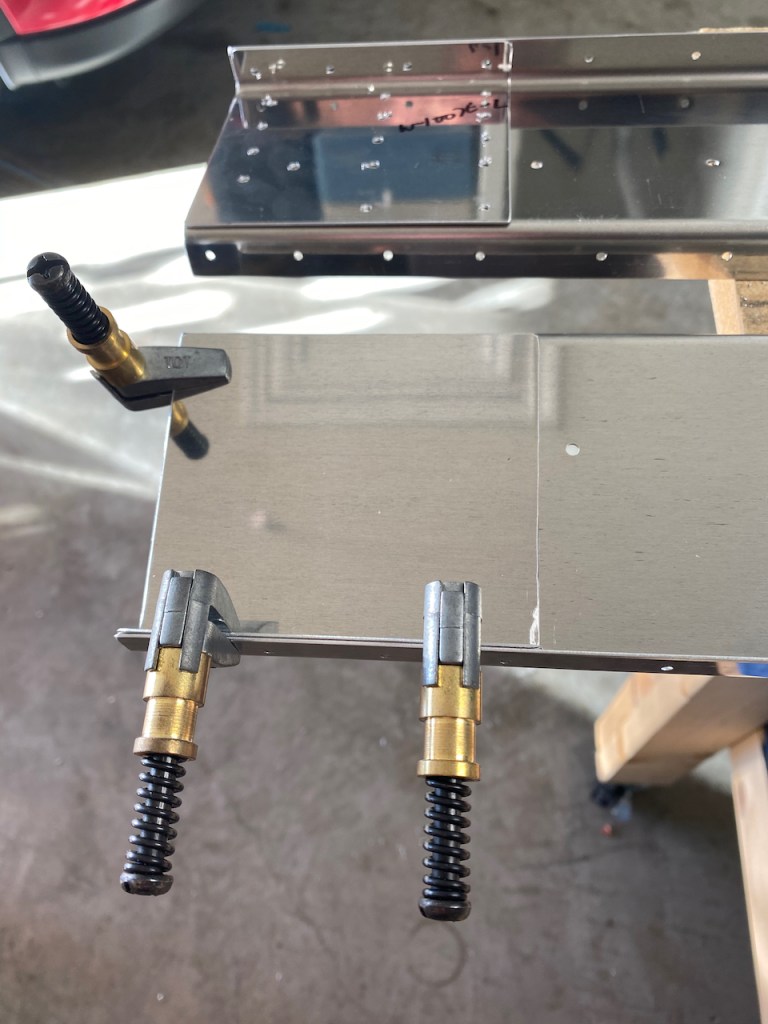

After the first 5 Cardinal Rules were met, it was time for #6. Cleco all the doublers back on to the spar including two very thick doublers next to the inboard end of the rear spar.
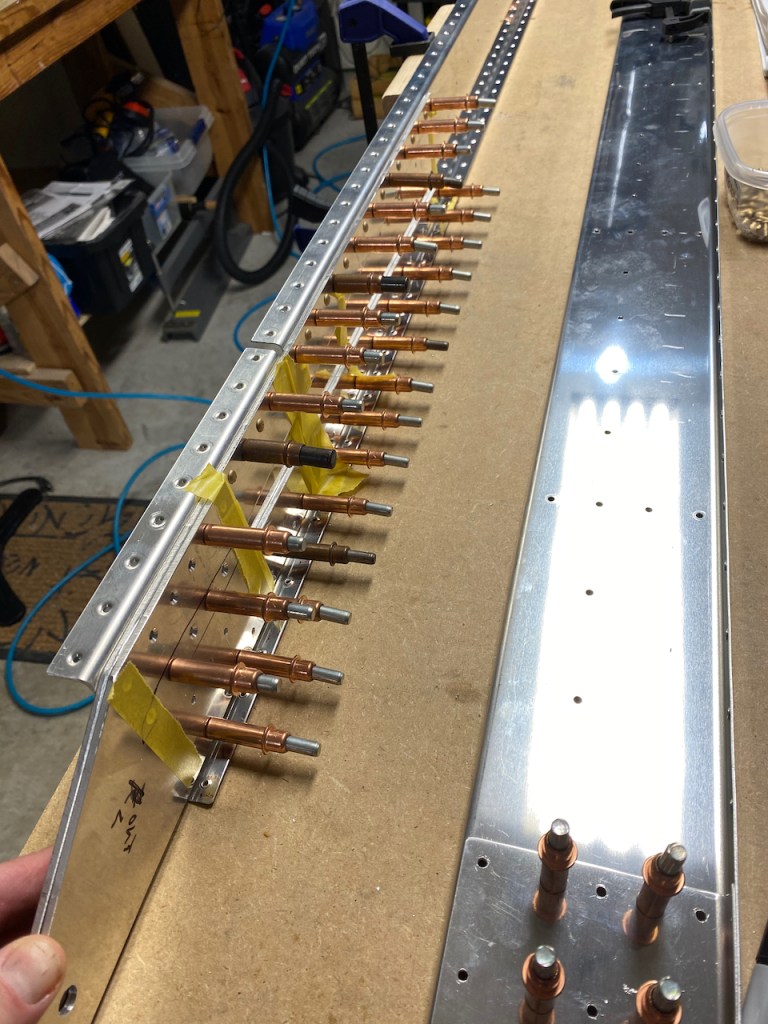
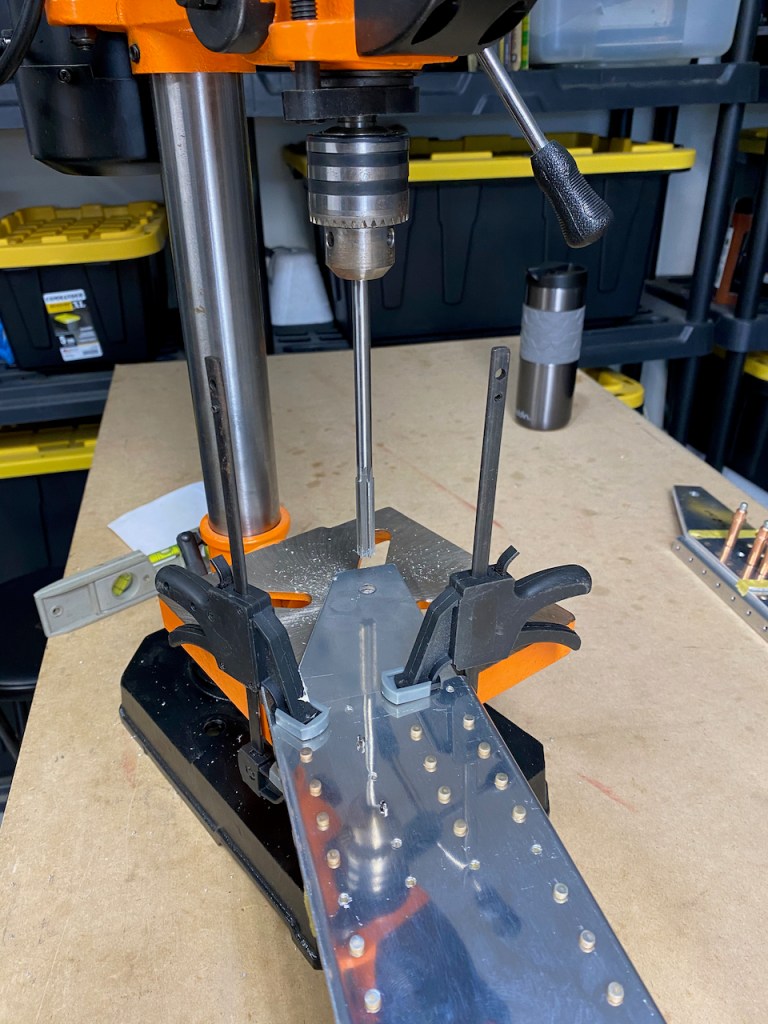
Then it was time for the new tool of the section. That is, using a 3/8 Reamer to drill out a hole at the inboard end of the spar. This hole was deemed “critical”.
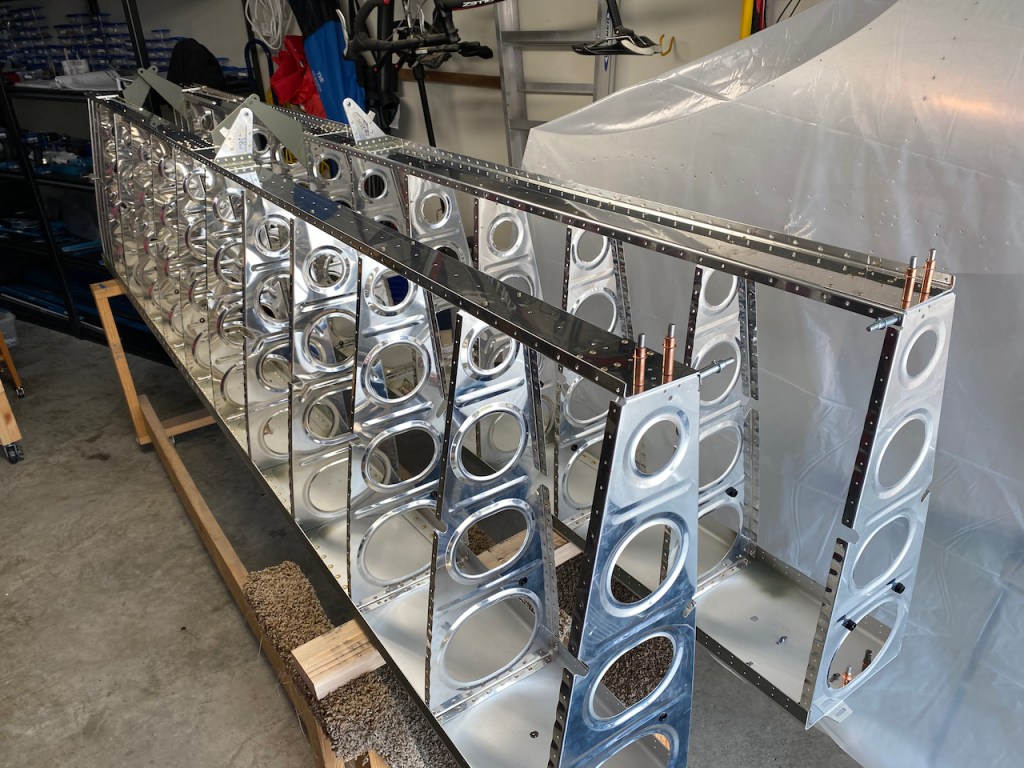
Then it was on to cleco’ing each rear spar to the Wing Rib assembly.
A few hours were spent installing rivets between each of the 14 ribs and the spar. Each rib required at least 3 rivets. Most could be installed with the squeezer but some required bucking. Make note that if you ever look closely at the build, you will see some rivets facing opposite direction than some adjacent rivets. I did this due to a better method of riveting in that particular place. I went for function and secure riveting over everything looking exactly the same.
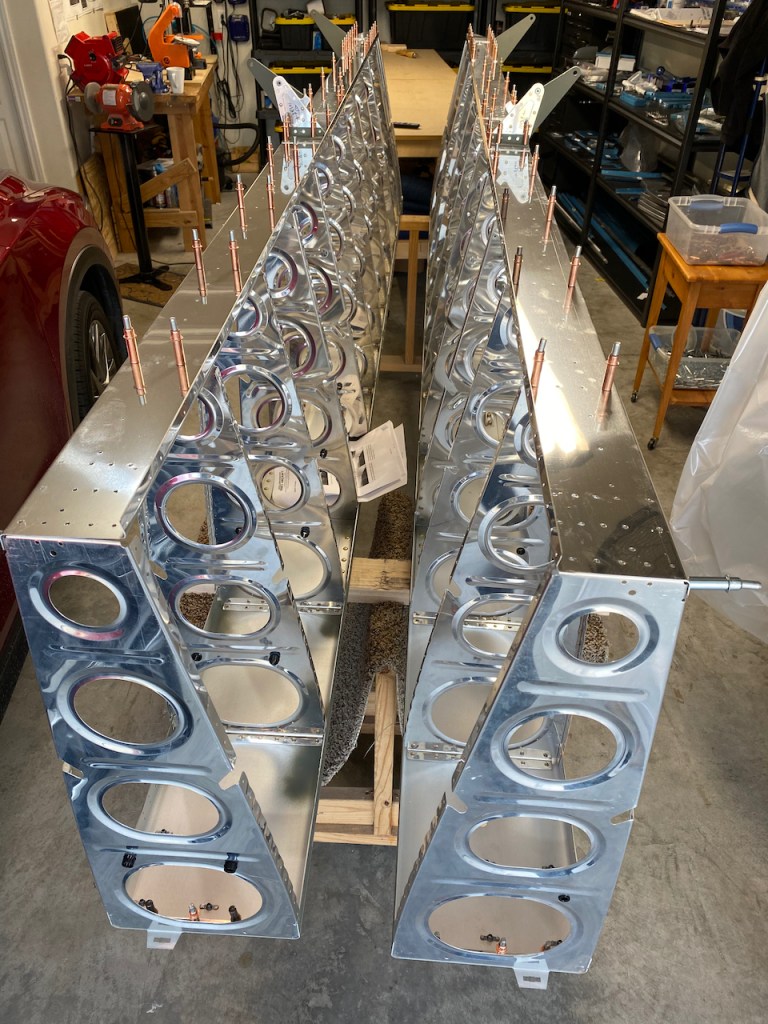
At the end of the session, I had two middle sections of the wings ready for skins. On to more (much more ) 6 Cardinal Rules of Building.