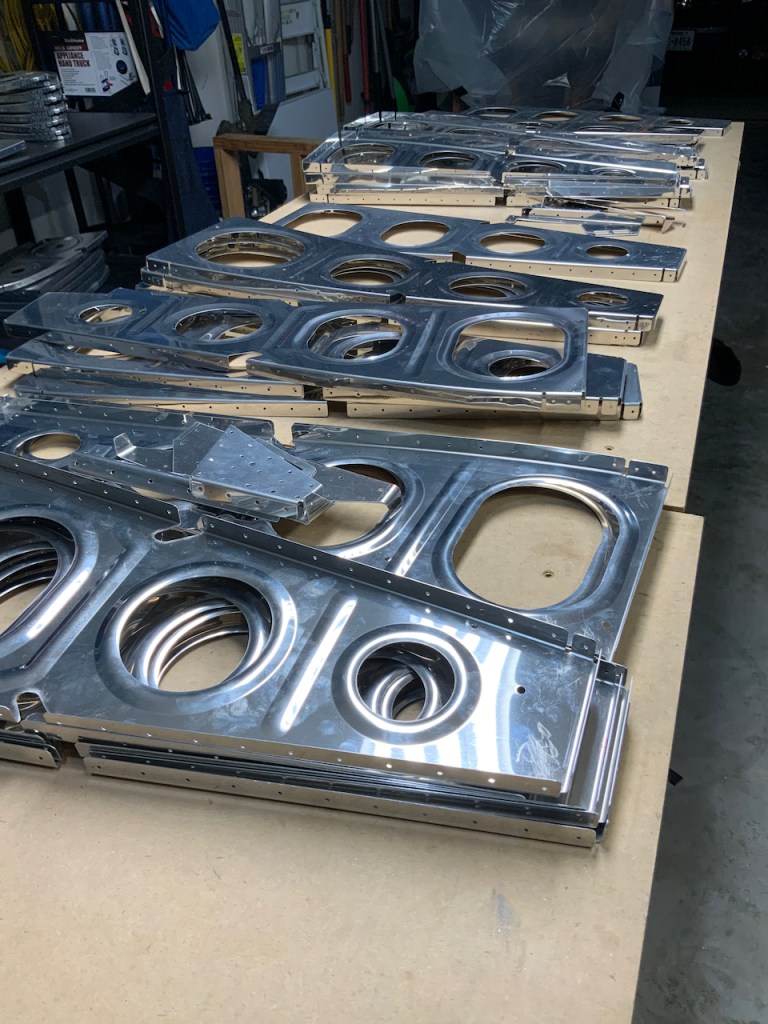
This was one of those sections where it seemed like you do a ton of work but nothing seems to get done and then everything seems to be done at once. The ton of work was due to the deburring of all these wing ribs – 28 of them. I tried various methods including “flossing” the nooks and crannies with sand paper but finally found some 3M Scotch-brite attachments for my Dremel tool which made for much easier going.
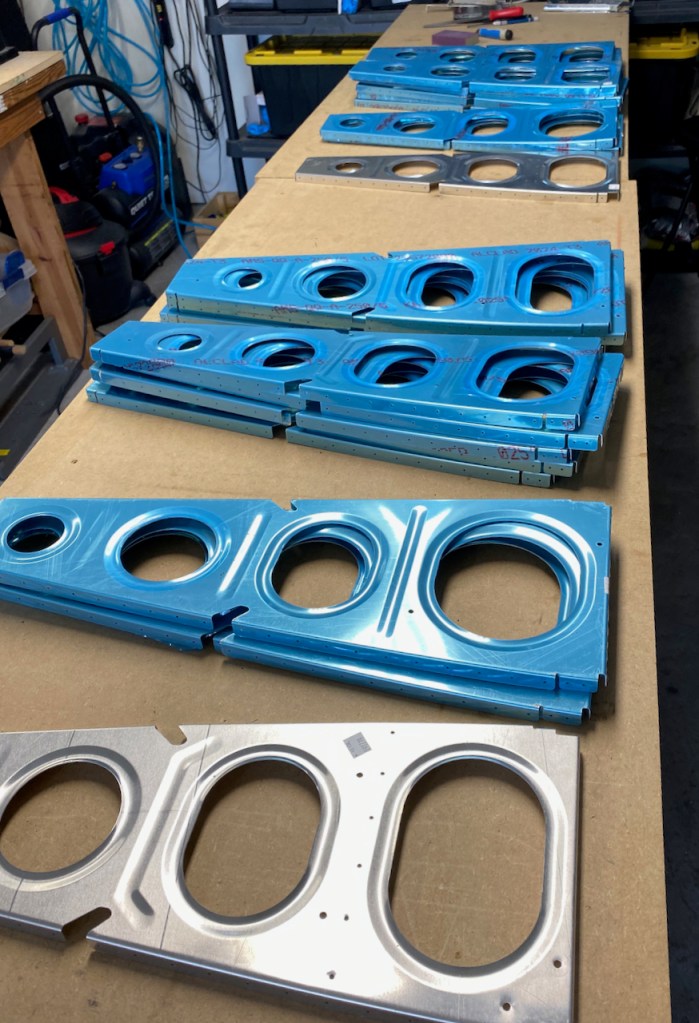
First step of course, was removing all the blue vinyl covering from the ribs.
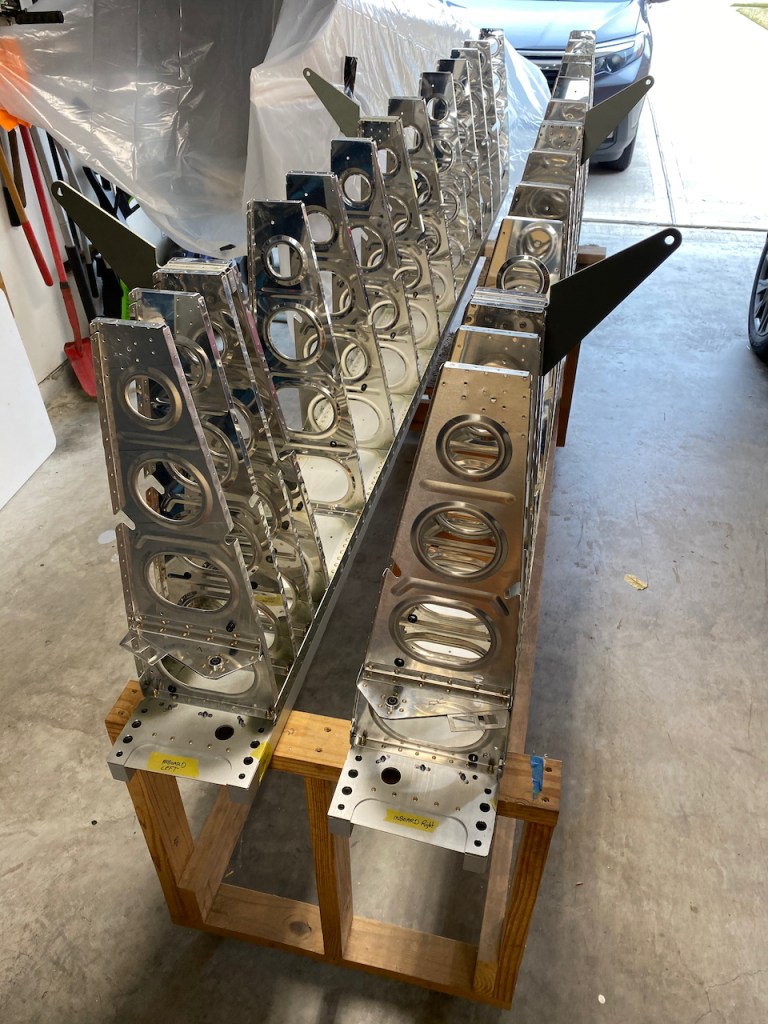
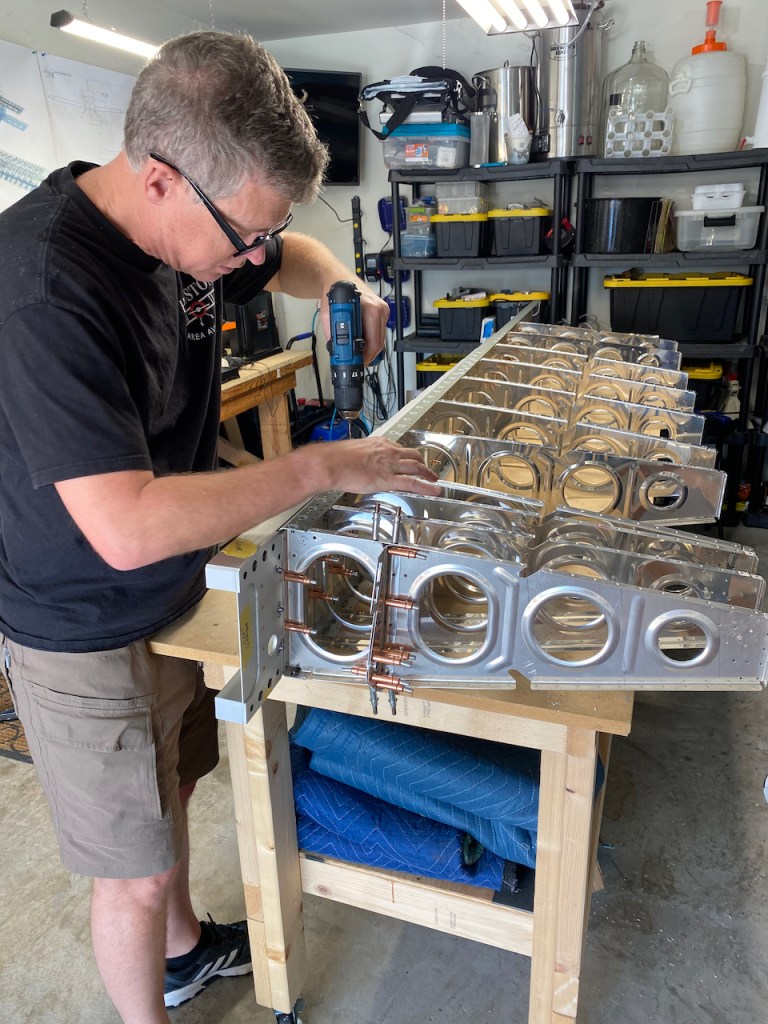
Then it was deburring all the holes, lightening holes, edges, and areas between the flanges. Then it was off to sorting the ribs into two piles of 14 each. Oh, by the way, the ribs labeled left and the ribs labeled right did not necessarily mean they went respectively on the left and right wing. It had to do with how the flanges face relative to the center of the airplane. Yeah, confusing. It took a while with much head scratching and pondering to figure this out.
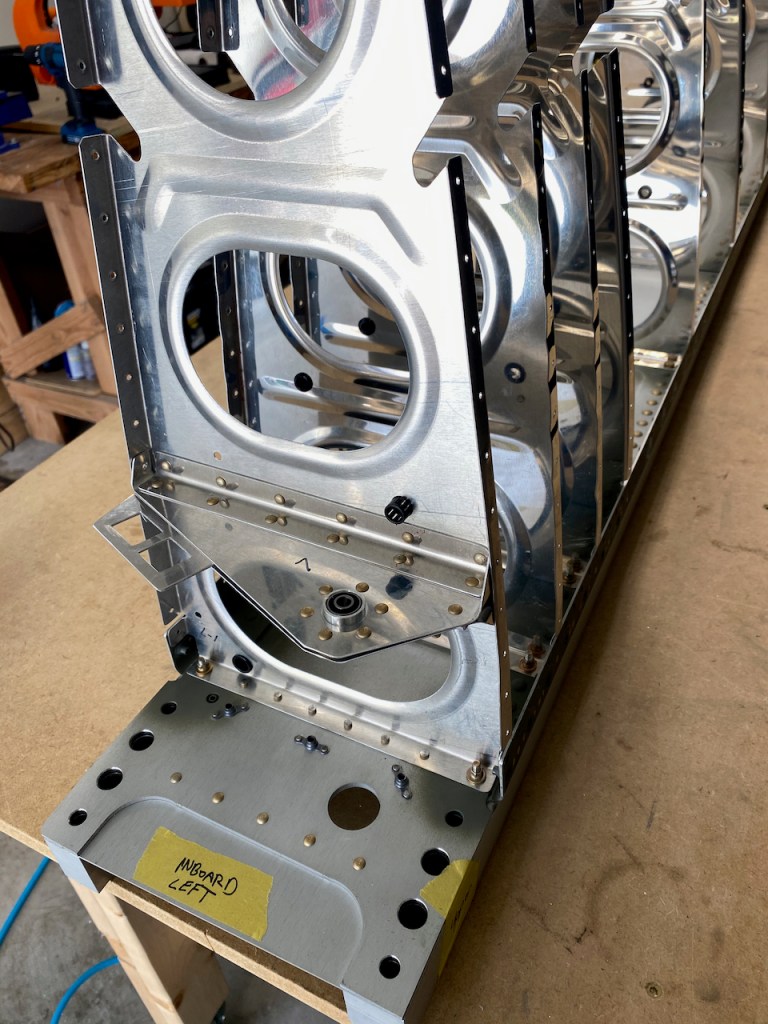
This shows one of the wings with ribs arranged correctly. At this point it was merely a matter of match drilling the rib to spar holes, and then it was on to riveting.
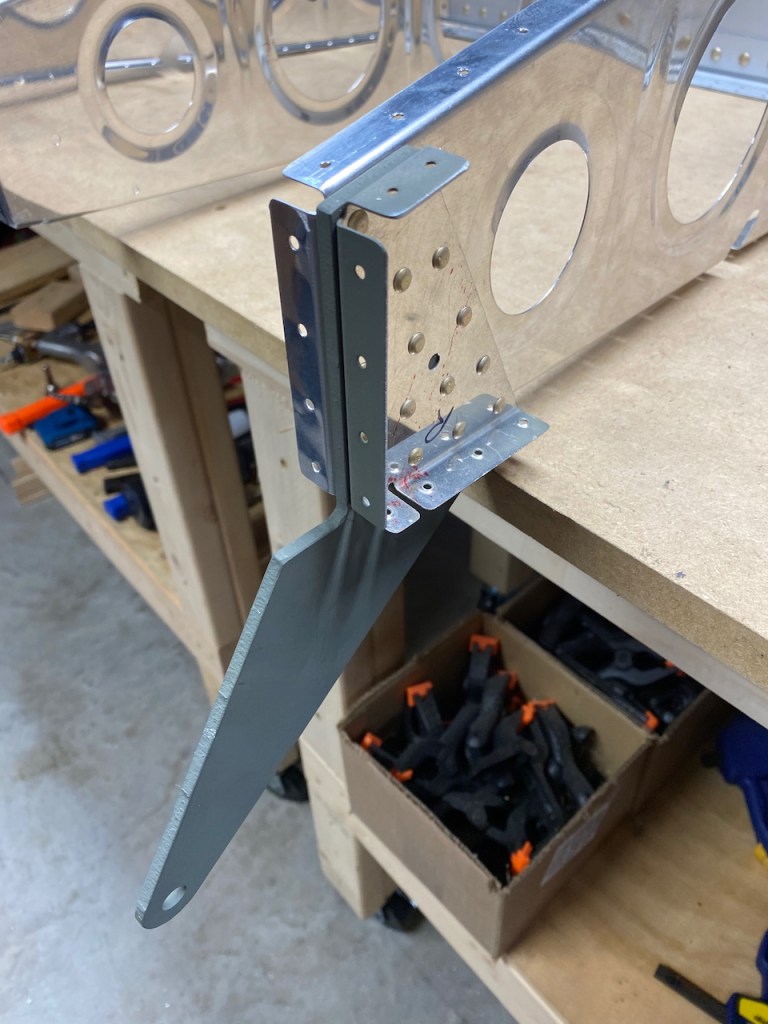
A couple of the ribs had Flap Hinge Brackets attached. These required priming due to the nature of the type of aluminum.
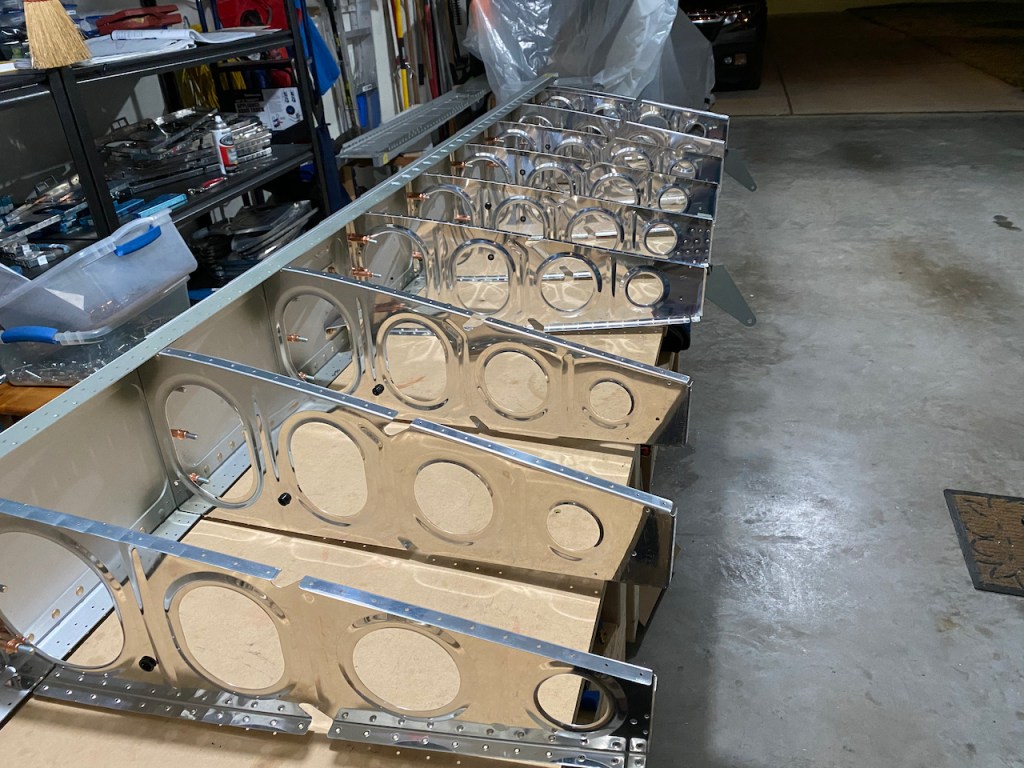
Both wings were completed separately but at the end of the day, well, a few days, a couple of wings are ready for the next step.