
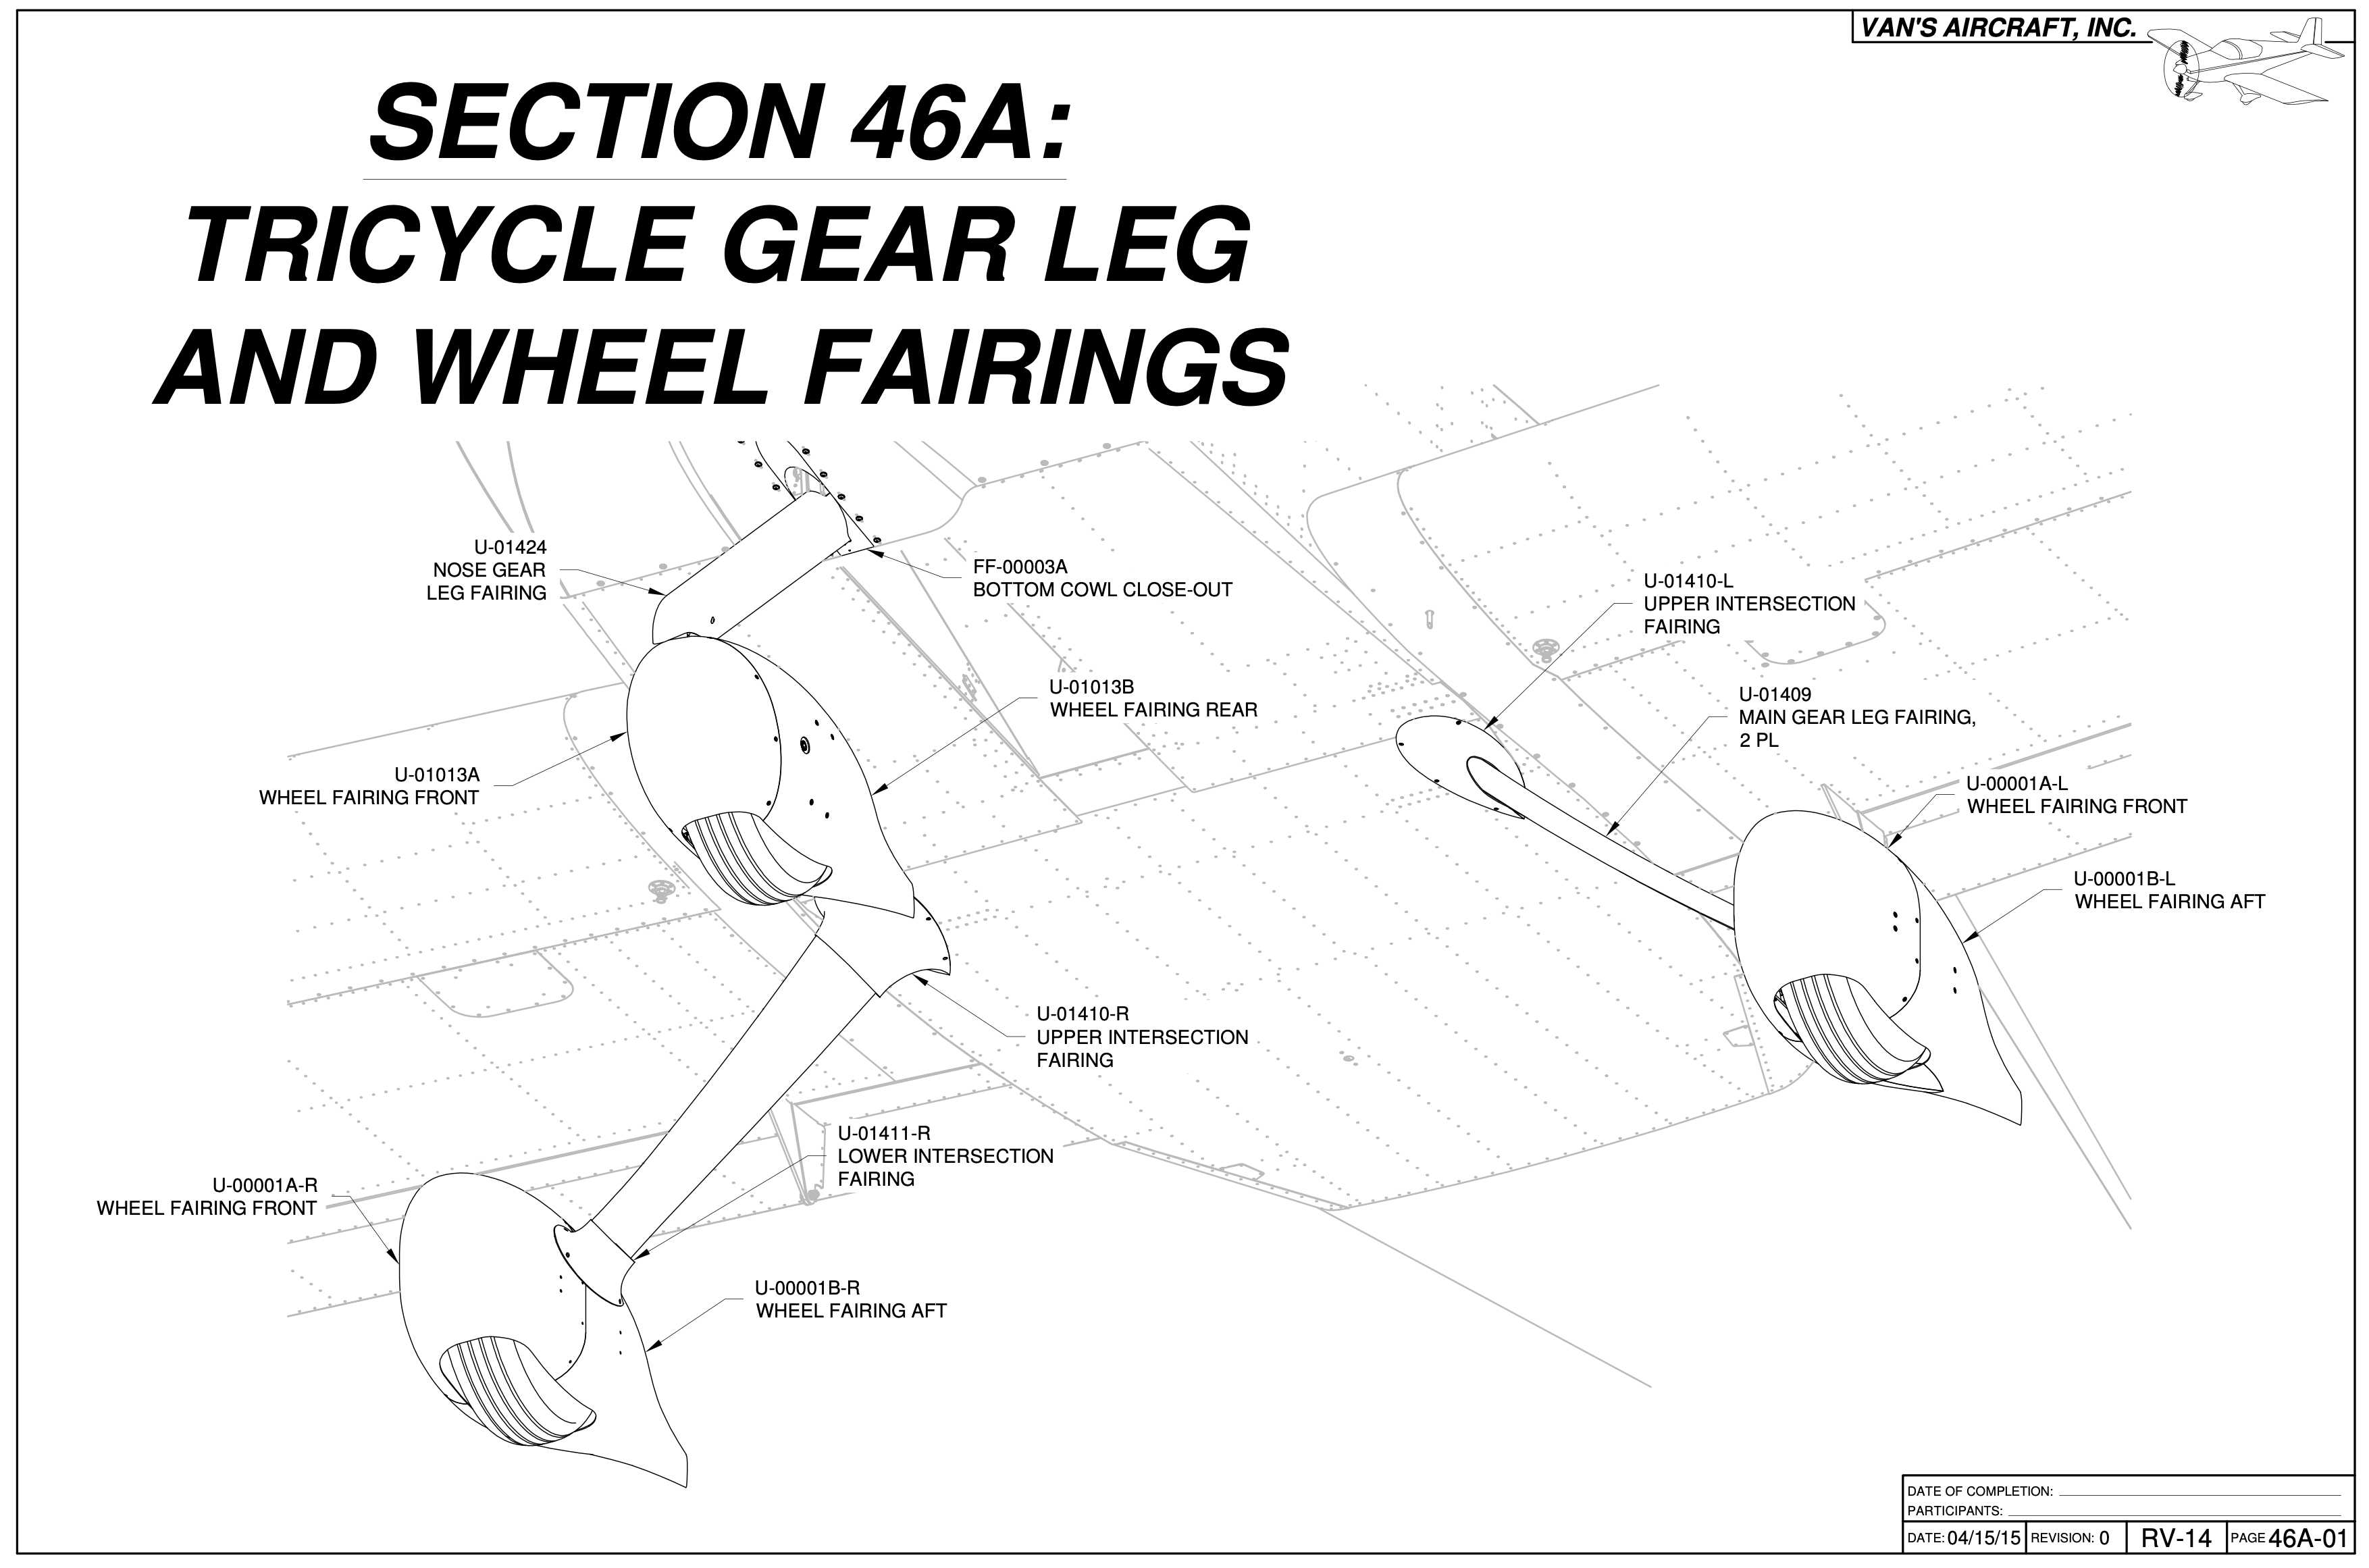
Yeah, yeah, yeah, it has been a while since I posted and update. A few things have happened, namely a certain wedding of a certain daughter but that is just excuses excuses. Anyway, a few weeks ago, I mostly completed this section which has taken several months from start to finish. Actually, this was one of the more labor intensive parts of the kit.
This section consisted of attaching the wheel fairings and leg fairings. I lost count how many times the parts went on and then came off during the fitting process.
The wheel pants apparently add about 10kts of airspeed due to their streamlining effect. Plus they give the airplane a more finished look.
The first task was to fit the forward and rear halves together to ensure proper fit.
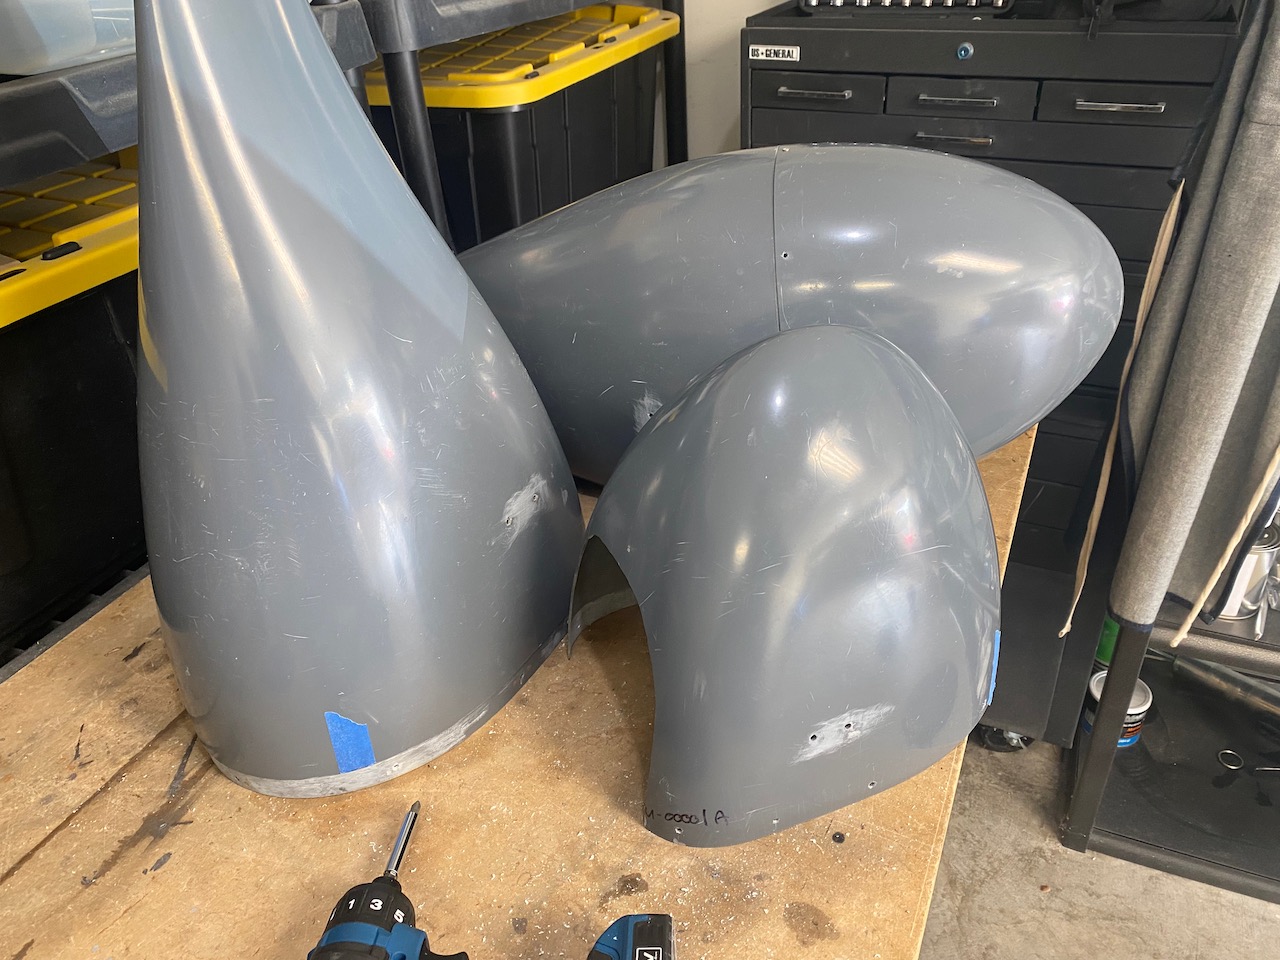
The idea is to have a minimal gap between the halves when all is done. Well, all is done, and the gap is not exactly what I like. I will be coming back with some Bondo and a lot of sanding to clean up the fit.
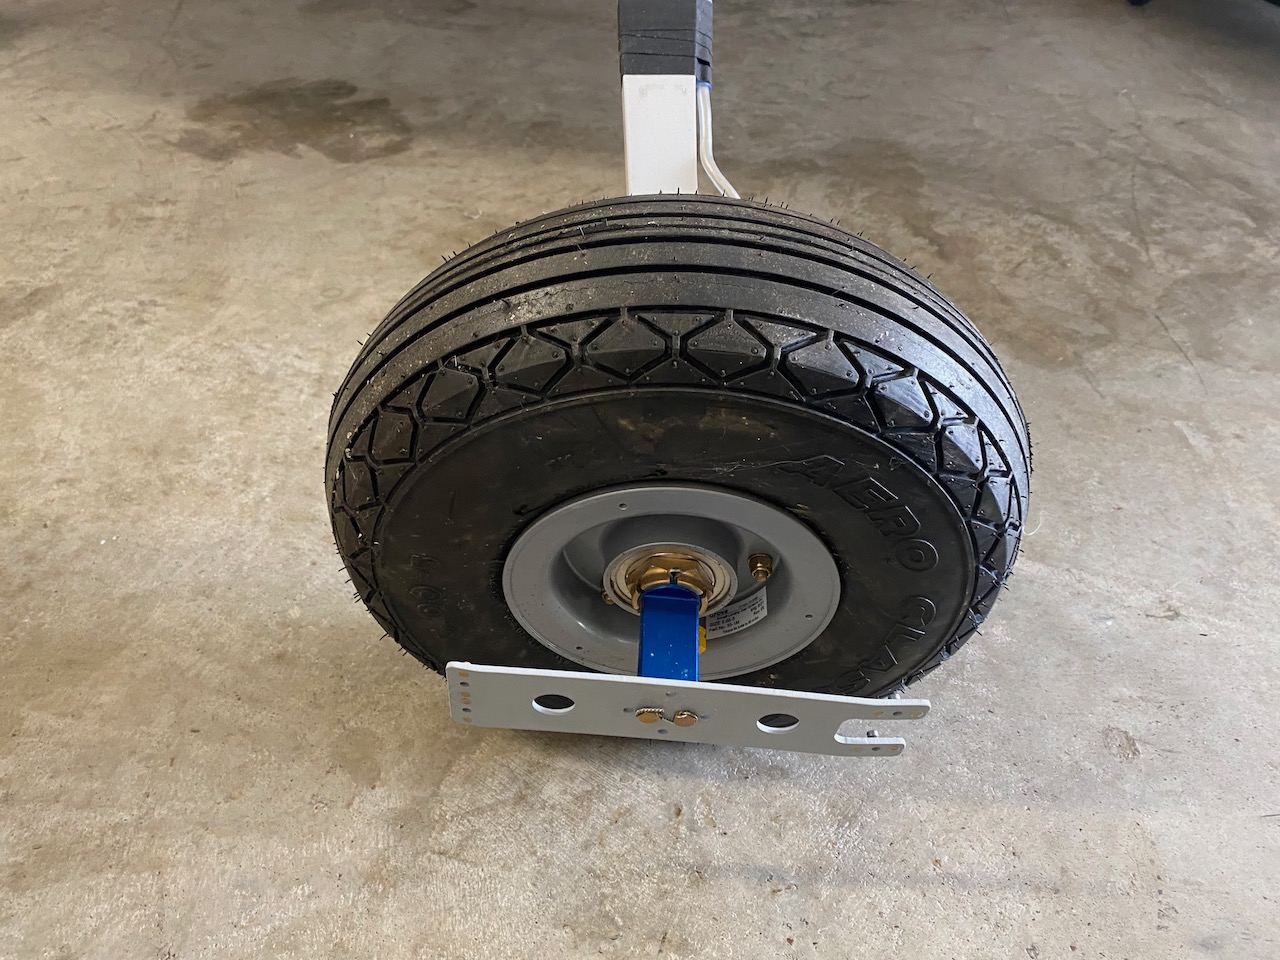
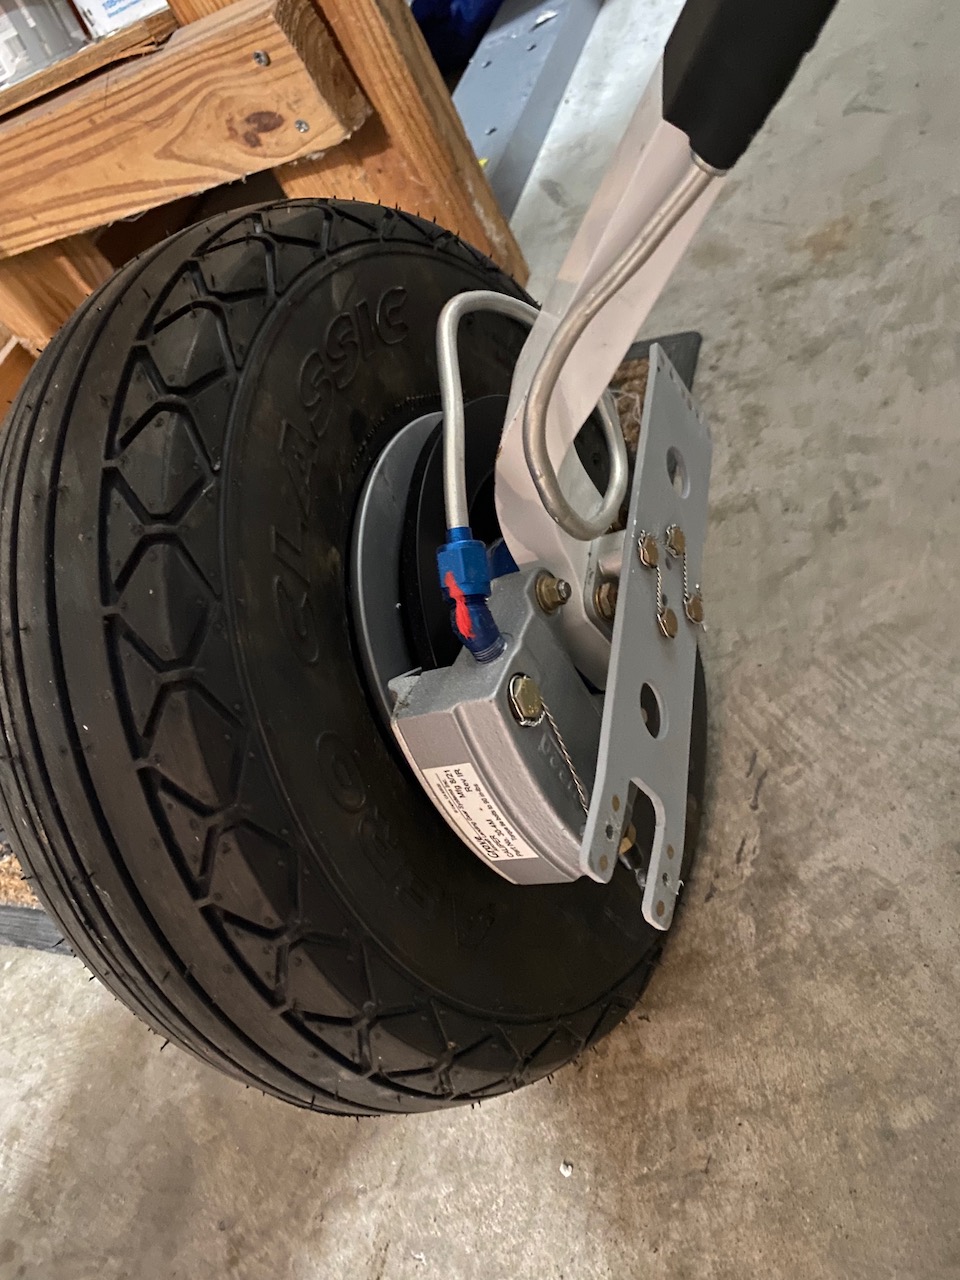
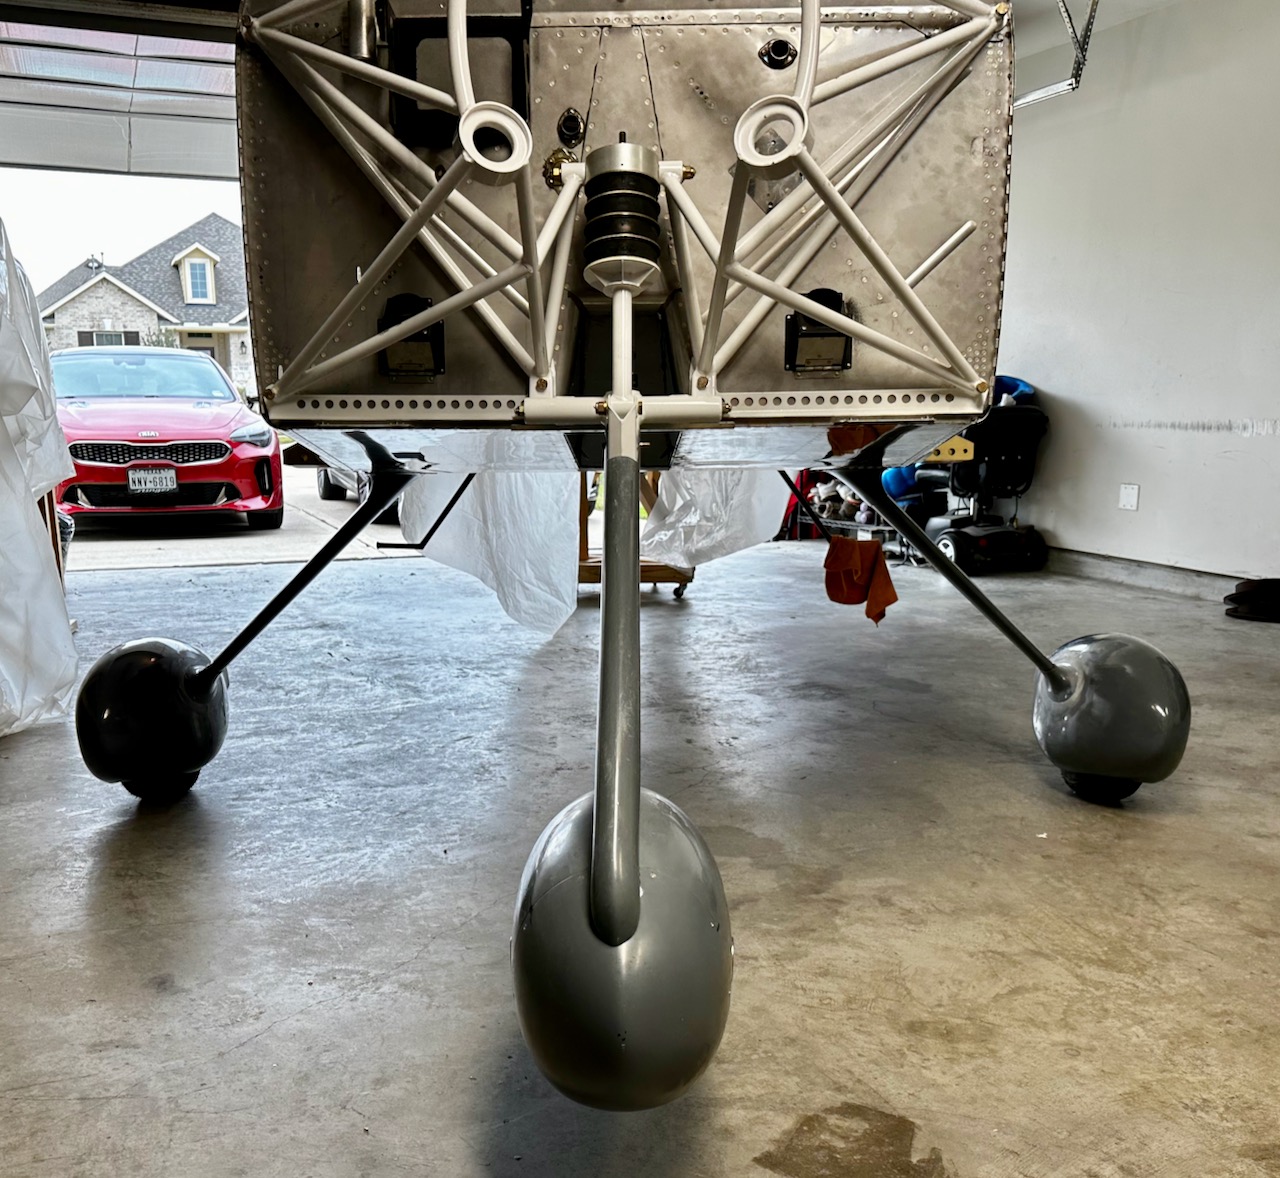
To attach the main wheel pants to the main gear. Brackets are added to both sides of the wheels.
The nose gear pants are shaped a bit different (I would like to point out that these fiberglass parts are part of the kit. I am not required to make these parts thankfully).
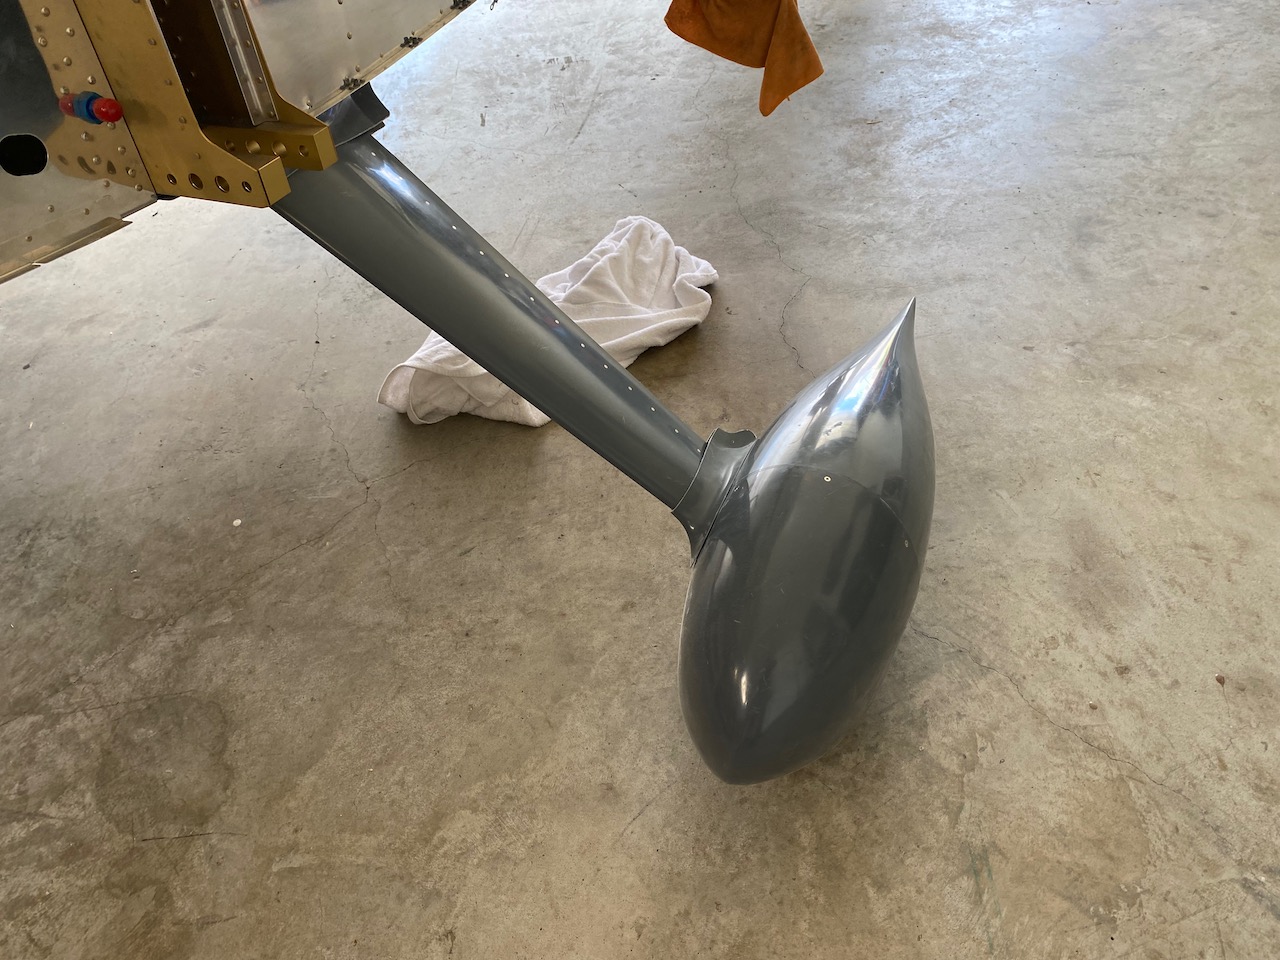
The nose wheel pants are attached a bit differently than the mains using a very heavy duty machined piece of aluminum.

I should point out that the nose gear is free to rotate side to side. The airplane uses differential braking to steer on the ground.

At this year’s Oshkosh, it became an essential purchase to buy these aftermarket tow bar protective rings. The tow bar will be inserted into the holes on either side of the nose wheel pant, and the protective rings will hopefully prevent damage to the fiberglass.
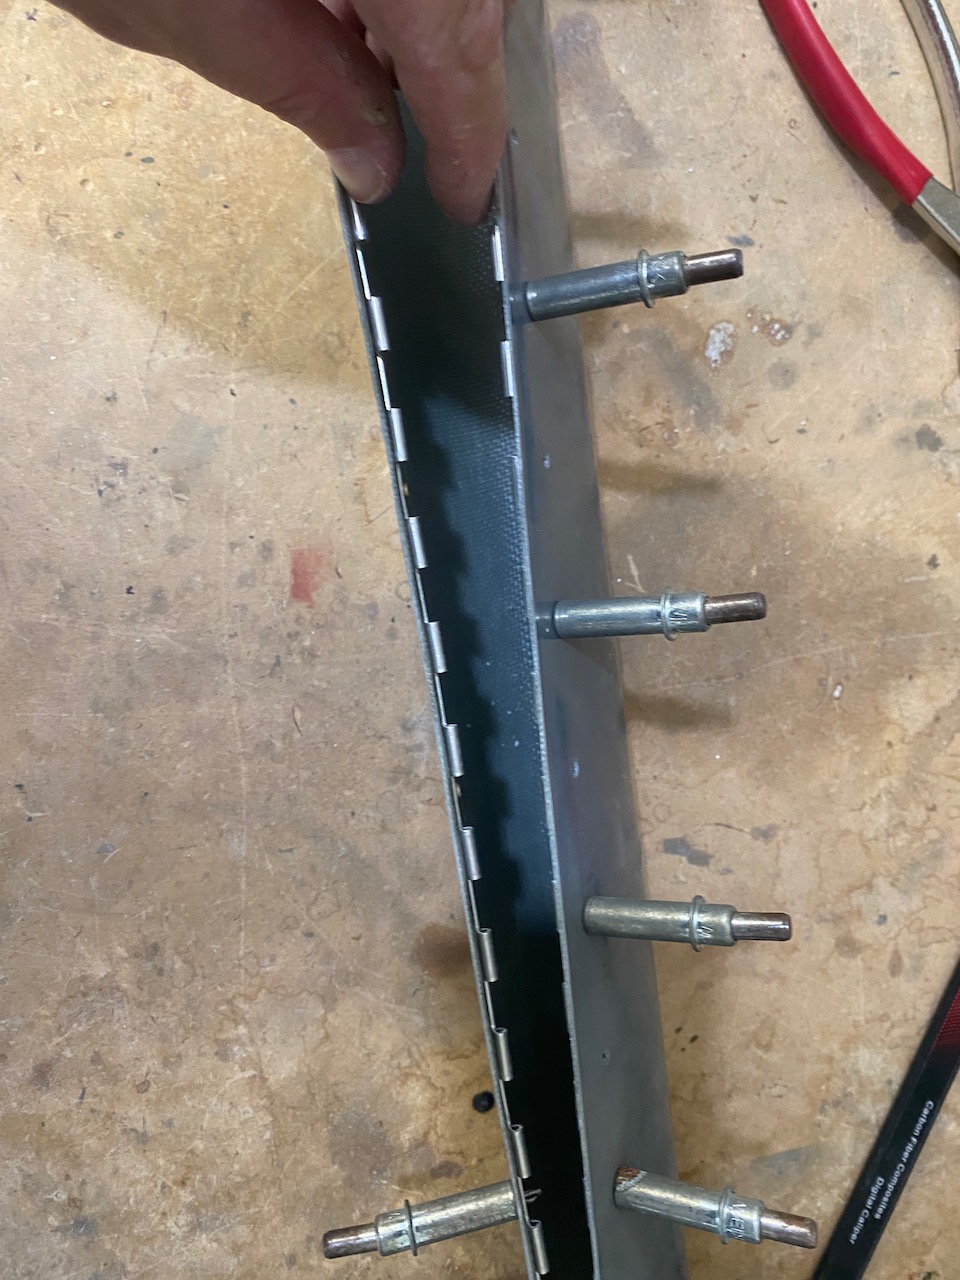
The nose leg fairing is prepared using a piano hinge in order to hold the aft edges together after it is slipped over the leg. The hinge rod is inserted (not very easily) into the hinge from the top.

The main leg fairings go together much the same way. In addition, there are fairings that attach to the bottom of the fuselage and to the wheel pants at each end of the leg fairings.

I am very much simplifying the process with this explanation but the wheel pant fairings are then formed to the wheel pants with fiberglass epoxy (and flox), and then everything is sanded smooth. Well, at least that is the idea.

The white cloth type stuff is peel ply. It is put over the top of wet epoxy to make a smoother finish. Still, a ton of sanding was required.
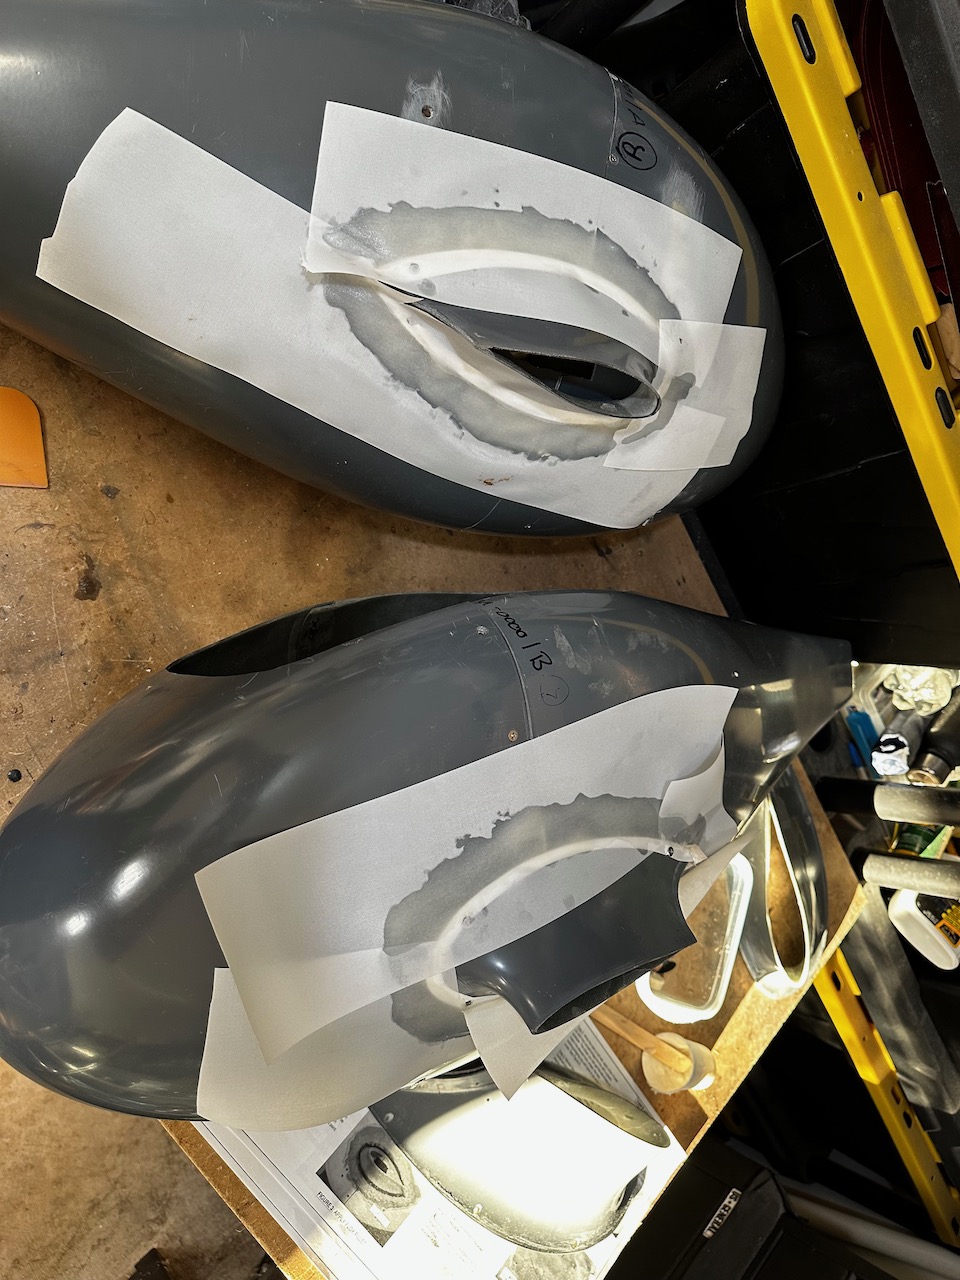
You can see the results of the sanding on the wheel pant.
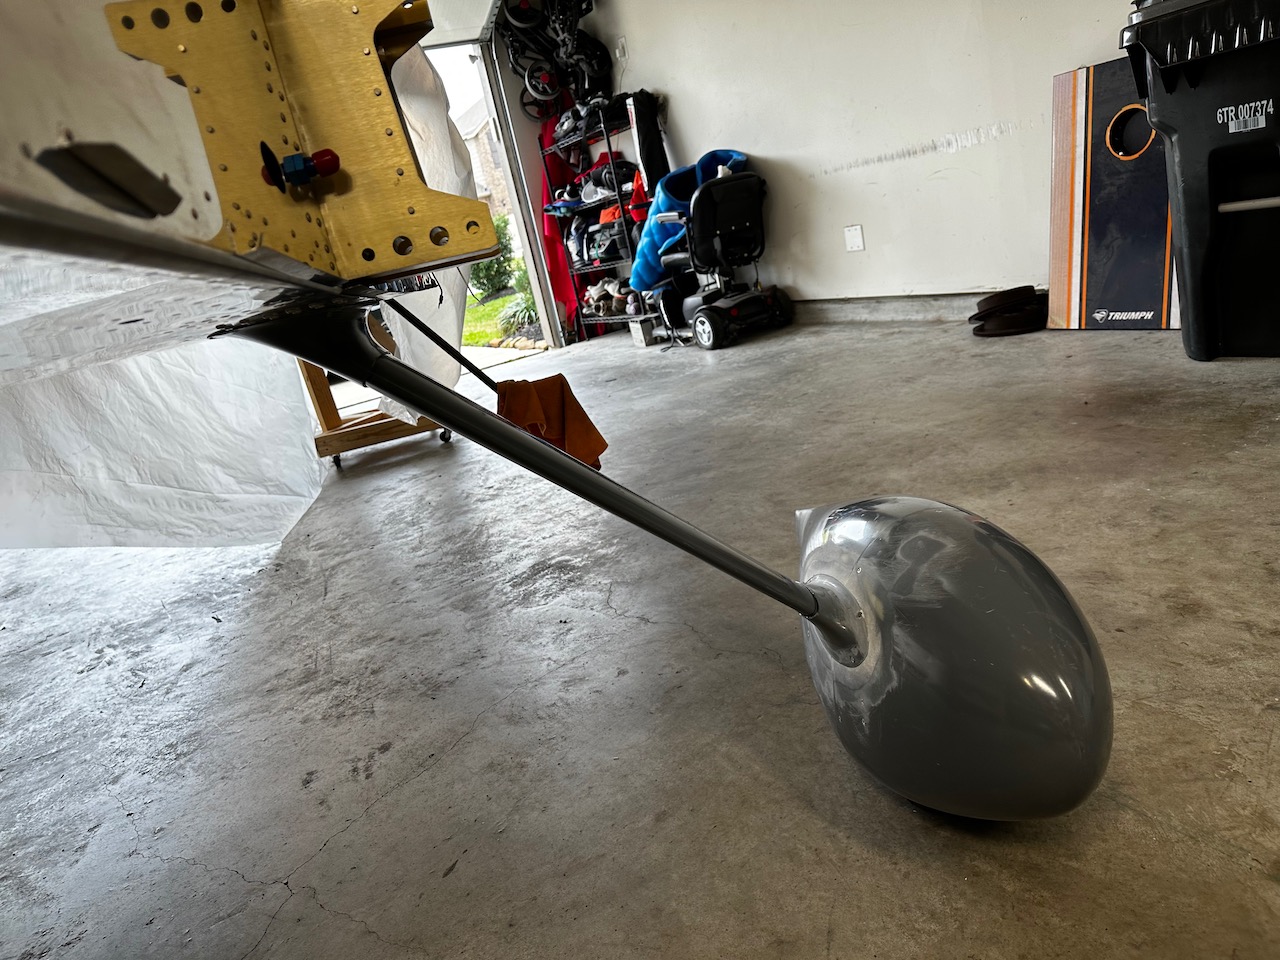
This is where I left it but I will be coming back to tighten up the gaps and edges a bit with more fiberglass work.

This sure must give you great joy when you step back and look at a section you just completed. I am in total awe.
Randy
Sent from my iPad
>