
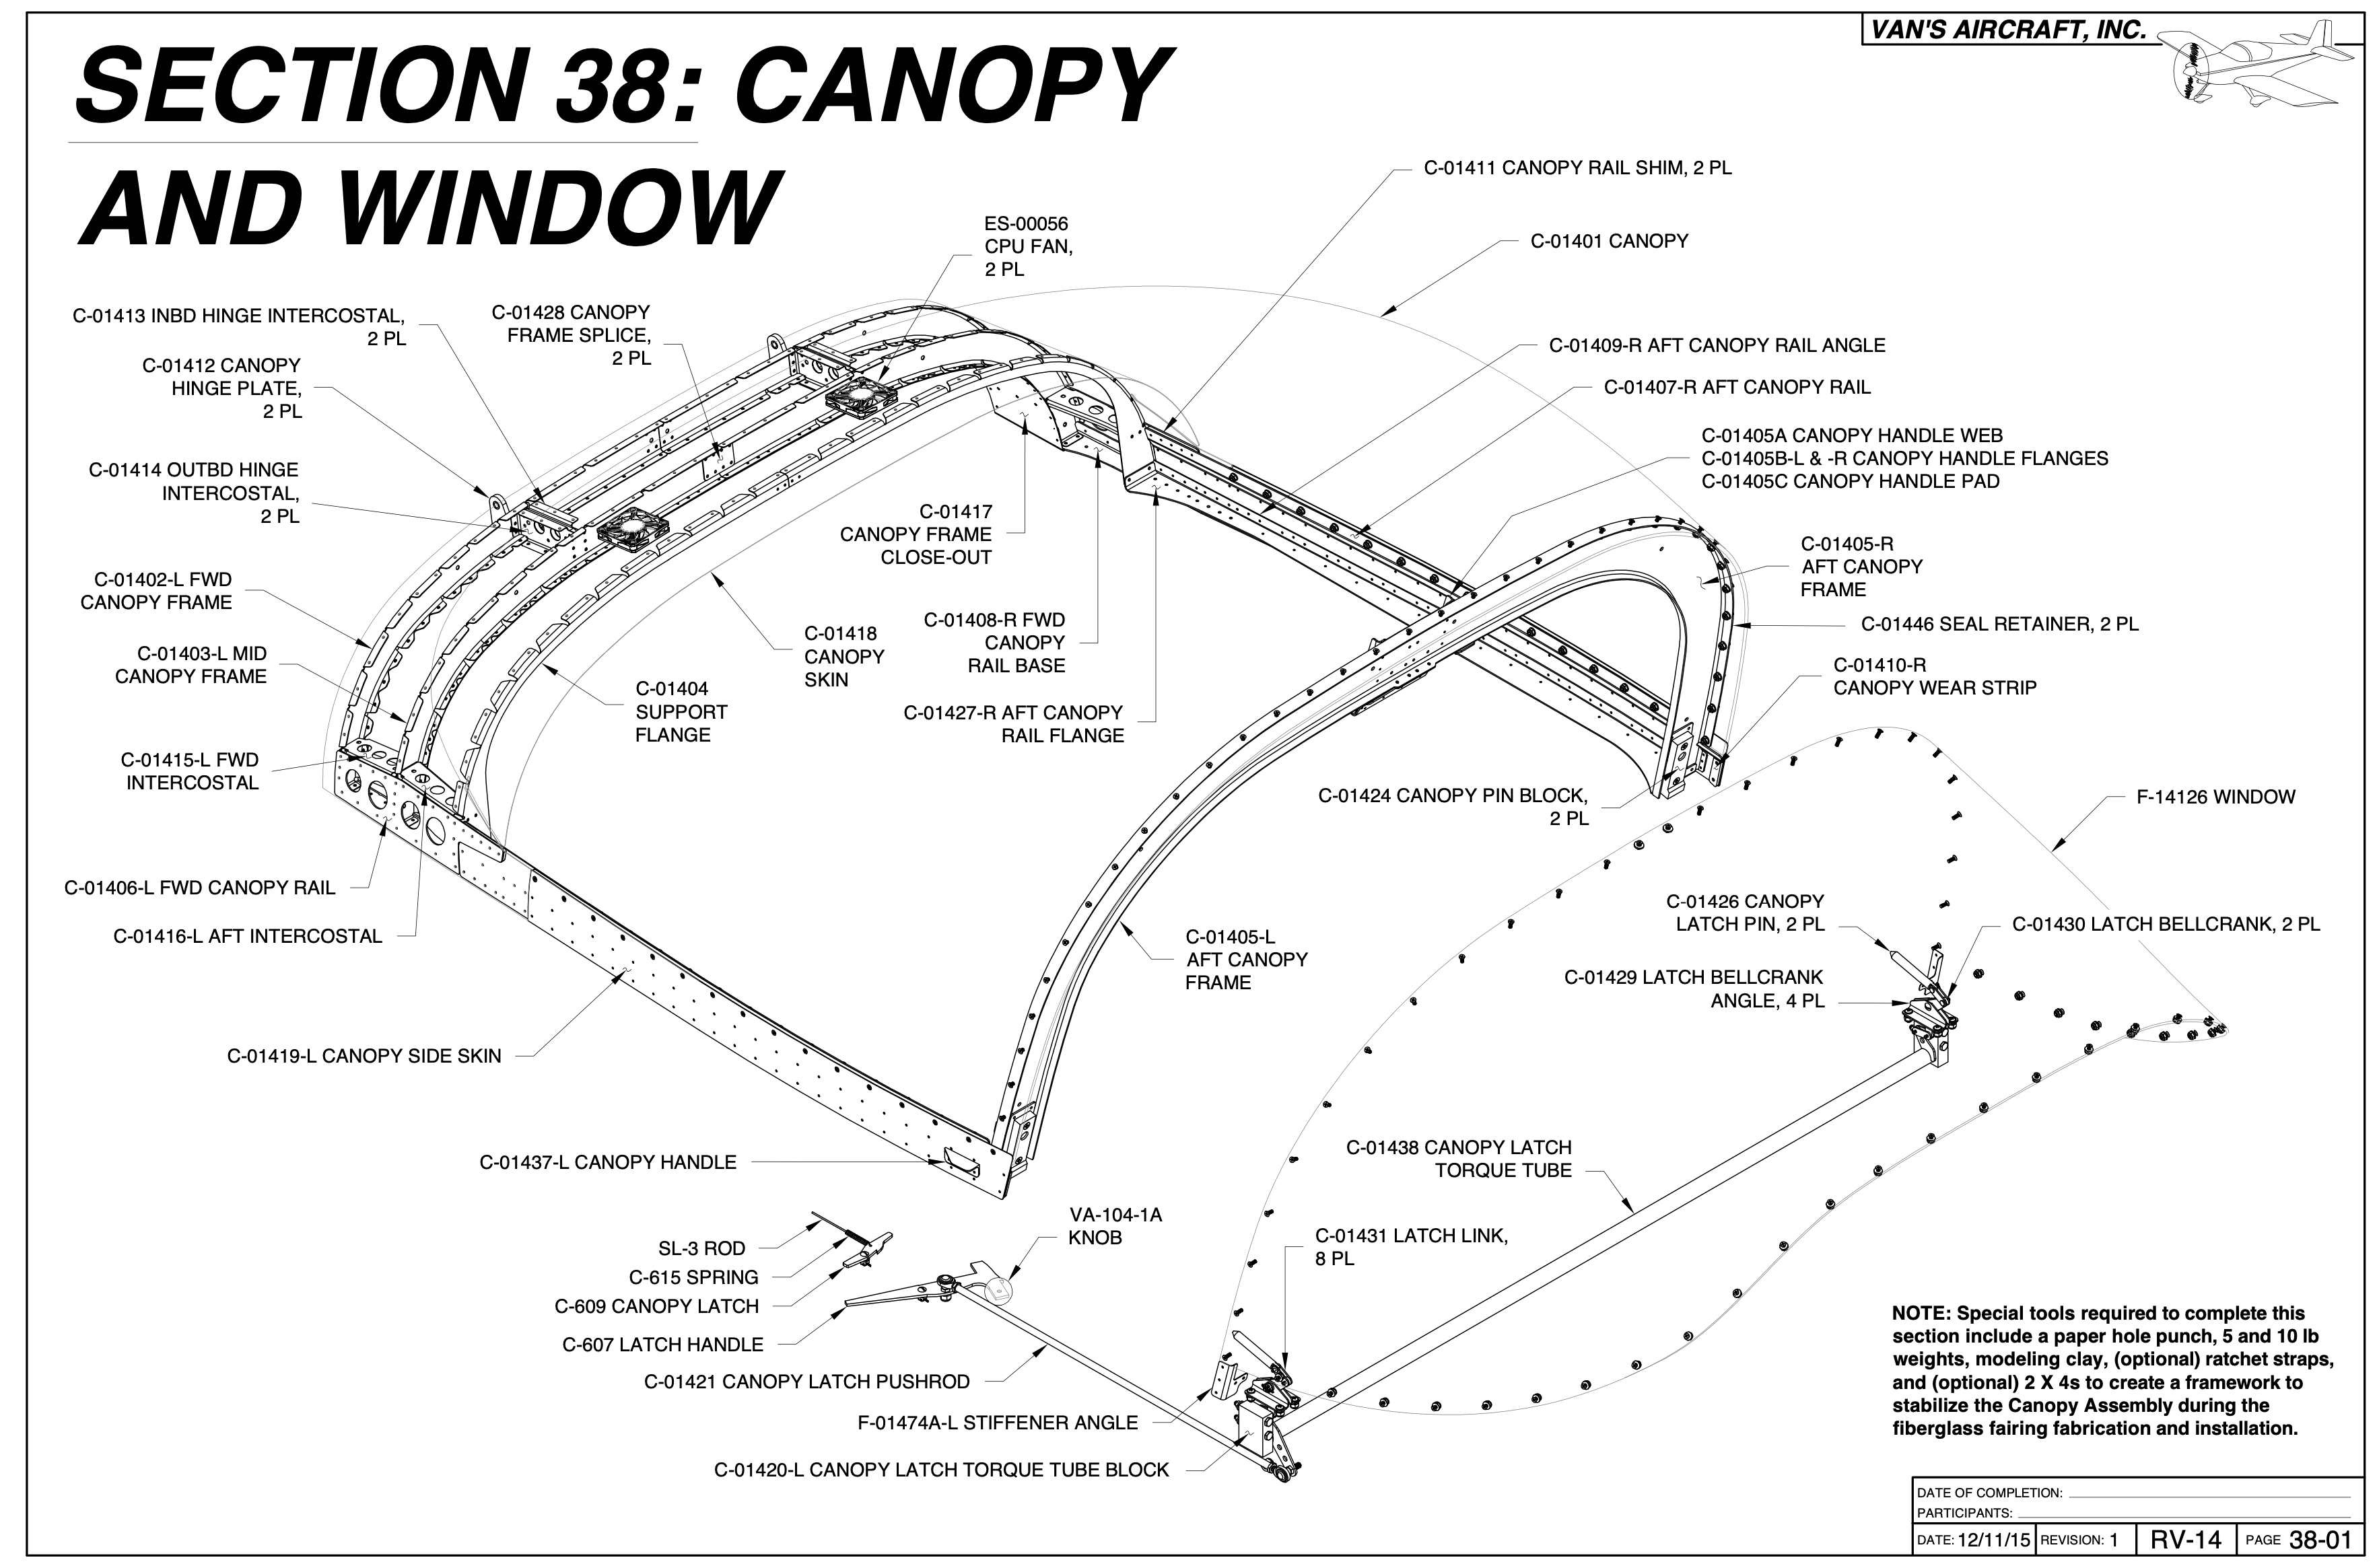
After about a 6 month wait after ordering, the final kit arrived from Vans. Unfortunately many pieces were on back order but I had enough parts to get started and keep me occupied for several months. Well, after arrival in August 2021, I am still working on the 1st section in November 2021. I will probably won’t be complete with Section 38 until the end of the year.
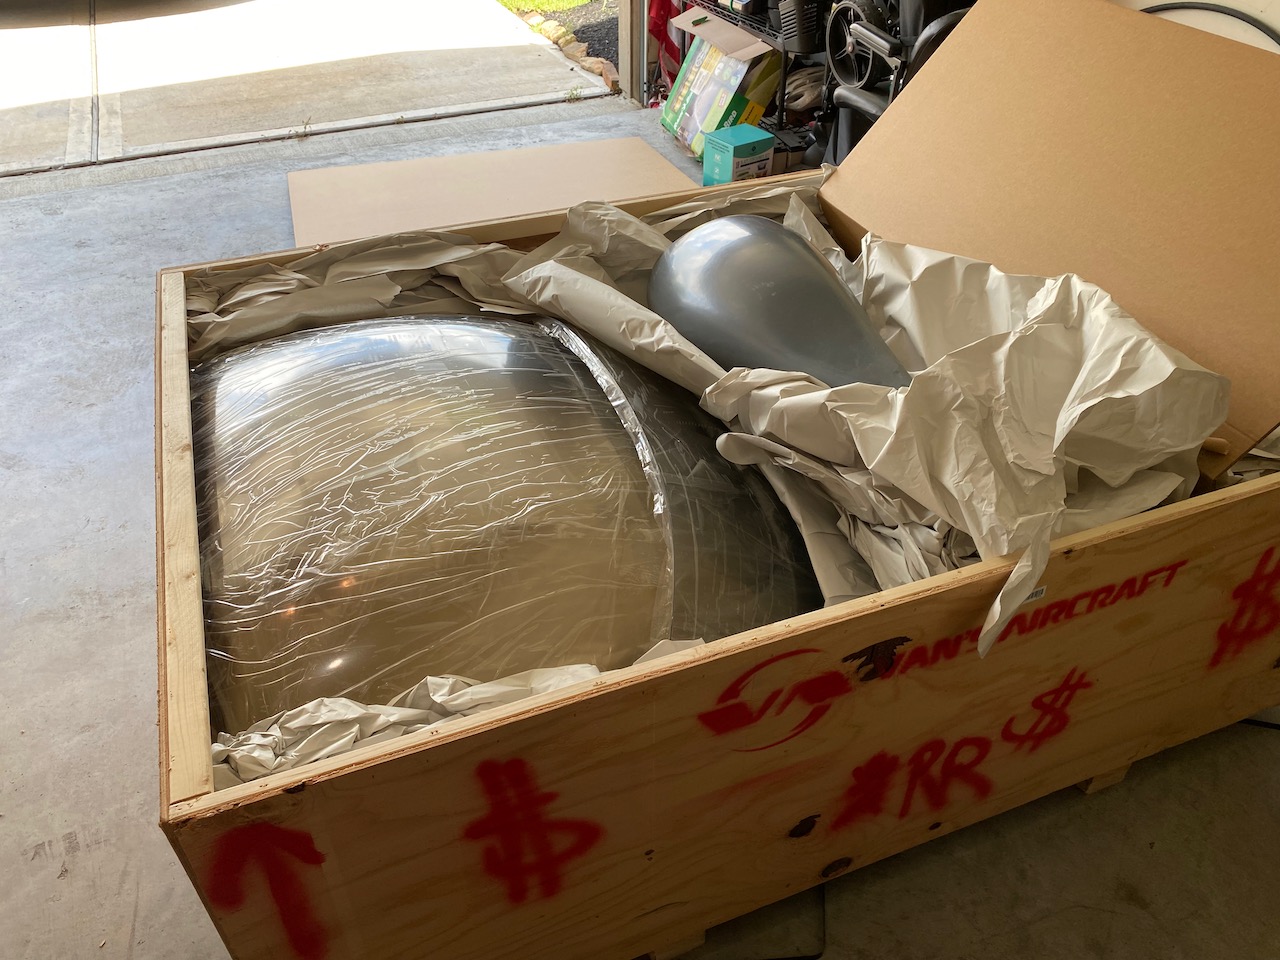
The big crate contained really big items like the canopy, wheel pants, and cowling. The main landing gear is on back order.

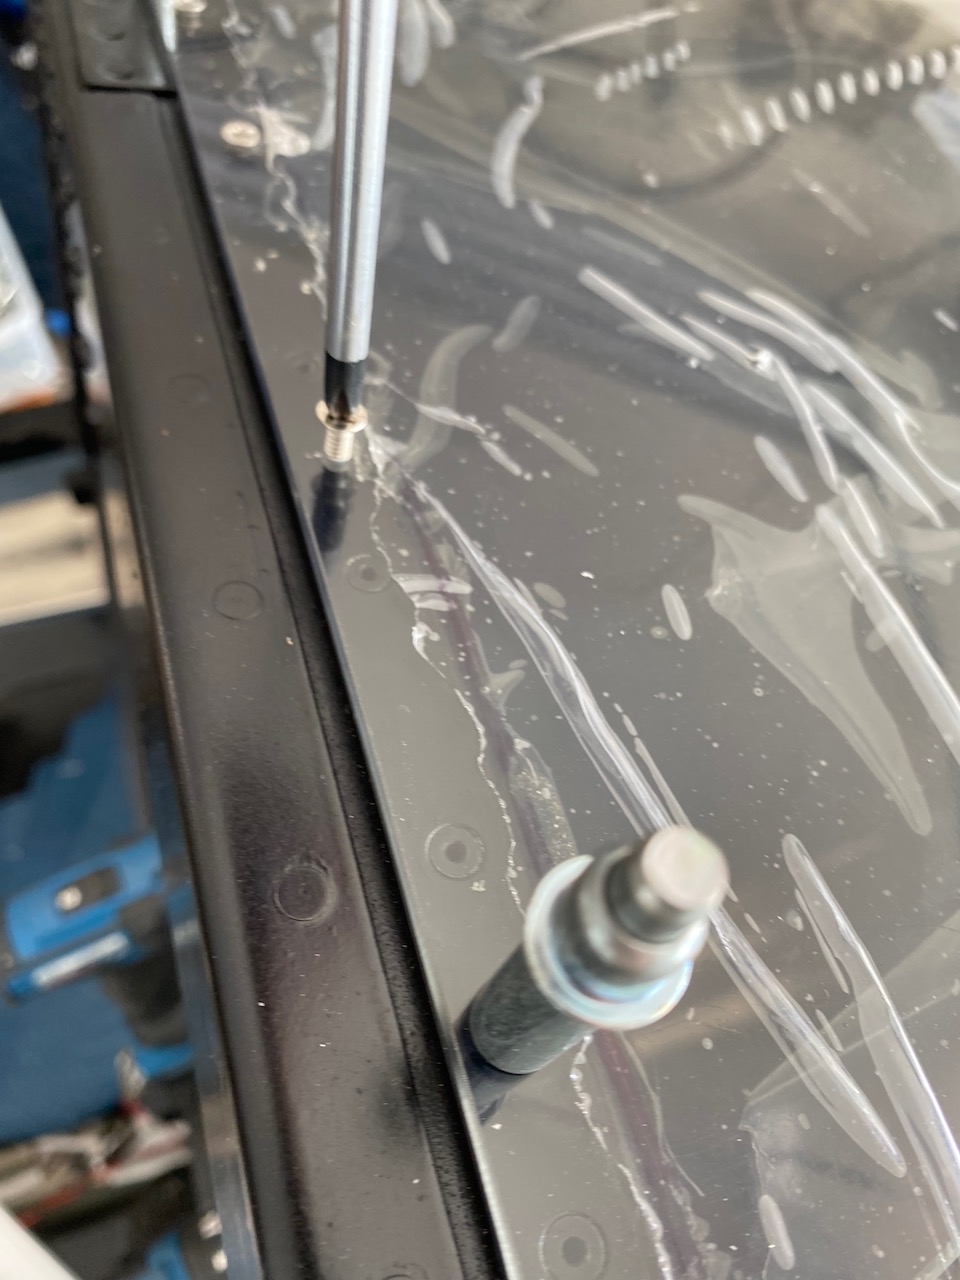
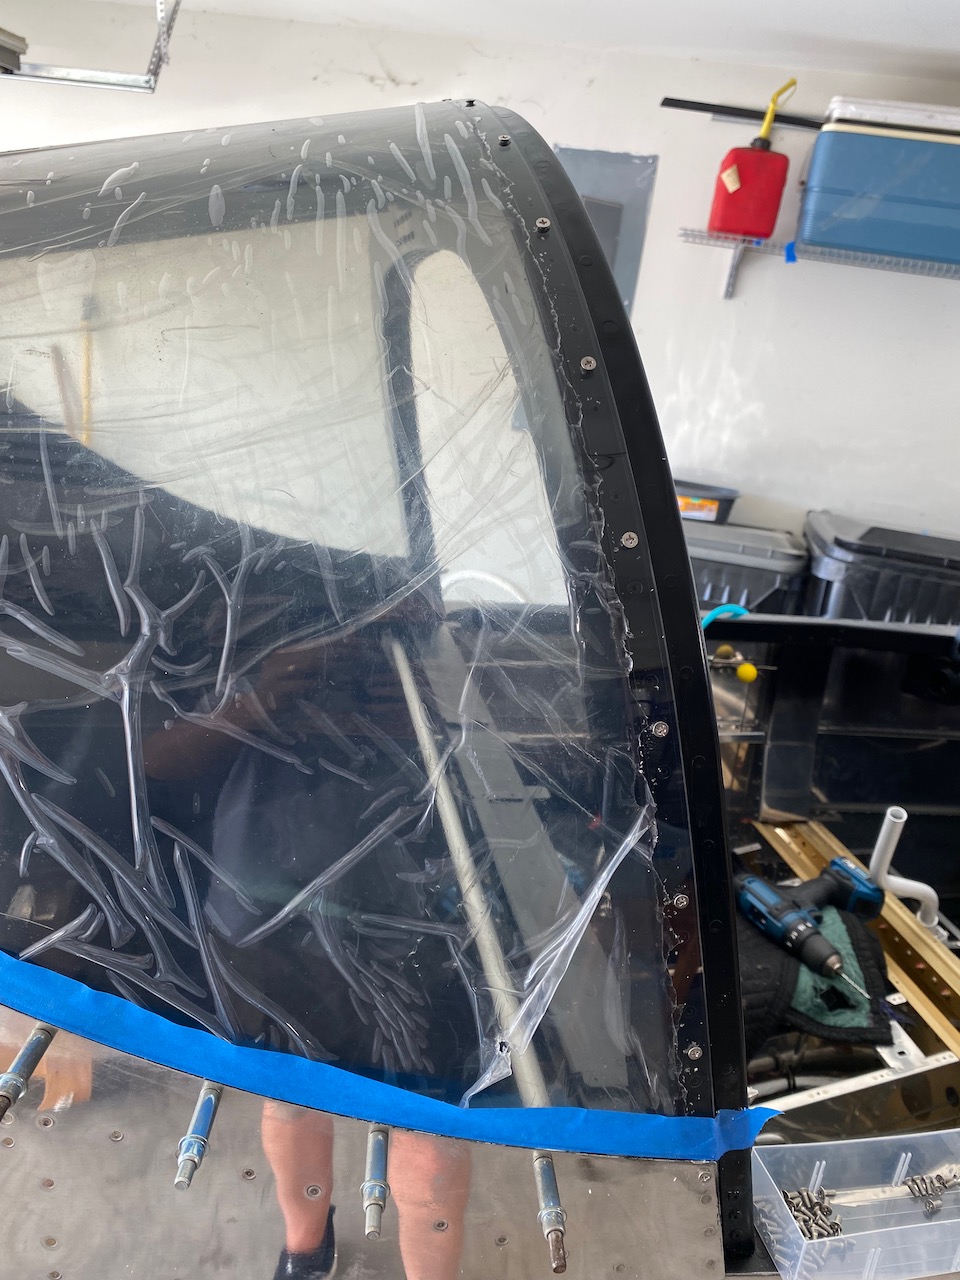
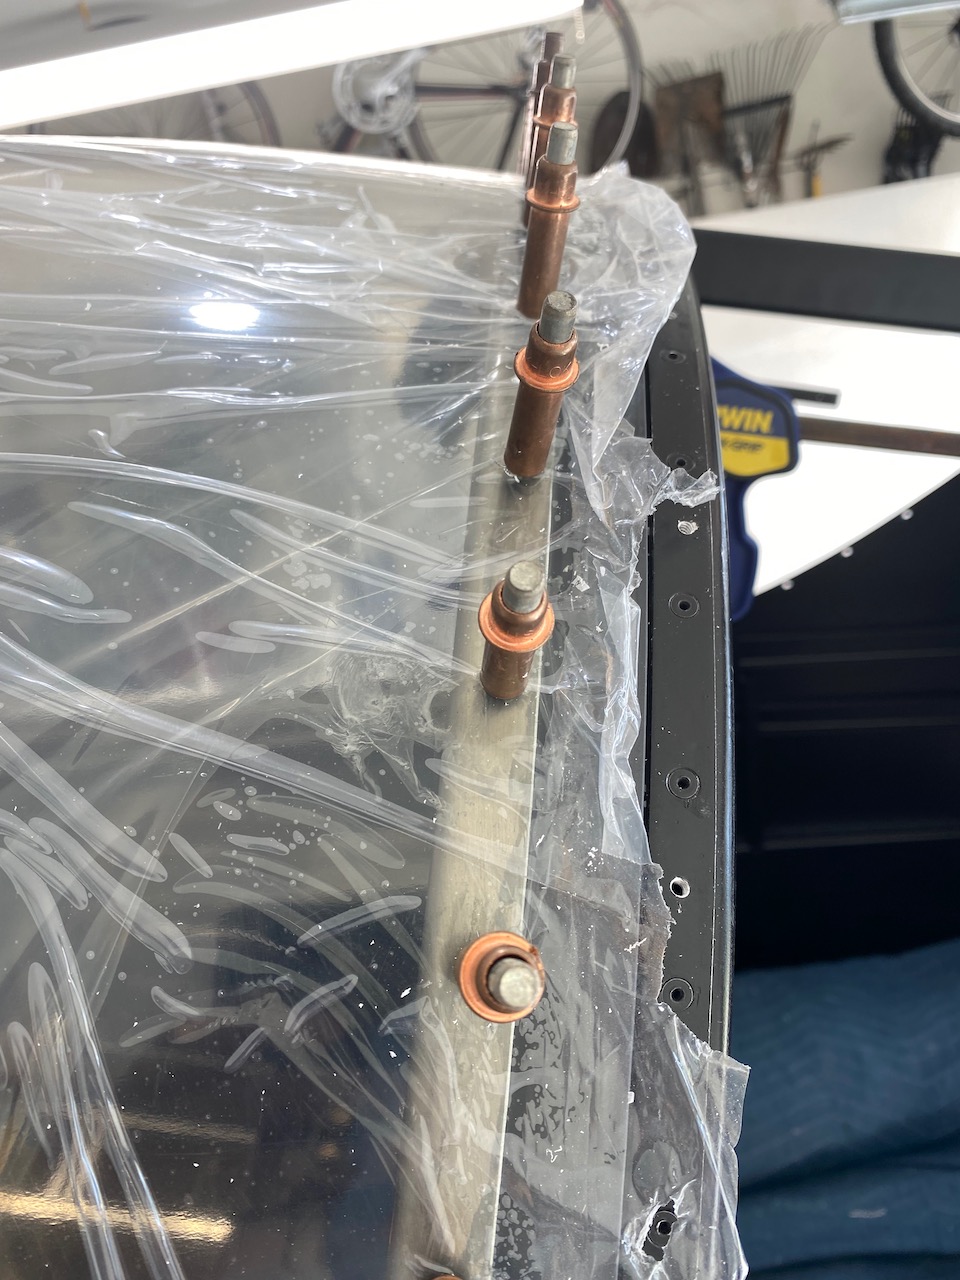
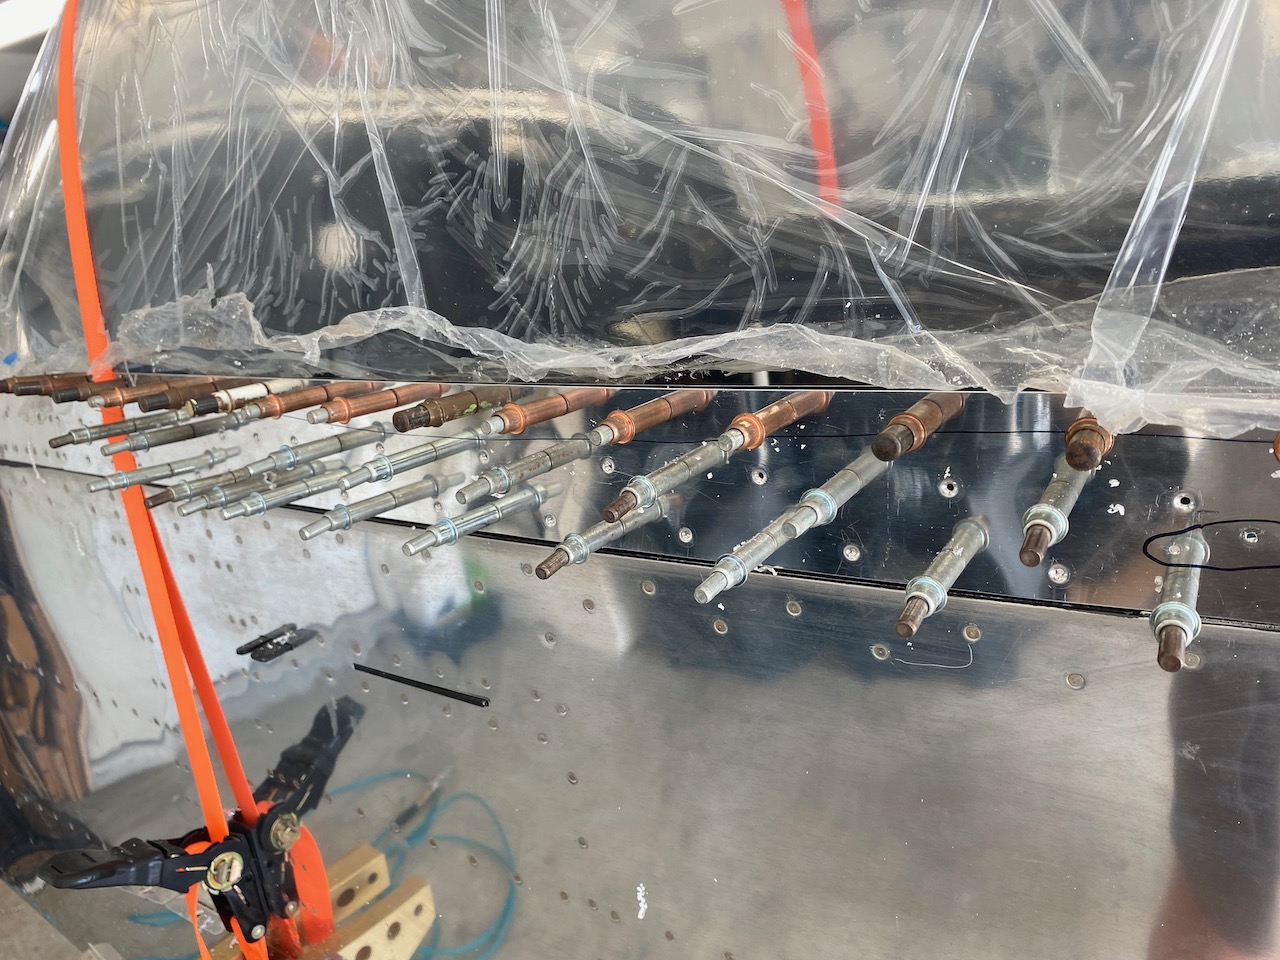
The first step consisted of fitting the rear window and drilling holes in the plexi-glass and fuselage parts. This is very stressful because I absolutely don’t want to make a mistake and crack the window. The only fix is to replace it.

The basic steps were to drill through the plexiglass with a plexiglass-bit, then drill in the same hole into the metal (roll bar or fuselage skin), then enlarge the hole, then thread the holes in the roll bar. Screws were temporarily inserted to hold the window in place.

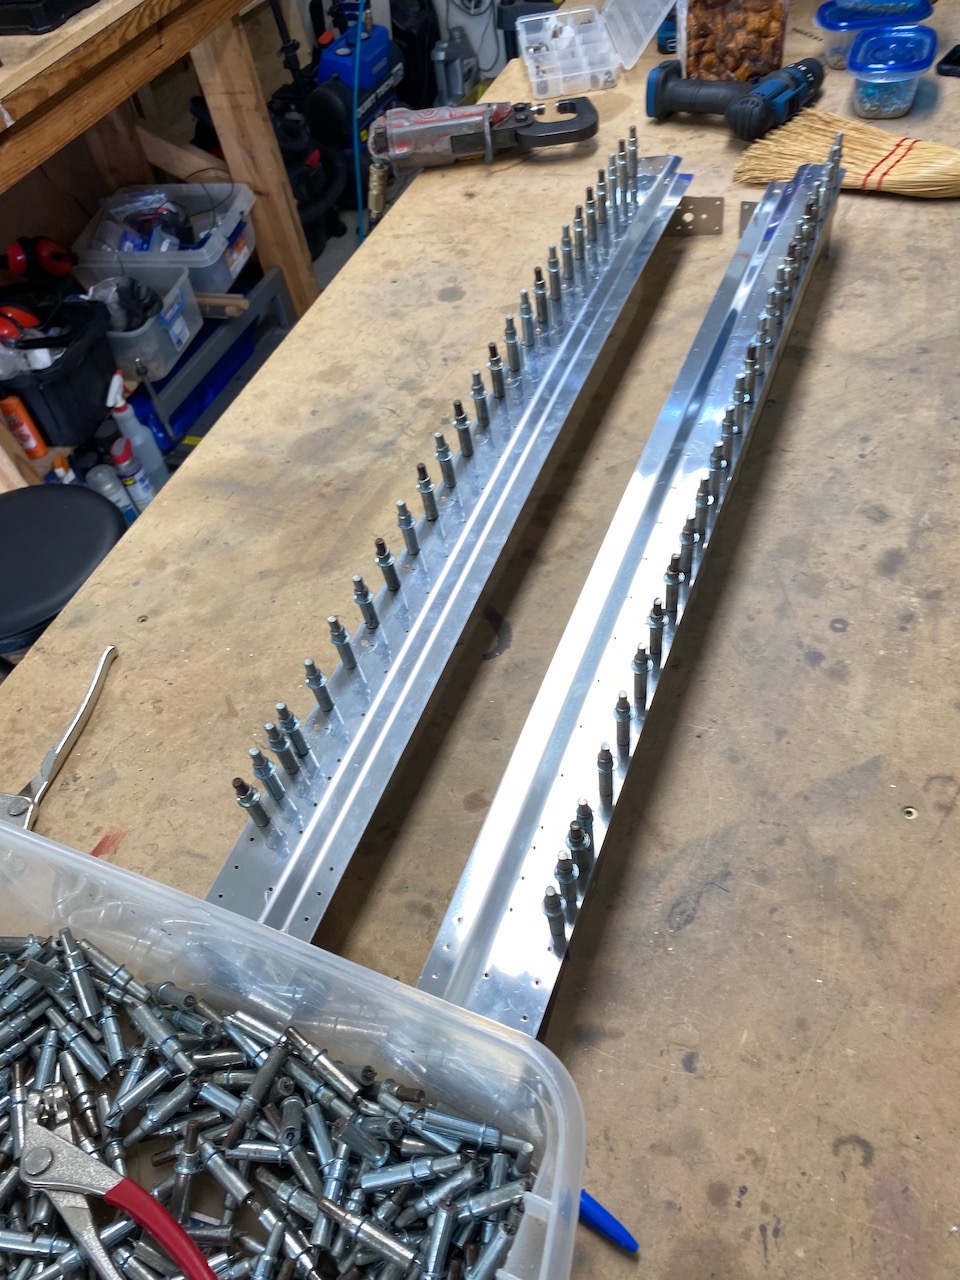
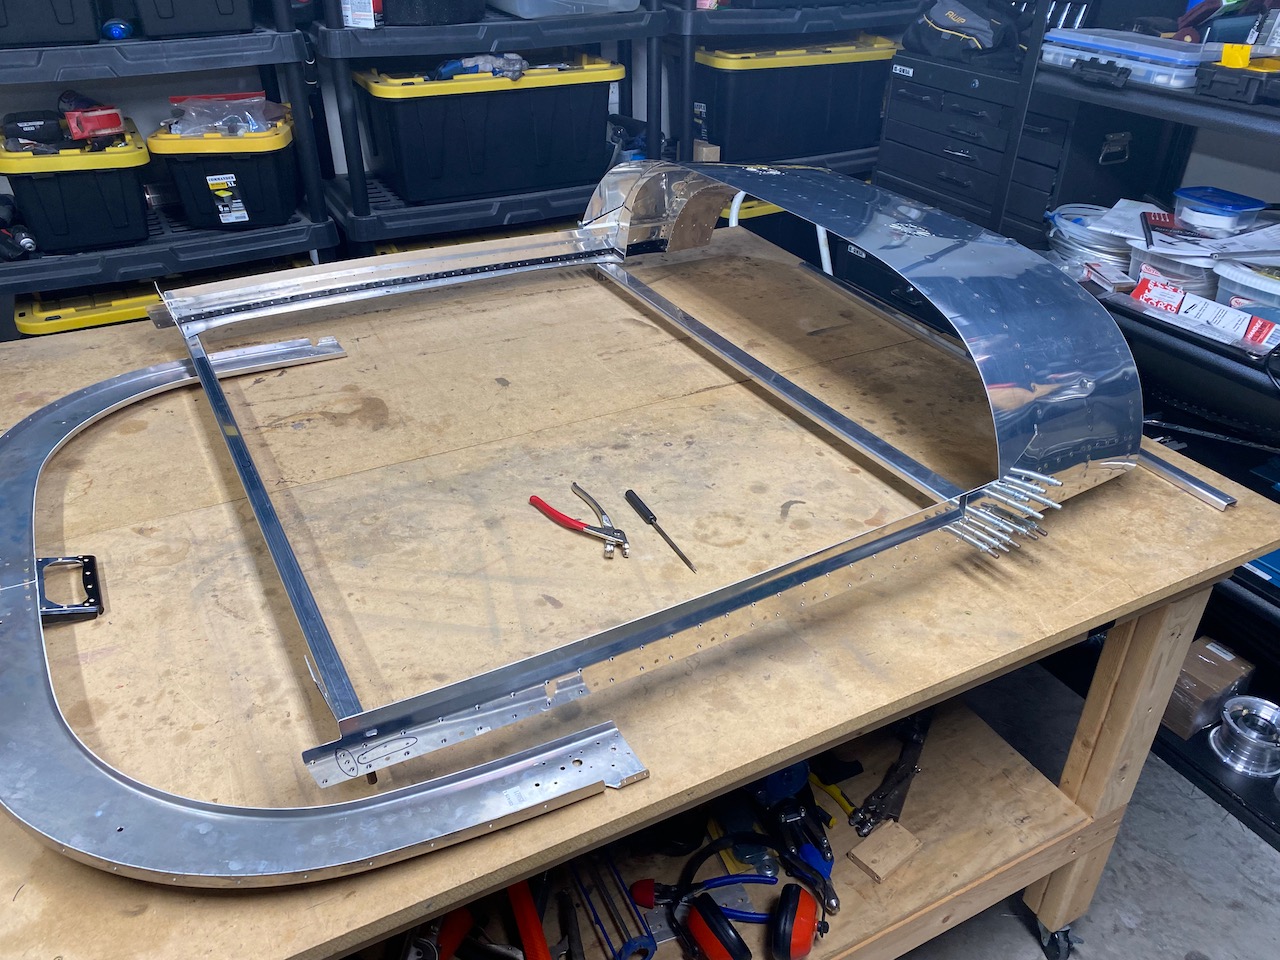
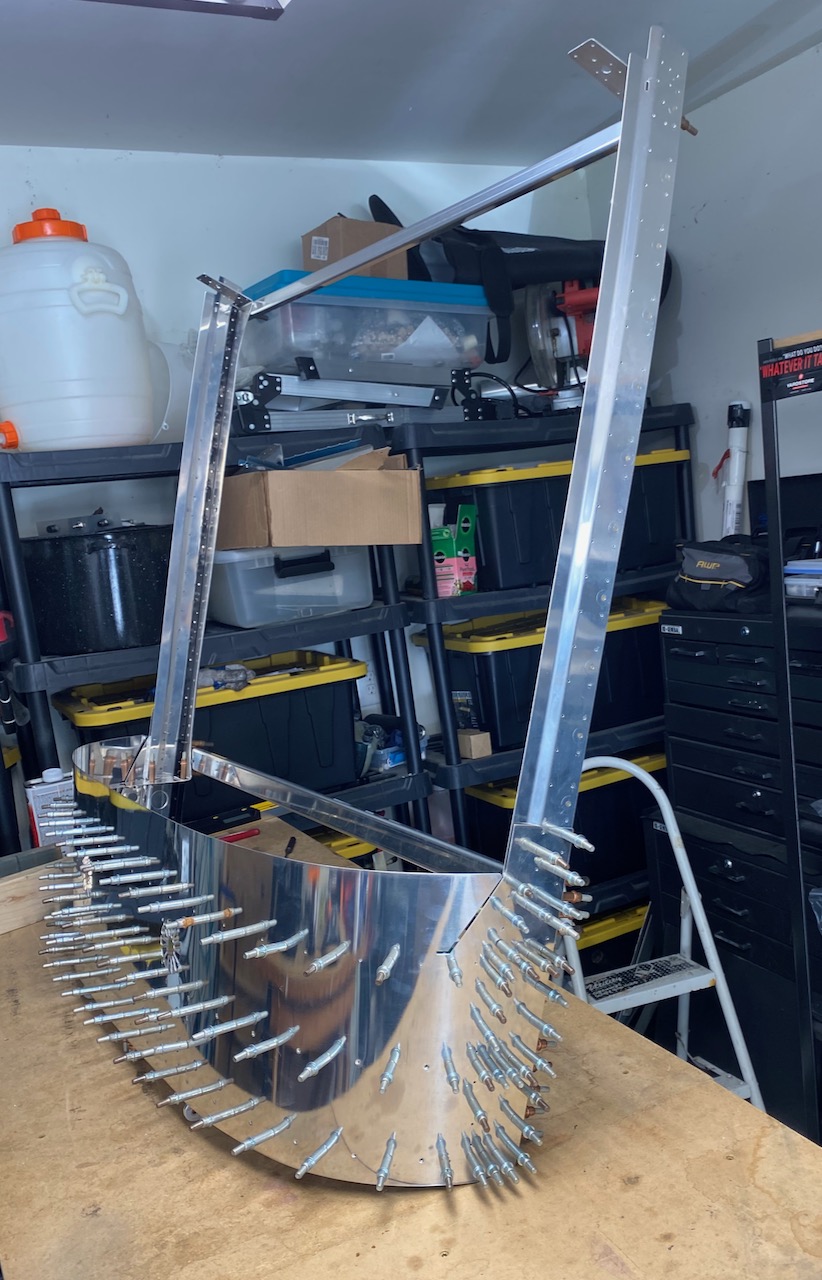
After the rear window was drilled, it was time to move on to the canopy frame. This will hold the main canopy. The usual match drill, dimple, deburr, put together, take apart, put back together and then rivet process was employed.
These are the side rails.
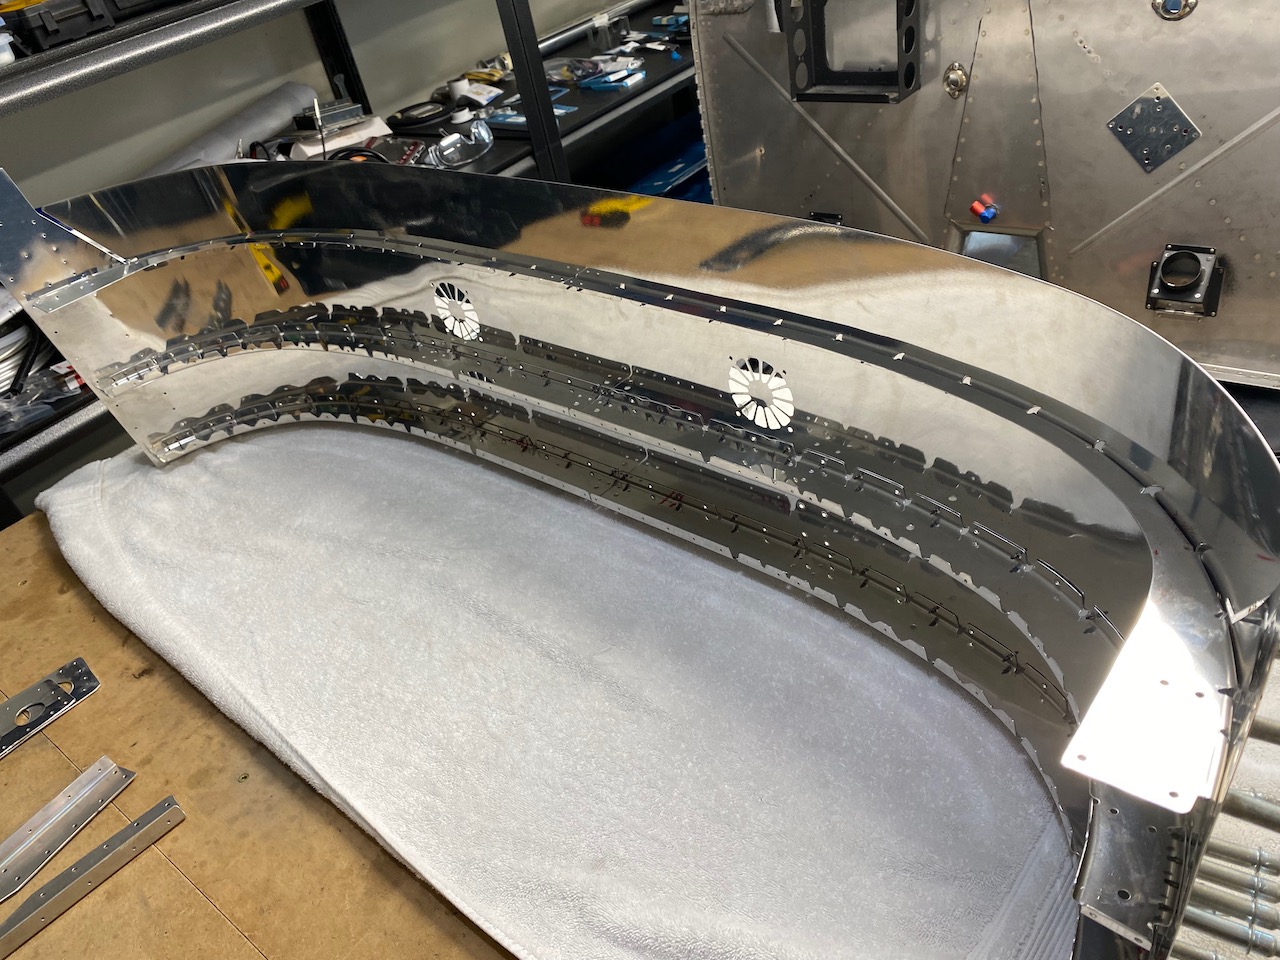
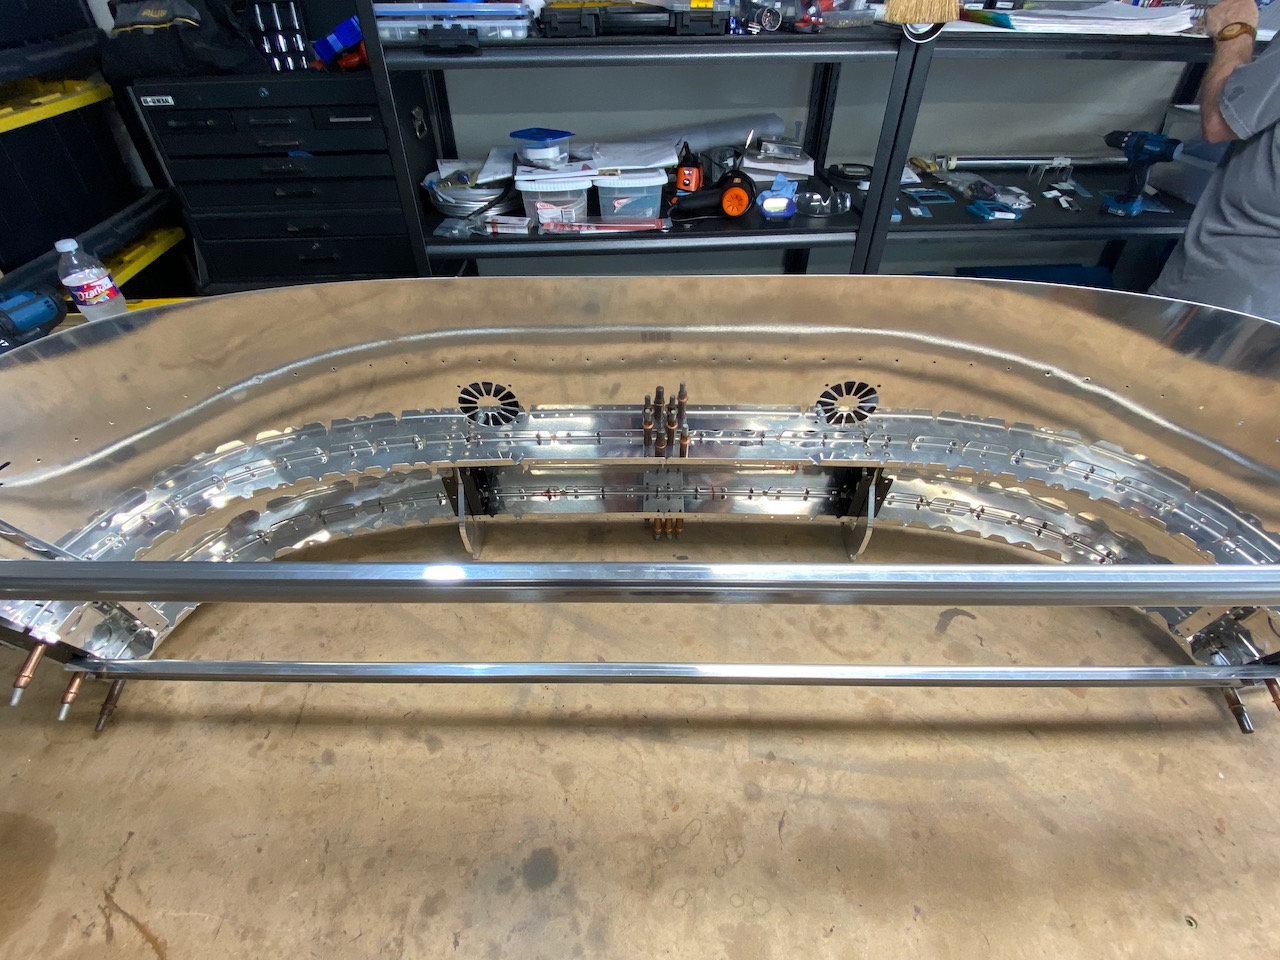
The forward skin of the canopy frame was very detailed with ribs lining it underneath. It was essential that it be assembled without warping otherwise the canopy will not open or close properly. Statements like this in the plans kinda makes me want to do it right:
On this and on subsequent pages, follow the Canopy Frame Assembly instructions EXACTLY to prevent frustrating, unpleasant, painful, heart-rending canopy misalignment.
I don’t need any heart-rending issues with this build.
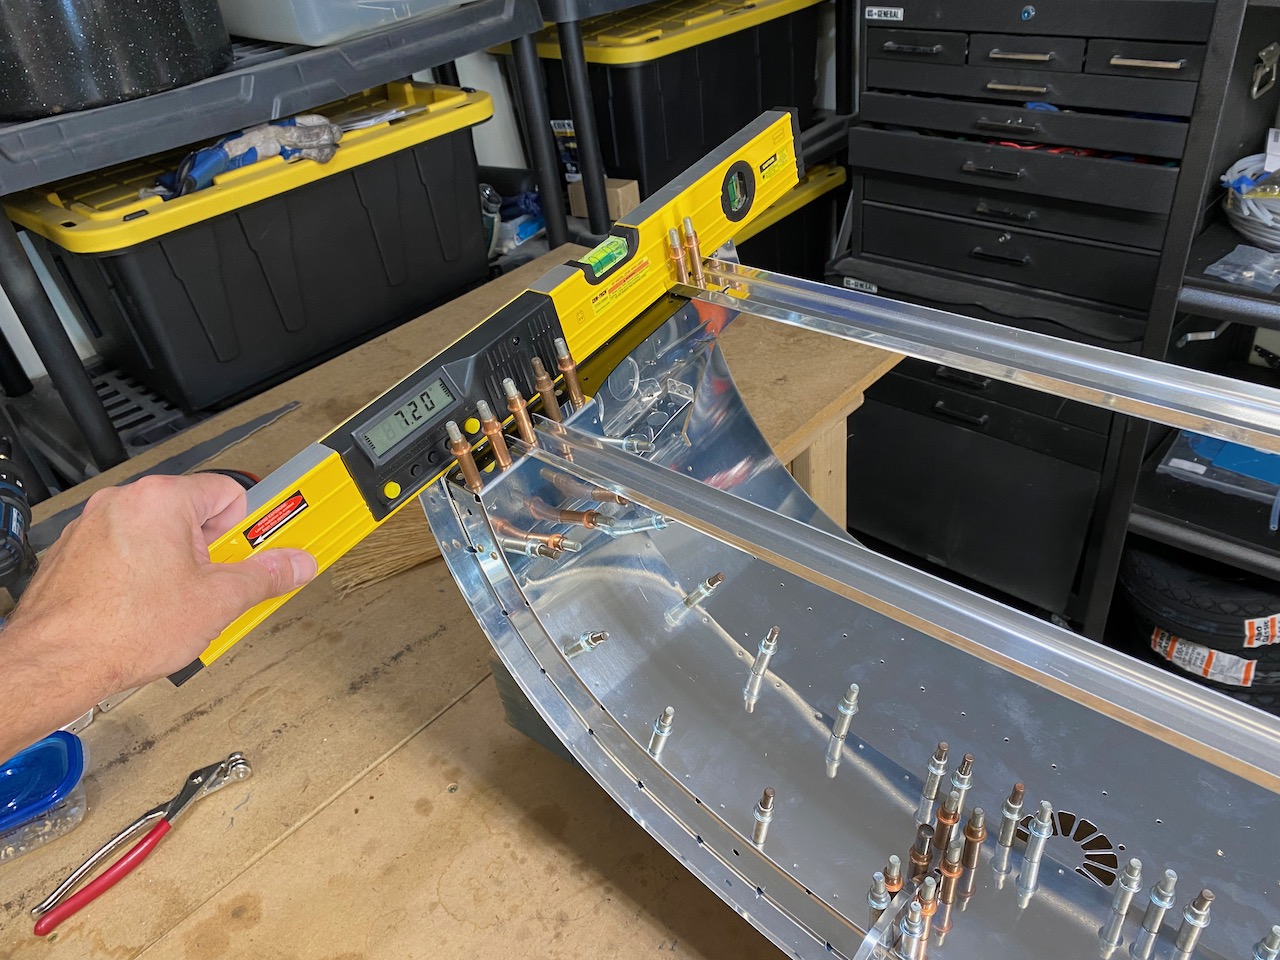
A digital scale was frequently used to ensure both sides of the canopy frame were aligned. This is, of course, to prevent heart rendering canopy misalignment.
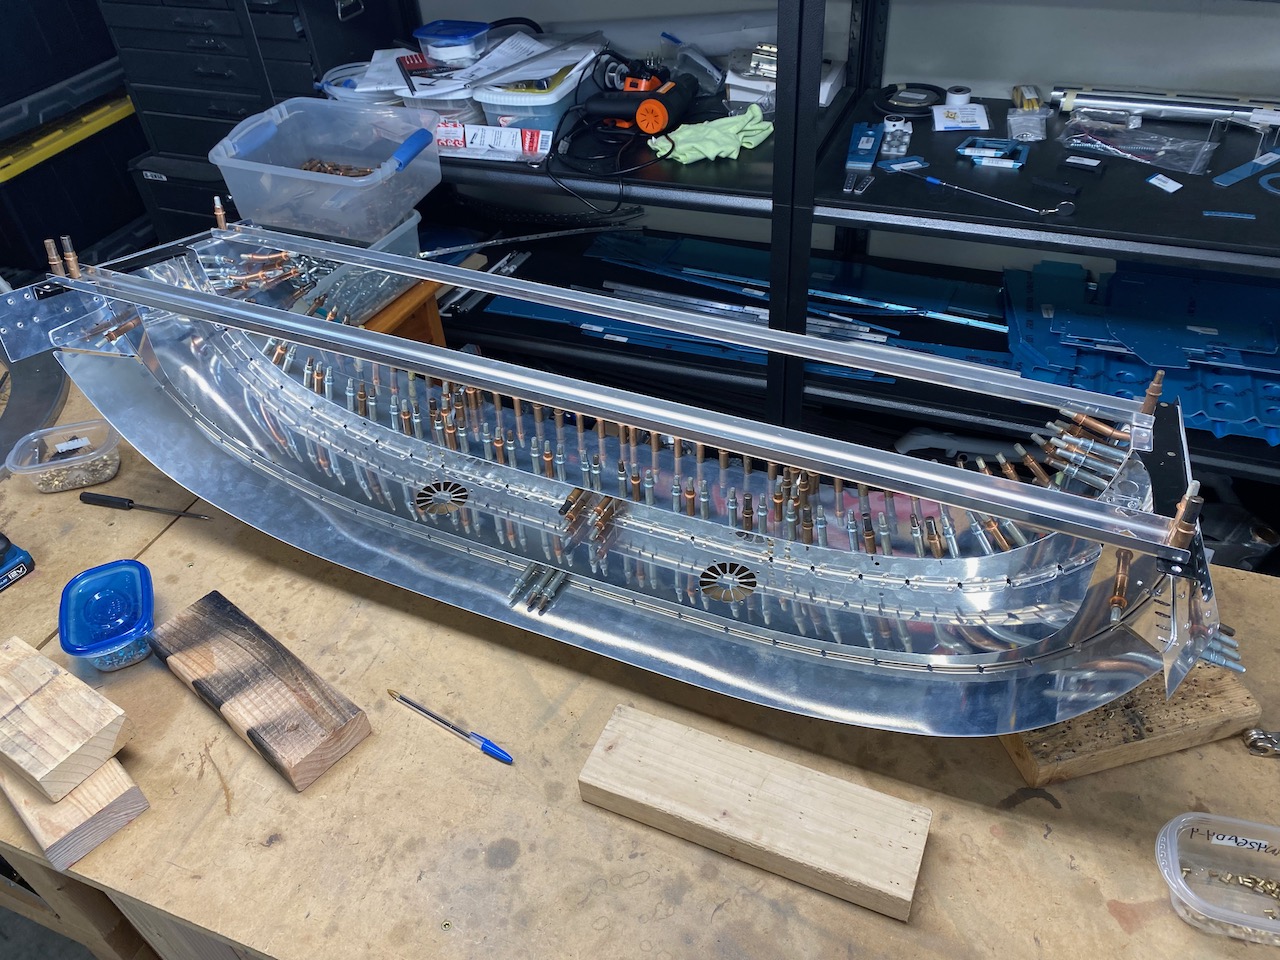
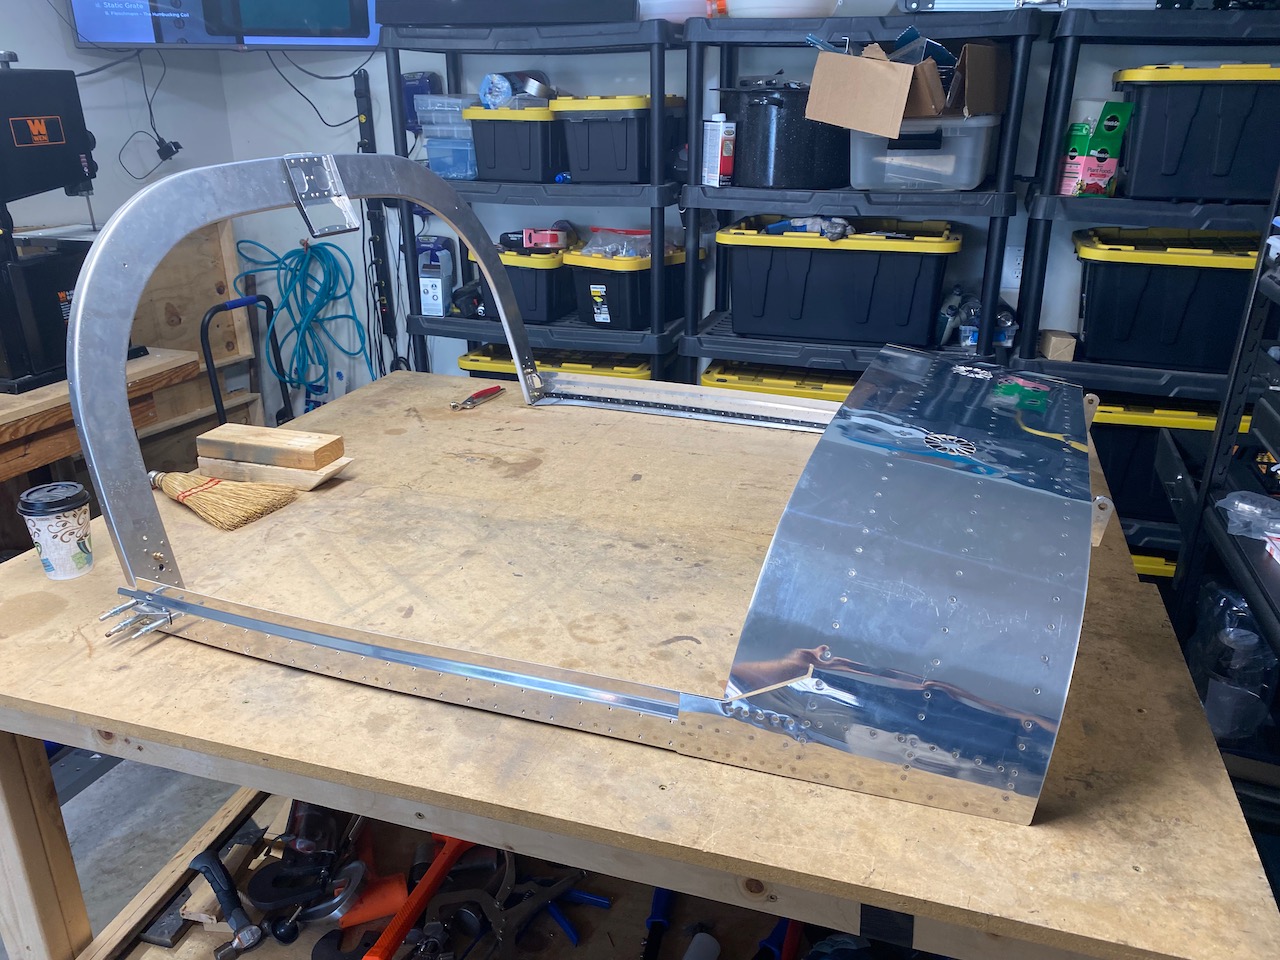
Eventually, you do get through the multi-stage rivet process and this is on your workbench.
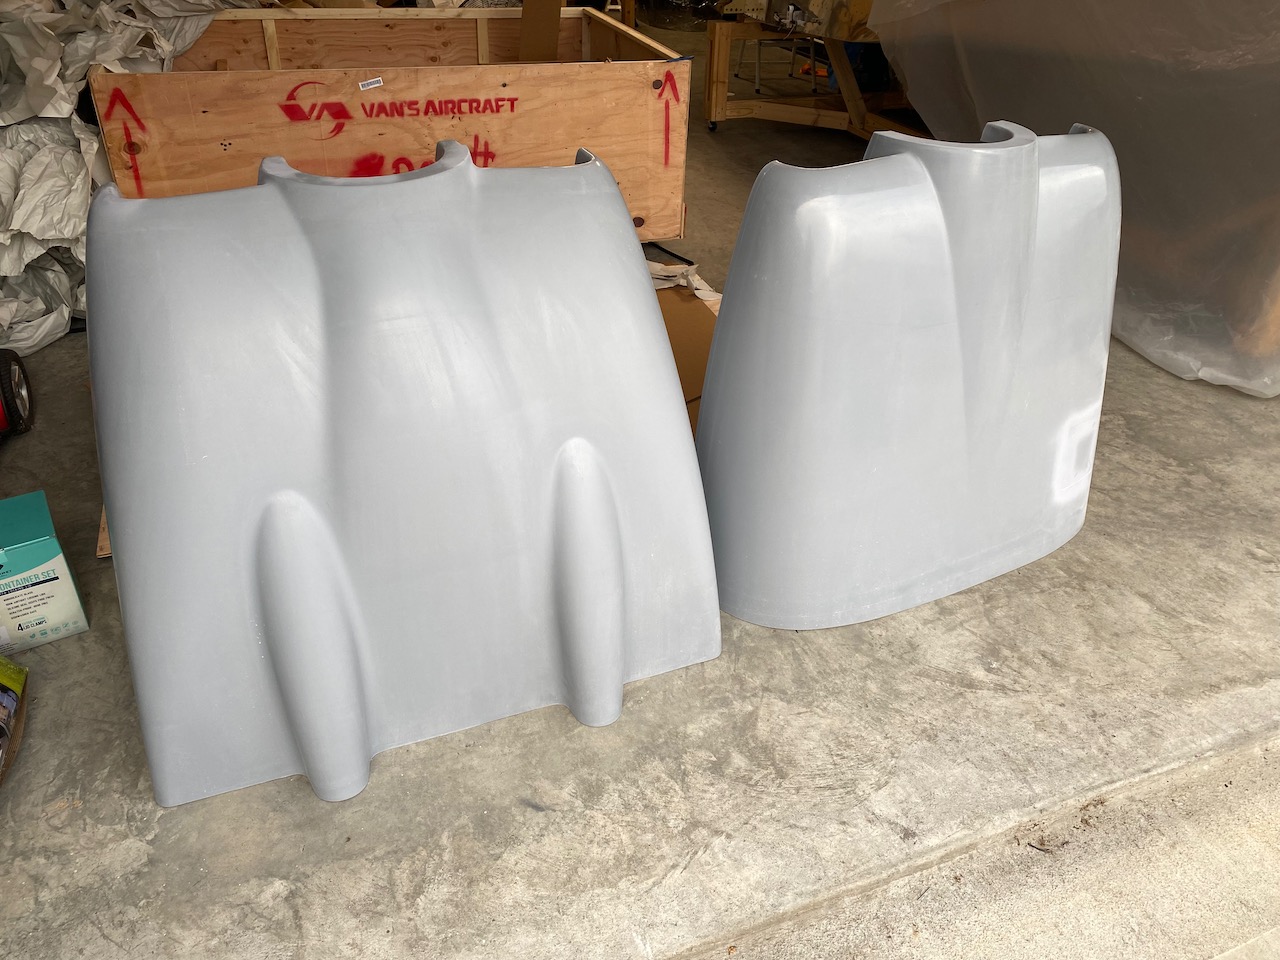
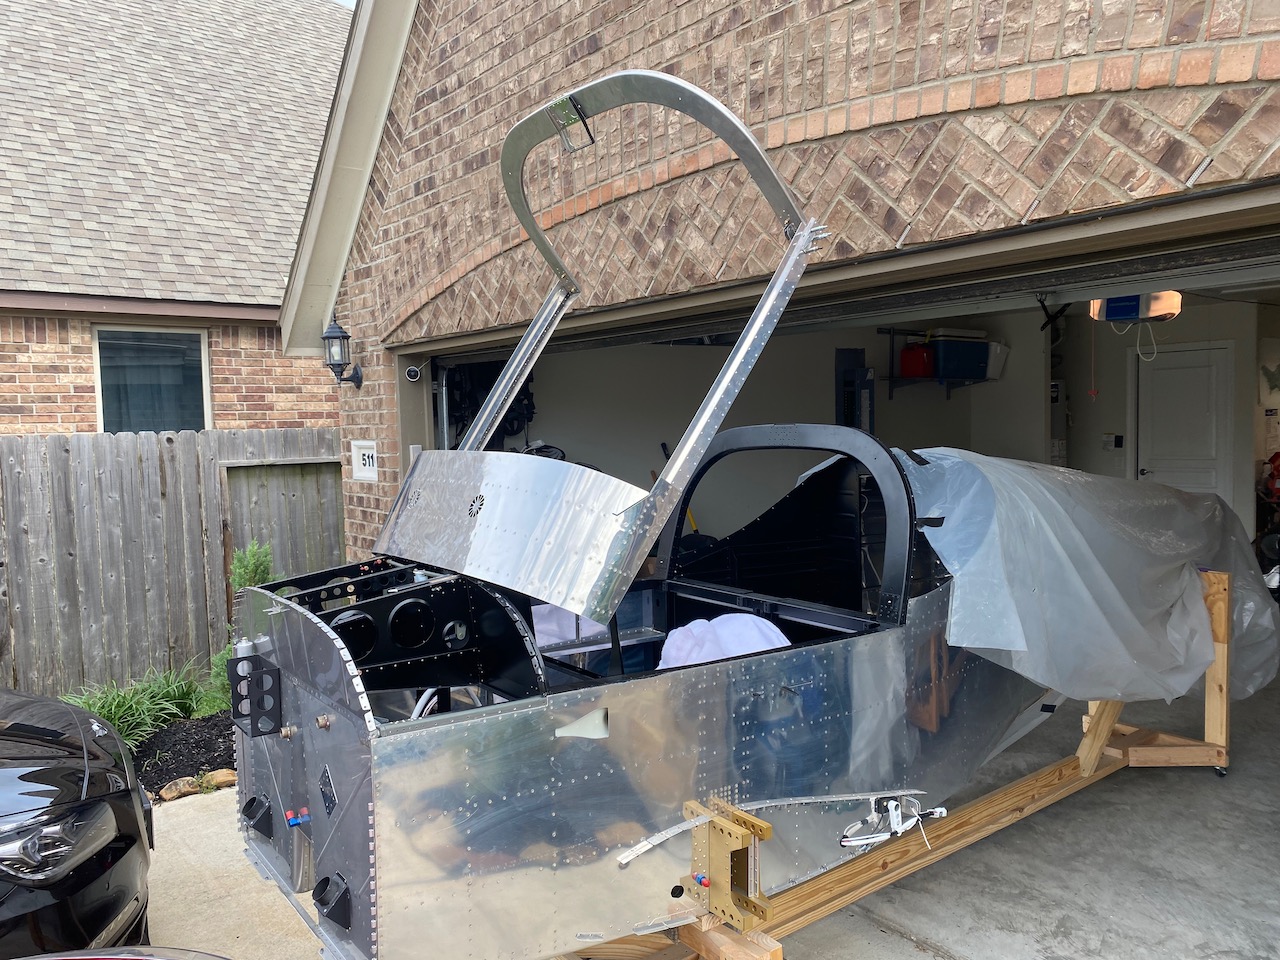
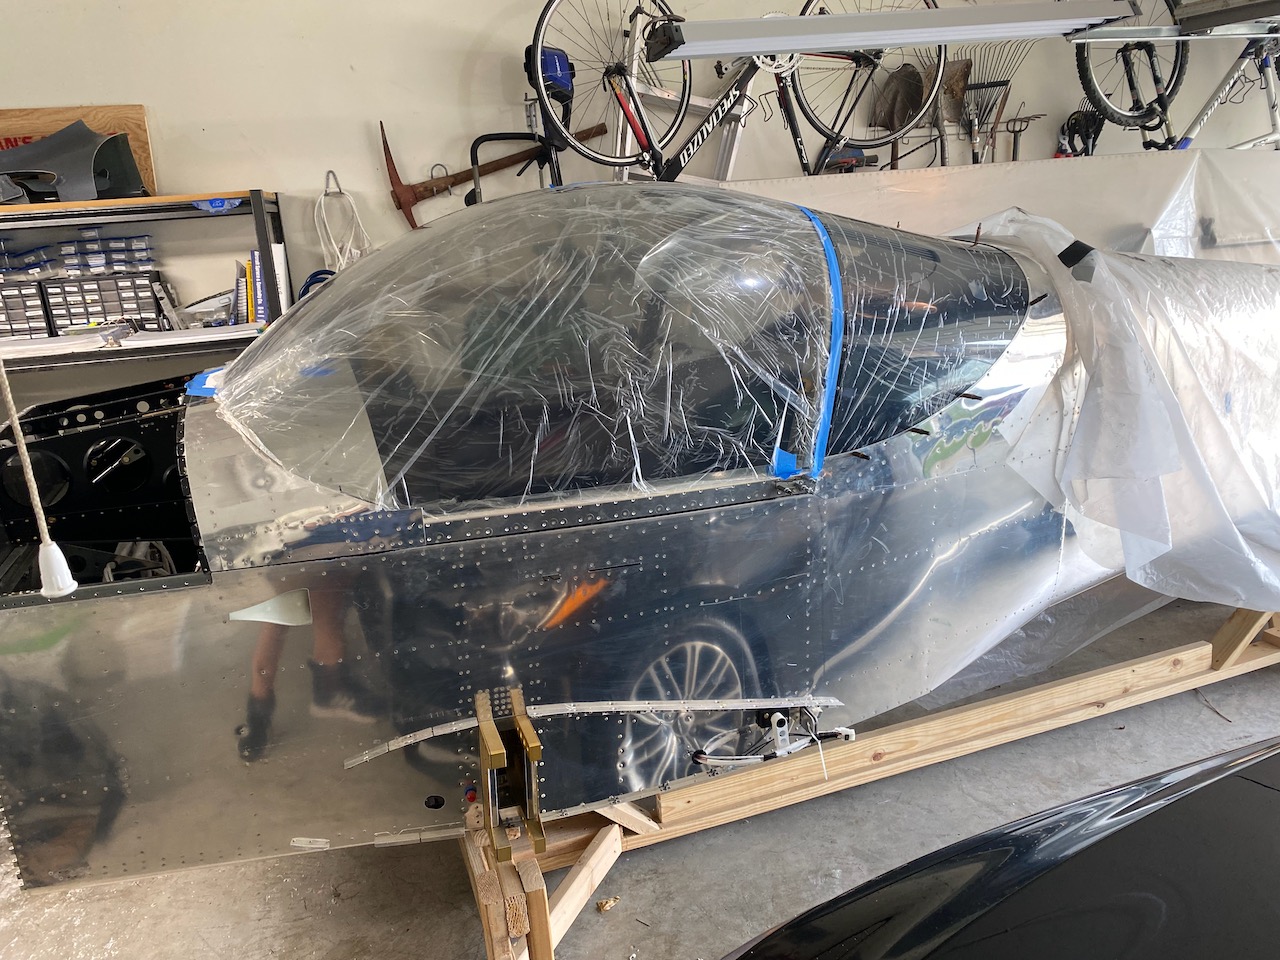
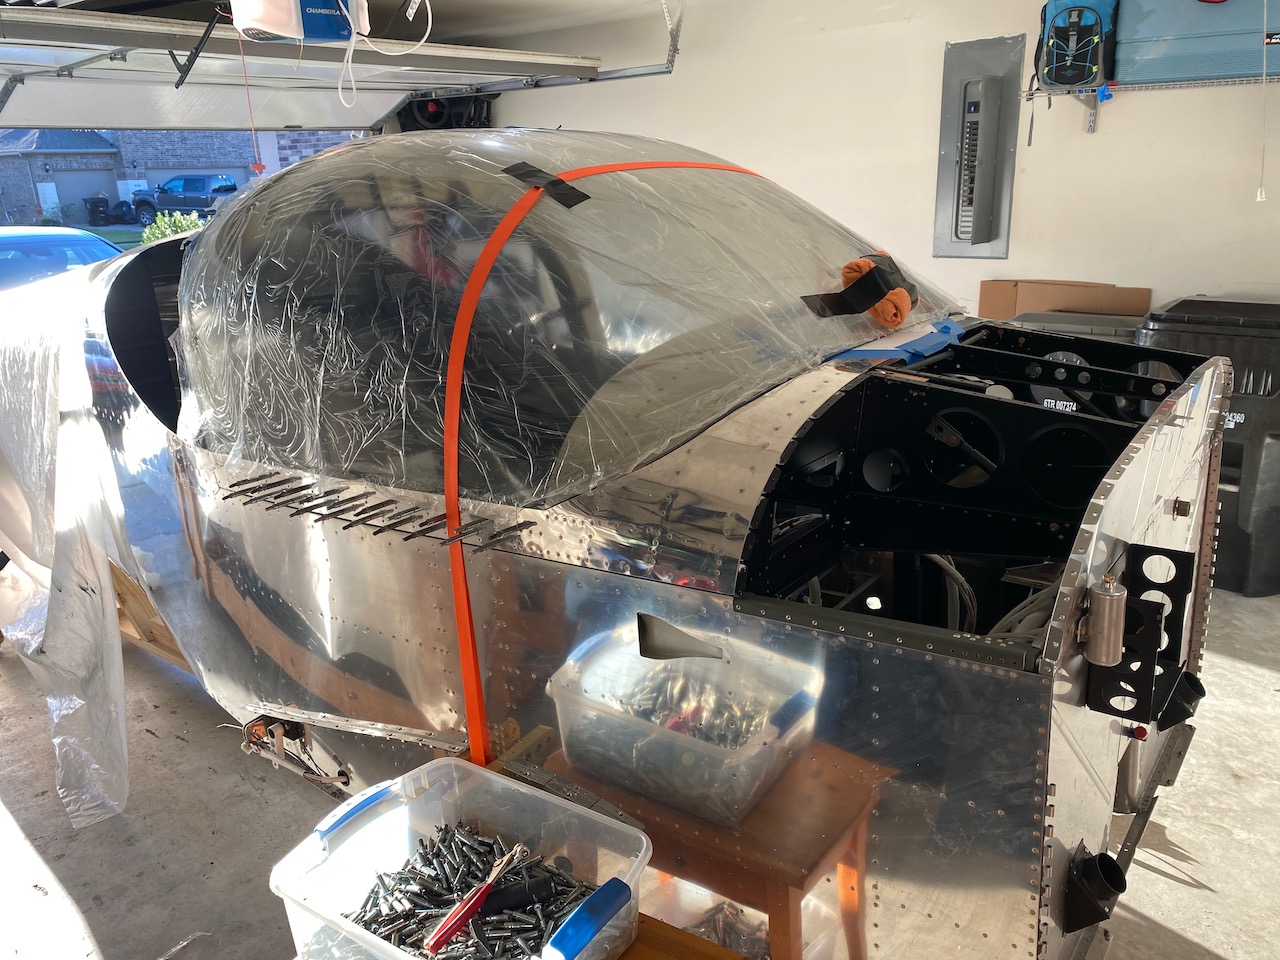
The canopy frame roll-bar was the last part to be attached, and it was on to the airplane.
I needed to wheel the fuselage outside the garage to get the canopy frame attached. It swings up too high for the garage ceiling so I will deal with that another day. For now, it appears to line up very well. No unpleasant, painful, or heart rendering things happened.

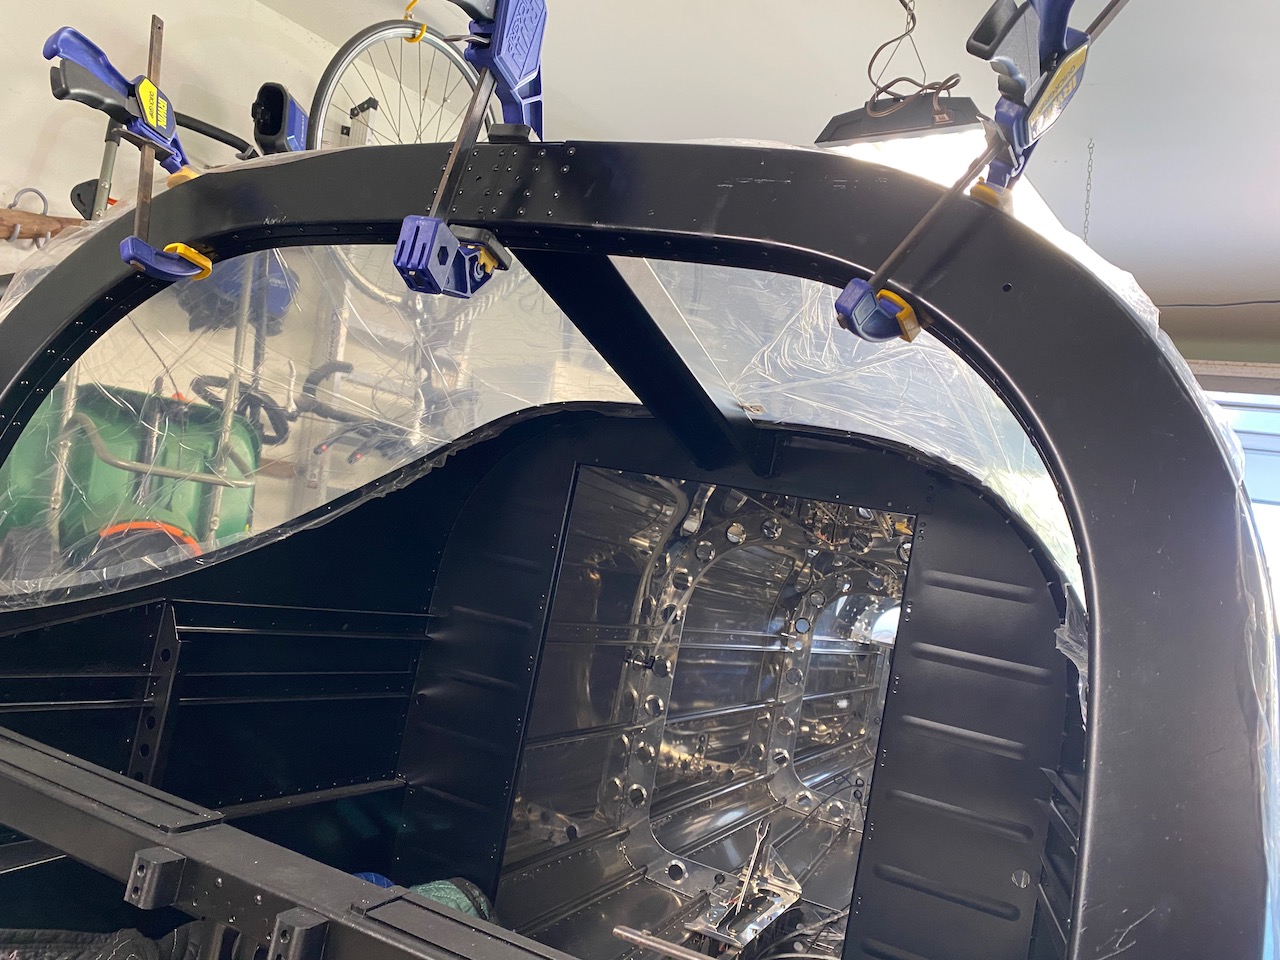
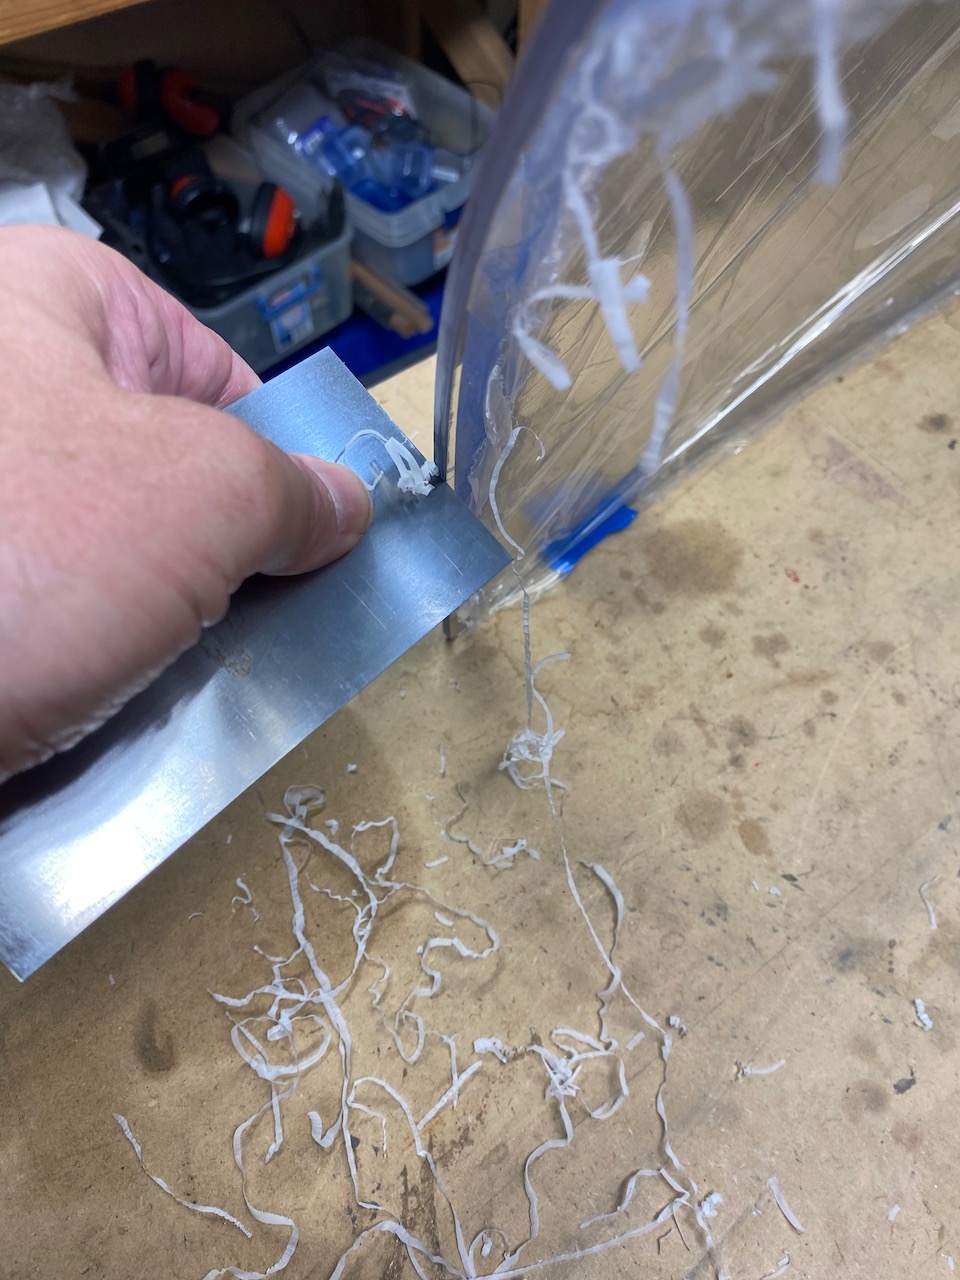
Now, it is on to the canopy and more stress induced drilling. First was trimming the trailing edge of the plexiglass to align with the forward edge of the rear window.
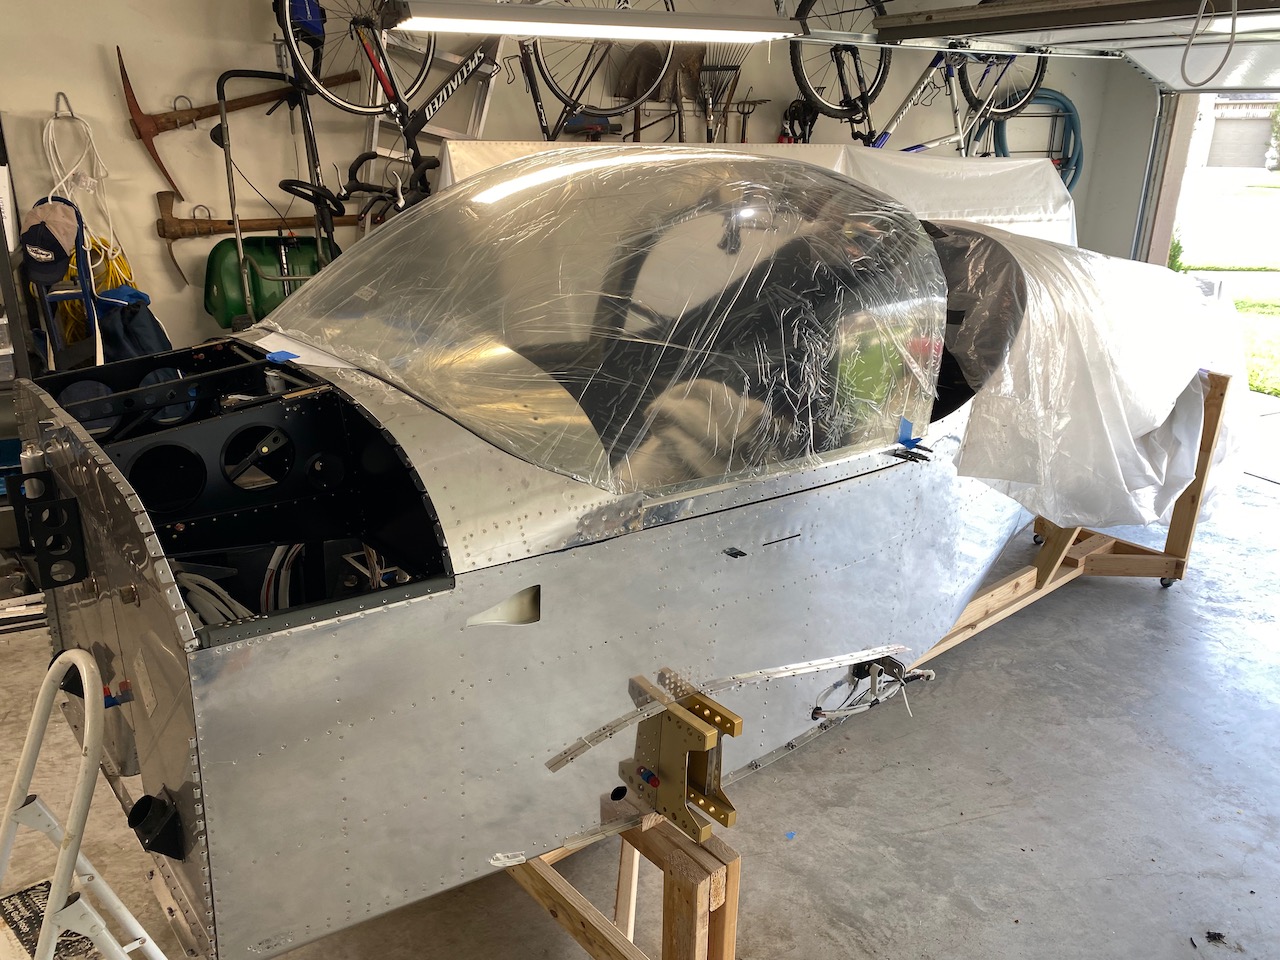
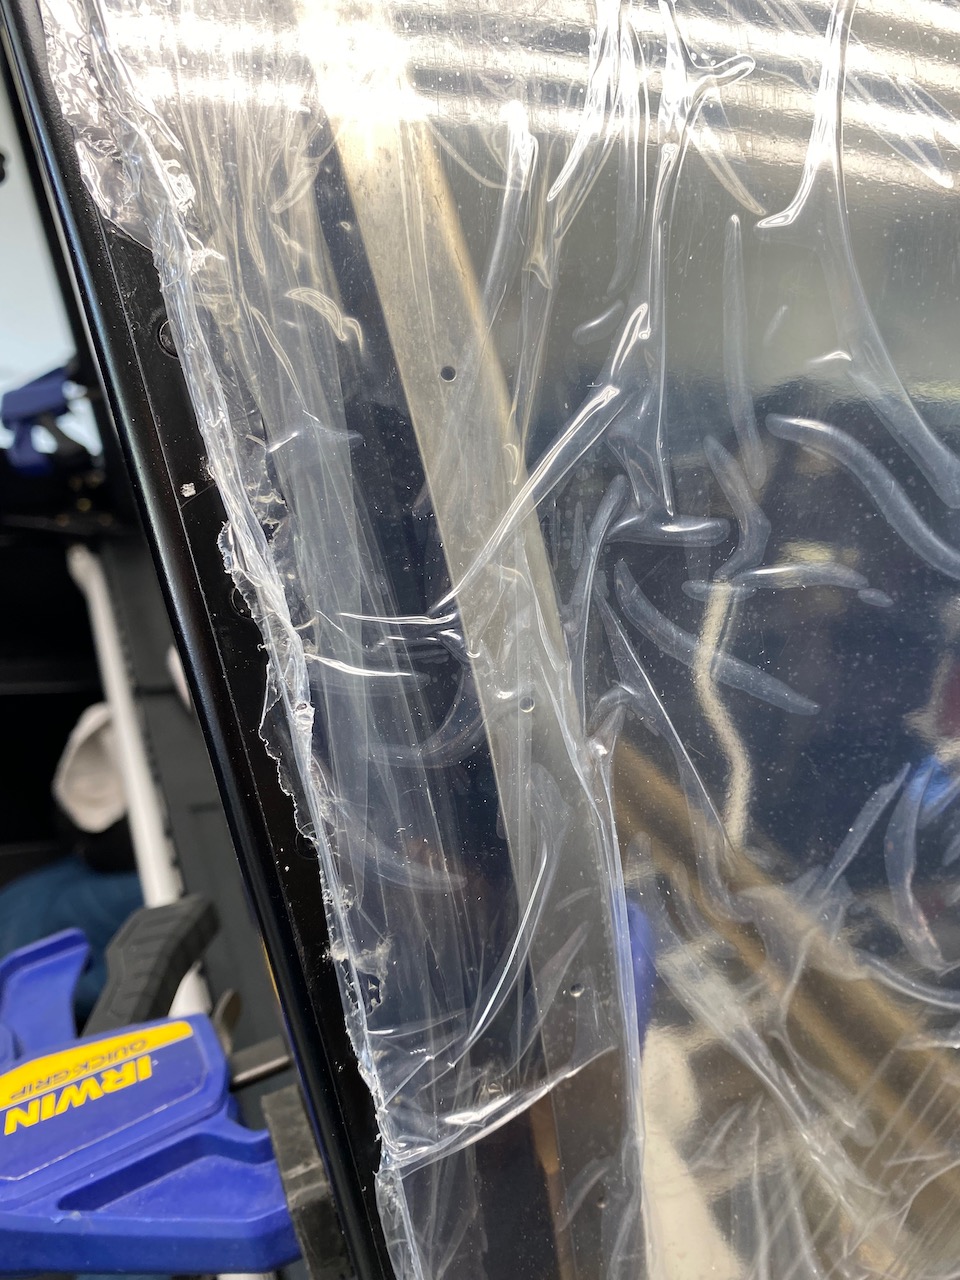
To trim properly, the rear window was attached, and the canopy removed and installed several times during the trimming process. By the way, I plan to keep as much of the protective plastic on the canopy for as long as possible to prevent scratches.
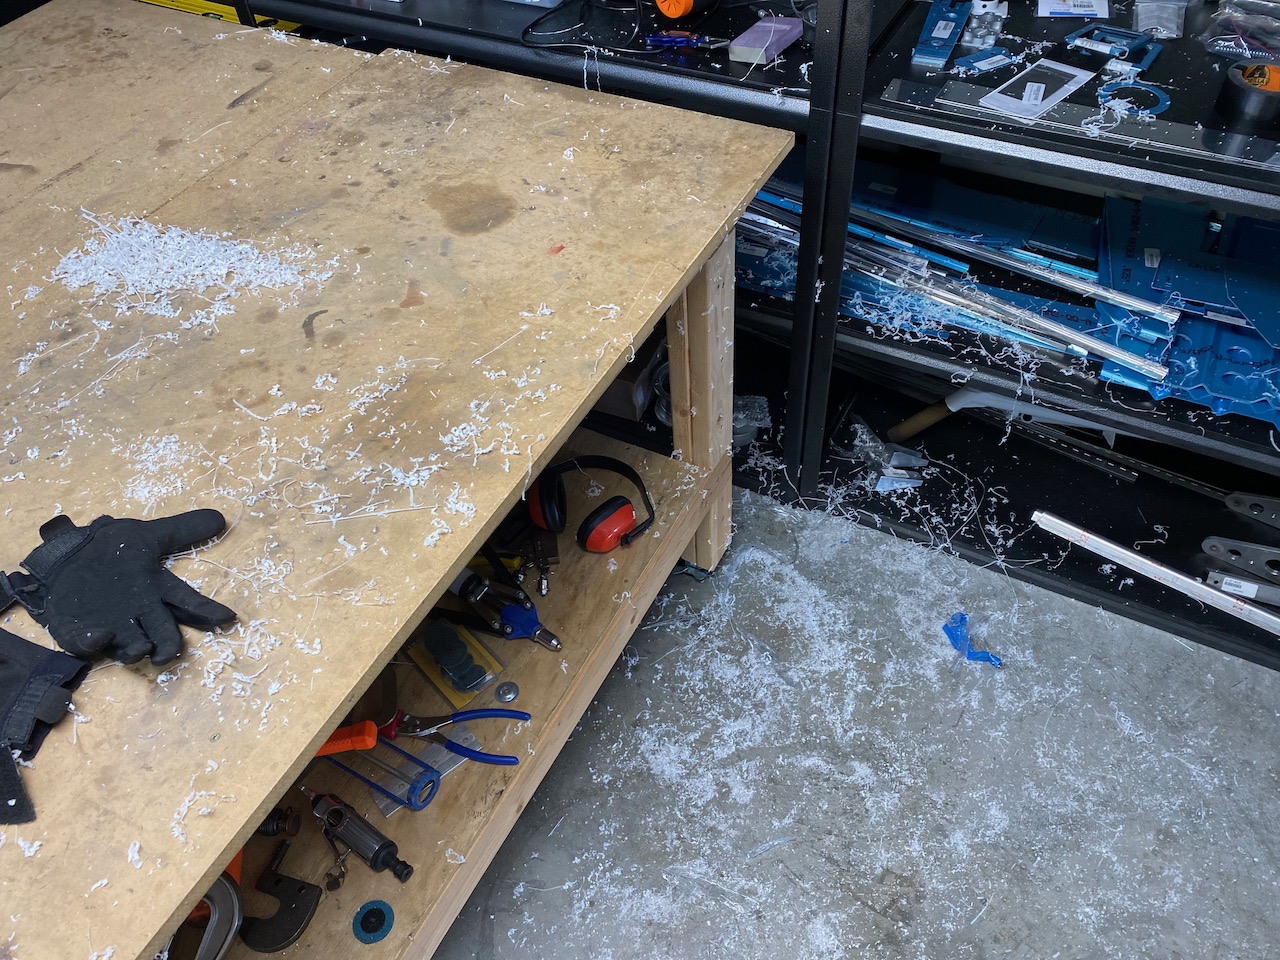
Trimming was very slow. I used a furniture scraper to shave plexiglass off the trailing edge one micrometer at a time. This took over 9 hours to do leaving much plexiglass shavings all over the shop. The reason I went this route because I didn’t want to cut too fast or slip with a power tool or dremel tool. The canopy is worth over $1000 (my guess).
The final steps for the canopy included drilling into the canopy and side rails, or the canopy and roll bar.
No problems, and now it is on to the next big part of this chapter: Fiberglassing the leading edge of the canopy. Stay tuned…

Congratulations – I was all set to get started on my canopy last Spring and then work through a few changes (mainly positive… I think) into the plan and I’ve had a lot of other things jump in the way, but hopefully I’ll be back to my build in a few weeks.