
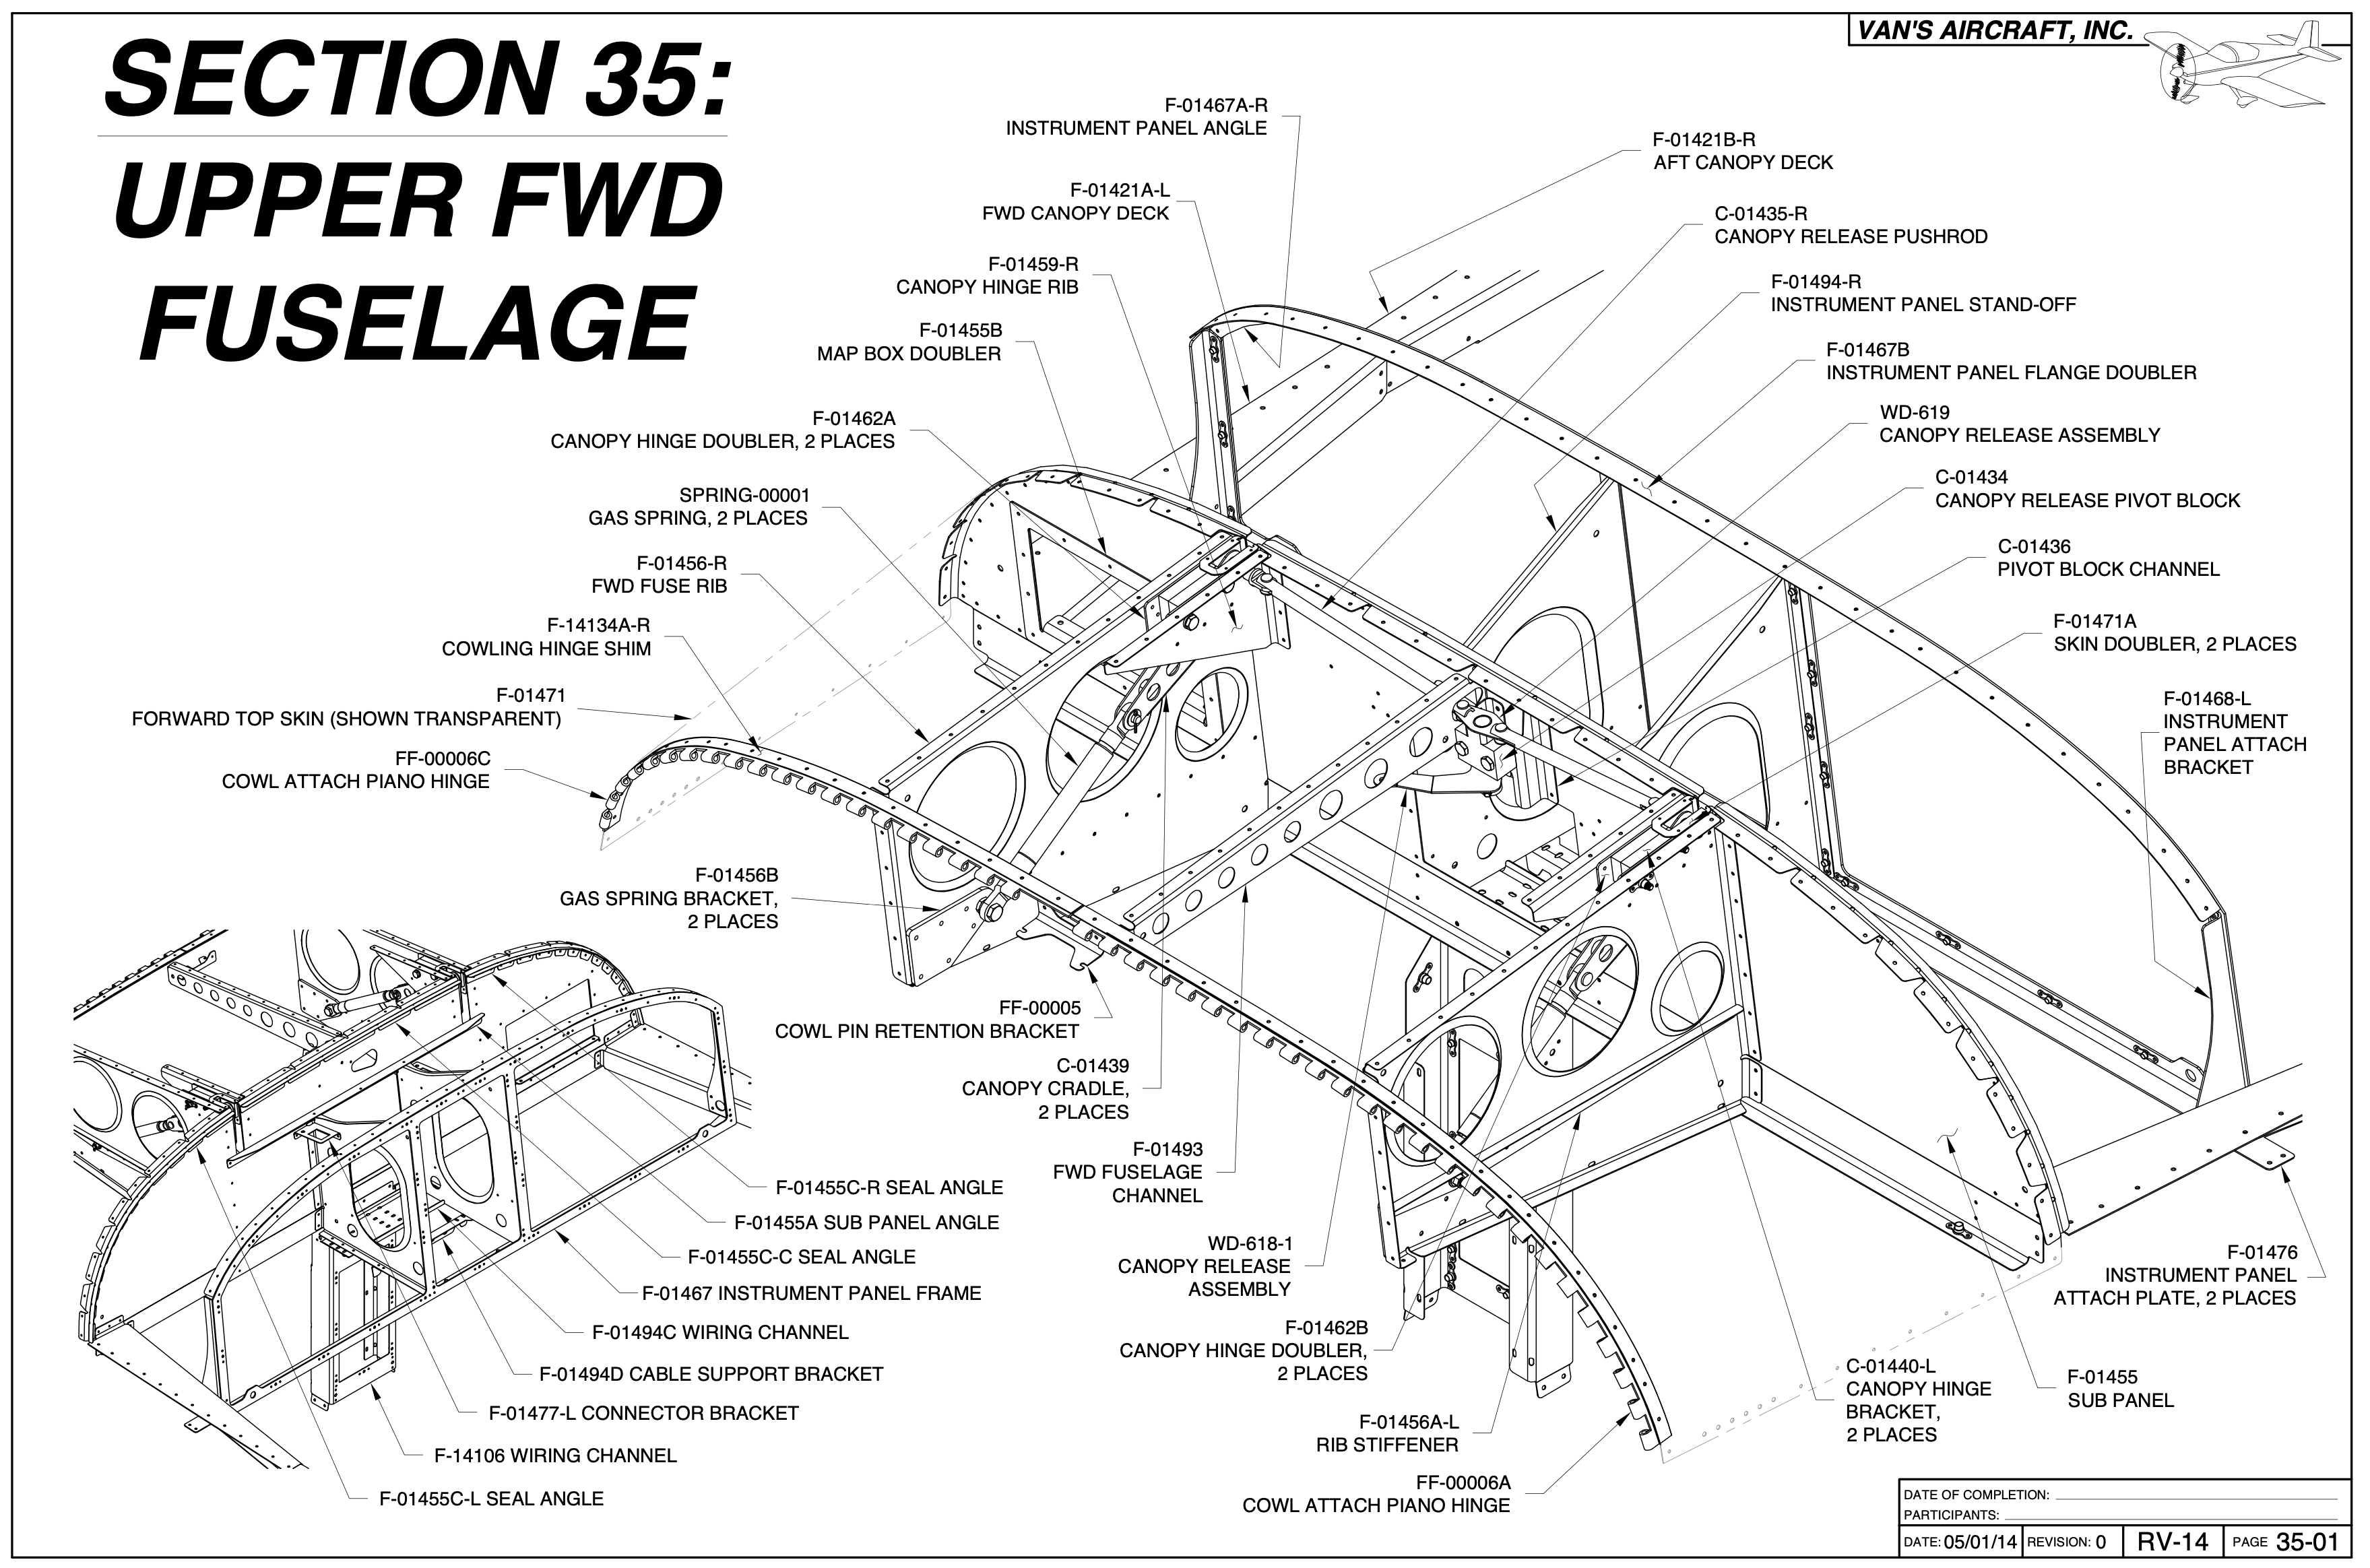
Section 35 was an interesting section because it allowed me to see the eventual shape of the cockpit area including the instrument panel placement.
The usual process of selecting, separating, and deburring the parts was next. However, this time it also included painting any part that will be visible from the cockpit area. As I think I mentioned before, I plan to go with a red and black interior.
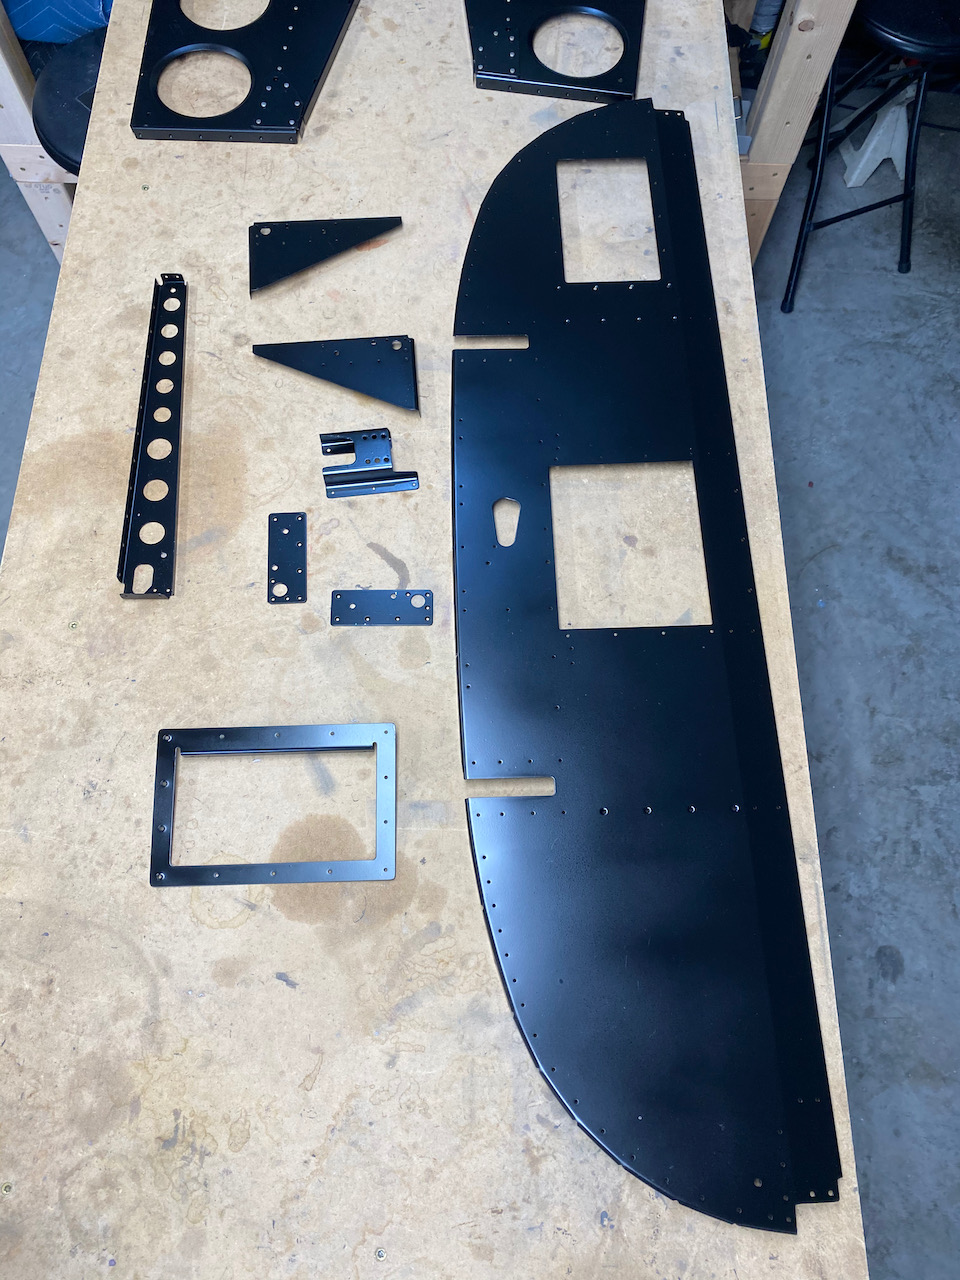
Most of the instrument panel structure was pre-assembled on a bench which made for fairly simple riveting.
Then it was an easy transition to the fuselage with only a few rivets to hold the assembly in place.
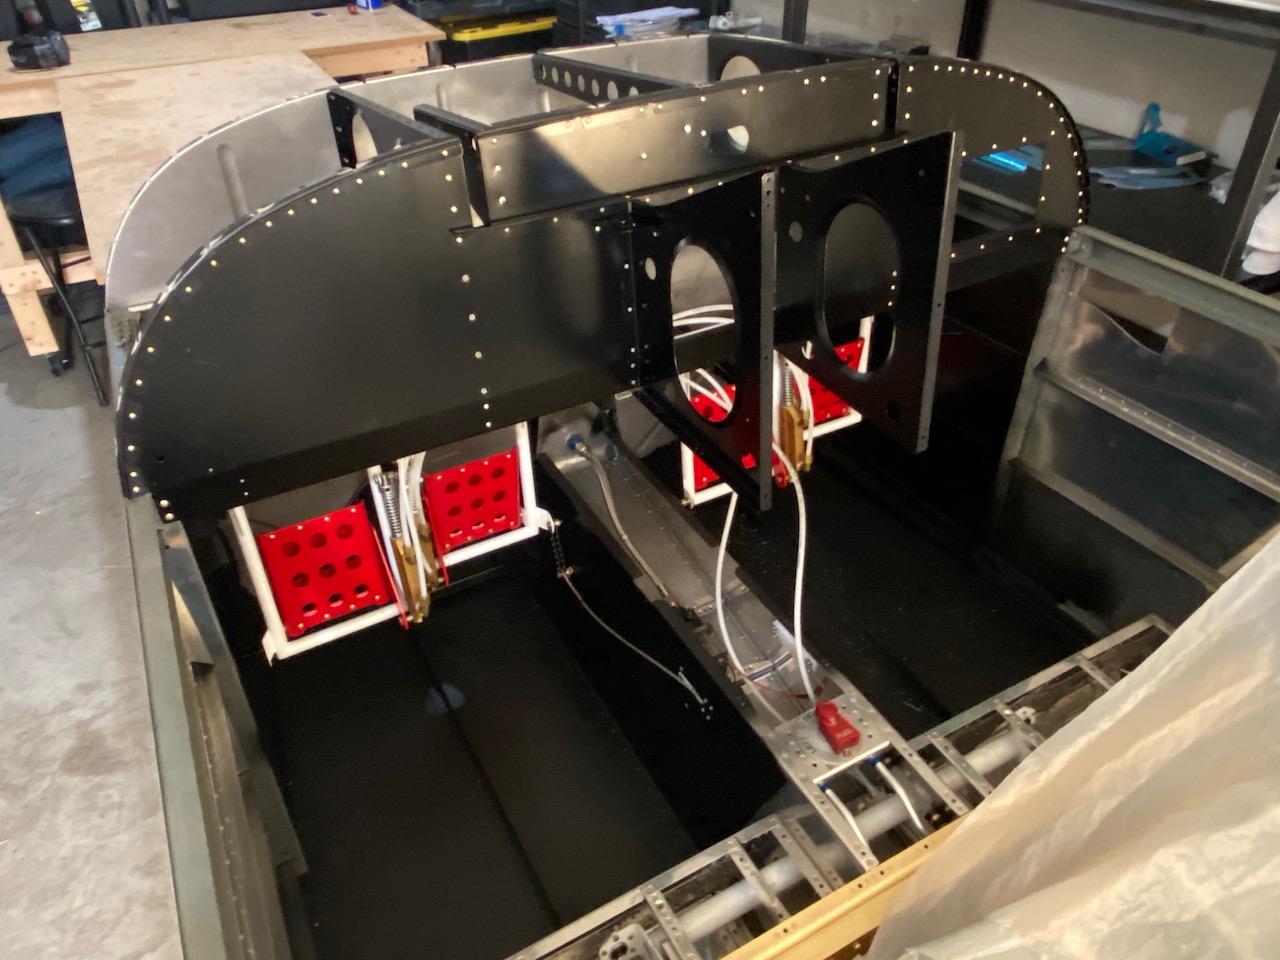
The remaining part was the framework that will hold the eventual and very pricey panel. This part was riveted to the trapezoidal shaped pieces seen in the photo above.
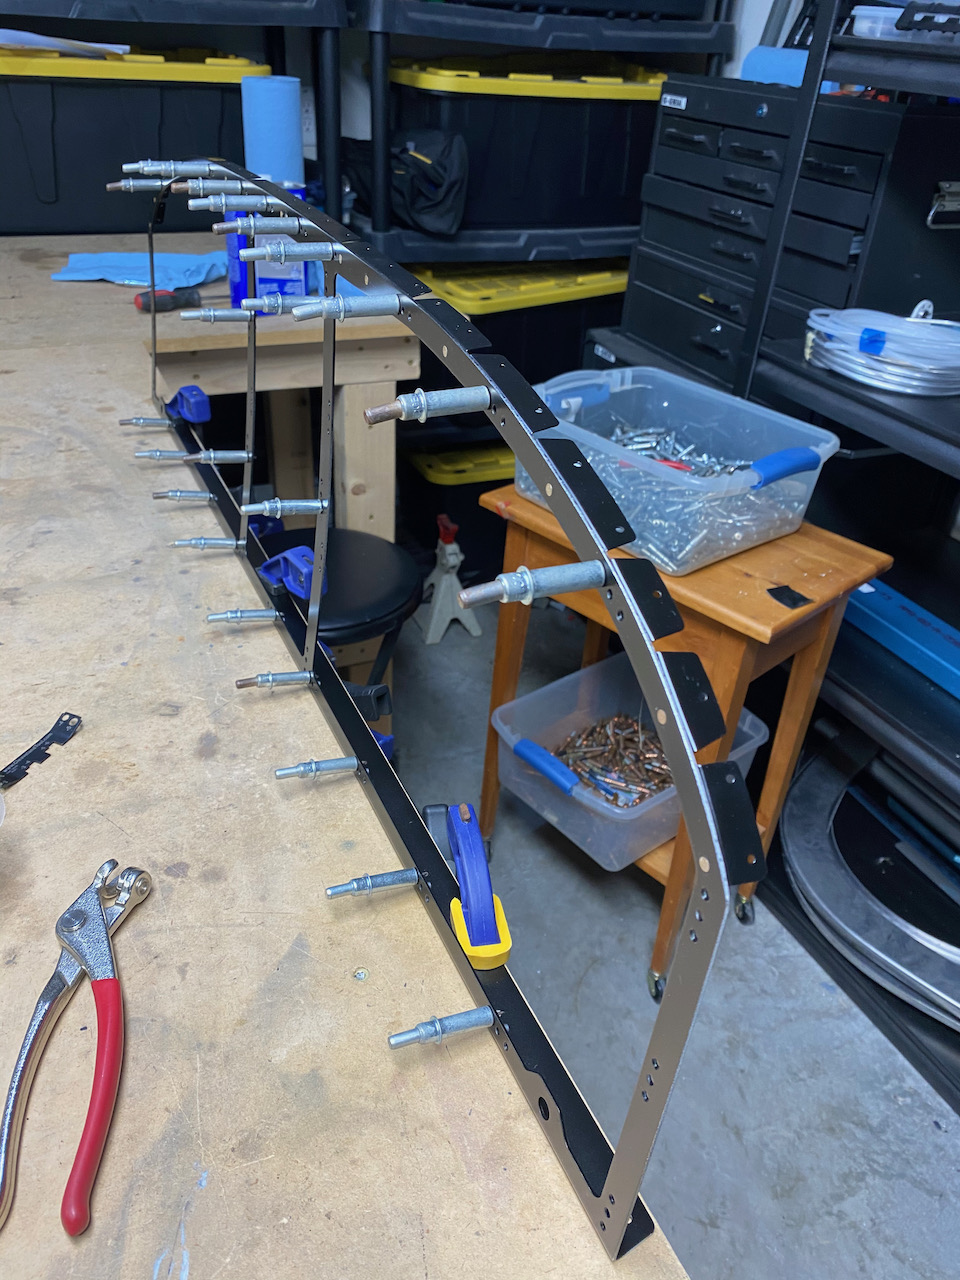
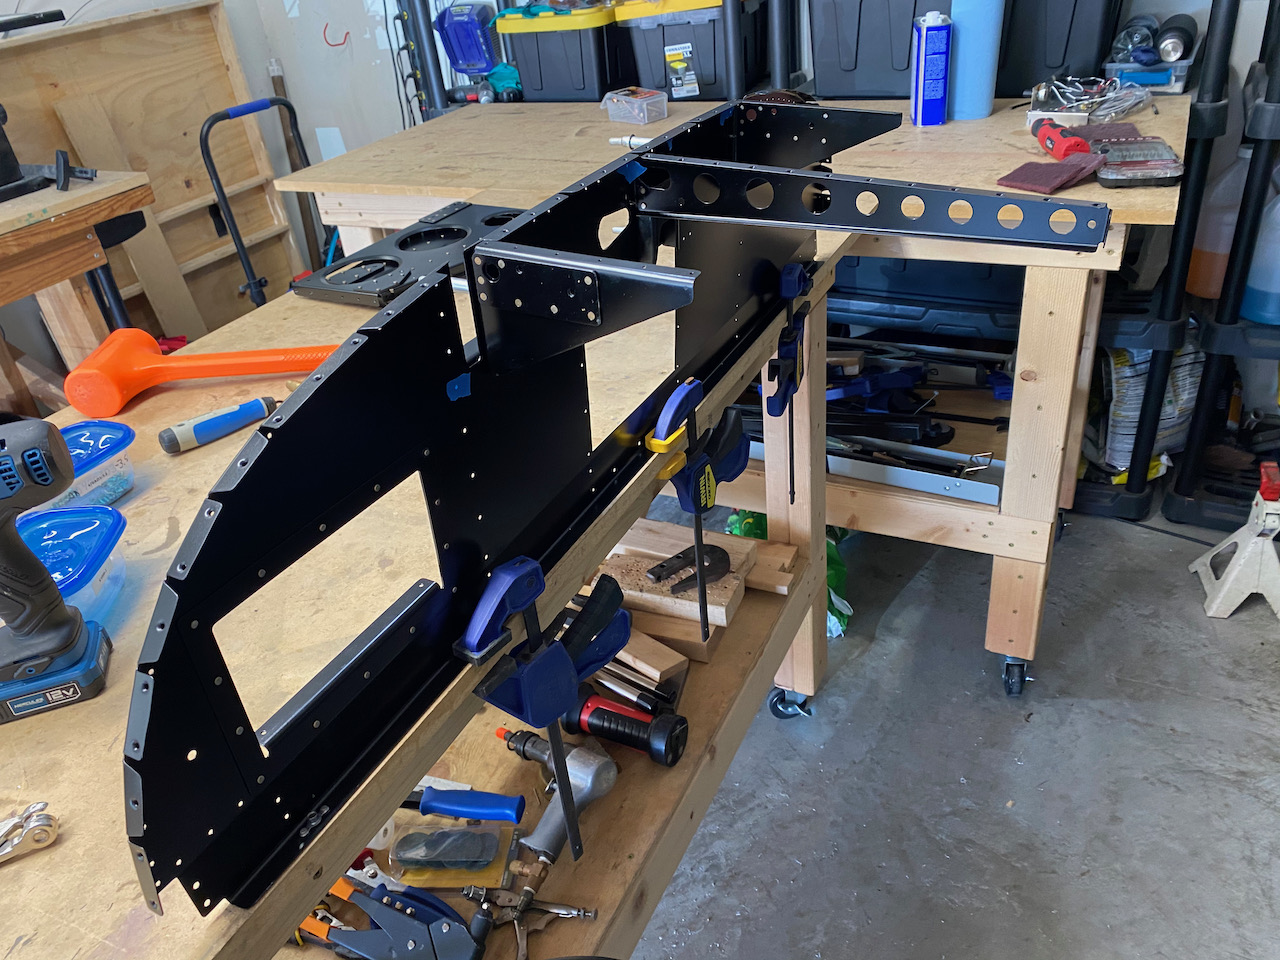
The Canopy decks (the flat pieces along the side of the cockpit area) were riveted to the fuselage using Blind Rivets. I love any step that involves the use of my $19 Harbor Freight Pneumatic Riveter. I learned several months ago that the riveter emits oil out the side with every squeeze, so a diaper needed to be added (you can see the duct tape holding it on the side of the riveter).

The instrument panel structure is pretty much complete here but one problem remains: the rivets are making a pockmarked appearance. So, once again….
…it is time to return to the homemade, and fairly lousy, paint booth for a quick touch-up.

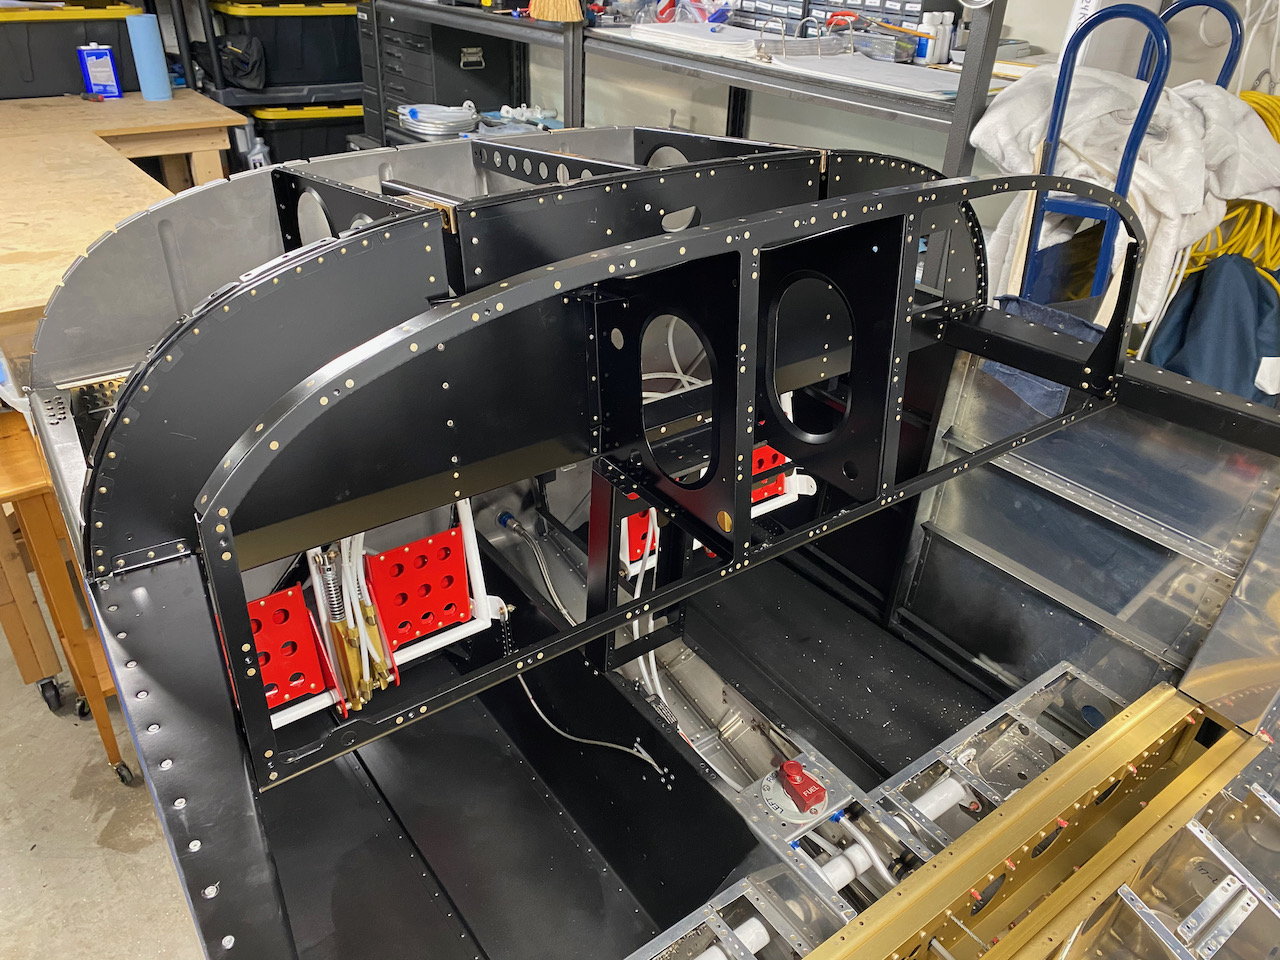
It looks a lot better here.
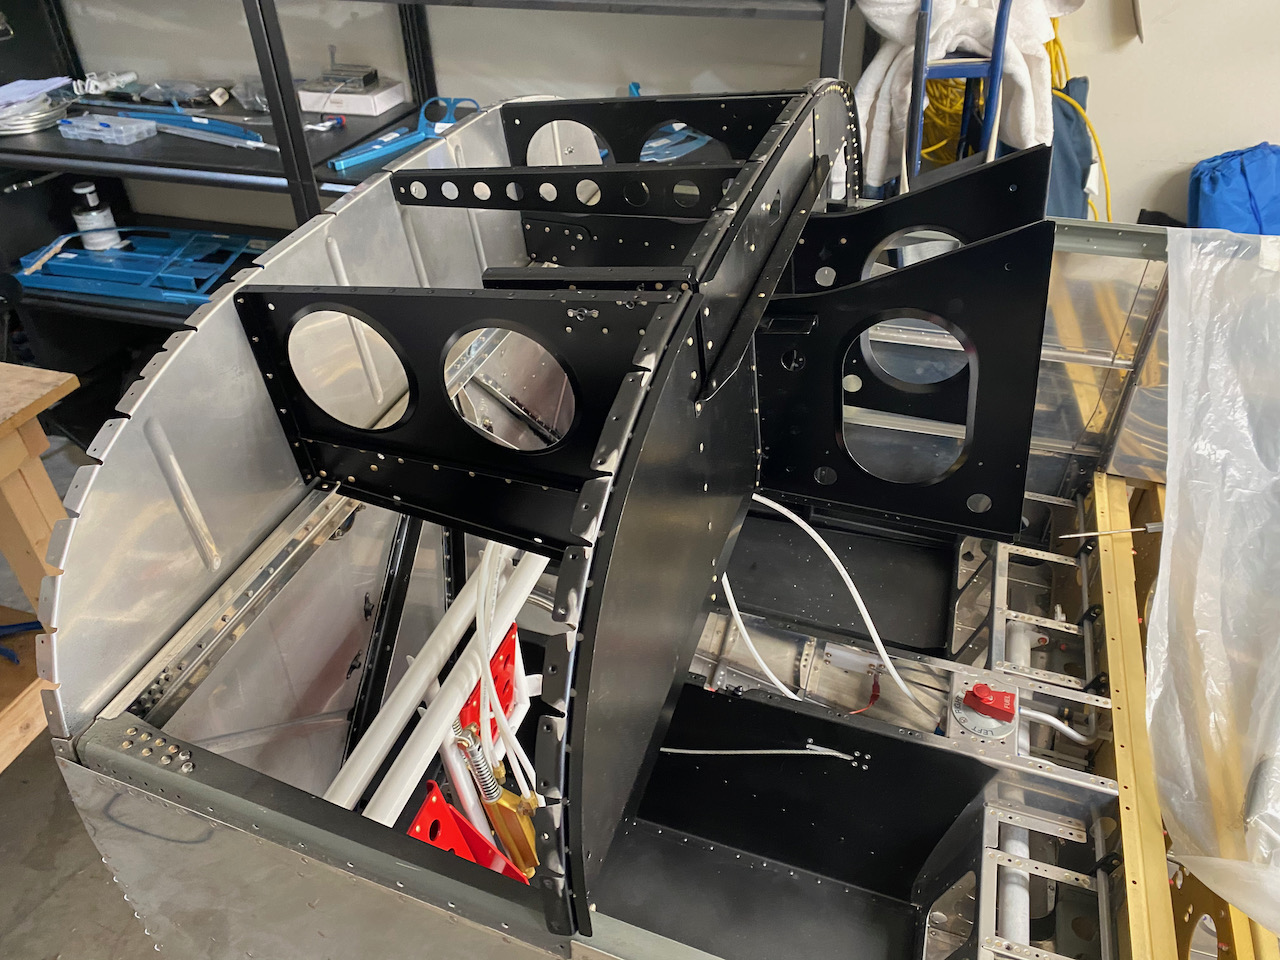
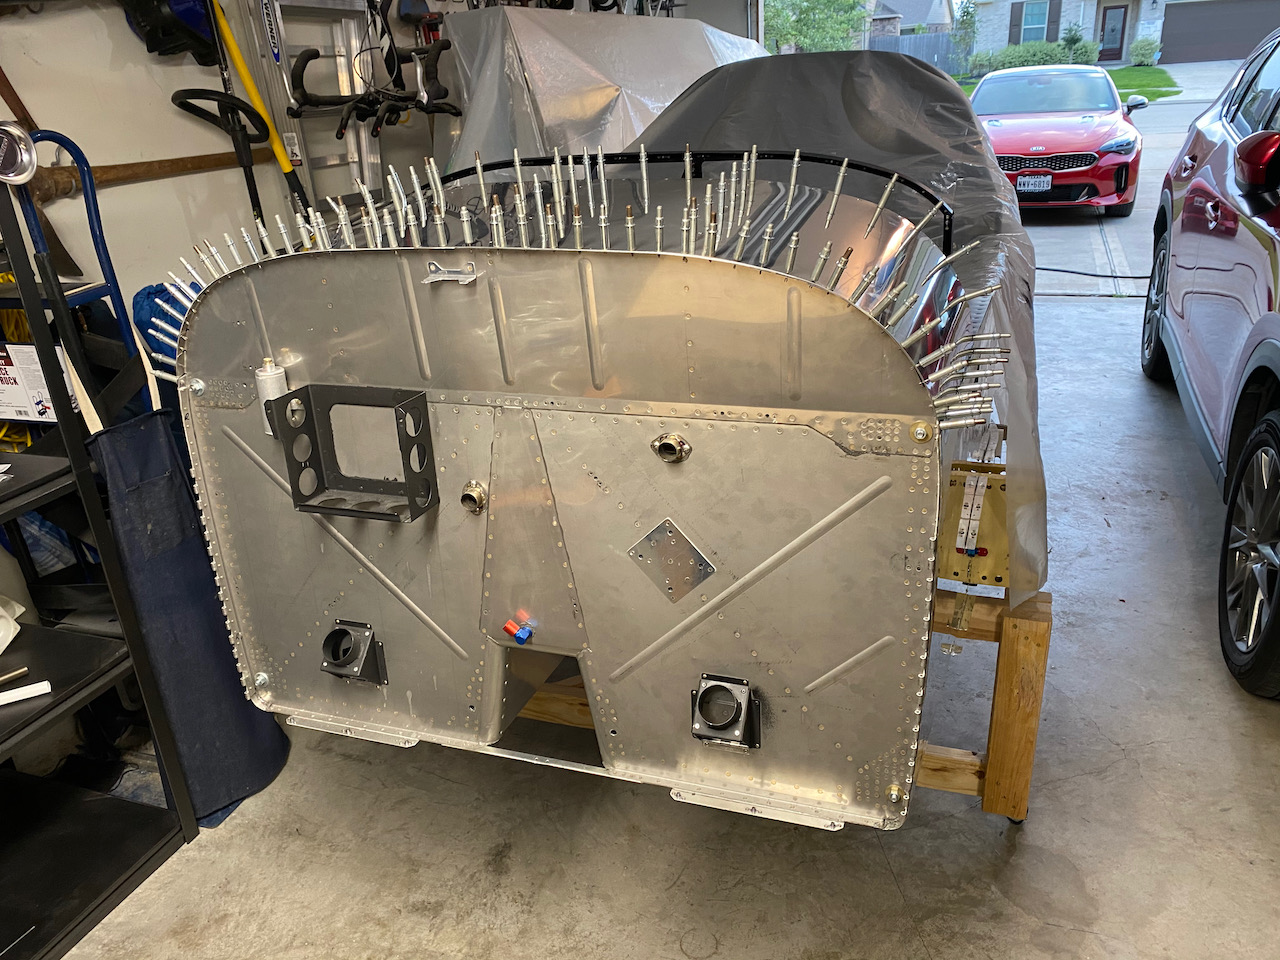
This is looking underneath at the panel that can hold the circuit breakers. However, I plan to use the Vertical Power electronic circuit breaker system eliminating traditional circuit breakers. The big rectangle area will be covered with a piece of aluminum.
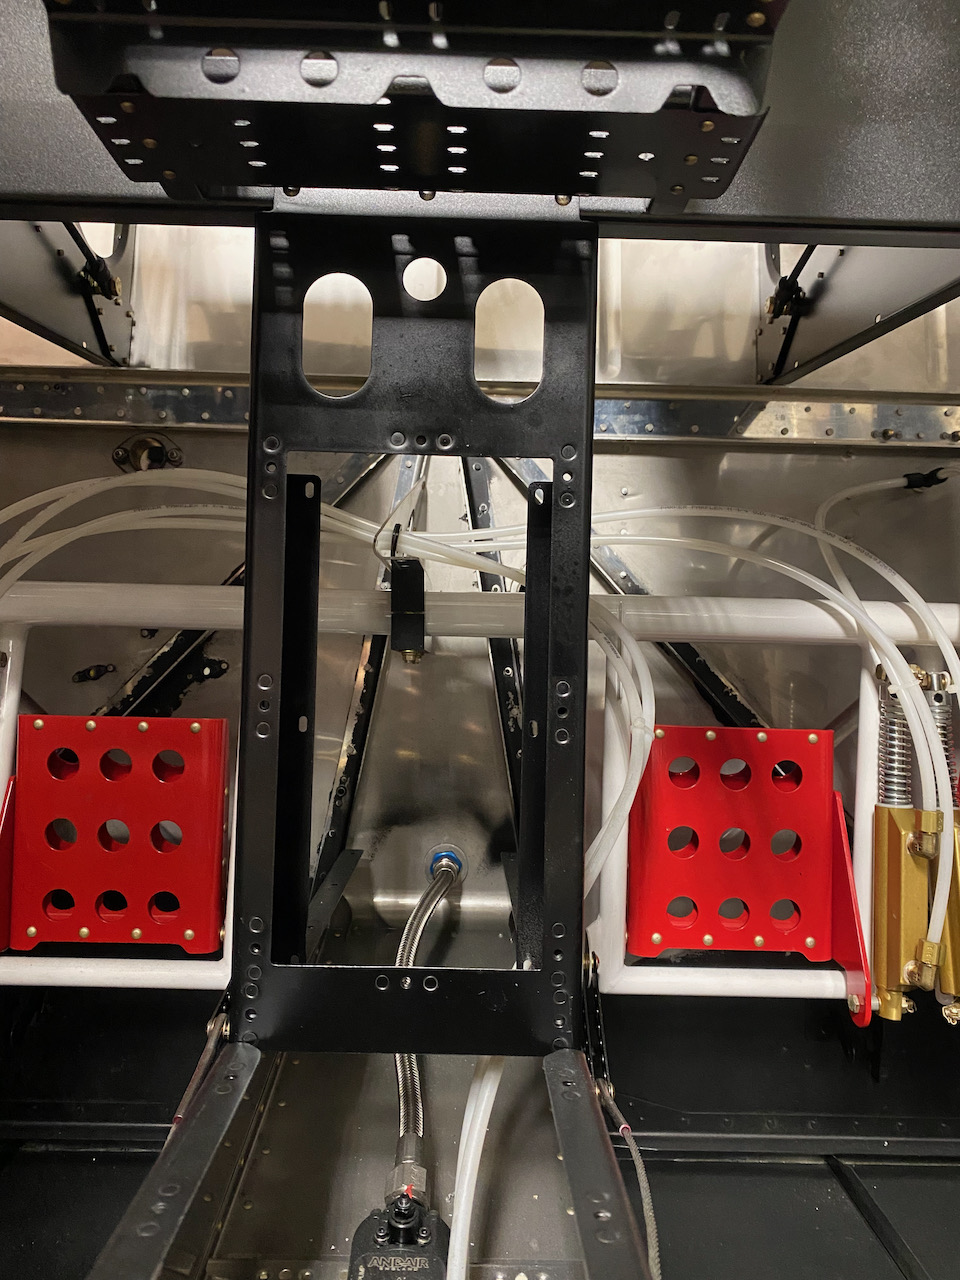
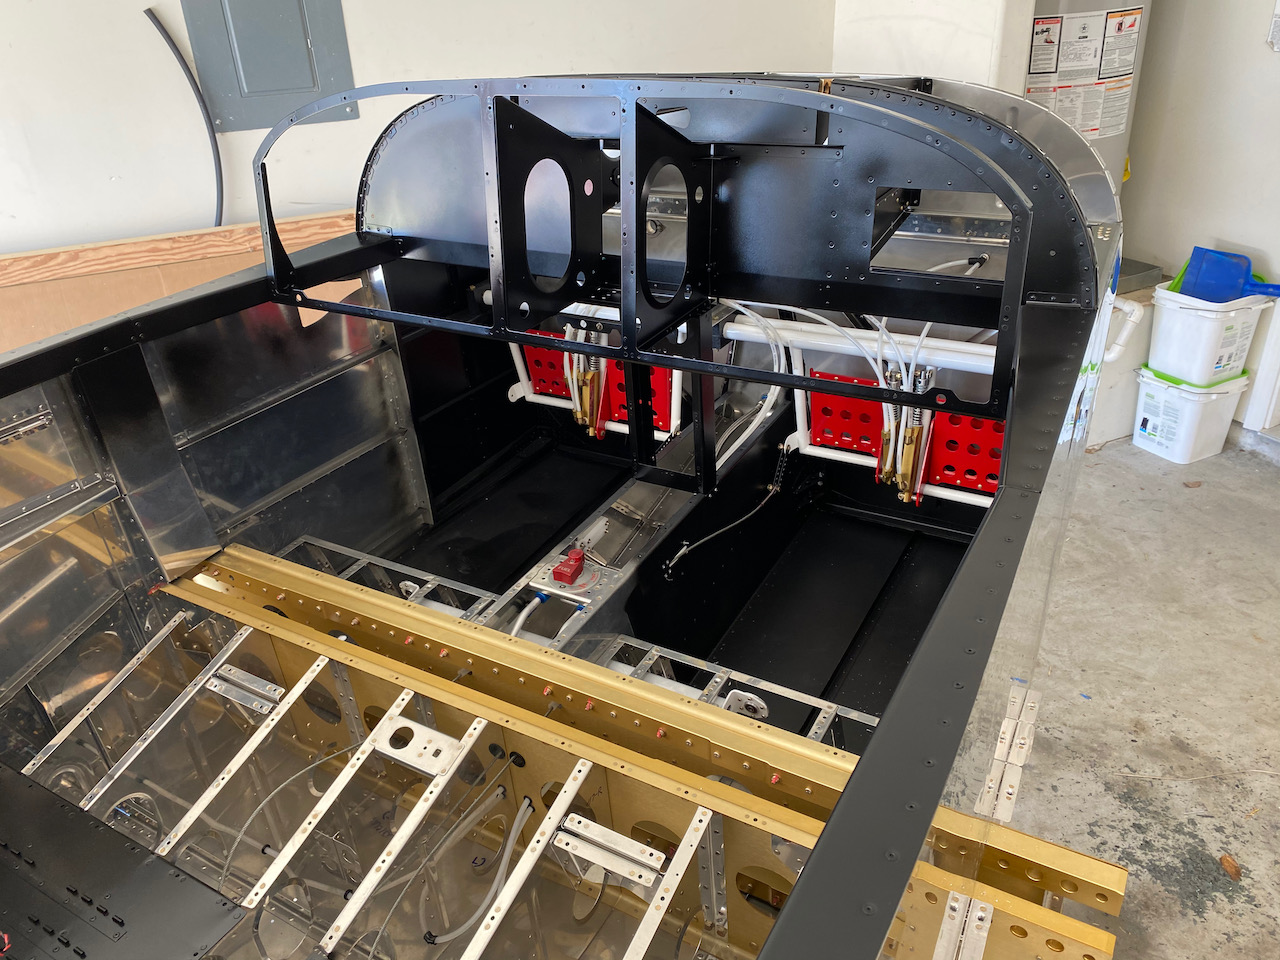
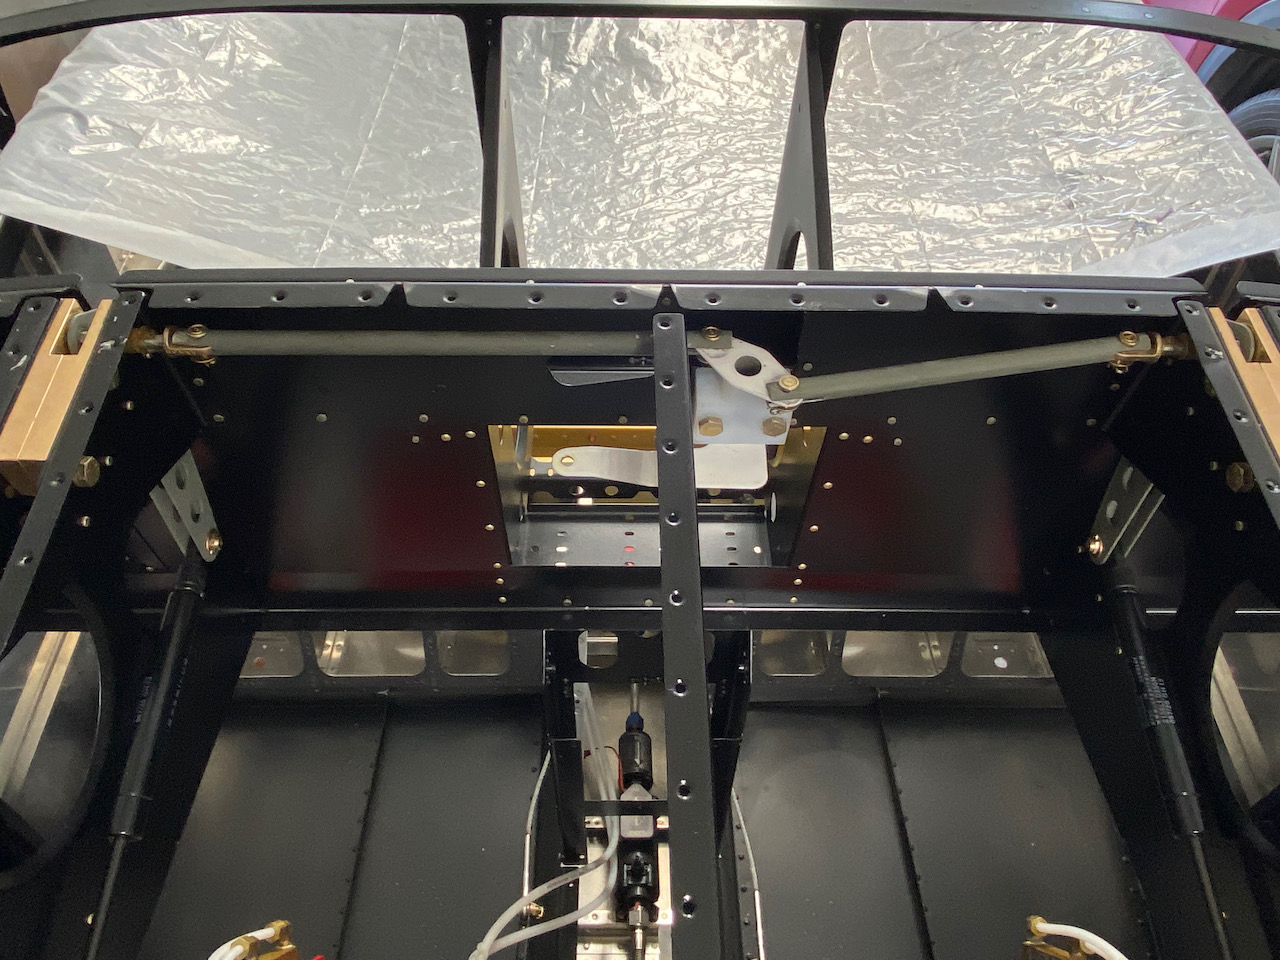
This shows the canopy release system. The canopy tips open forward on a hinge over the avionics area. This handle will release the canopy at the hinge area in case of emergency or when I need to bail out (for those wondering what I just said, that was a joke).
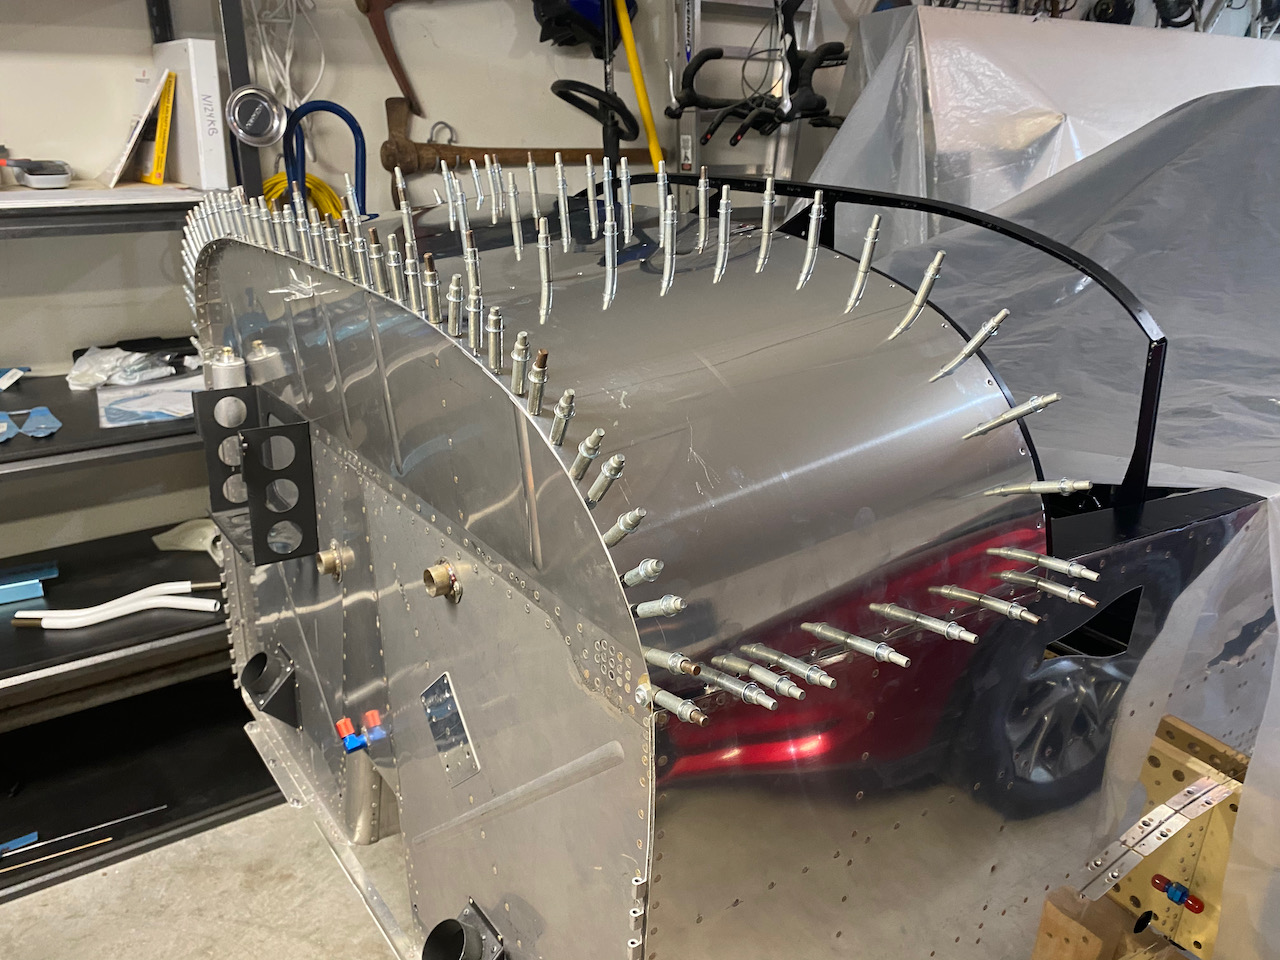
And lastly, the forward skin was prepared for riveting. However, I will not rivet this in place until all the avionics are installed, or the engine cowling is installed, whichever occurs first.

Wow and I thought my Mechano set was complex. Very cool Bob