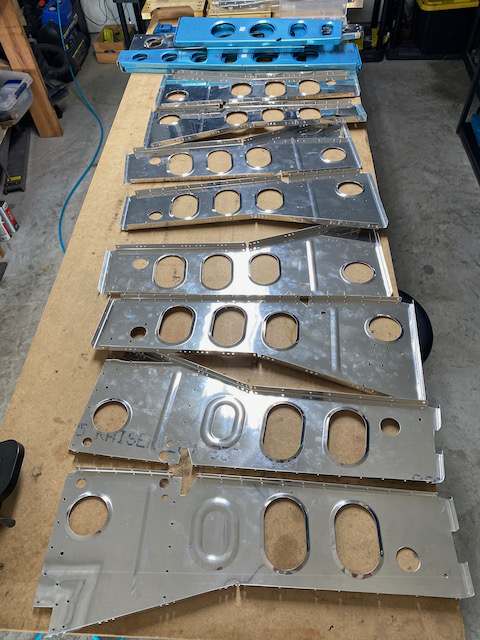
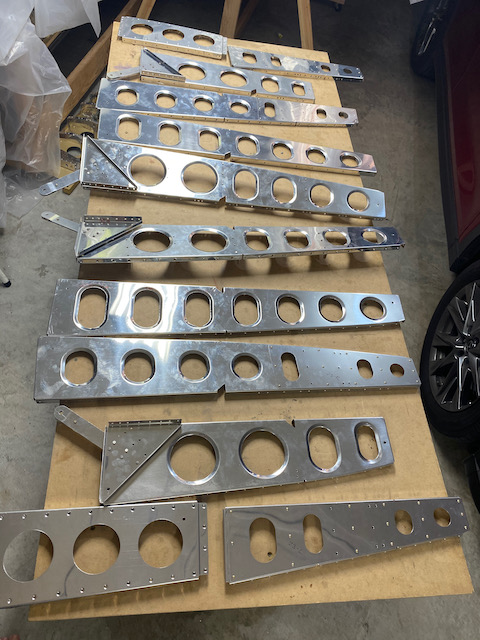
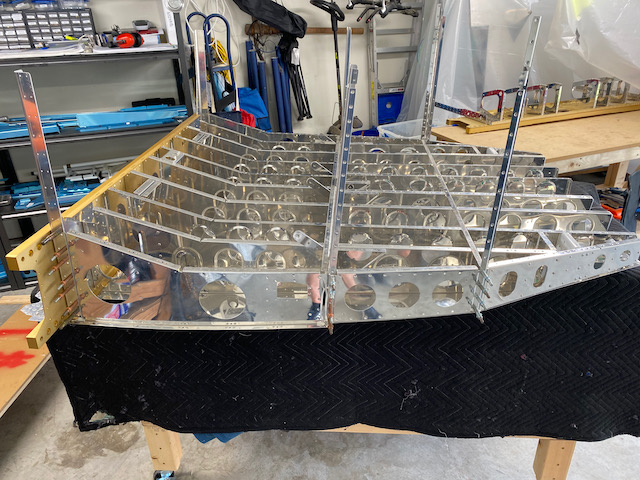
This section certainly took a while. As you can see in the diagram above, it contains a tremendous number of ribs which eventually turn out to be the floor of the fuselage. Basically, the seats in the airplane sit just above these ribs.
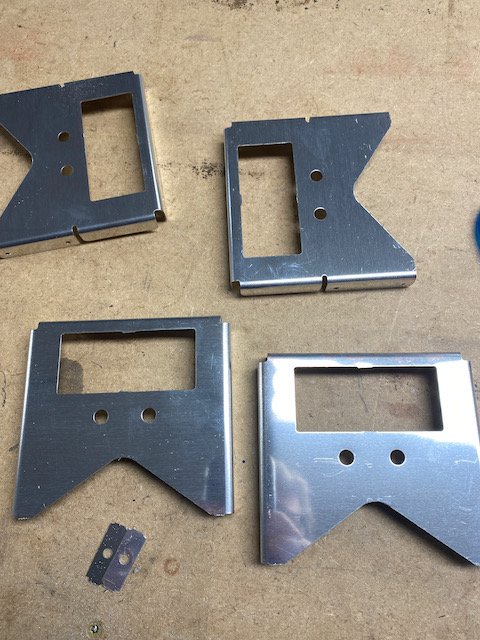
As with any time I work with ribs, the deburring skills get dusted off, and it is off the the races with sanding, buffing, grinding, etc or whatever is needed to get rid of burrs in each of the nooks and crannies.
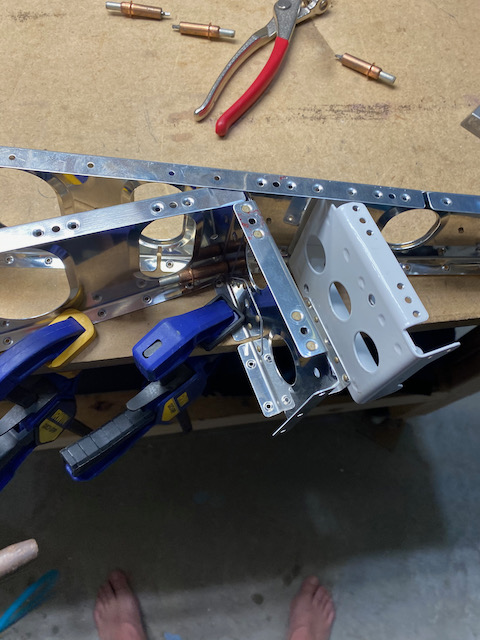
The ribs on the side of the lower structure were cleco’d to the bottom skin. The purpose was to flute the flanges to make sure they curved in the correct amount to correspond to the curvature of the bottom skin.
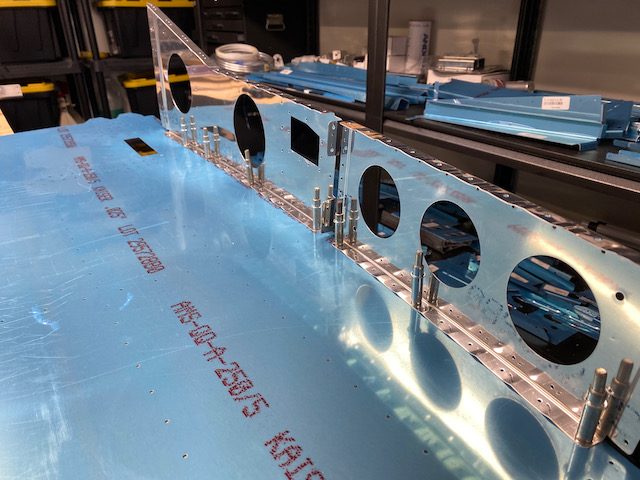
You can make out the curvature towards the near side of the bottom skin.
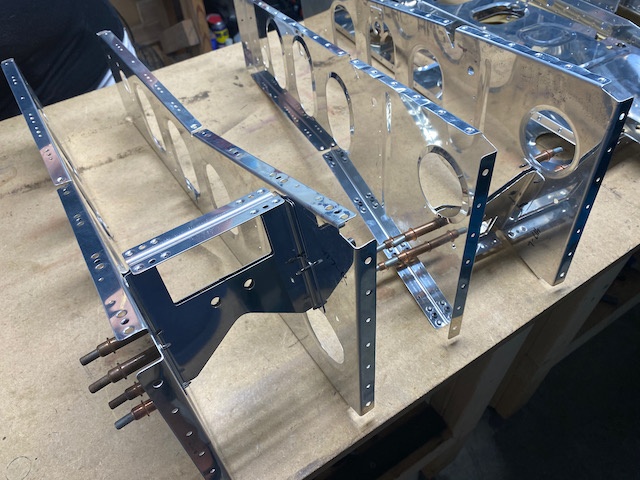
Many detailed steps were needed to put together and rivet all the remaining skins to the spars and to each other. It was very interesting how it all progressed and came together like a jig saw puzzle.


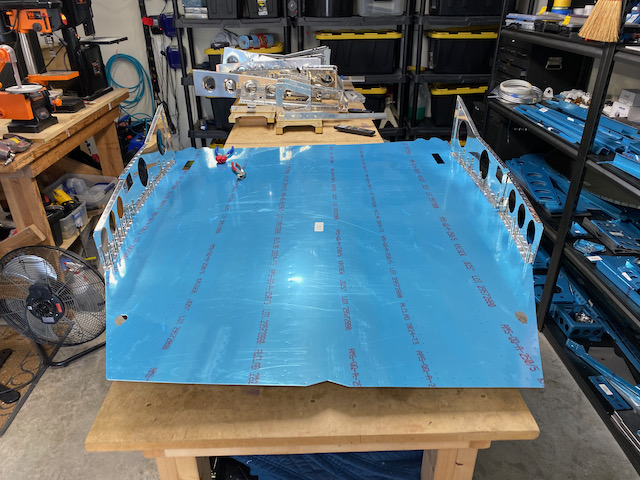
I didn’t get a photo while doing it, but the large bottom skin needed to be dimpled like every other skin. I read somewhere else that there were over 600 dimpled holes in this section.
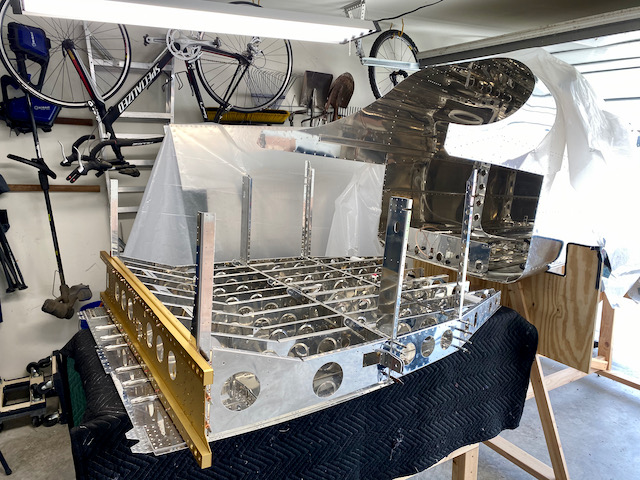
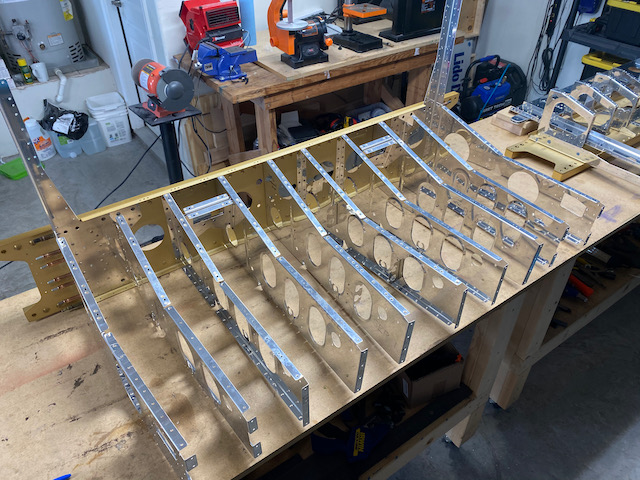
I eventually put all the ribs and the rear main spar together and attached to the bottom skin. It all looked quite massive standing vertically on the work bench.
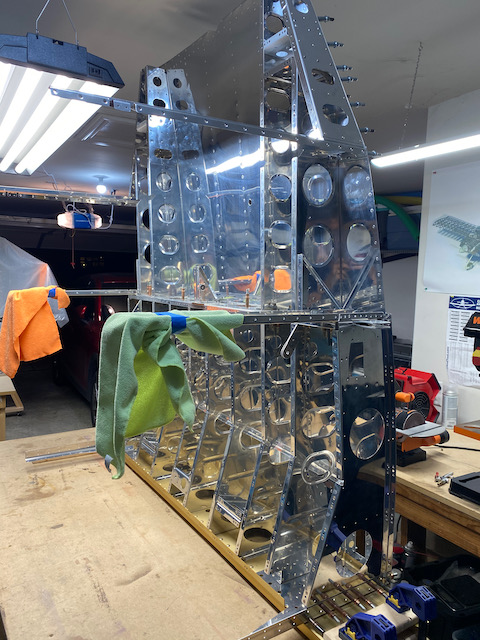

Because of its height, to get to the rivets near the top, or rear section of the bottom skin, the assembly needed to be lowered to the floor and put on a mini workbench. All this aluminum work also requires a bit of carpentry skills.
With my co-pilot, I eventually got through all the riveting of the bottom skins to the rib sections. This was kind of a big job.

Moving the lower structure up near the rear part of the fuselage, and while squinting really hard, I could start to the see the shape of an airplane. Sort of…