
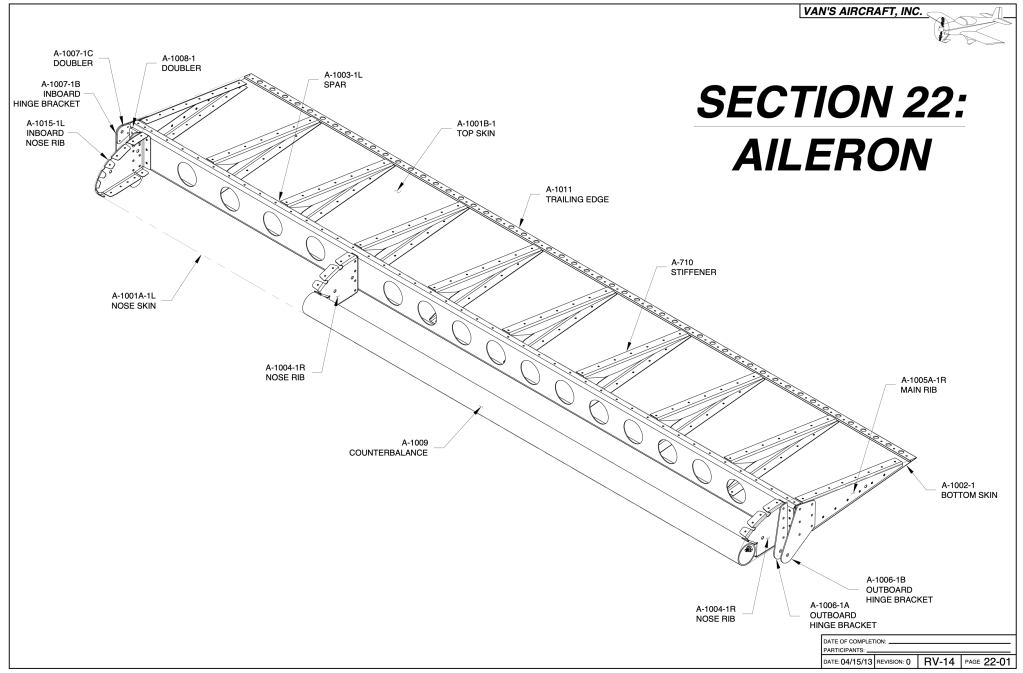
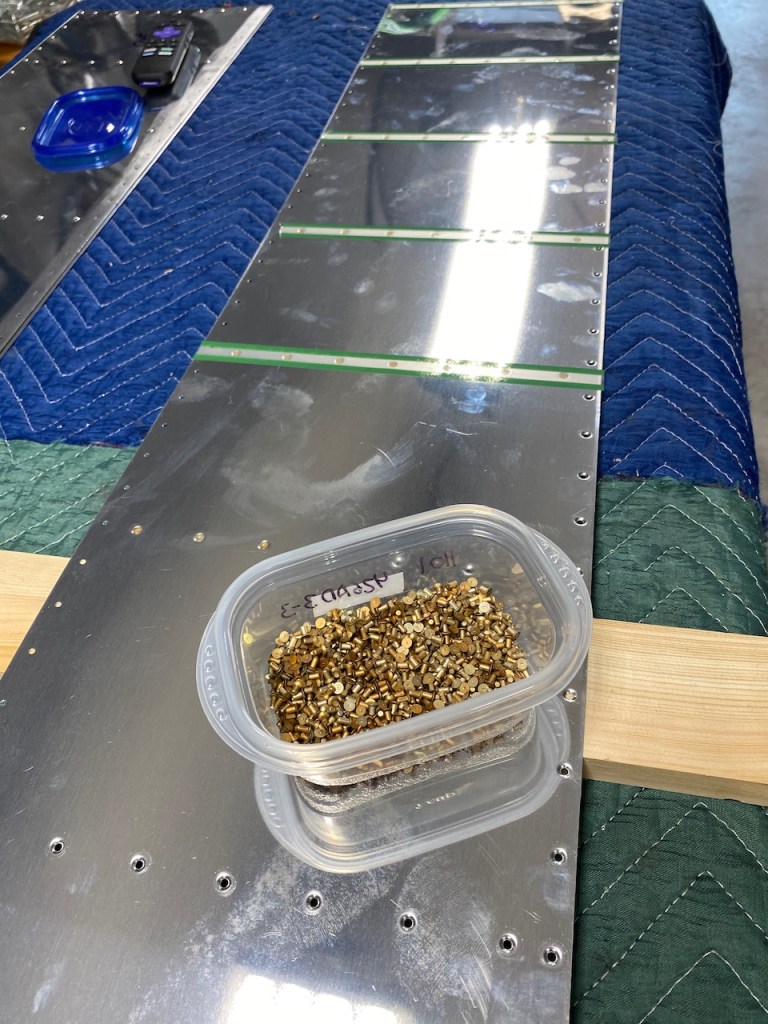
The ailerons are very similar to the flaps in assembly techniques except they are about 30% smaller. The only difference is the presence of a large stainless steel tube underneath the leading edge that acts as a counterweight. So, instead of repeating what was written in the section from flaps (and maybe I am lazy), I will mostly let the pictures do the talking.
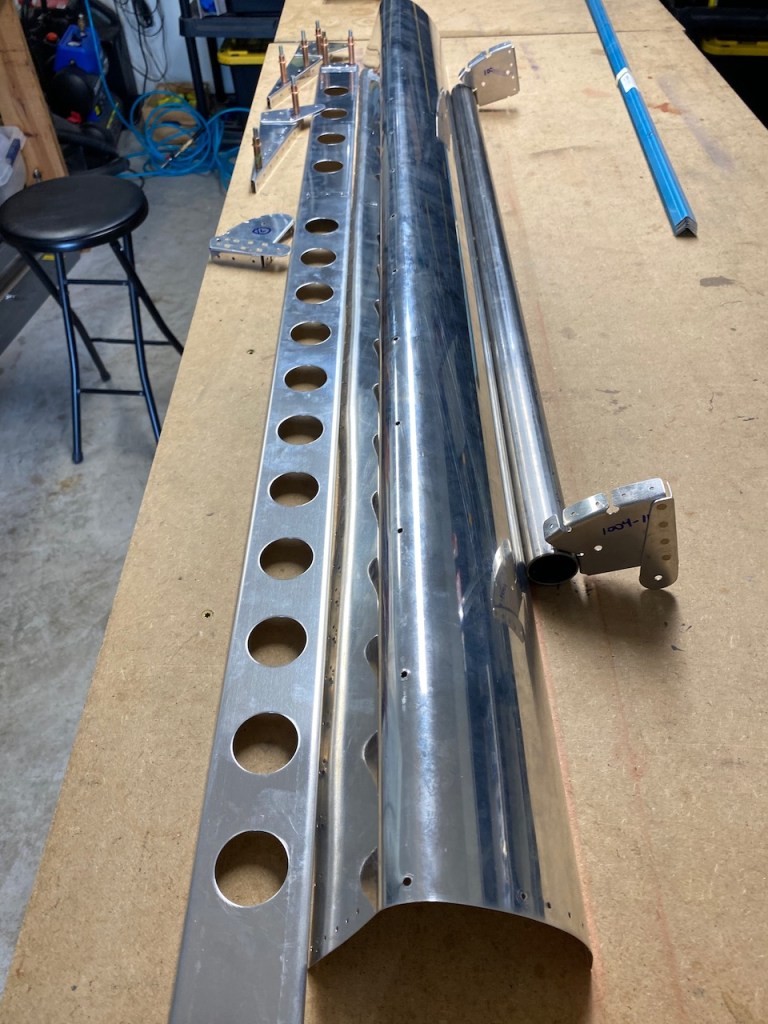
The counterweight can be seen here on the right attached to some ribs, and cleco’d underneath the leading edge skin in the 2nd photo.
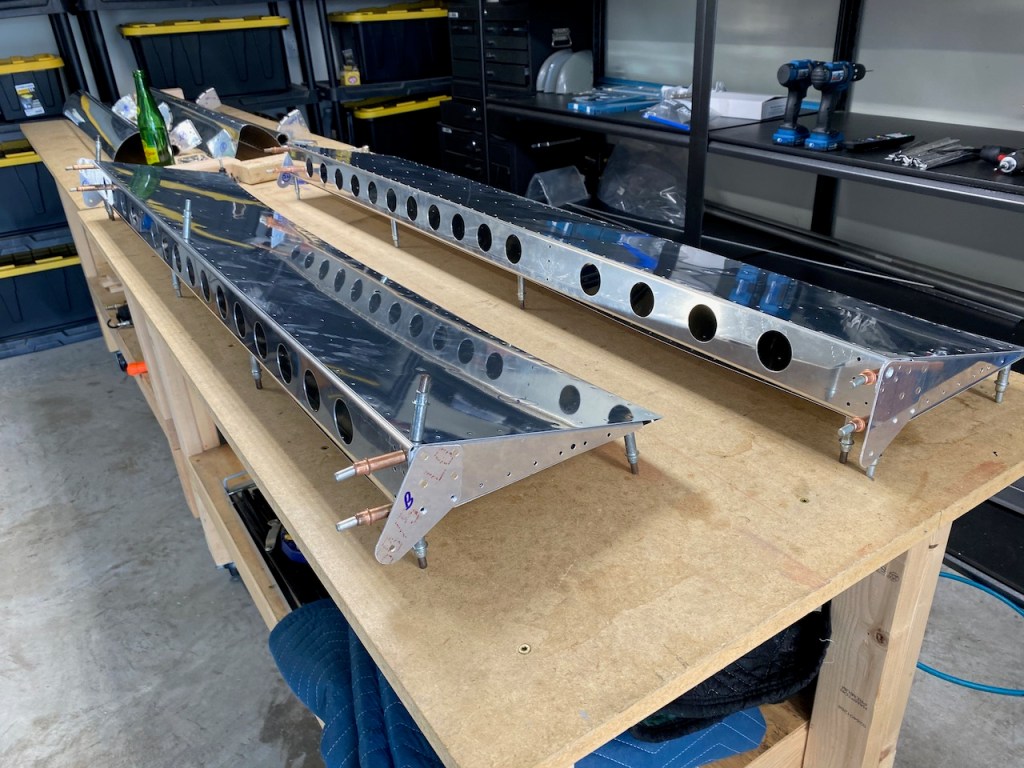
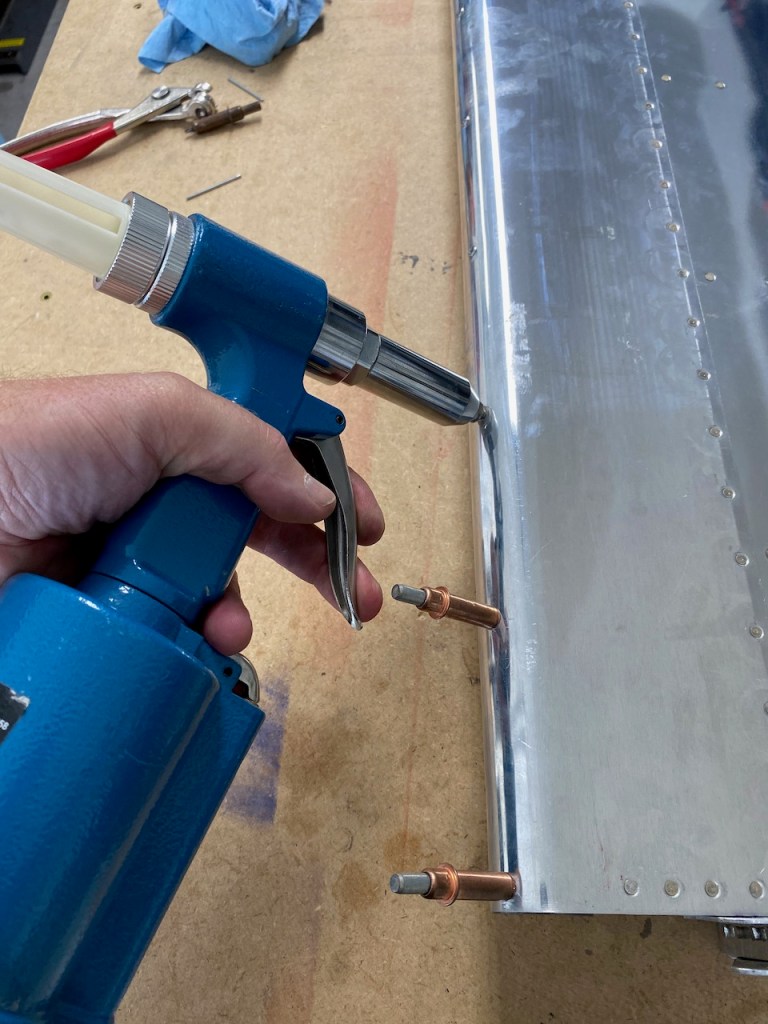
The ribs on the aileron skins were back riveted. As explained before, this is where you use a steel plate on the manufactured head of a rivet and you use the rivet gun on the shop head of the rivet. It is basically riveting backwards. This method, when it can be used, produces the most consistently nice rivets.
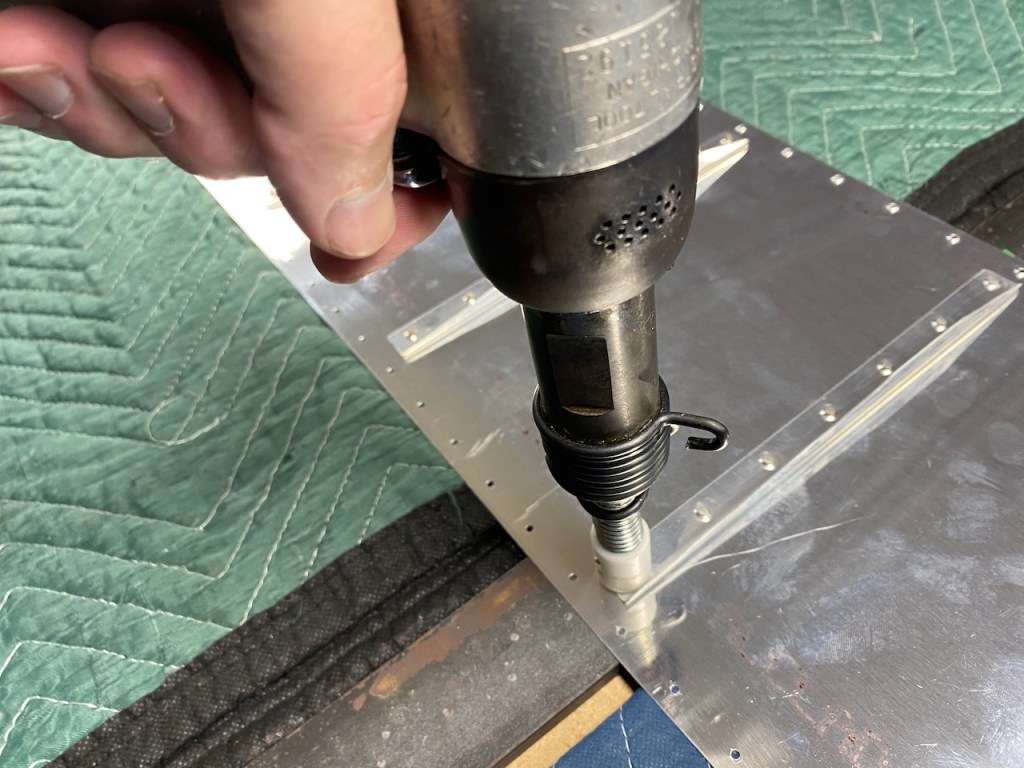

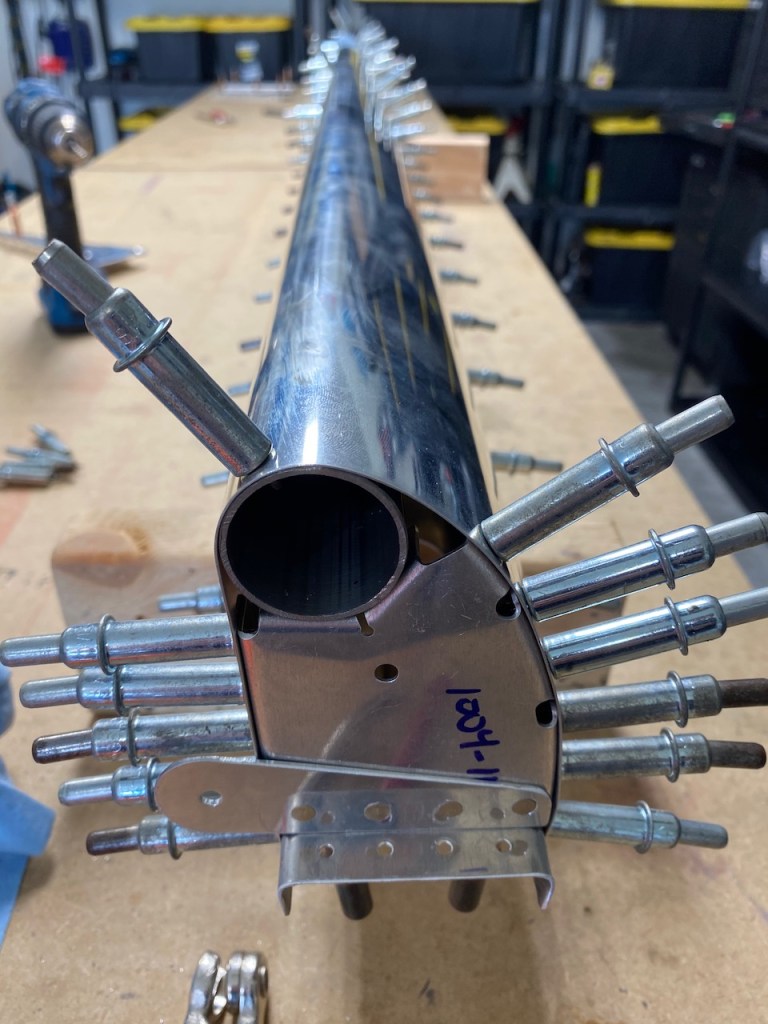
The counterbalance, after holes are drilled through the skin, are blind riveted. Having room to use a pneumatic pop rivet gun is always a bonus.
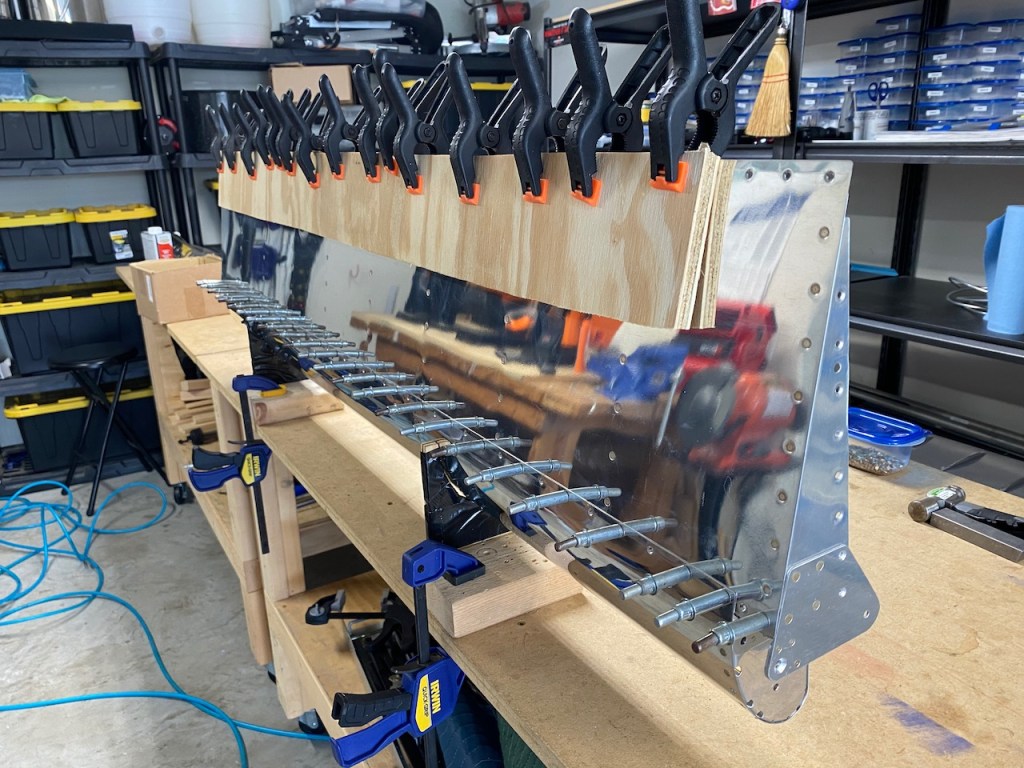
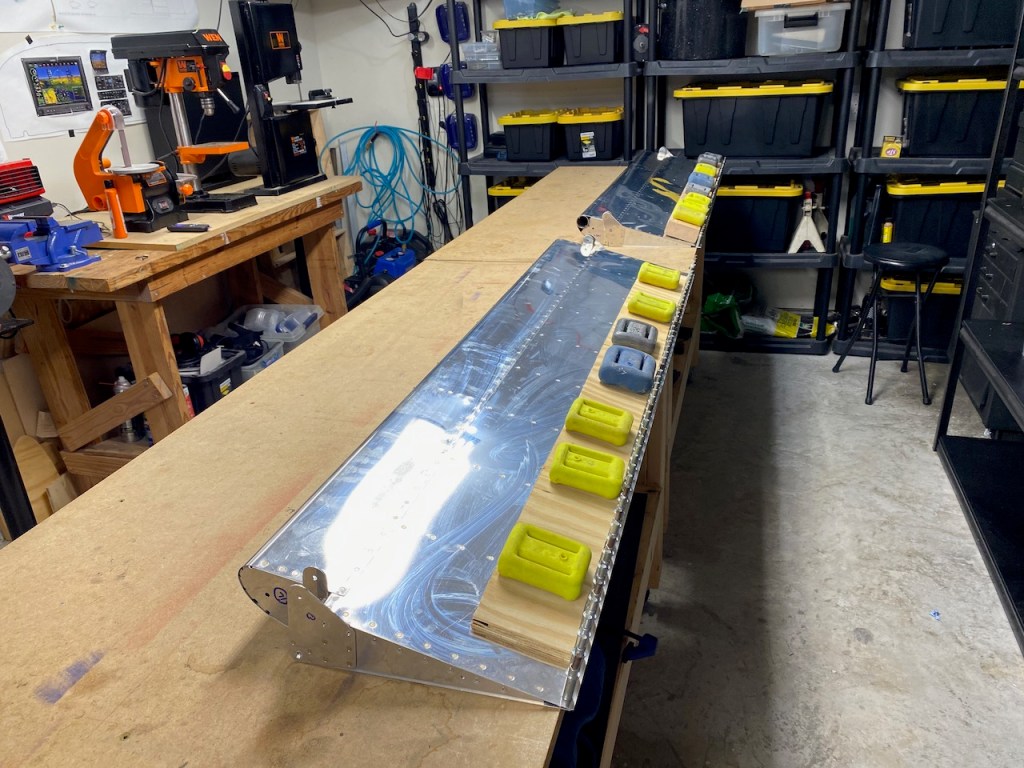
Once again, scuba weights were repurposed to weigh down the ailerons while the tape cures that is holding the trailing edge.
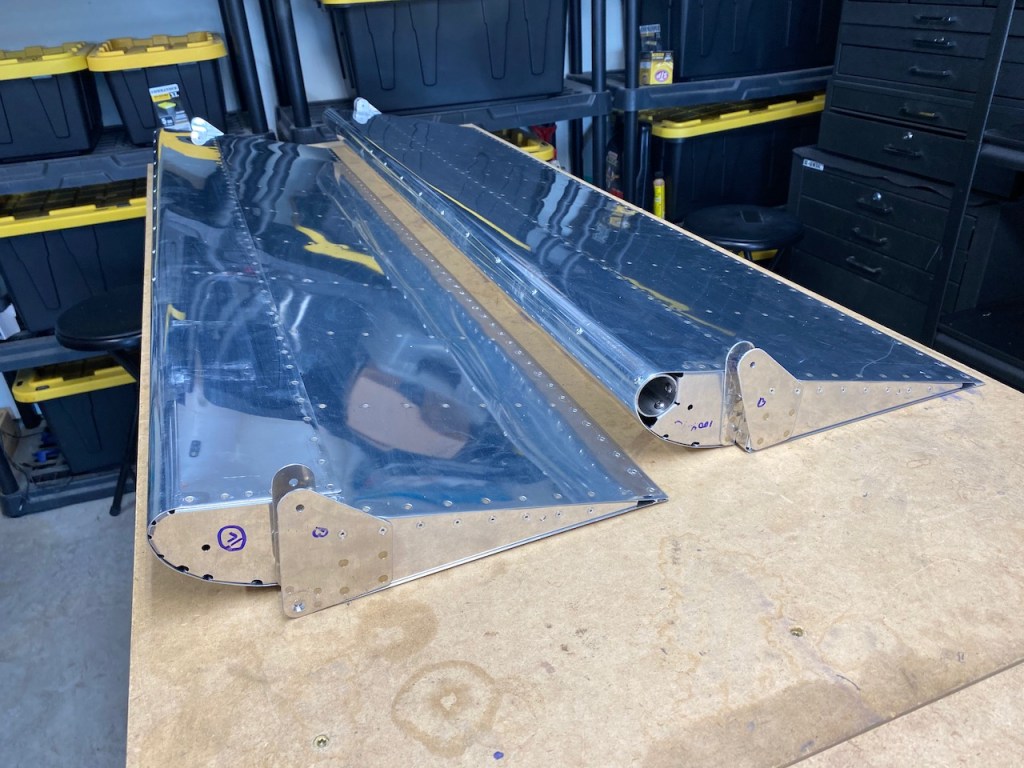
The ailerons were quickly mounted to the wing next to the flaps.
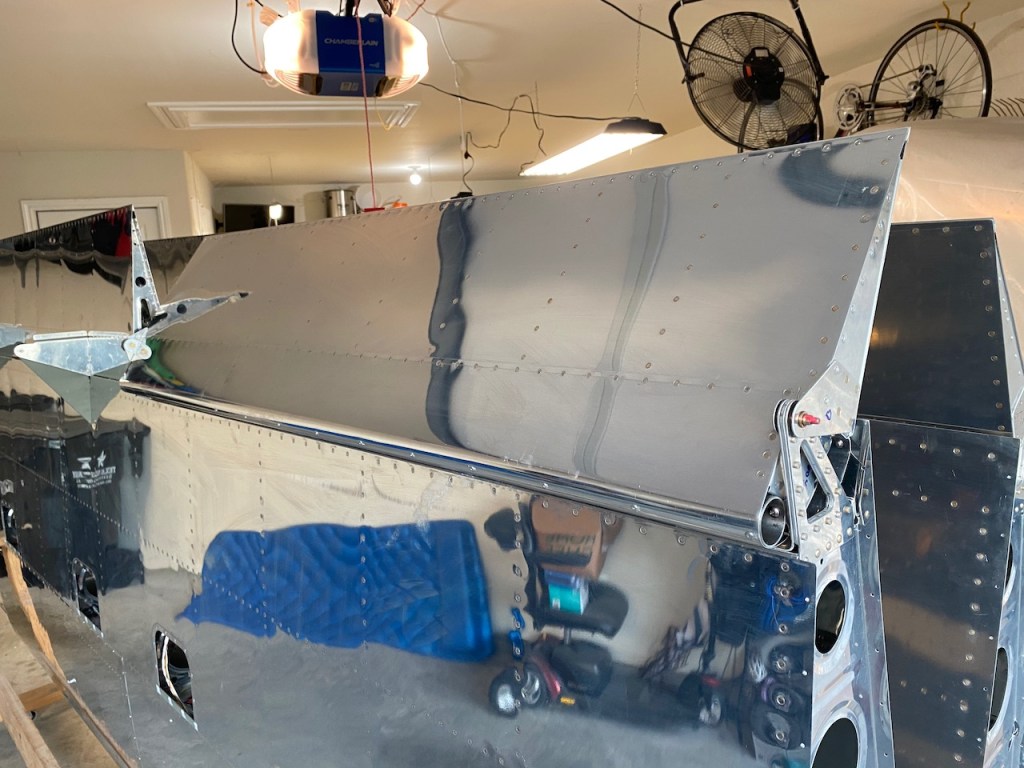
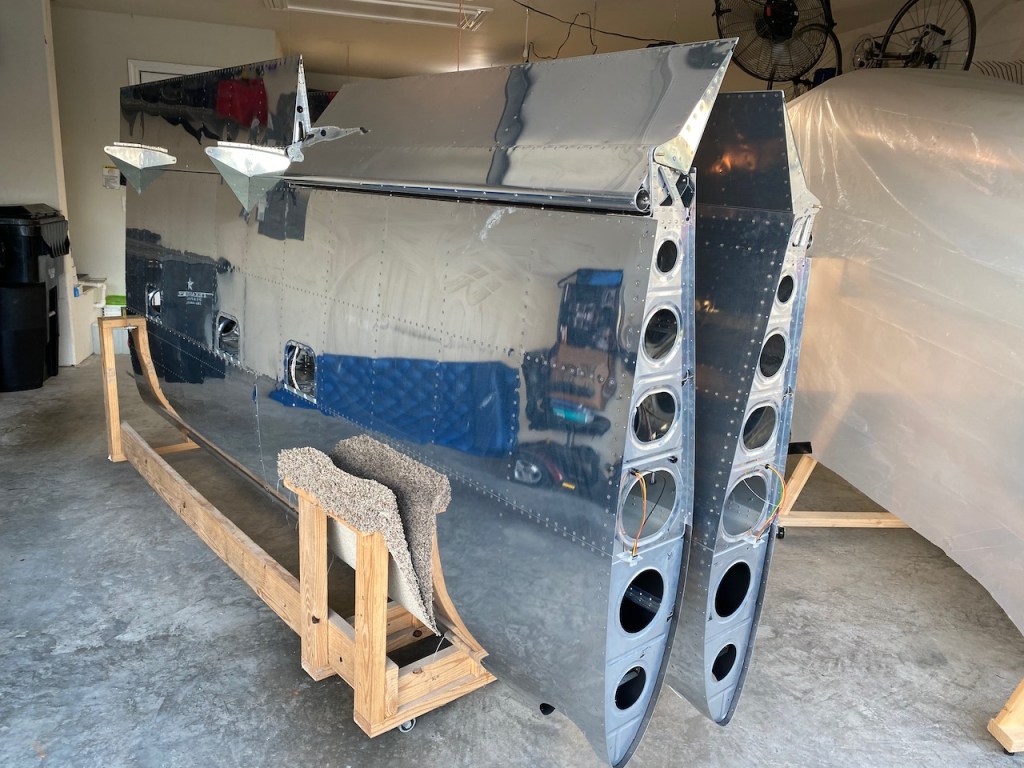
This is basically it for the wings! All the major riveting is complete until the fuselage section arrives next month. From researching other blogs, it appears that I have completed about 13,000 out of 22,000 rivets.
All that remains before the fuselage arrives is to install the aileron actuation, and prepare the wing tips for mounting on the ends. There are also several odds and ends to be completed (things I skipped along the way like the landing lights and fiberglass work) so I will remain busy for a while.
