
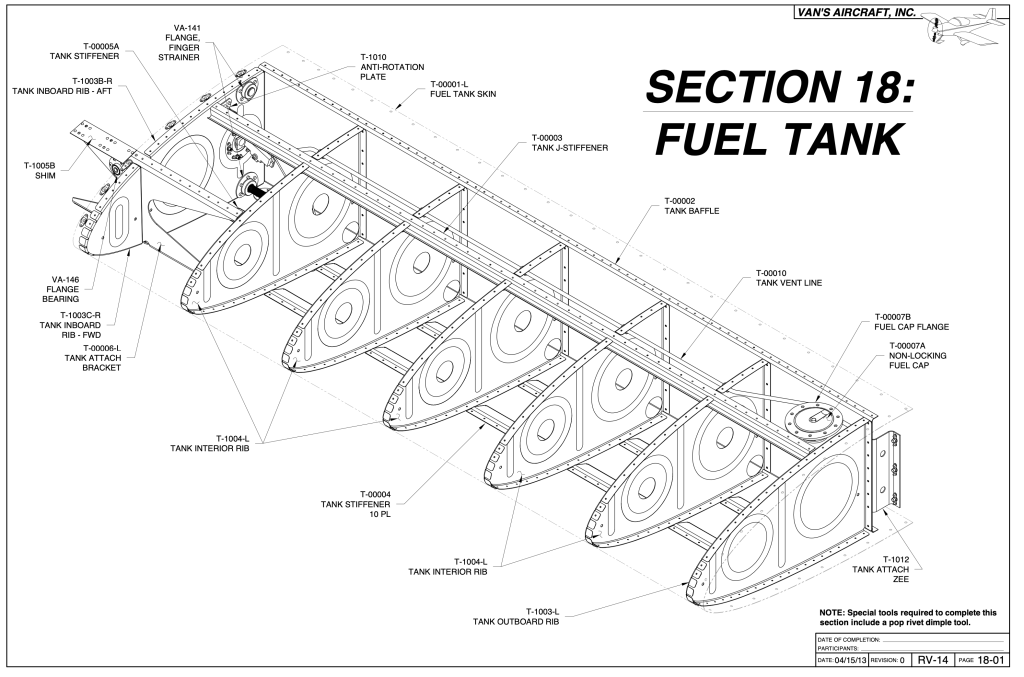
Well, here it is. The section we have been waiting for and anticipating for. The fuel tanks. I sort of set aside 6 months to do this but at this point, I think that was way overestimating the time needed. However, this doesn’t trivialize the work needed to complete this section.
First of all, the tanks use a sealant, called Proseal, to seal the tanks. The Proseal is not spread all over inside the tank but instead, it is used to seal all the joints between pieces of aluminum and the rivets holes.
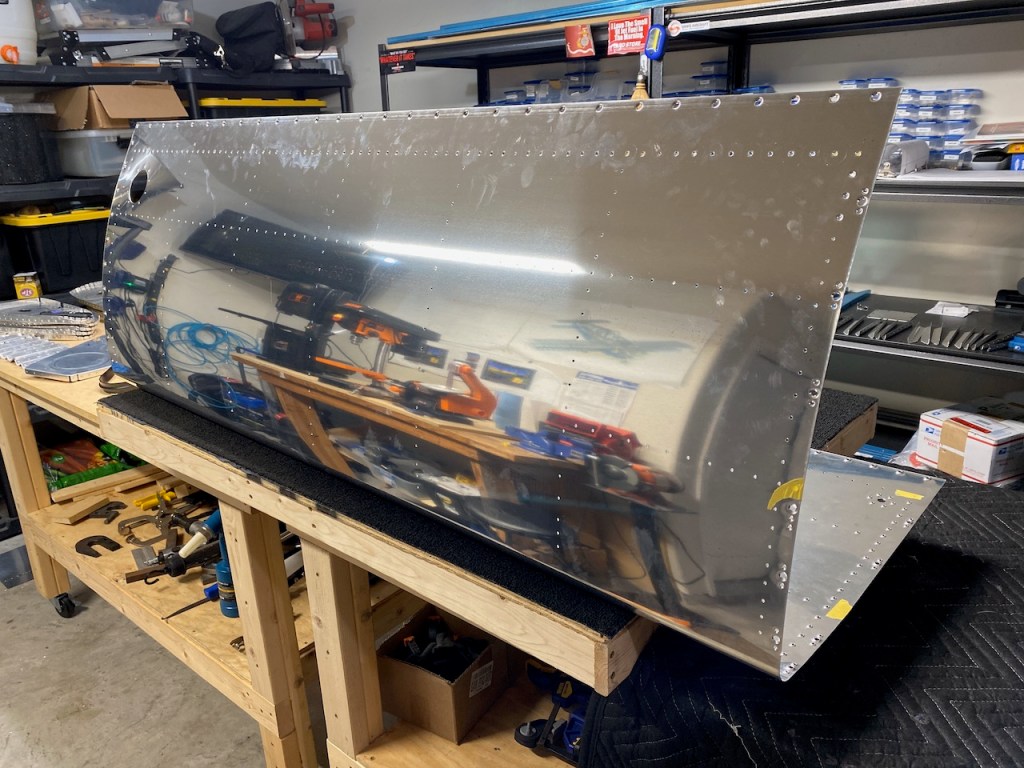
Each tank is part of the leading edge of each wing. Each tank will hold 25 gallons of fuel minus whatever excess Proseal that I apply inside the tank.
Proseal is also known as “Black Death” because it sticks to everything it touches and will not come off without scrubbing with acetone or something nastier.
The basic process of the fuel tanks is mostly like the leading edges just completed. The main difference is the use of Proseal to seal everything up. Later in the build I will be pressure testing the tanks for leaks. This is probably kind of an important thing.
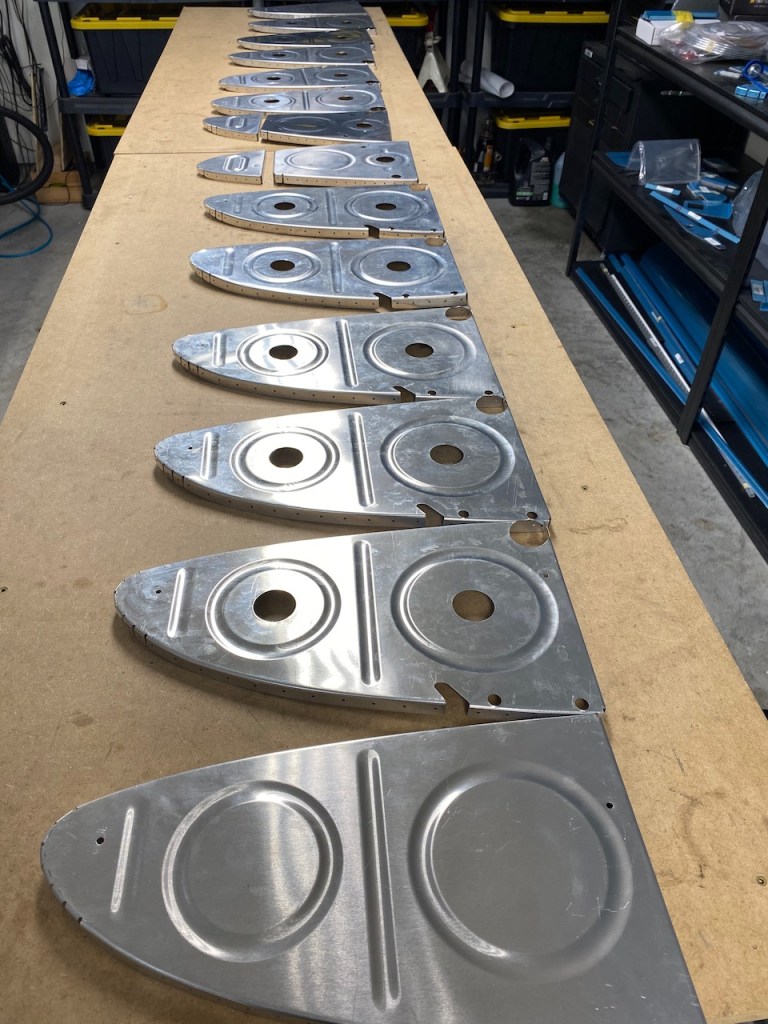
The first steps involved prepping all the parts including 14 ribs, stiffener pieces, and other various parts. Of course, prepping meant deburring everything. Always a favorite activity.
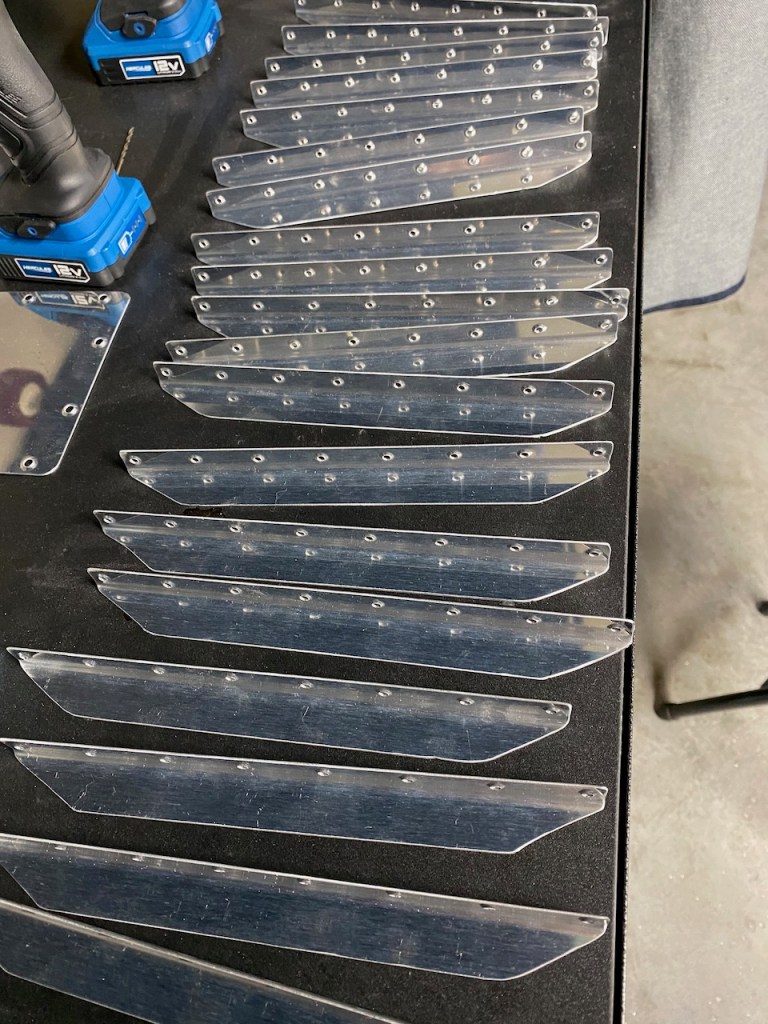
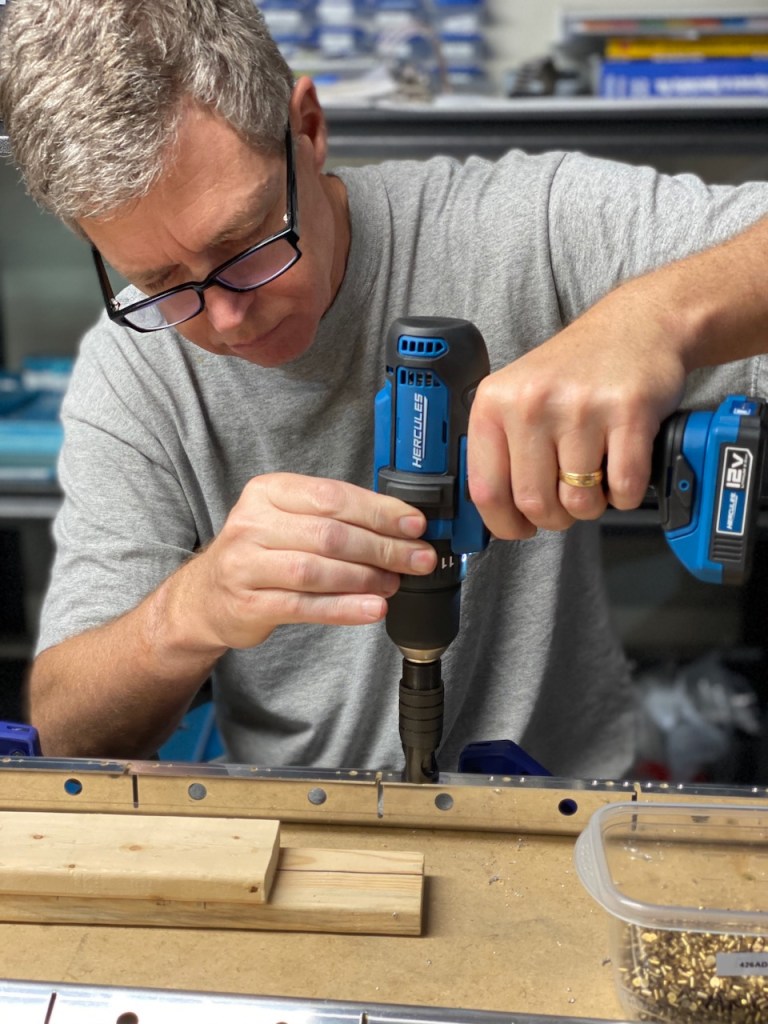
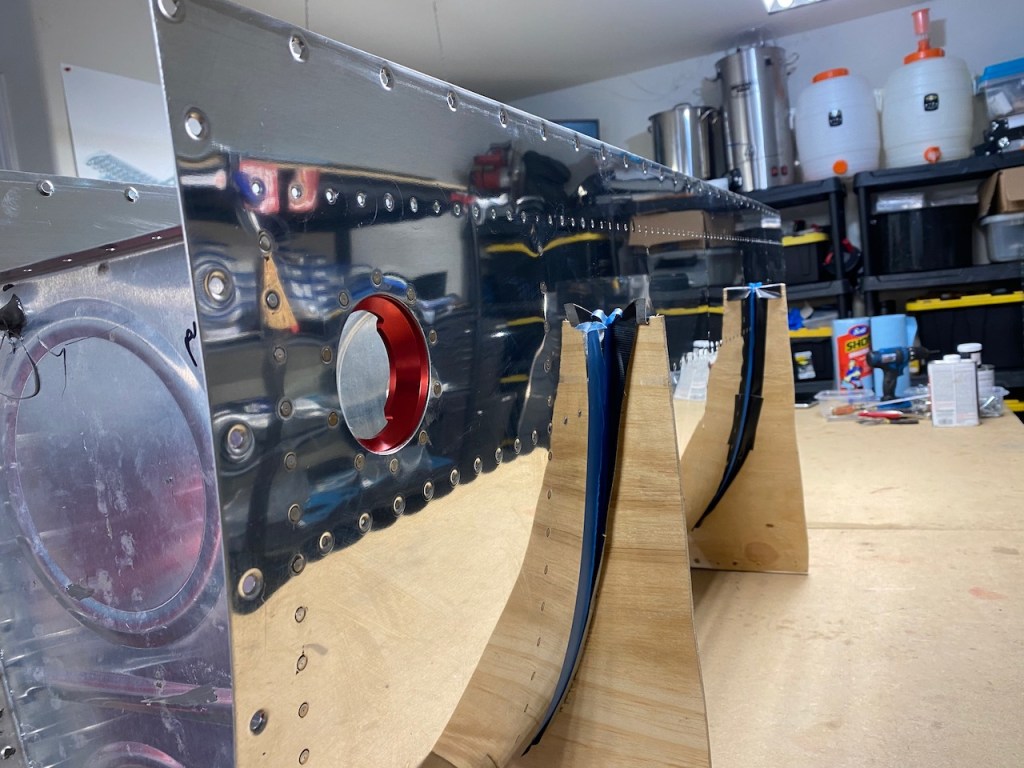
Some countersinking was needed for the aft most row of skin rivet holes, and as seen below, the so called tank attach zees which are used as additional attach points of the tanks to the wing spar.

The tank skin is very much like the leading edge skin but thicker (and more rivet holes – about 450 total per tank).
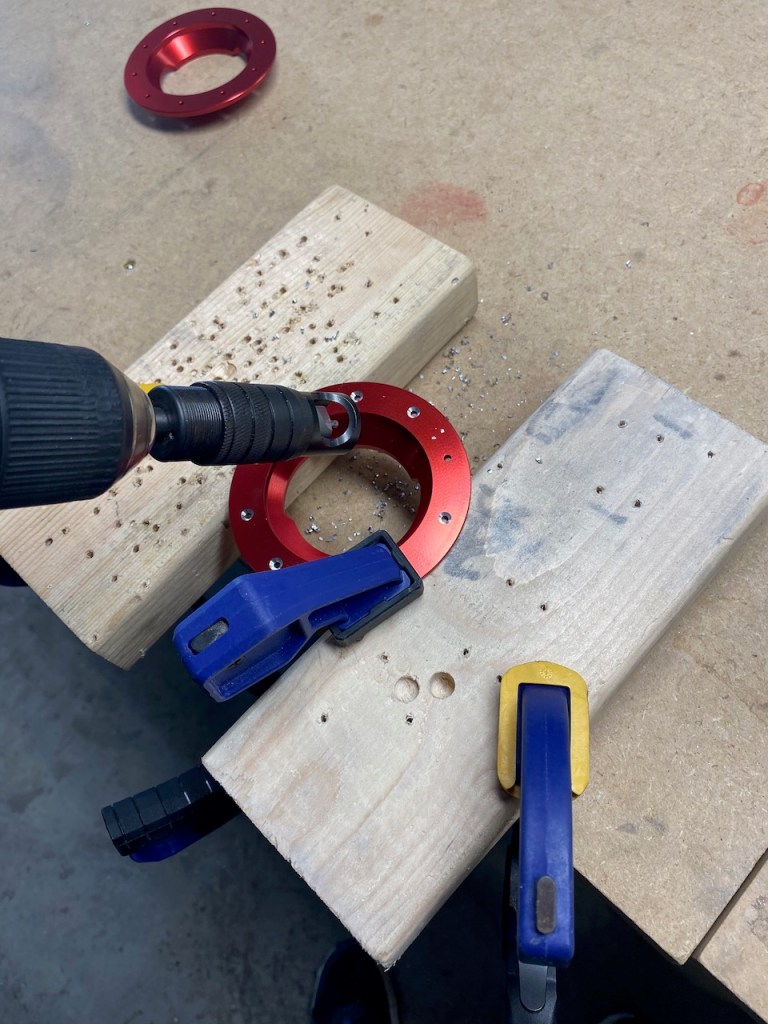
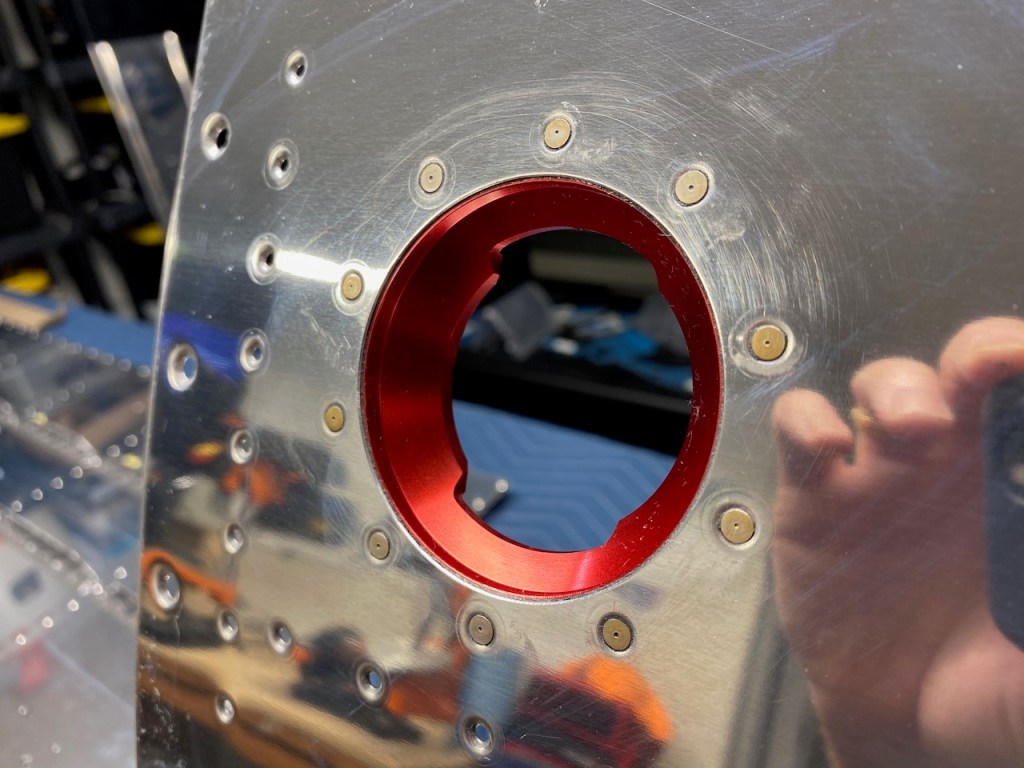
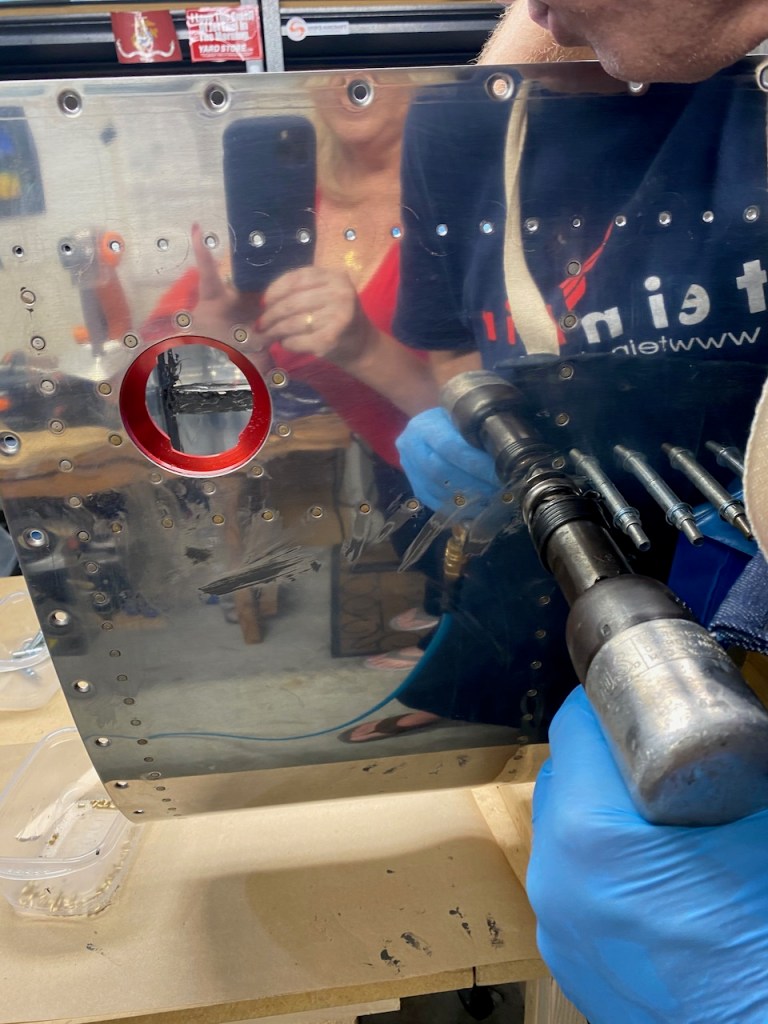
Red anodized fuel cap flanges were countersunk and then riveted to the inside of the skin during a later step.
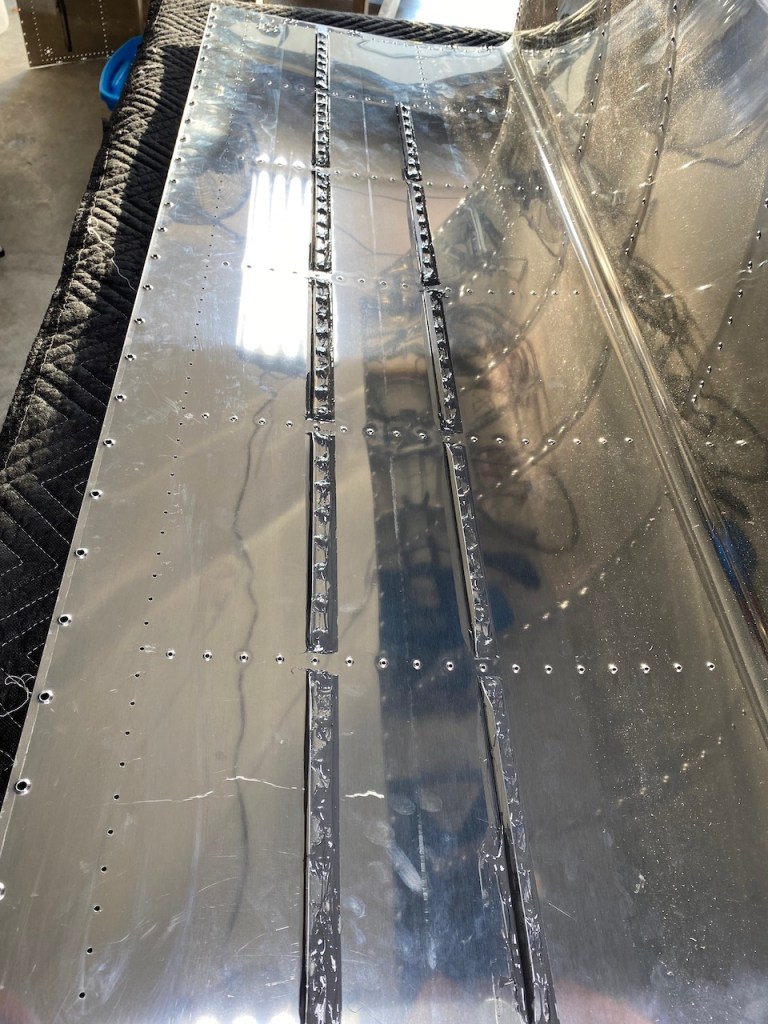
Now the fun began with the Proseal. First I taped the inside skins to prevent too much Proseal from spreading around the skins. In hindsight this was probably an unnecessary step. The Proseal will get everywhere it wants to whether you mask or not.
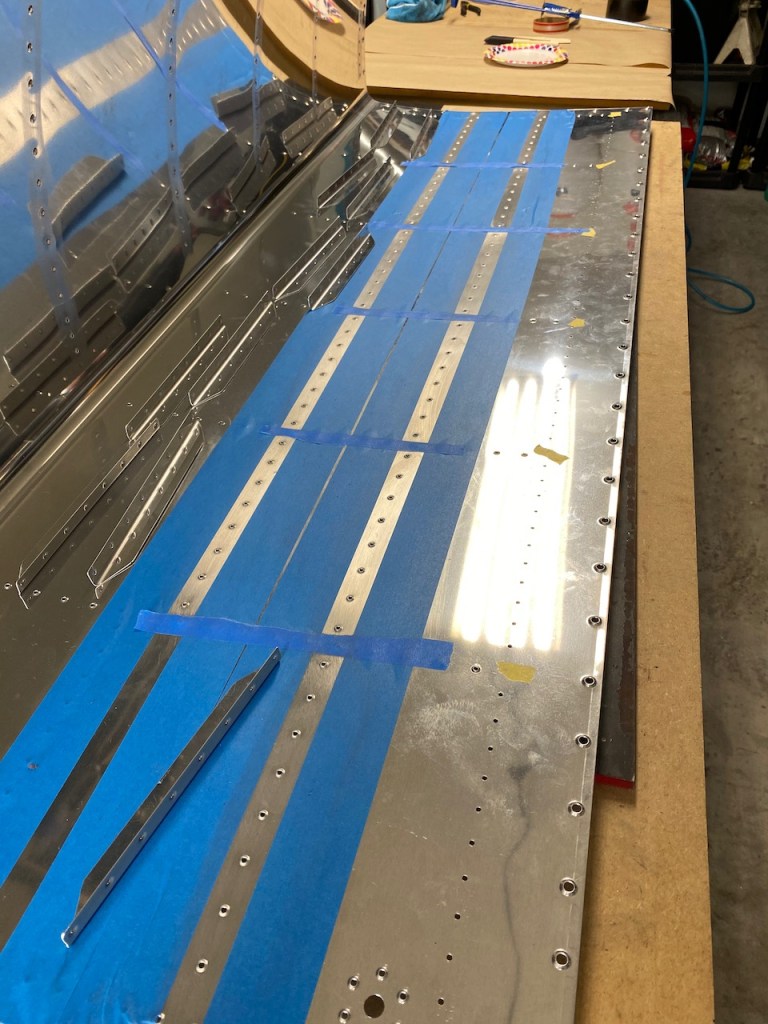
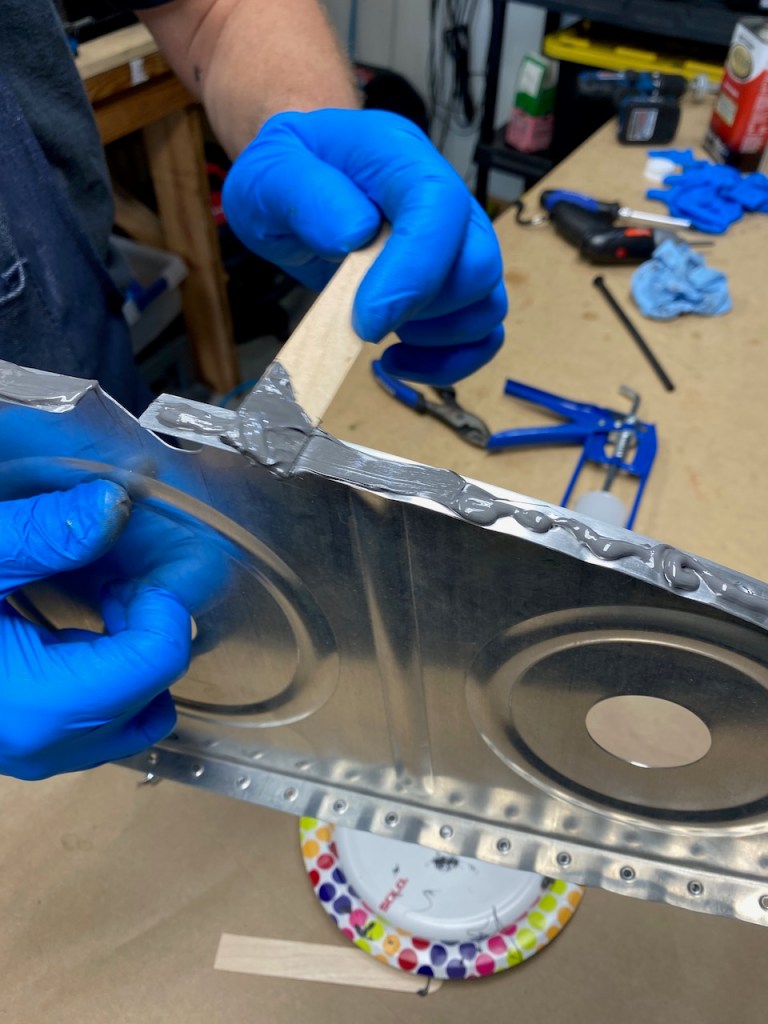
The stiffeners were riveted to the skins by backriveting after buttering the back of the stiffener with Proseal. After riveting, I formed a filet of Proseal along the sides of the stiffener and then a dollop of Proseal over each rivet. The idea is to block fuel from getting outside the tank through the rivet holes. Hopefully the rivets themselves will form a seal all by themselves but extra Proseal will also help.
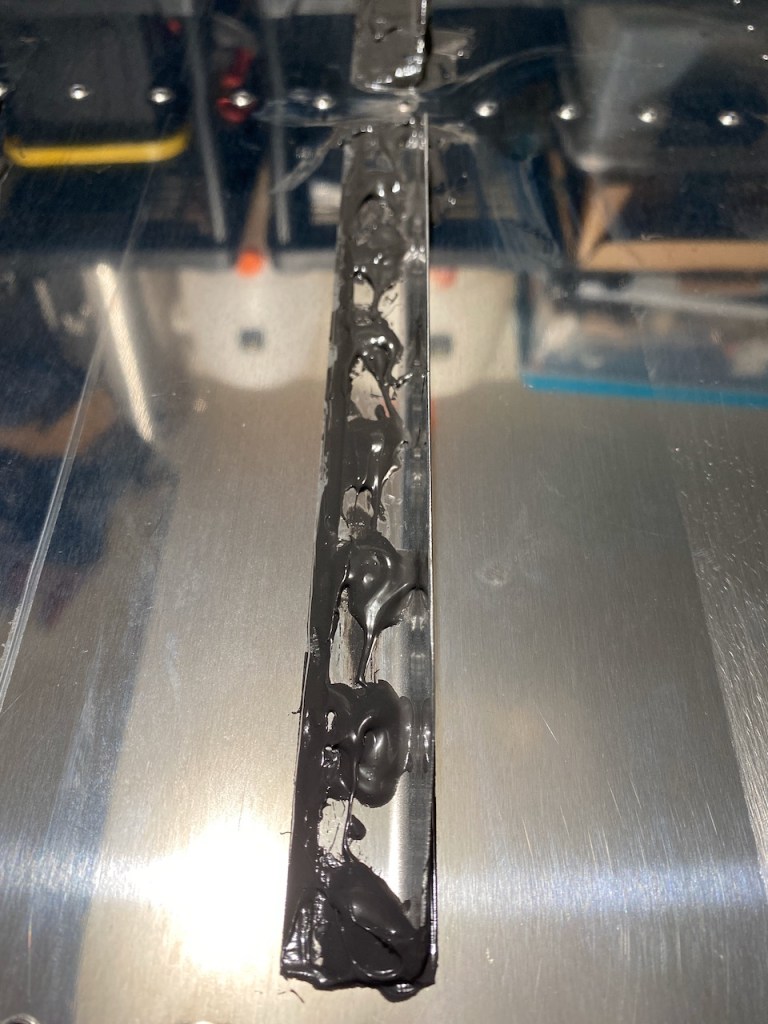
This is a close up of a stiffener with Proseal all around.
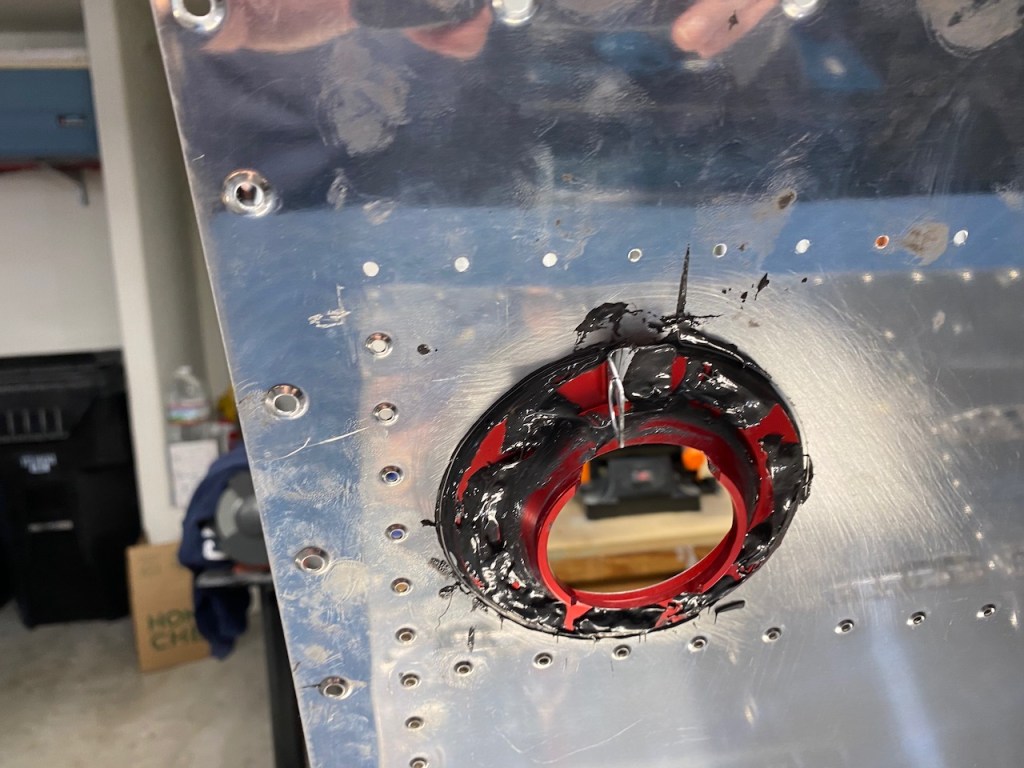
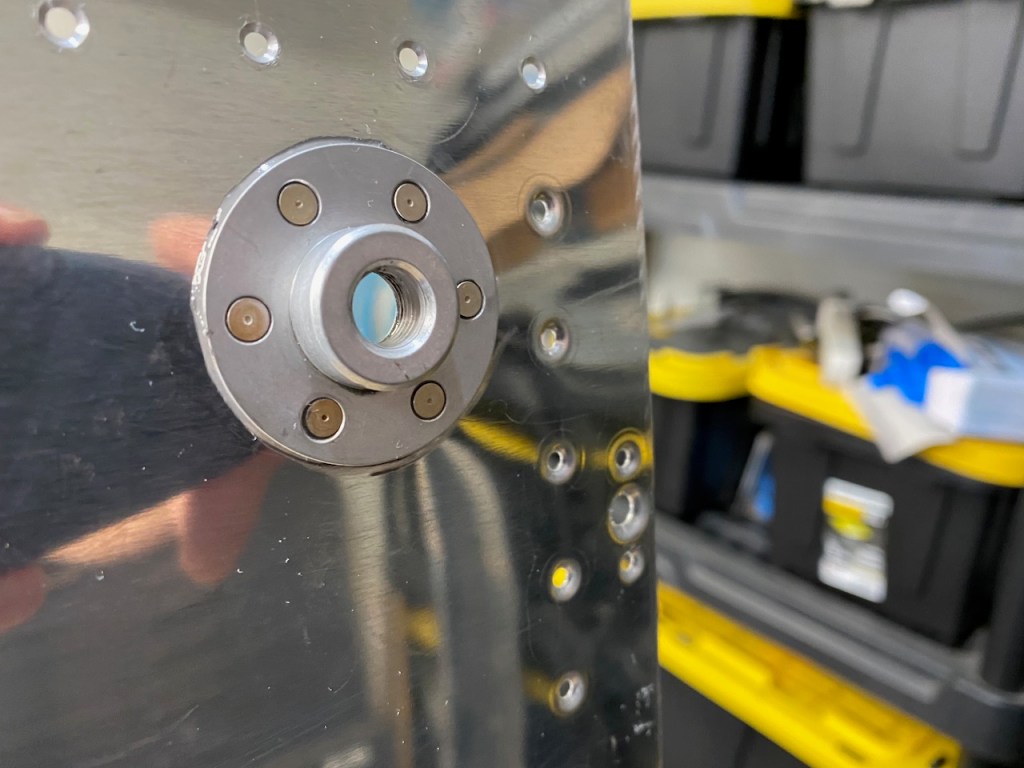
Each tank has a fuel filler port, and the red anodized fuel cap flanges were riveted to the port. It looks nice on the outside but a gooey Proseal mess on the inside (which no one will see).
This is the fuel drain flange at the lowest point of each tank. It is used to drain a small amount of fuel during preflight to ensure no contaminants or water is present inside the tanks before flying.
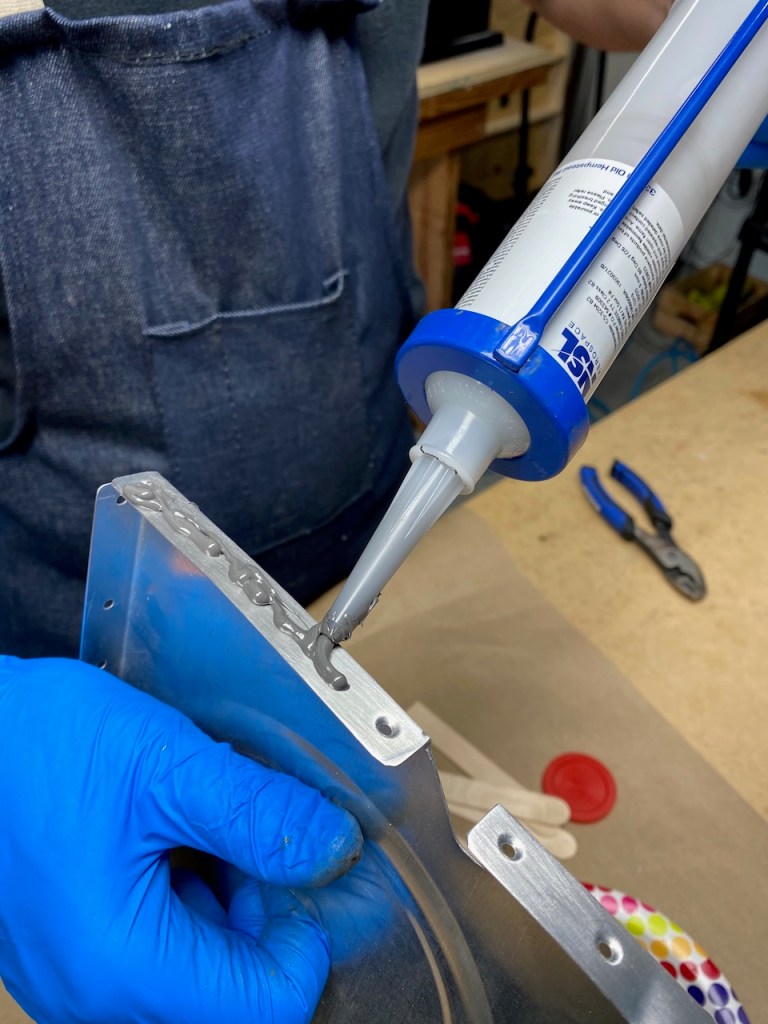
The Proseal comes in a set of cans (A and B) that can be mixed manually, of which I did purchase a kit, but it also comes prepackaged in 3.5oz tubes which makes for a cleaner mixing process. I definitely prefer these tubes although they are much more expensive than the two part material.
When installing each rib or stiffener, the idea is to “Fay” the surface (actual term) by spreading Proseal on the rib, and then carefully aligning the rib to its set of rivet holes inside the fuel tank skin.
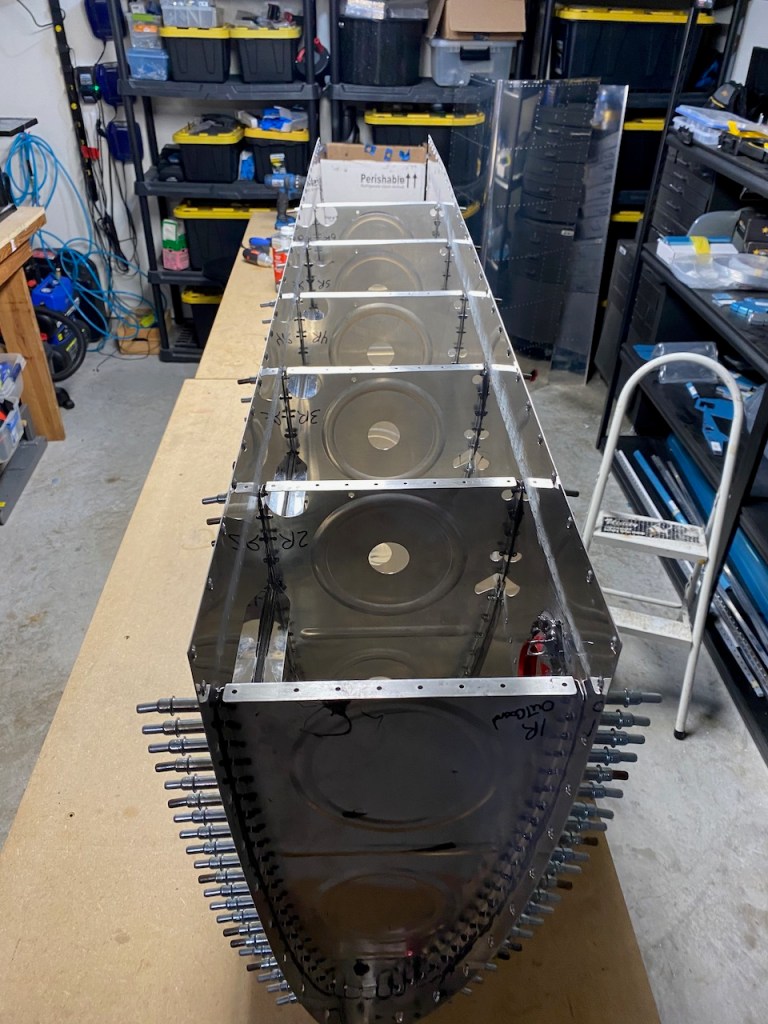
Some different techniques are used but I decided to insert all the ribs, with Proseal, at one time, and then cleco every hole, and then let it sit overnight. This apparently reduces the amount of mess versus trying to rivet while the Proseal is still wet. Overall, the method, which I outline below, probably takes longer but I am pleased with the results so far. Of course, the final test is: will it hold without leaks?

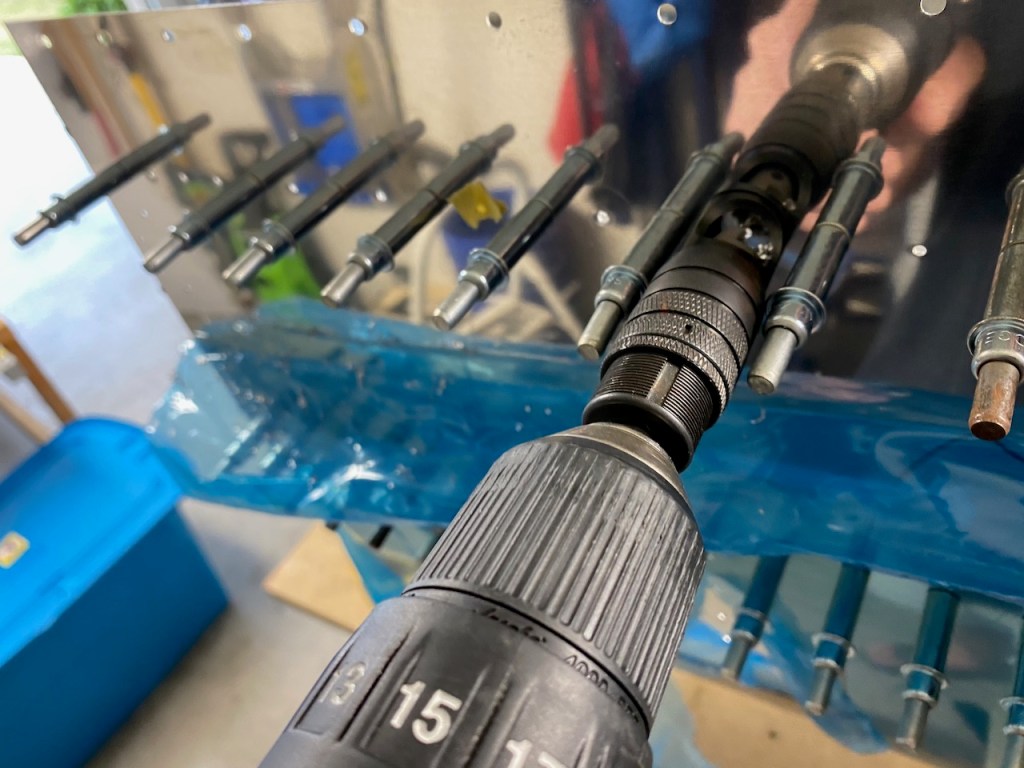
After letting the ribs and Proseal sit overnight, I dipped each rivet in a puddle of Proseal…
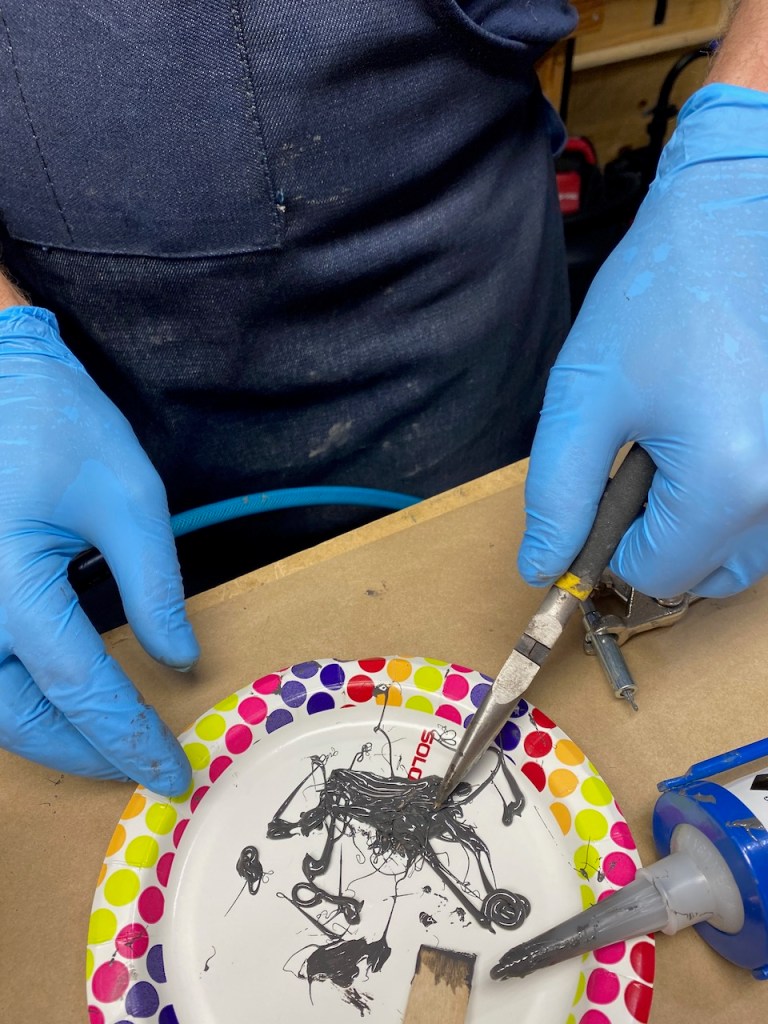
…and then inserted into hole.

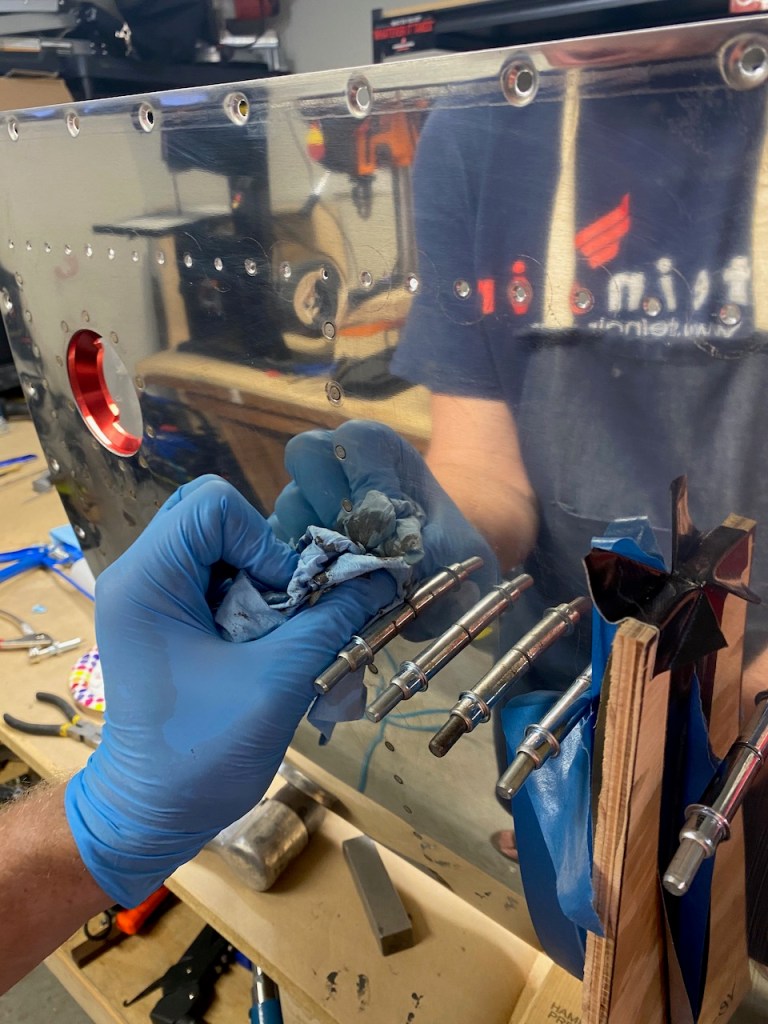
This would cause a bunch of Proseal to extrude out which needed to be wiped off before riveting. I found by experience that if it is not wiped off, the rivets will not fully set flush. Wiping this stuff off is easier said than done because the trick is to wipe it off with a piece of towel that is not already covered with Proseal. I can’t count how many times I found Proseal all over my gloved fingers and having no idea how it got there.
Then it was on to riveting with the rivet gun and bucking bar as normal. Each rib took about an hour to fully rivet.
As I write this, one tank is riveted, and the other one is underway. Stay tuned….
