I was excited about this section because it seems that here is where real airplane parts start. Yeah I know tail feathers are real airplane parts but getting started on the fuselage seems like an airplane shape is about to take shape.
But that didn’t last long because I was immediately faced with my favorite activity: Deburring….uggh.
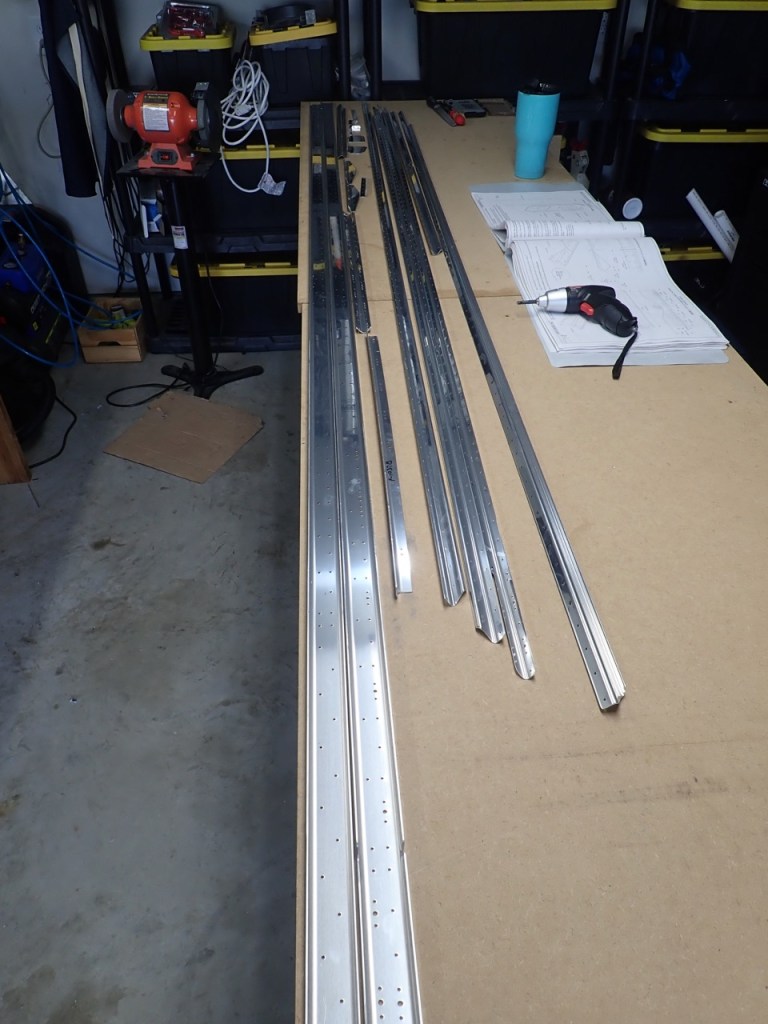
The first step involved removing the blue vinyl from a bunch of stringers and other long narrow parts. The Scotchbrite wheel on the grinder came in handy here.
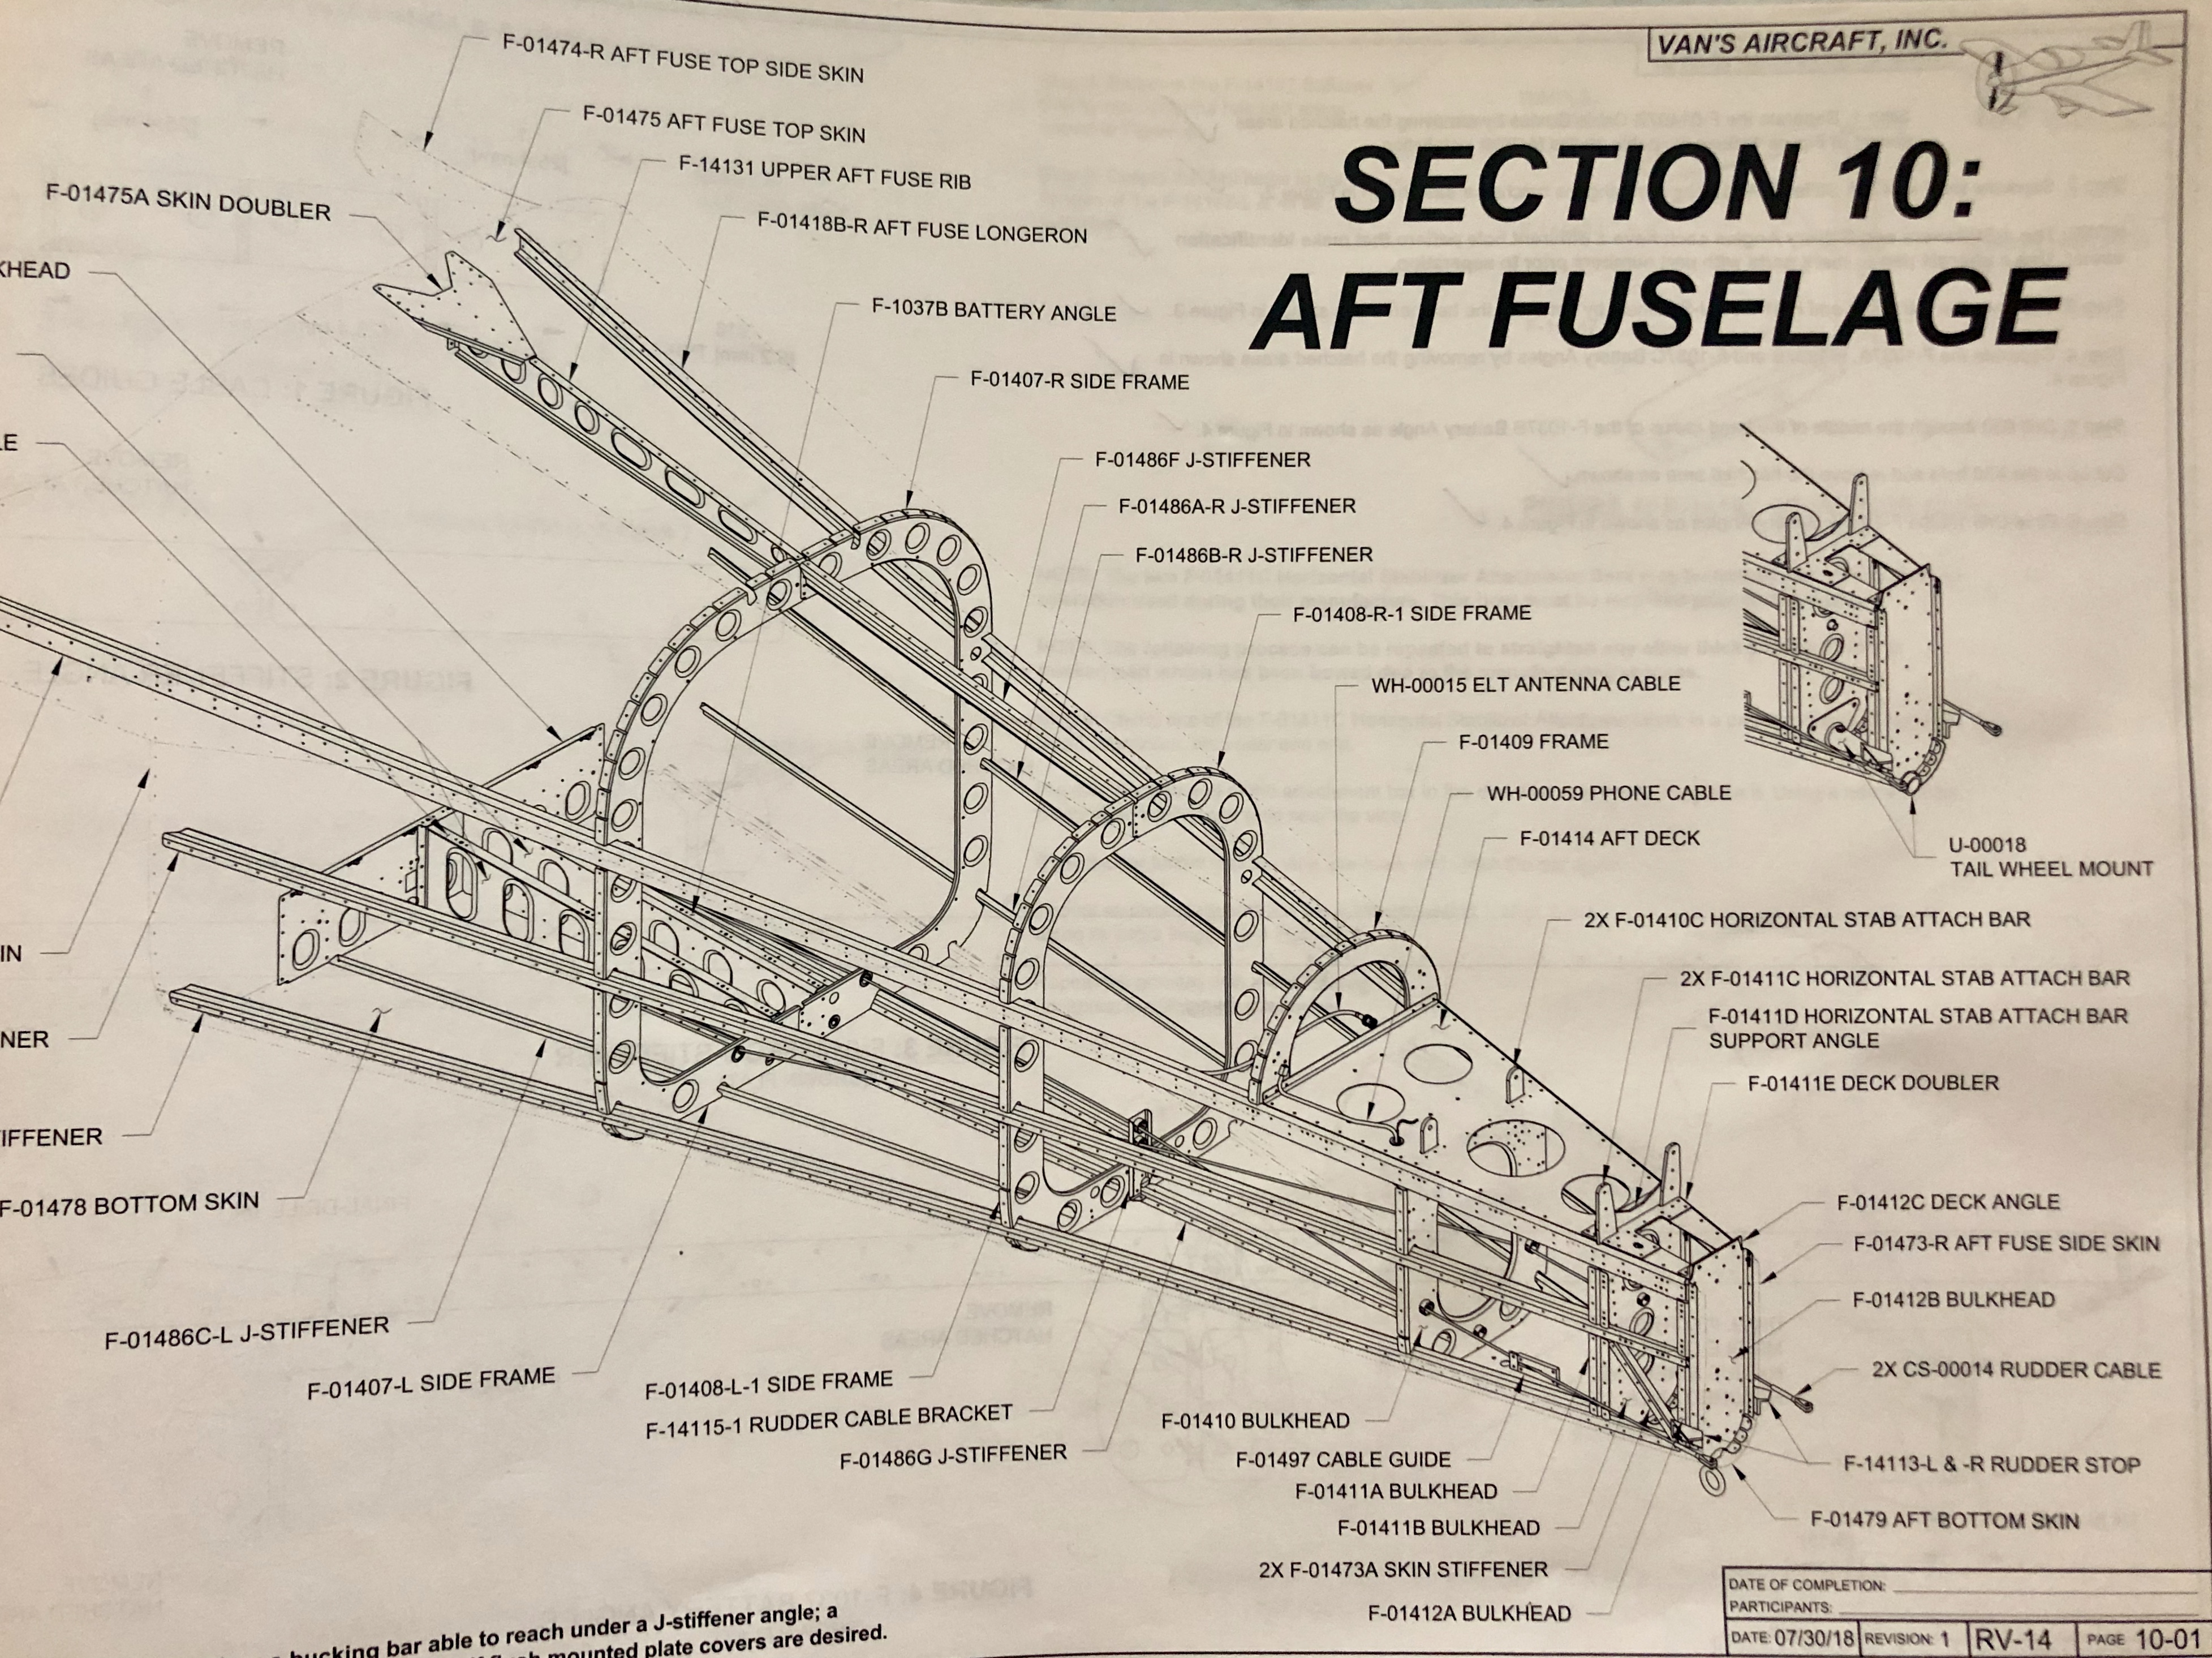
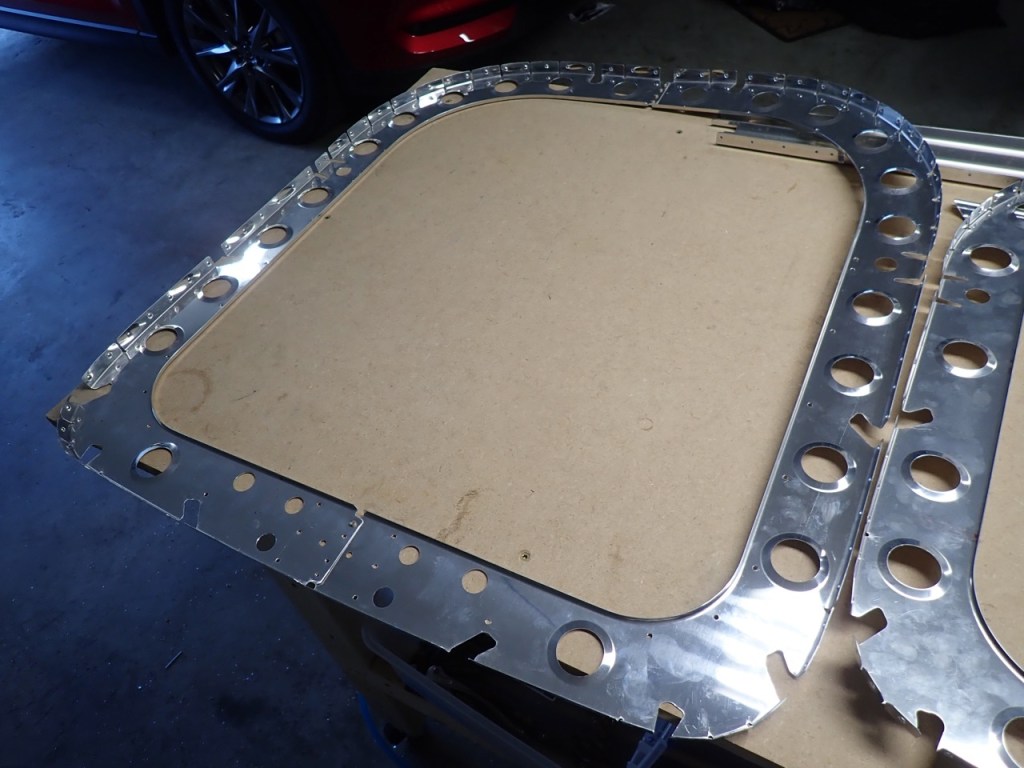
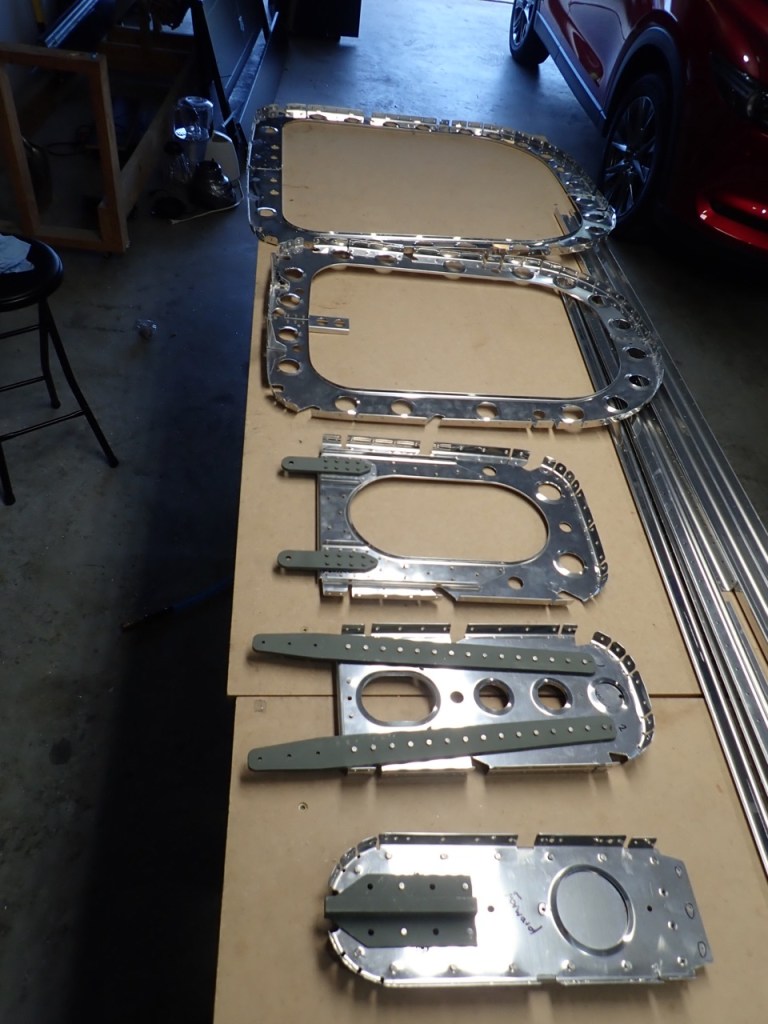
After the above, work started on the first of 5 bulkheads starting at the rear most. Even though I am in the no-priming camp, there are some non-alclad parts that must be primed or else they will be immediately reduced to a heap of aluminum dust once exposed to the elements. On this bulkhead and the 2 in front of it, the green pigmented parts are my first serious foray into priming.
The next bulkhead forward is where the horizontal stabilizer is held on to the rest of the airplane.
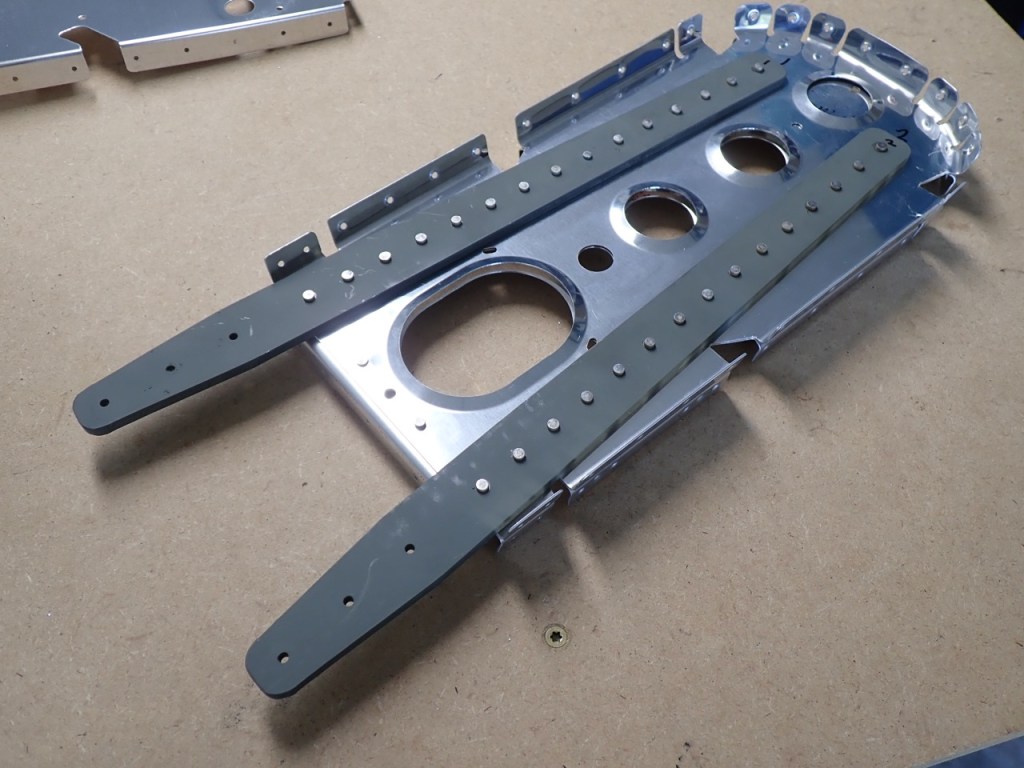
The 3rd bulkhead from the rear also contained attachment points for the horizontal stabilizer.
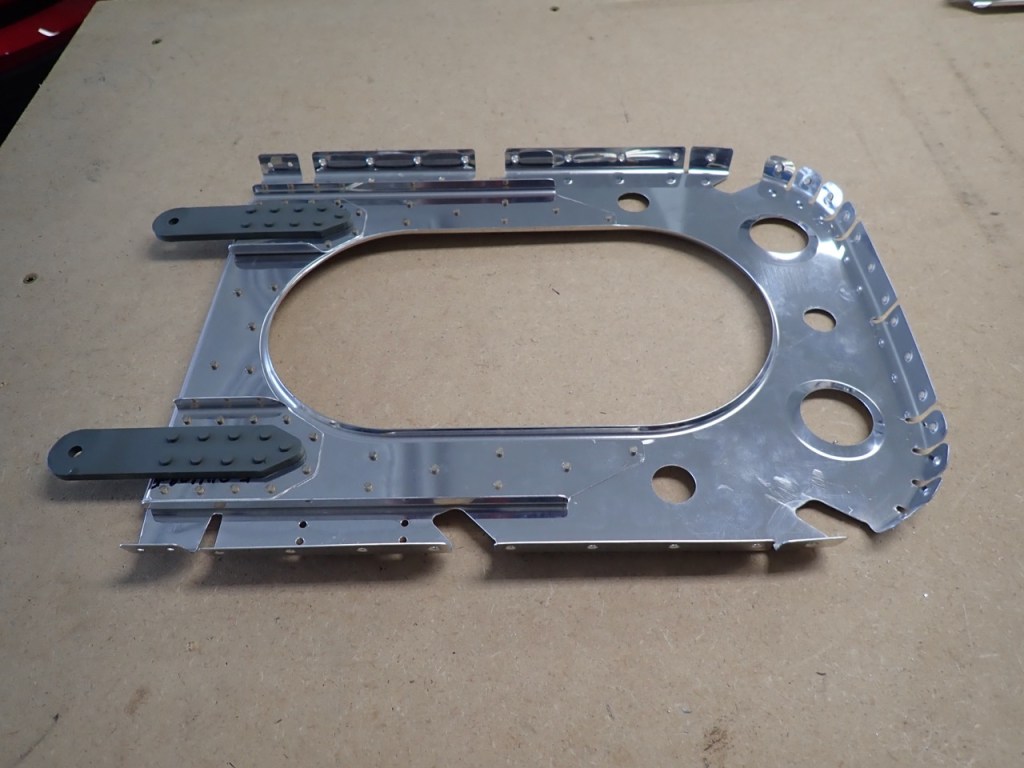
Then bulkheads got bigger and bigger diameter as they move forward.
I will be crawling through this bulkhead in a few weeks in order to rivet skins around this part.
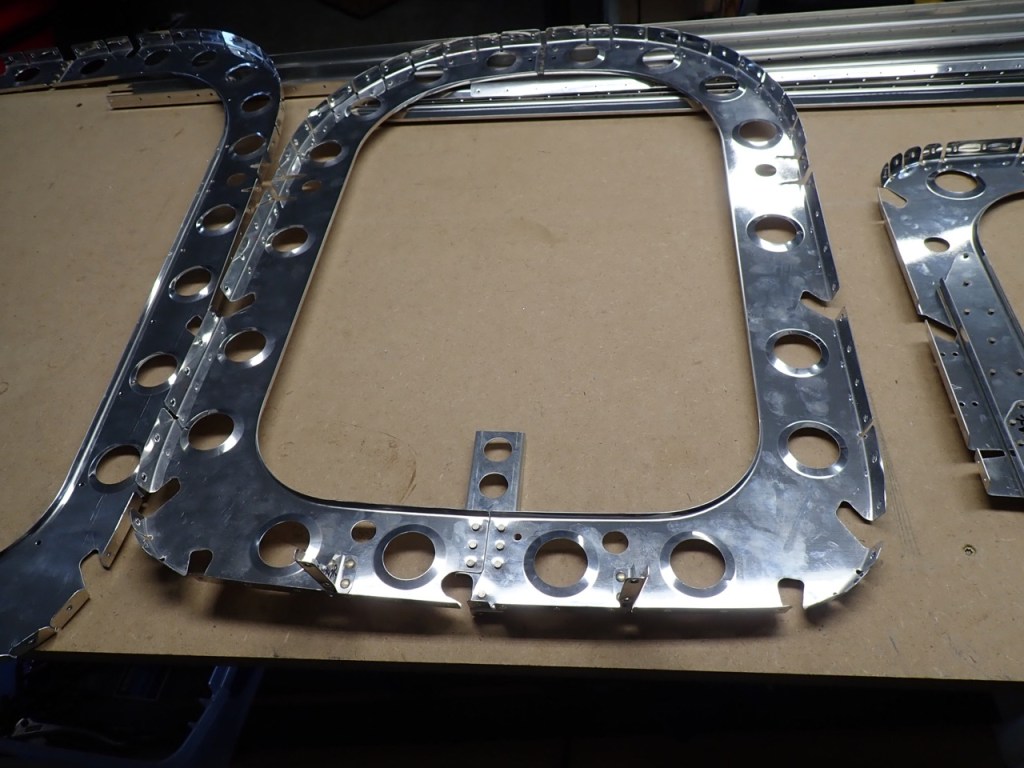
Bulkheads all lined up from rear to front.
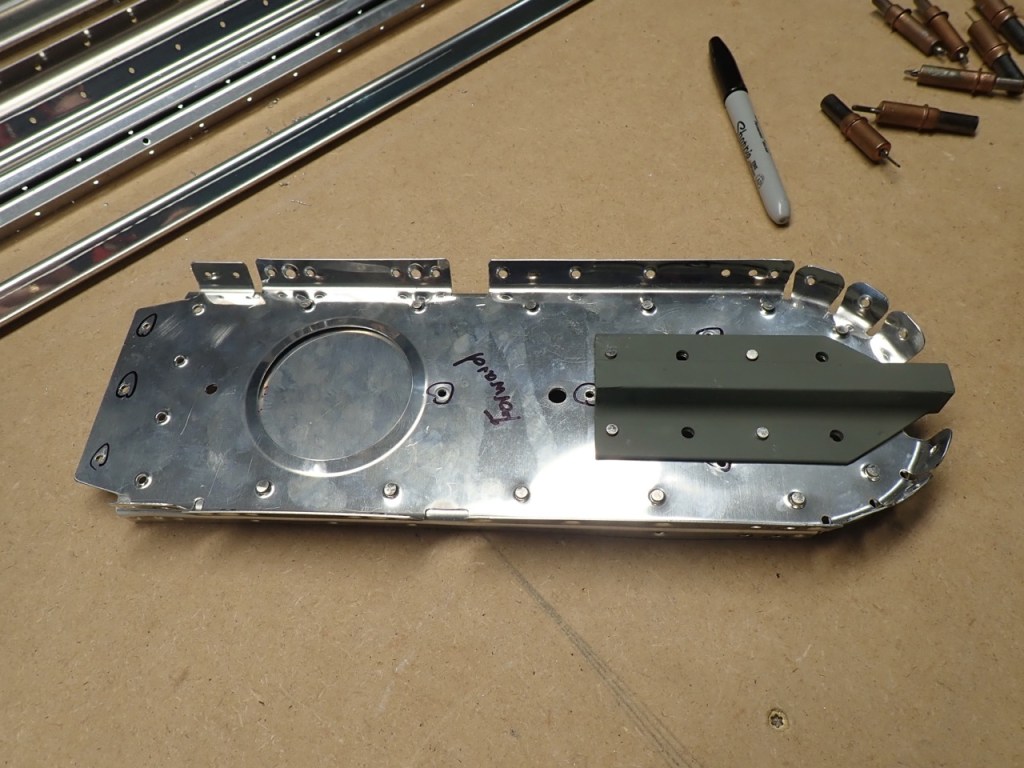
Before I called it a weekend, I attached the mysteriously named battery angles to another rib assembly. I have yet to learn why they are called battery angles.
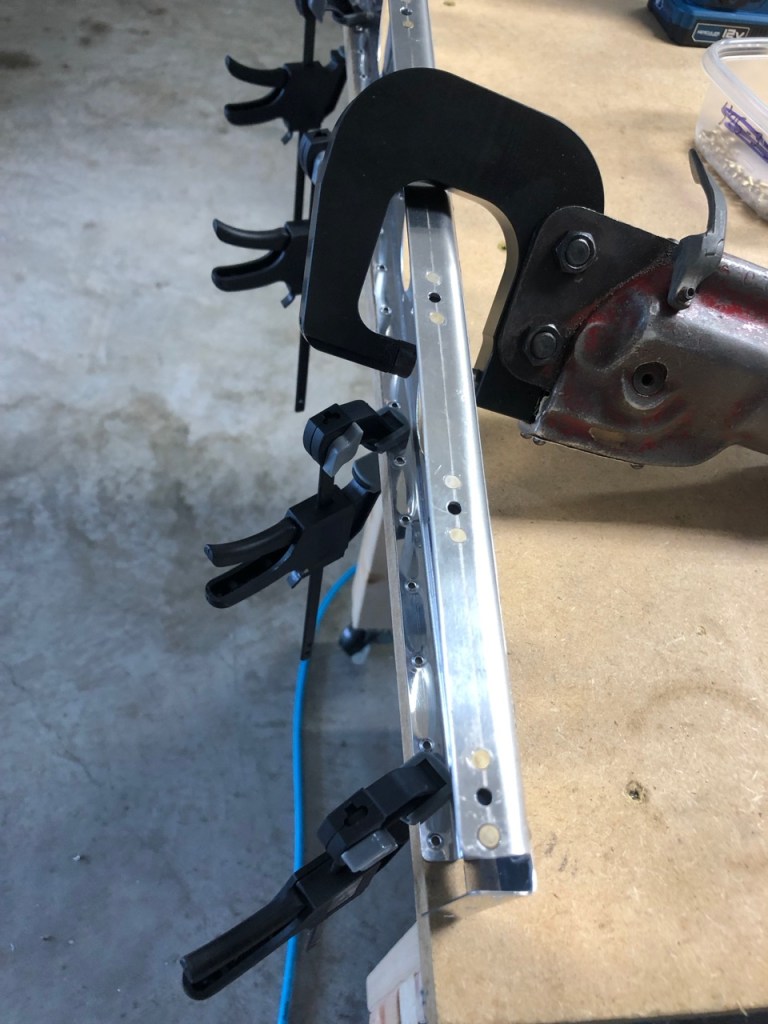
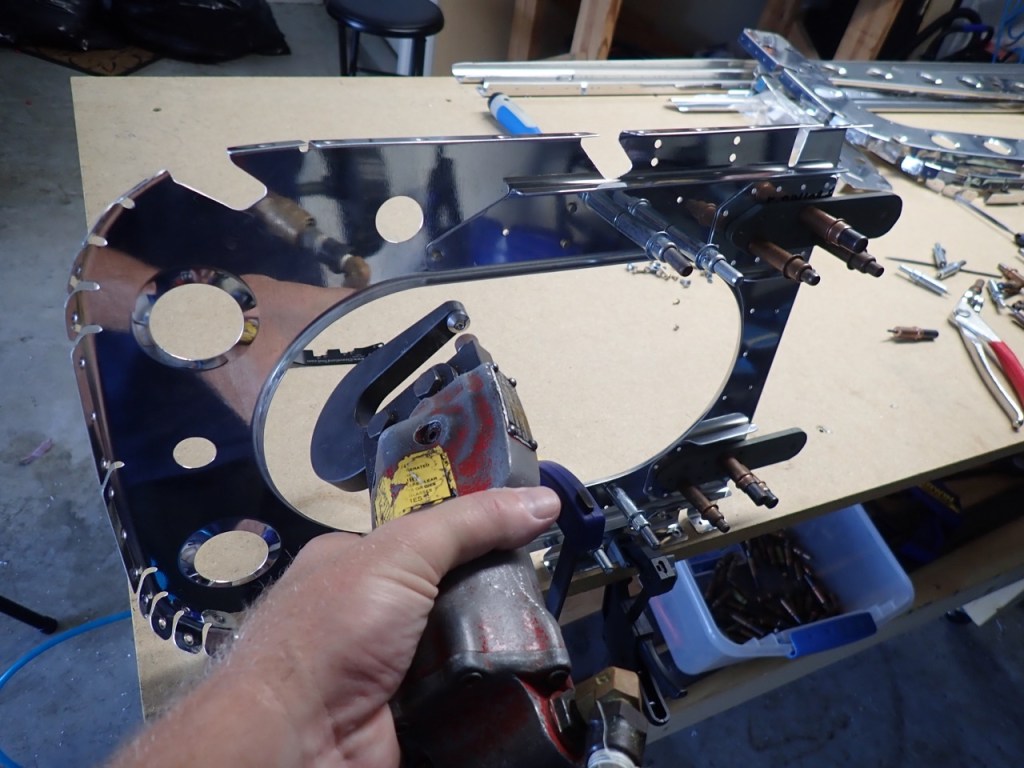
I recently purchased a longhorn yoke for the squeezer. This will allow a longer reach around the flanges of parts. My other yoke will not provide enough clearance without damaging the flange. Any time I can squeeze a rivet versus bucking a rivet, I am winning.