After returning from Oshkosh, I was finally able to resume work on N124KB. The elevator continues to have many steps and details which seems to make progress very slow. But I am getting there…
Most of these sections covered here involved riveting the skins to the ribs, attaching the ribs together, and then riveting the skins to the spars.
Here I used special riveting tape to hold flush rivets inside the dimpled holes.
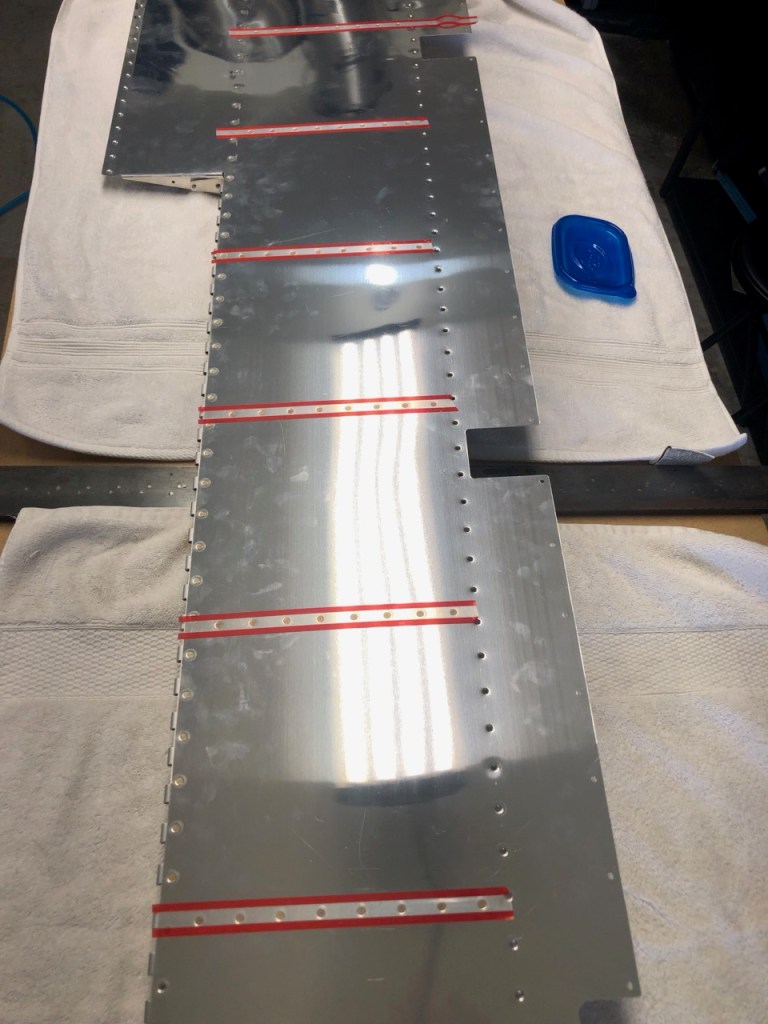
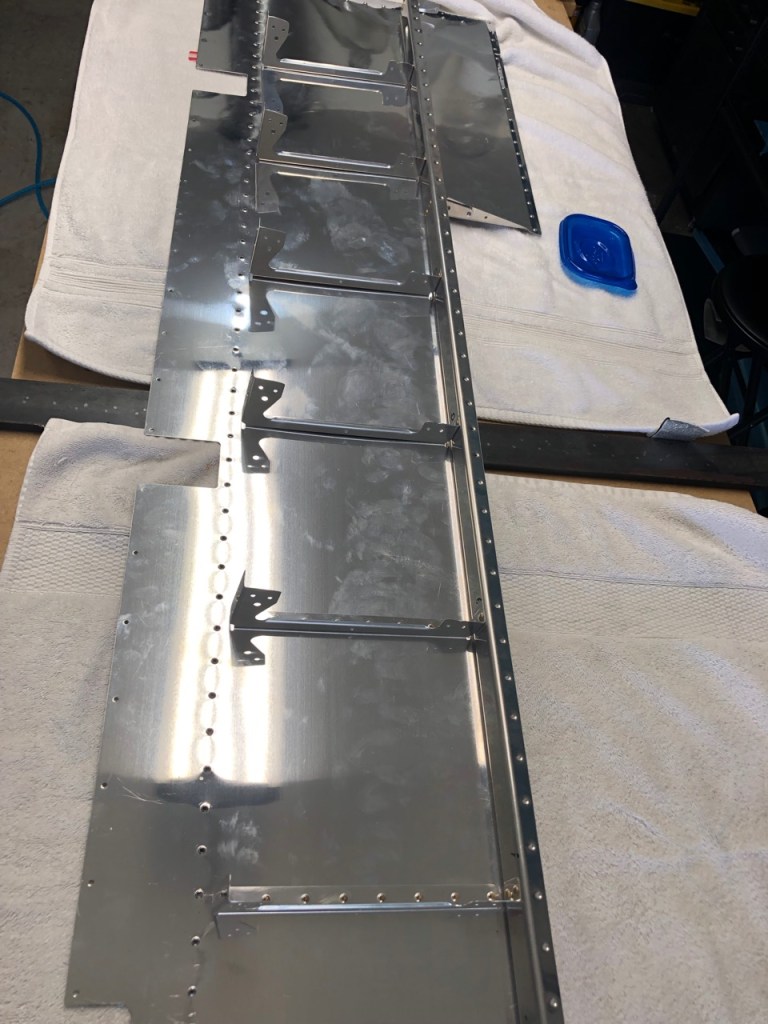
Then the skin is turned over and the ribs/rear spar assembly is placed on the skins with the ribs lined up with the rivets seen in the photo above. Following this, I back riveted all the rivets underneath the tape to the ribs. I am always amazed at how easy this is, and the rivets are always nice and flush.
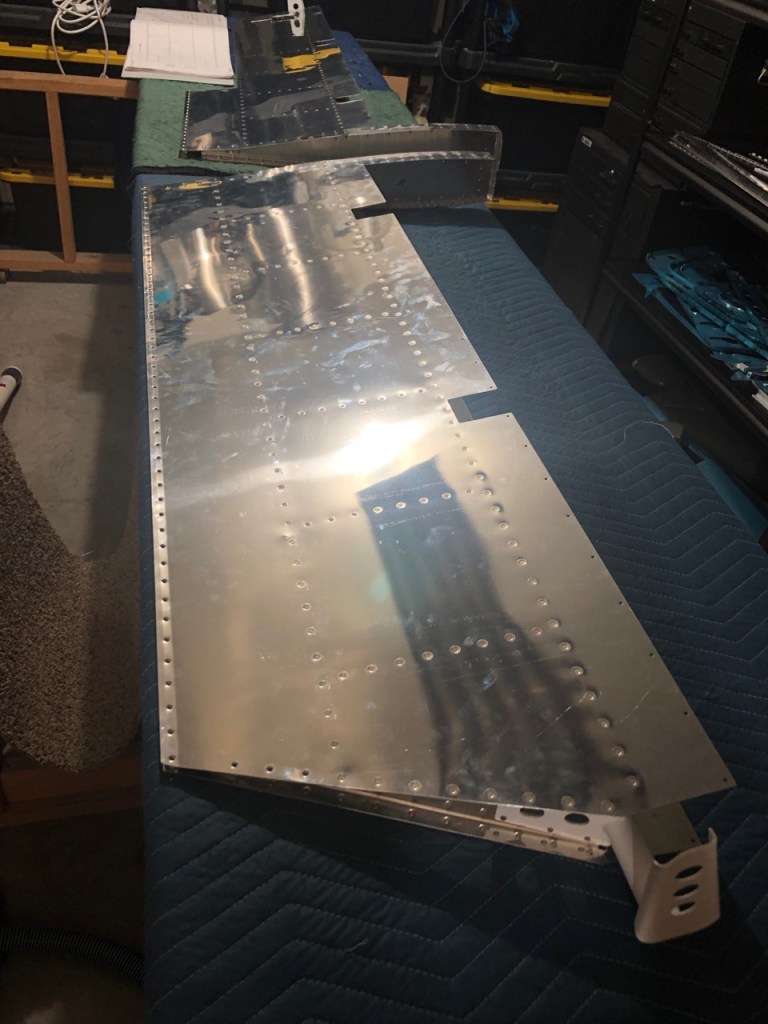
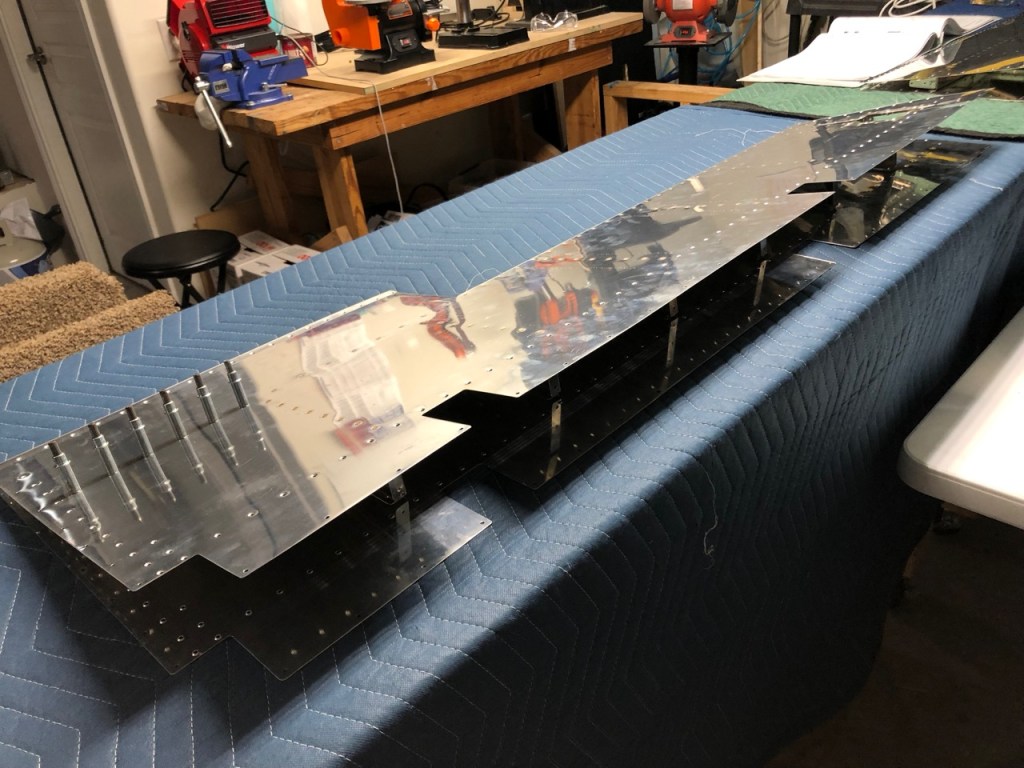
The 4 skins are riveted to their respective sets of rivets

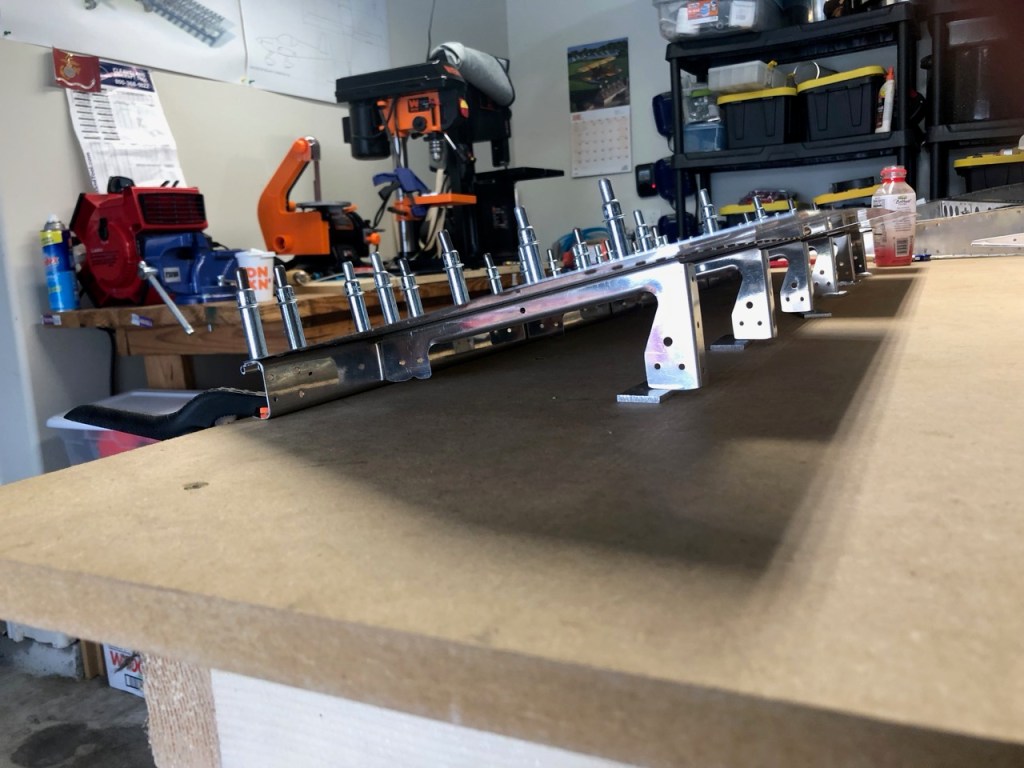
Then, the rear spar is cleco’d in place and mostly riveted to the skins. In case I have not mentioned it, all the steps in the elevator section cover two separate elevators, left and right. They are not identical but most of the operations are repeated for each side.

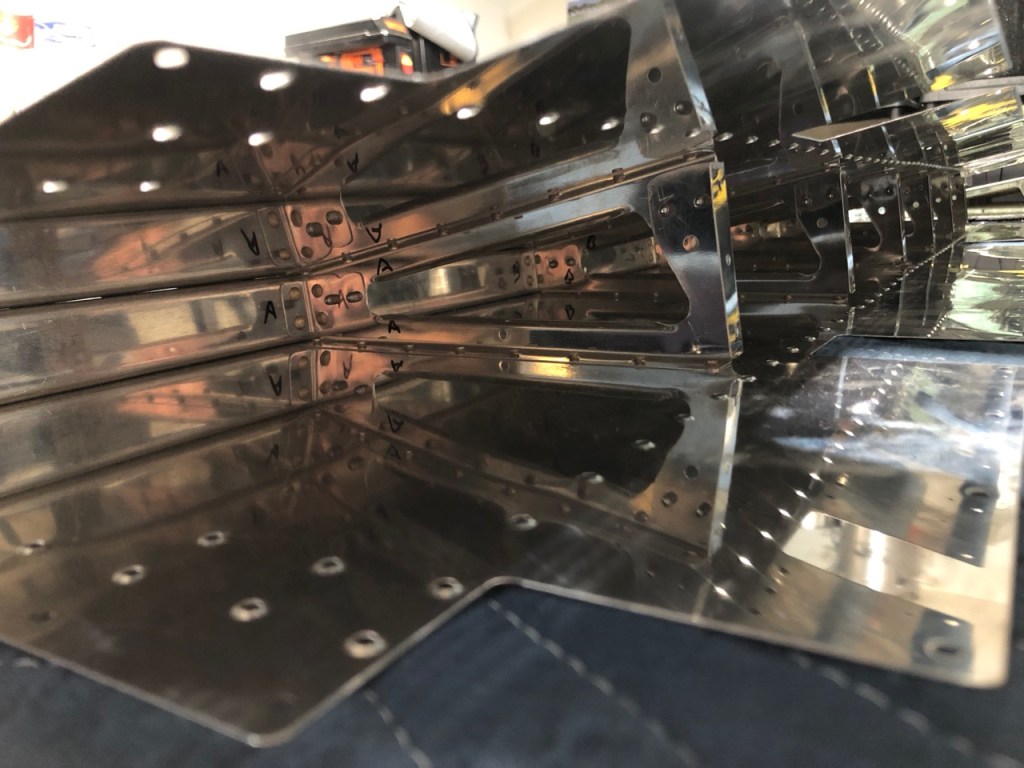
The skins are brought together, and the ribs are in turn riveted together.
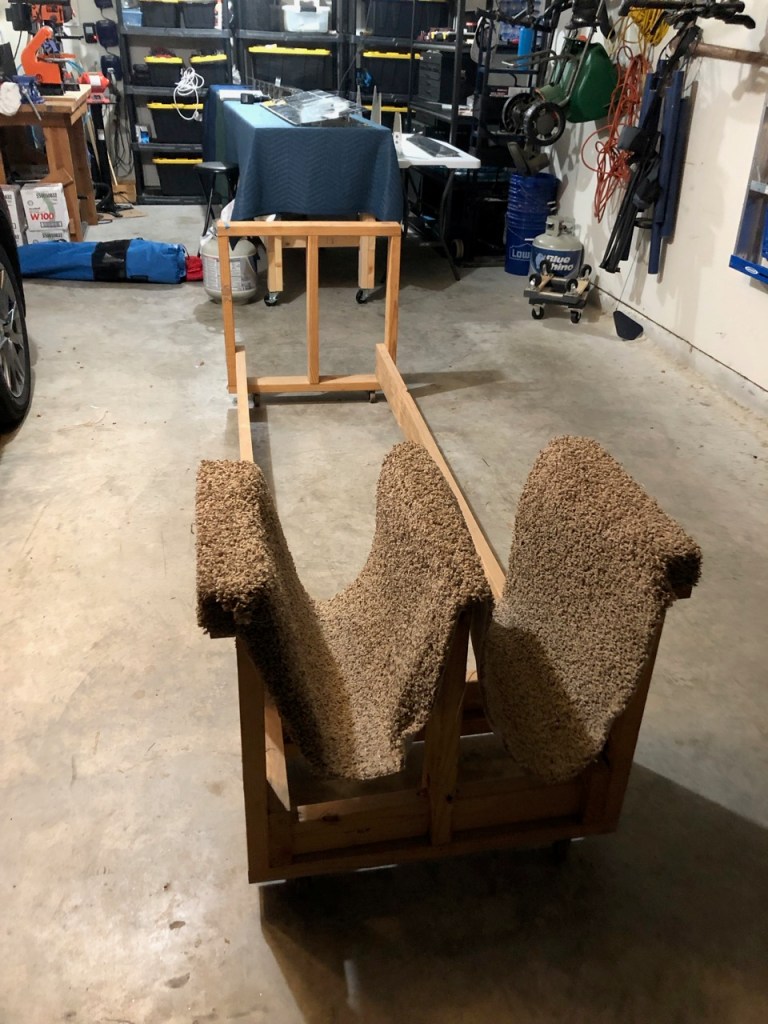
Meanwhile, I learned on Vans Air Force, that a local RV-14A builder is giving away his wing cradle. That is what I love about the builder community. That is, everybody is out there trying to help others. This cradle will eventually hold my wings until they are attached to the airplane. If I don’t destroy it in the meantime, I will be giving this away, as well, when it is time.
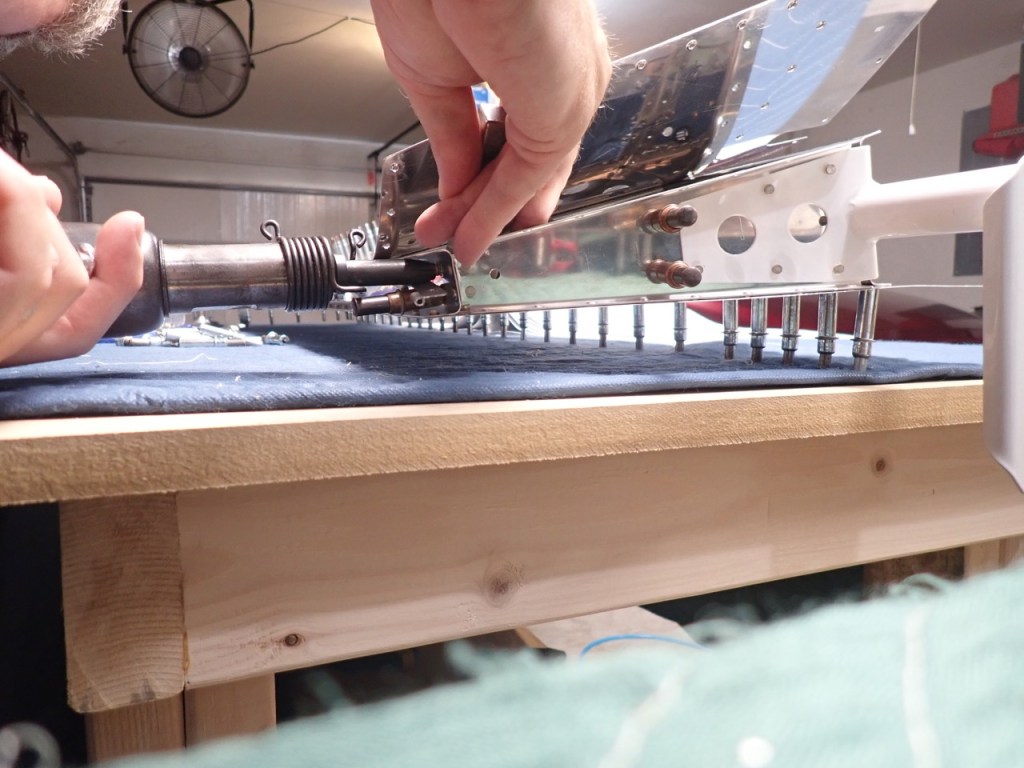
The plans suggest a special 14″ long bucking bar should be acquired to get at the skin rivets on the rear spar. It didn’t take all that long to learn another skill but all the rivets were put in nice and flush.

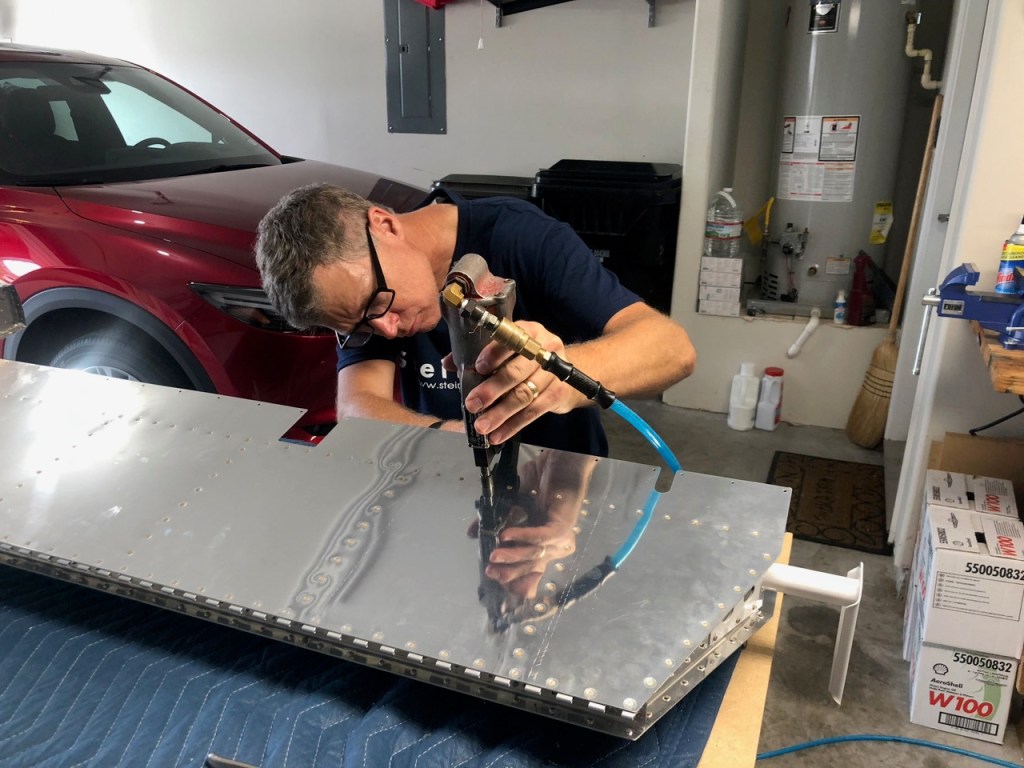
I received a tip (from another RV-14A builder located in West Virginia), that a pneumatic pop rivet gun from Harbor Freight will make my life so much better. Well, he was absolutely correct. Previously, pop rivets made me cringe due to squeezing the handles together. Now, it is as simple as pulling the trigger.
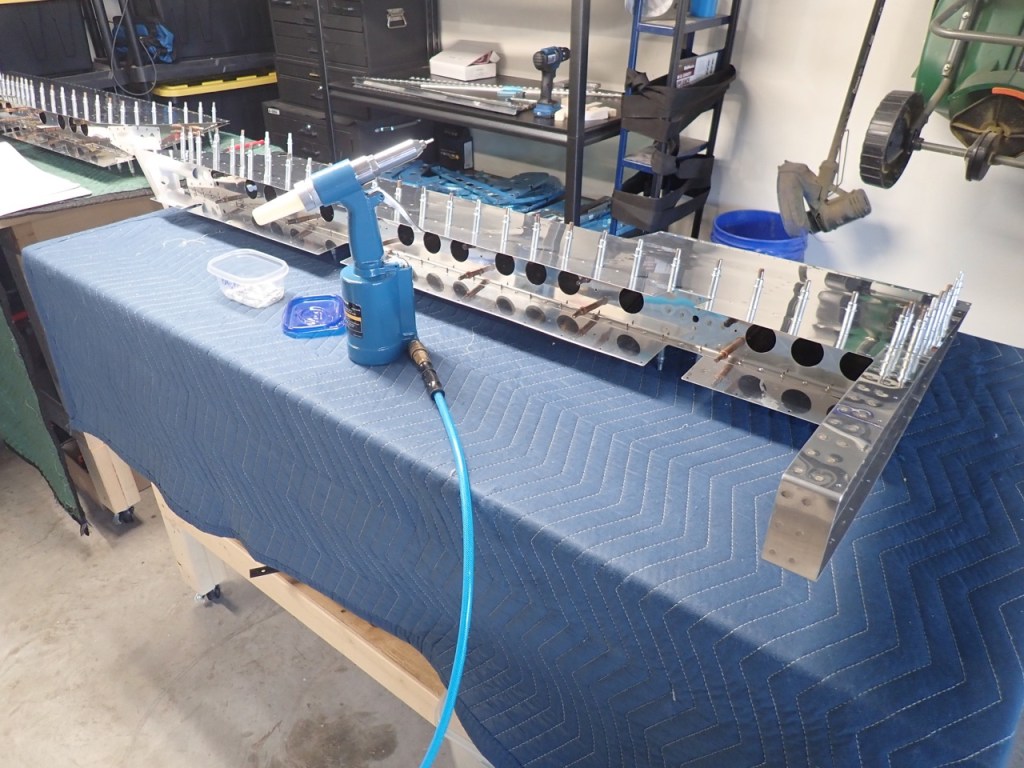
The pop rivet gun might be the new fad in the garage but I will always reserve my total affection for the pneumatic squeezer. By far, this is my favorite tool.
Some difficult to get rivets require peeling back the skins a bit in order to fit a bucking bar inside. If you look close, favorite tool #2, the tungsten bucking bar, is between my fingers.
So, I leave things here with skins all riveted, counter balance tips installed, and fingerprints on the shiny aluminum. Next is the trailing edge, assembling the trim tab, and rolling the leading edges.