
Since I last left you guys, it has been 2 weeks, and it doesn’t seem like I have done anything. However, adding up the hours since the last post, it was 25 hours of work. So something must have happened. The elevator has so many steps that it takes a while to get any sort of progress.
To date, I have put 142 hours into this build. 84 days in, that means I am averaging 1.7 hours per day. This might get interrupted though because next weekend I am off for my first ever Oshkosh. A review of my time there will be coming in a future installment.
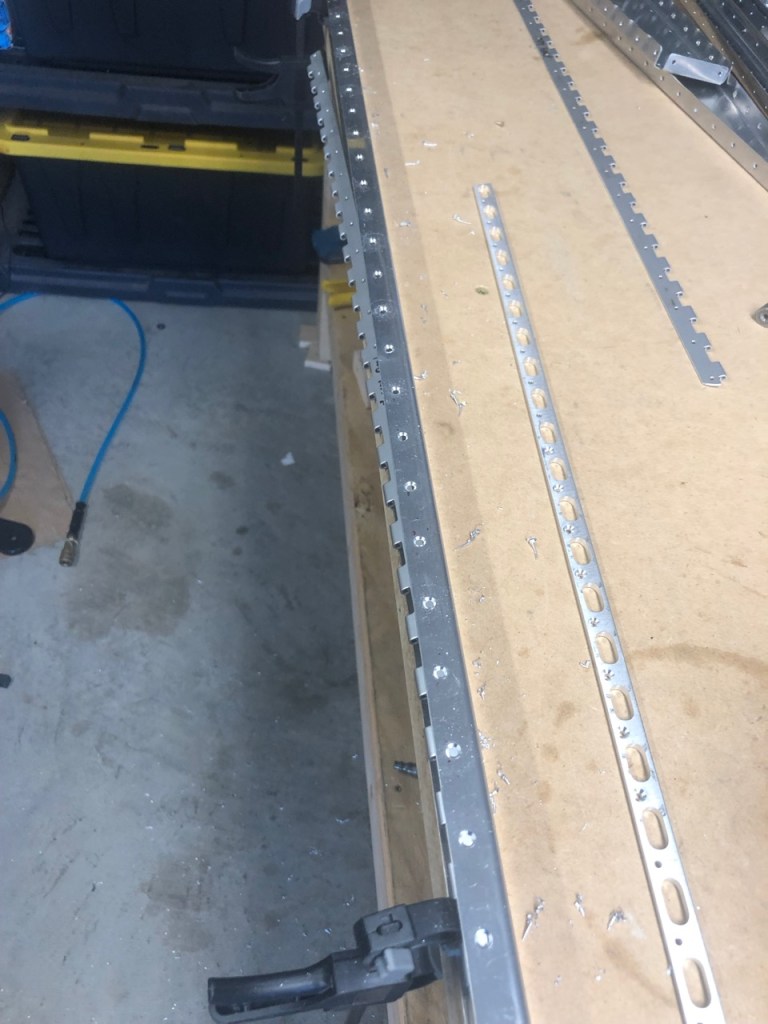
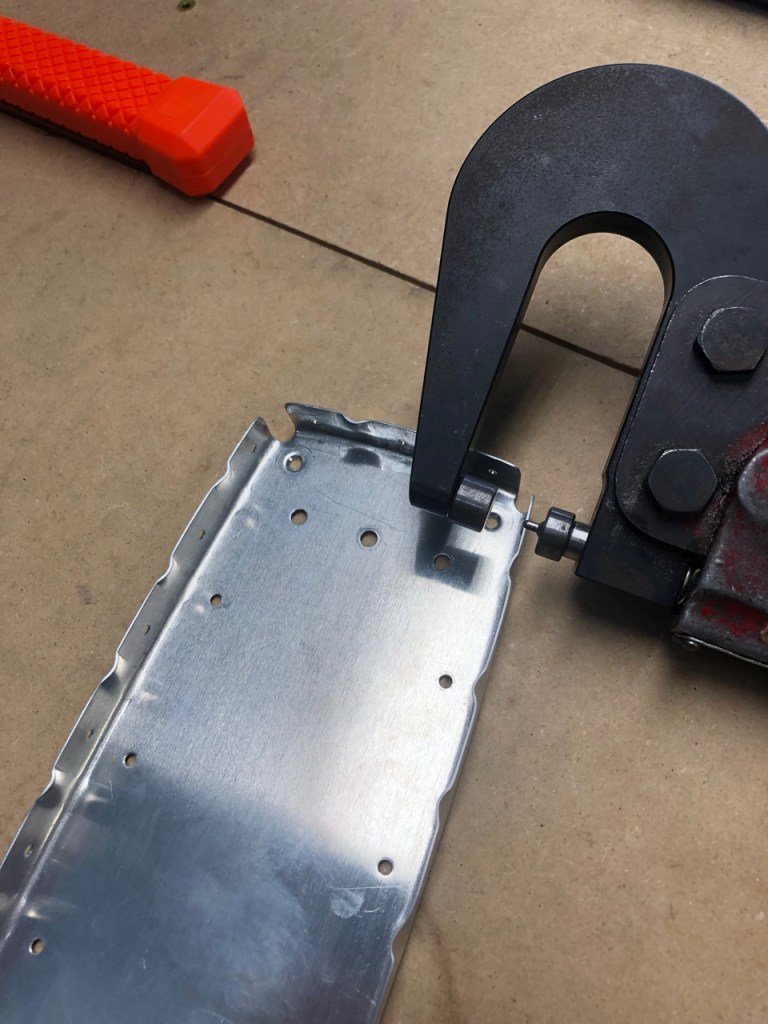
After I left off previously, the steps were to cut a hinge to size for the elevator trim tab. Then it was cleco’ing the hinge to the spar and countersinking the holes to accept the skin above it.
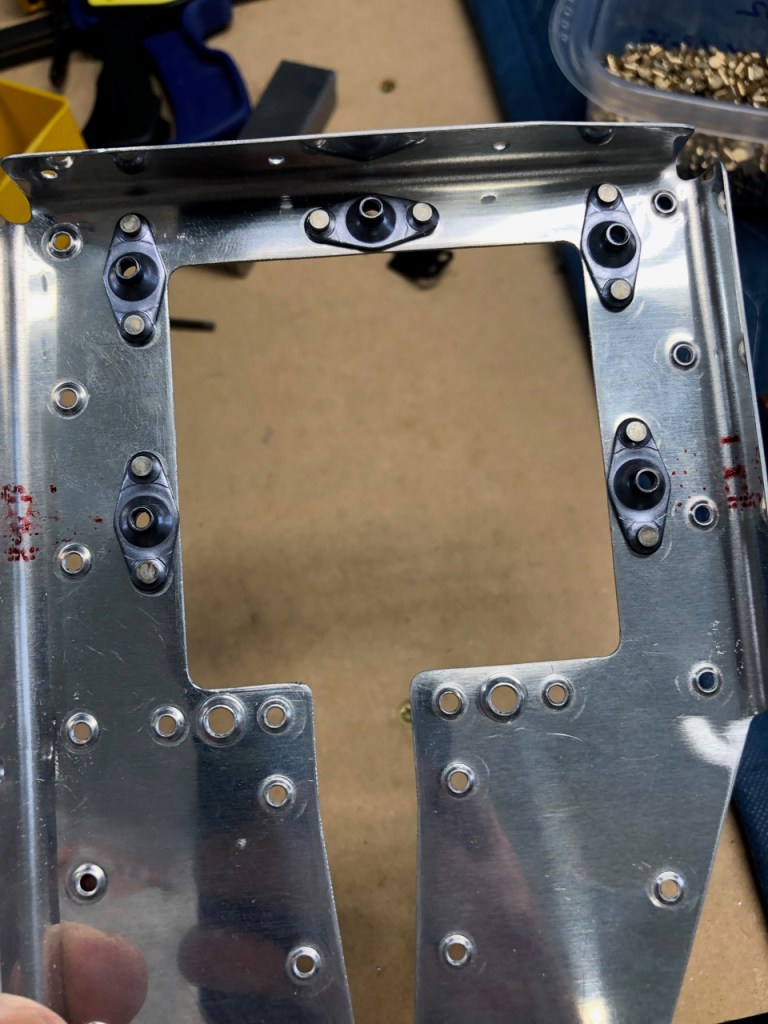
A huge amount of the time since the last post was spent deburring and dimpling the parts. This included ribs and skins. All total about 40-50 different parts.

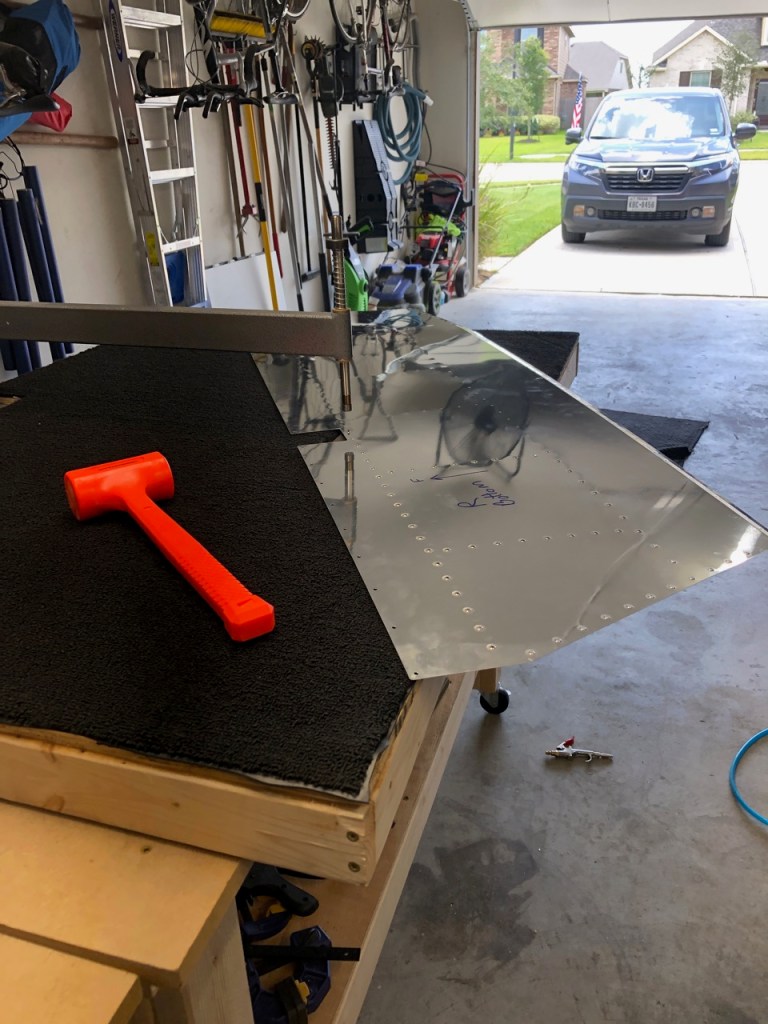
The top and bottom skins of each elevator side were dimpled with the C-Frame dimpler. I had to make sure concentration was 100% in order to prevent the dreaded double dimple. I started early in the day so it was still relatively cool. No dreaded double dimples were produced.

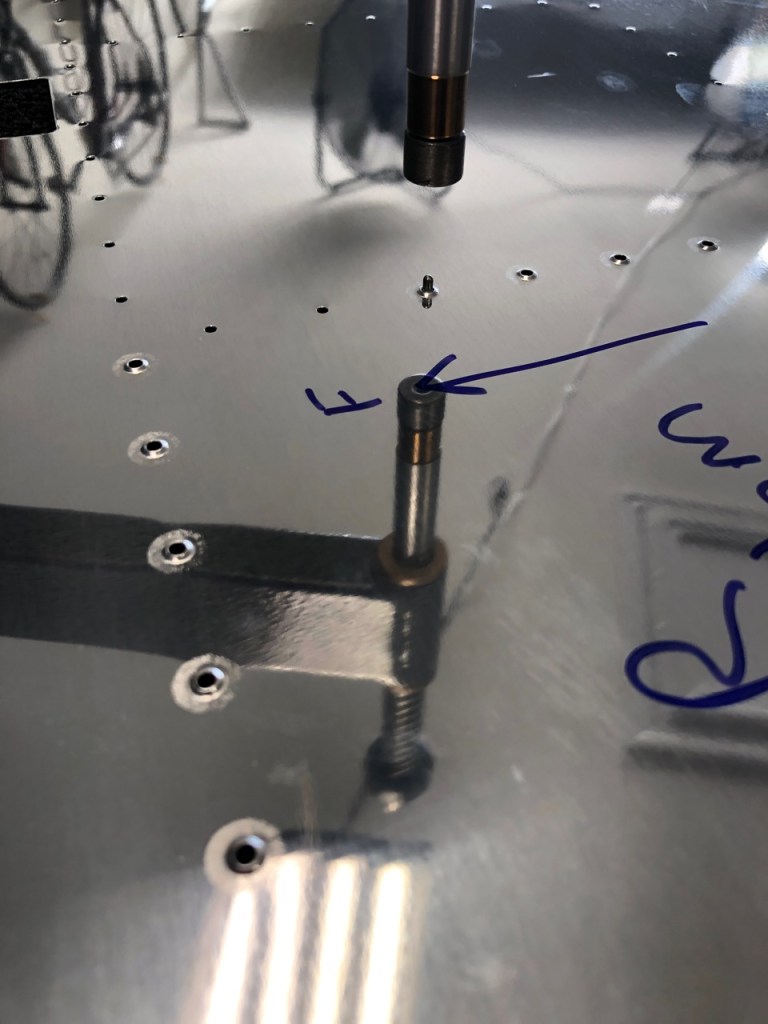
All the rib parts, spars, and counterweight tip ribs were then dimpled. With most I was able to use the pneumatic squeezer. However, some required swinging the dead weight hammier on to the C-Frame.
A plate called the Trim Access Reinforcement Doubler was dimpled and nutplates were riveted to its inside surface. This will serve as the access point for the Trim Tab motor with a cover screwed into the nutplates.
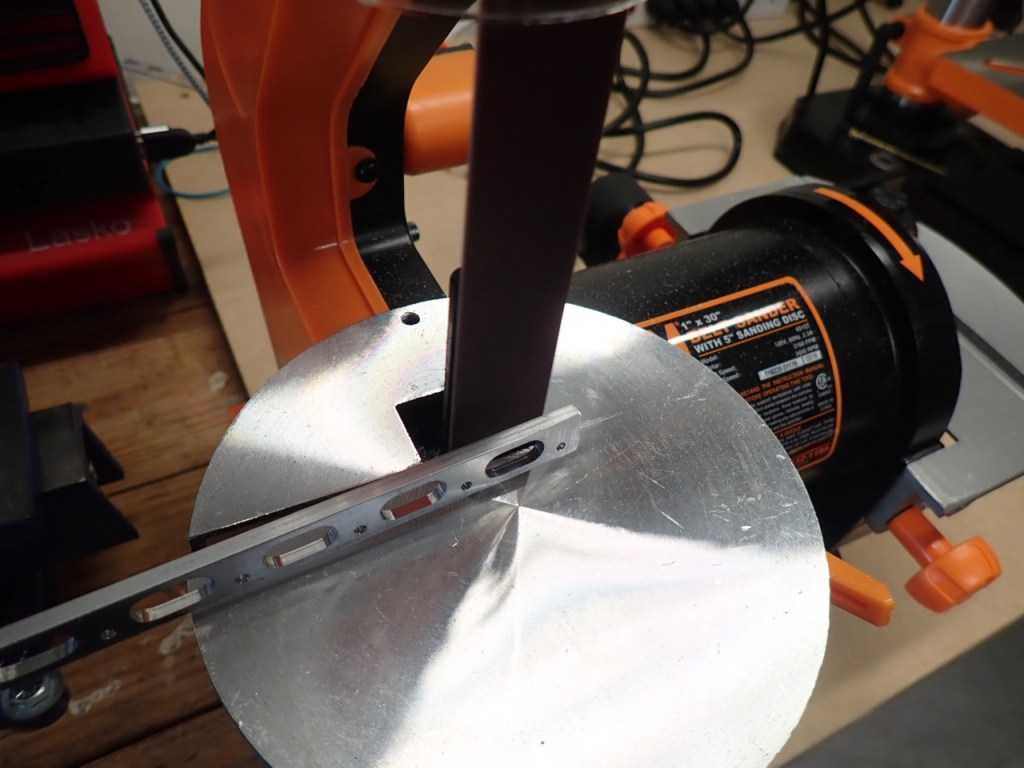
Some work was then needed to prepare the trailing edge wedge. This was similar to the rudder trailing edge. My new addition, a belt sander, was used to taper the ends down to the thickness matching the fiberglass fairings that will be added later in the build.
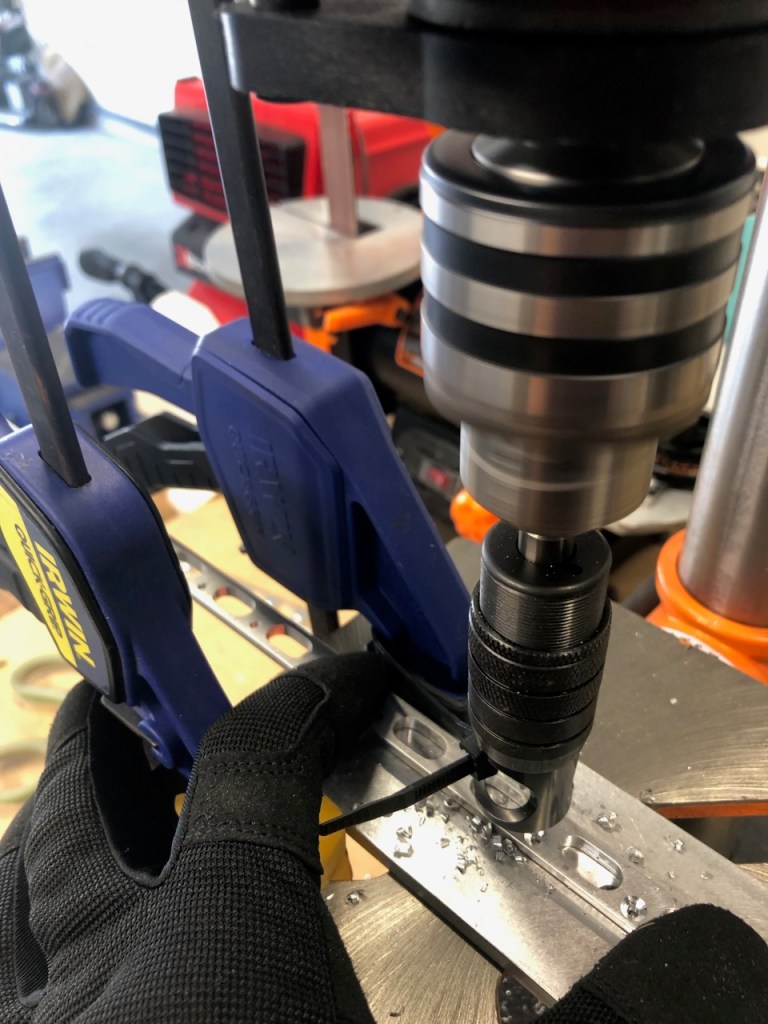
Using the same technique as the rudder trailing edge, I used the drill press, and a trailing edge wedge adapter plate to countersink holes that will accept rivets later on. The wedge is obviously wedge shaped so the adapter plate makes the top surface of the wedge perpendicular to the Microstop Countersink.
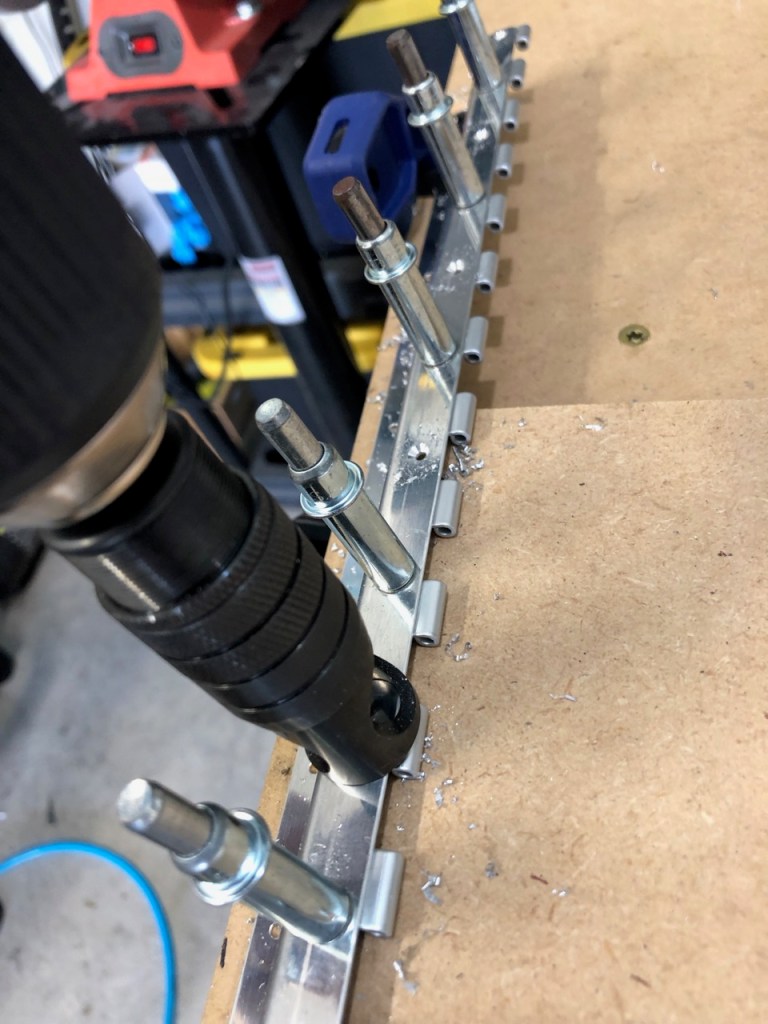
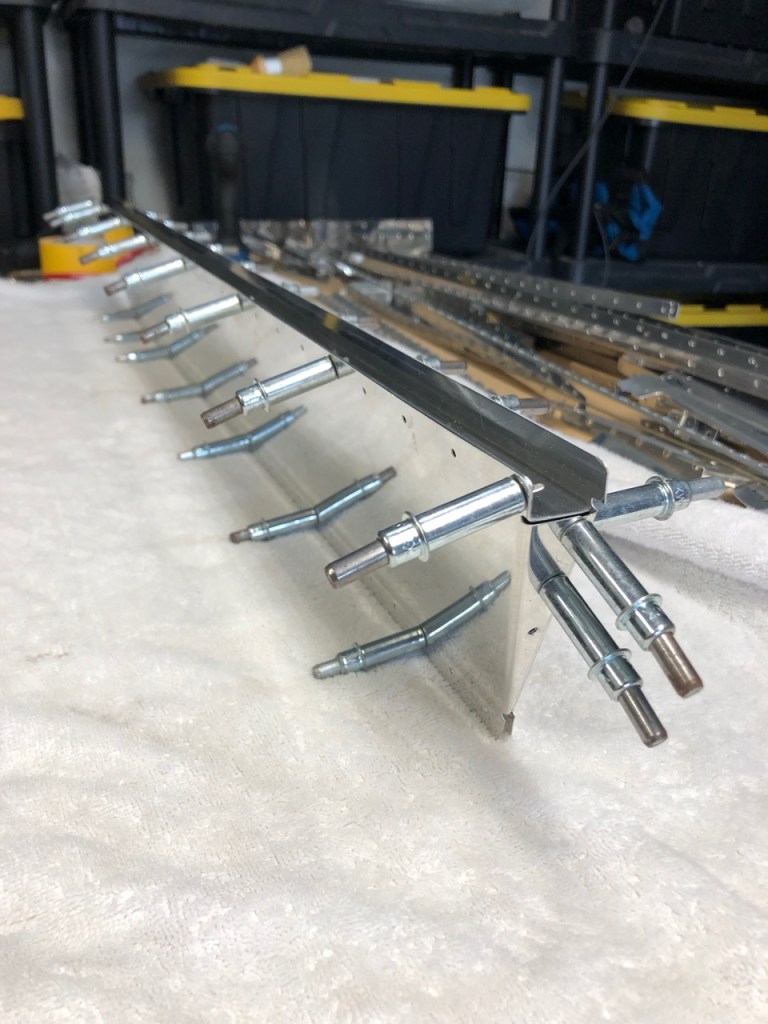
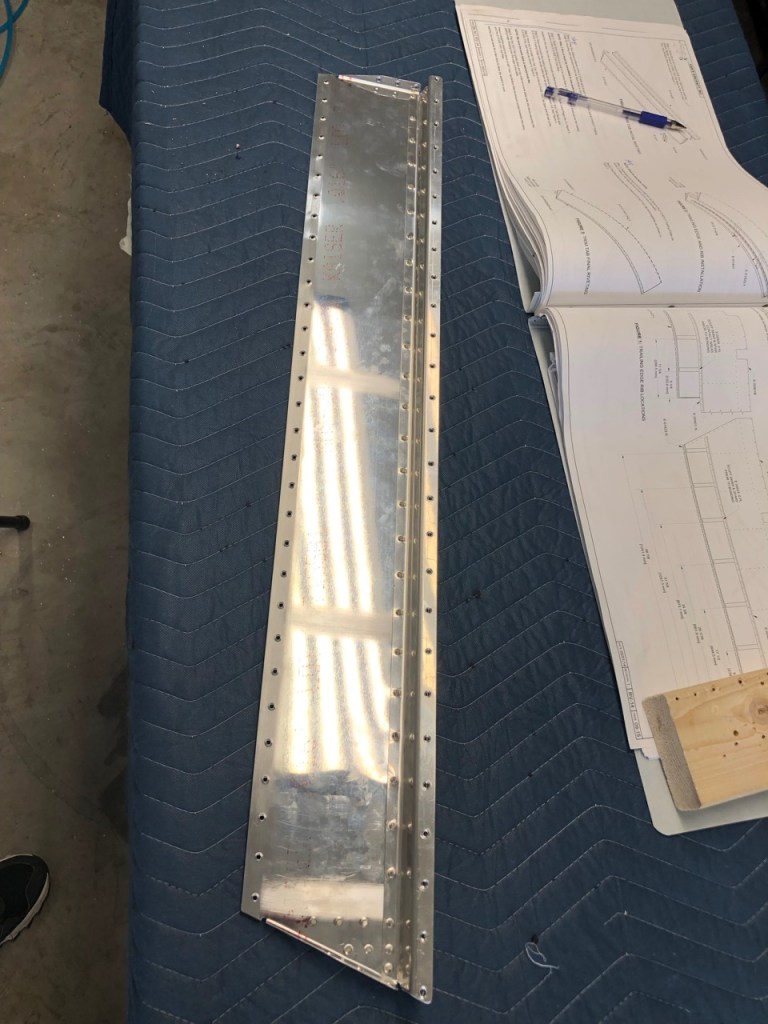
The trim tab was cleco’d together, holes aligned, deburred, and then the hinge spar was riveted to the forward edge.


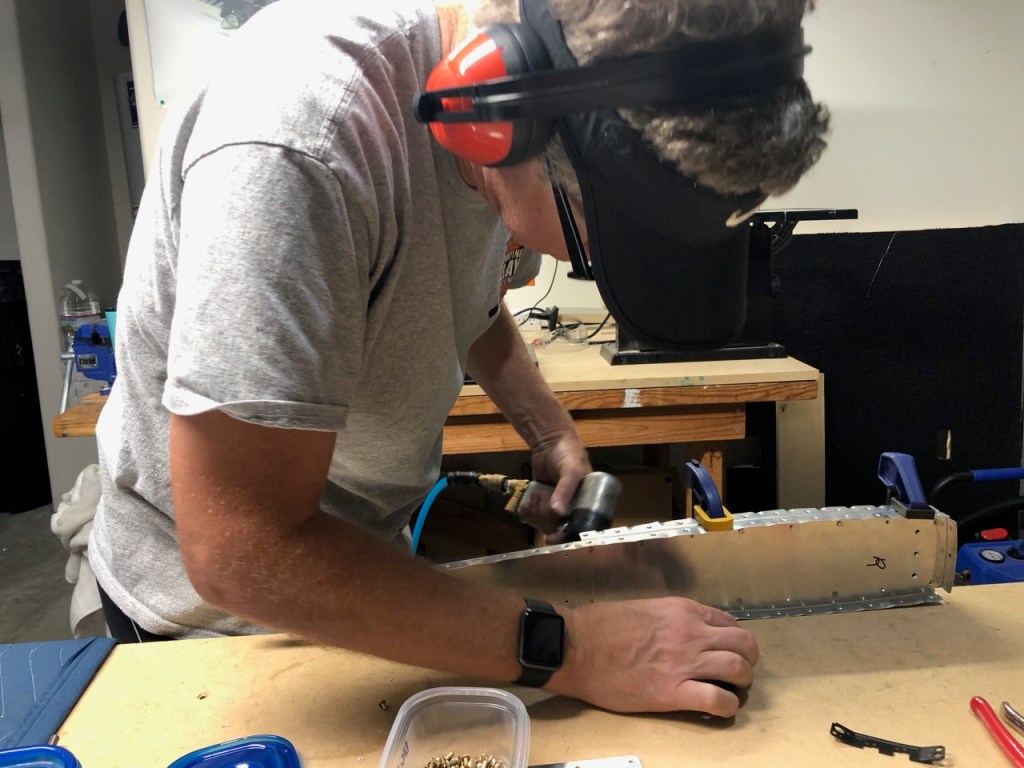
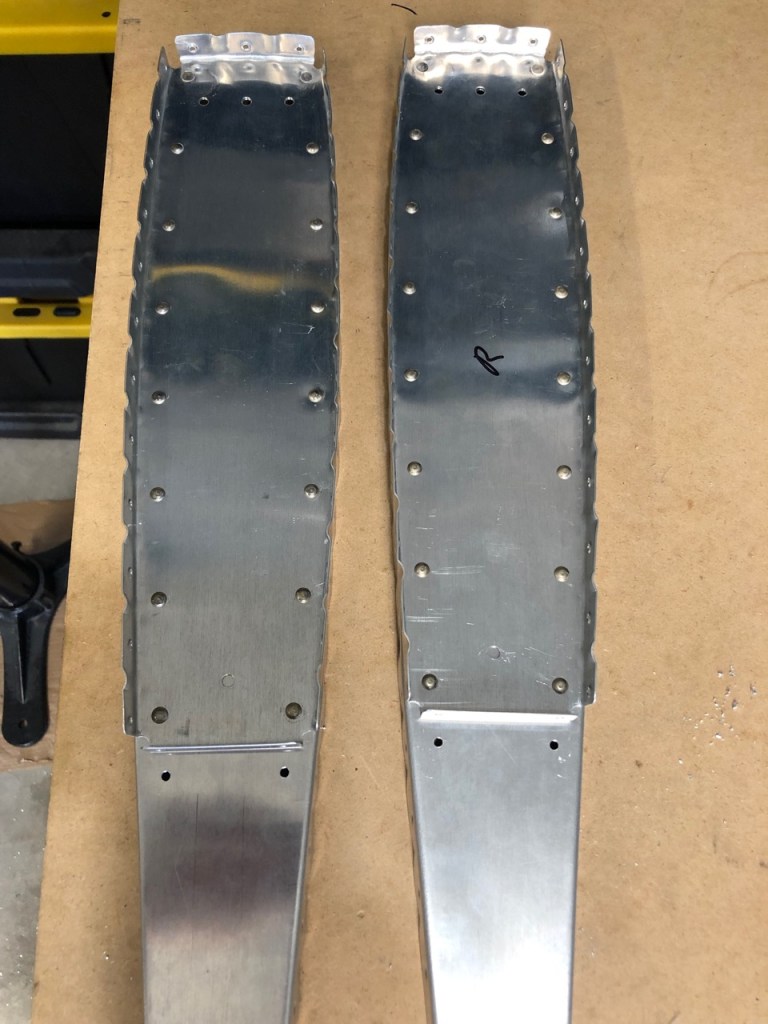
Back to the rivet gun which was used to rivet the two halves of the Tip Rivet together.
From this point to the end of the elevator, there will be a lot of riveting and little gluing of the foam ribs that were cut apart in a previous post.
