Looking forward through the Instructions, it is quite evident that every section to come gets progressively more complicated. I will look back at the previous sections and think those are a cakewalk compared to what is to come.
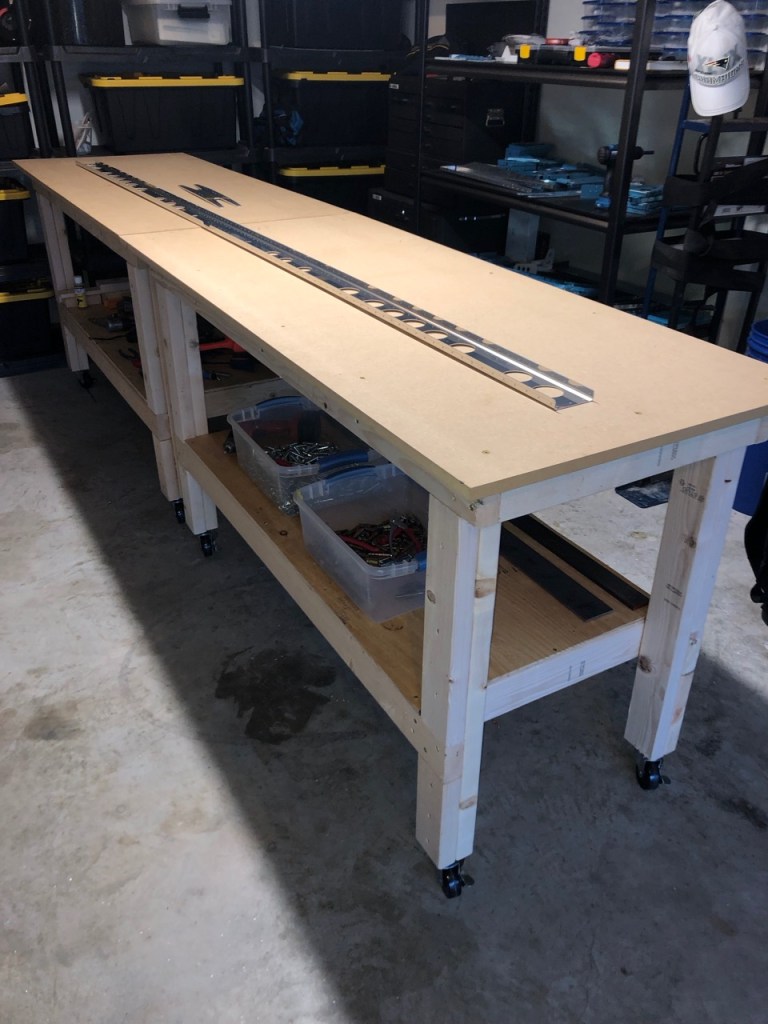
Pulling the parts off the shelf for the Horizontal Stabilizer, it was immediately apparent that my “EAA Bench” would not be long enough. So, I decided to clone it into another. Now I have 10 feet of surface to work on along with casters to move it around the shop.
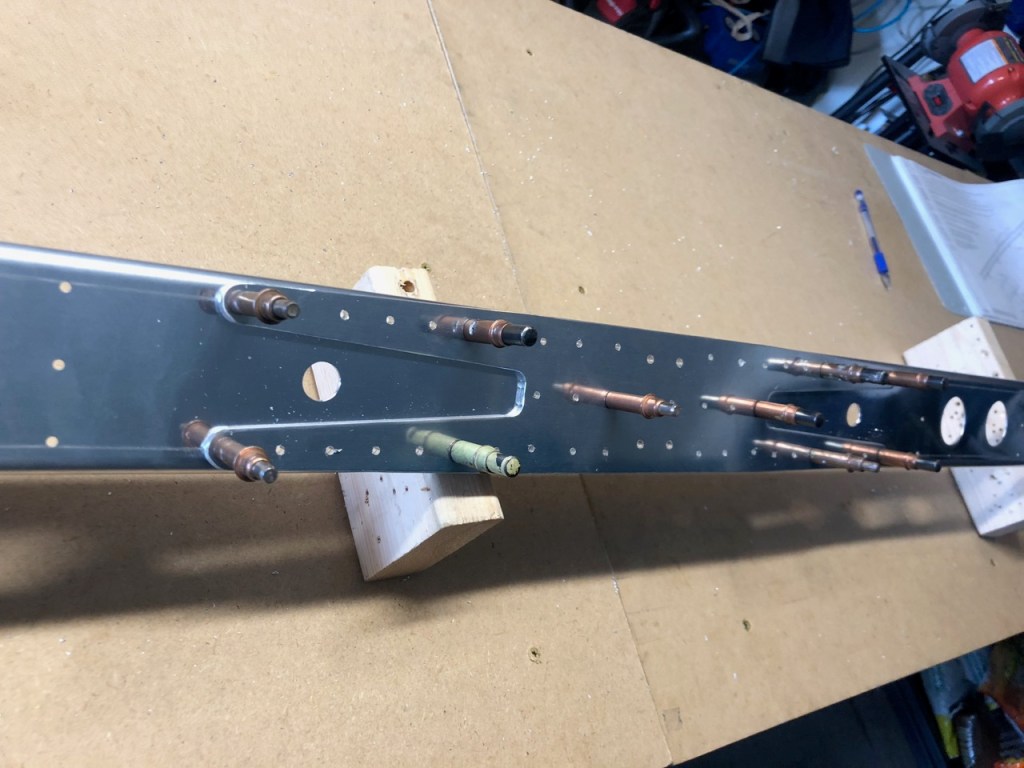
The HS has two spars each about 9 1/2 feet long. Both spars has a doubler plate and the forward spar has two”spar caps” to match drill (and deburr).
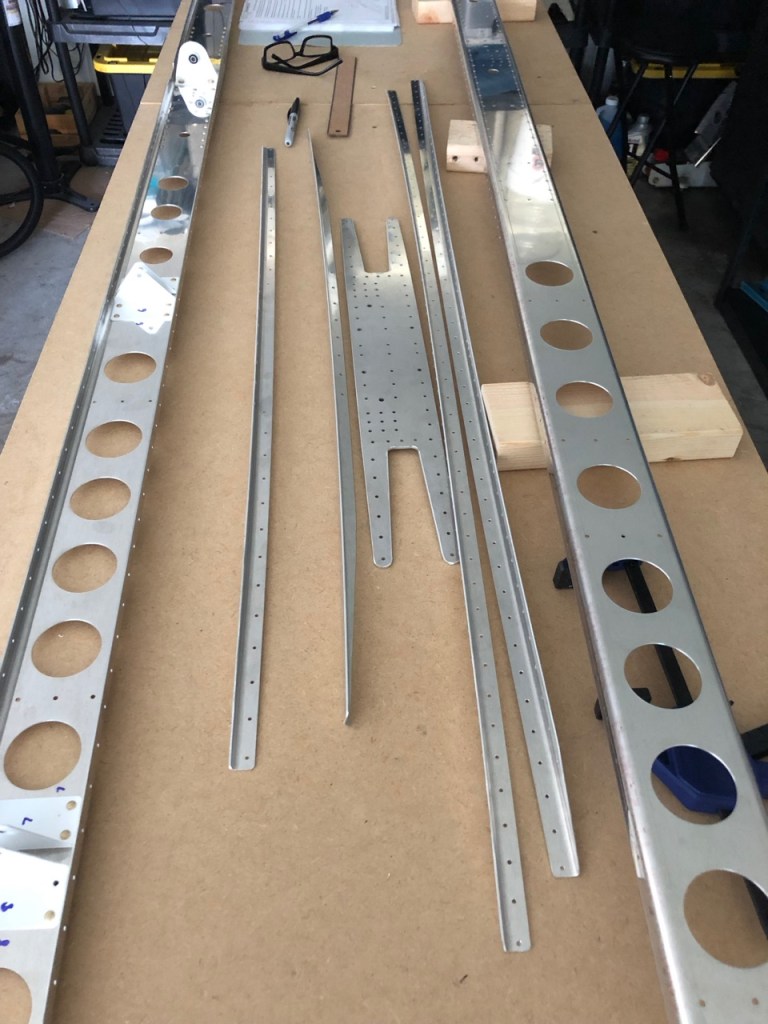
The rear spar is where hinge brackets are attached which is where the elevator will eventually attach.
The spar doubler is a thick piece of aluminum that is riveted to the spar with many holes. Of course, all these holes must be cleco’d, final drilled, and then deburred before riveting.
The pneumatic squeezer really makes an easy job of installing these rivets. The tape is to remind me not to rivet these holes as per the instructions.

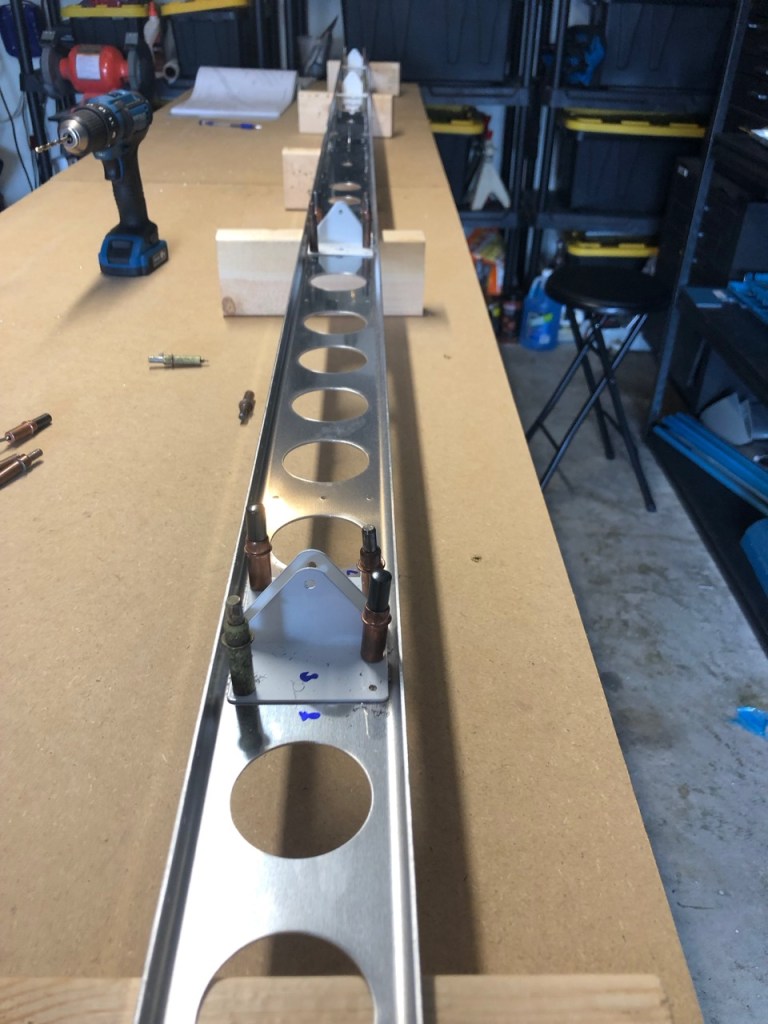
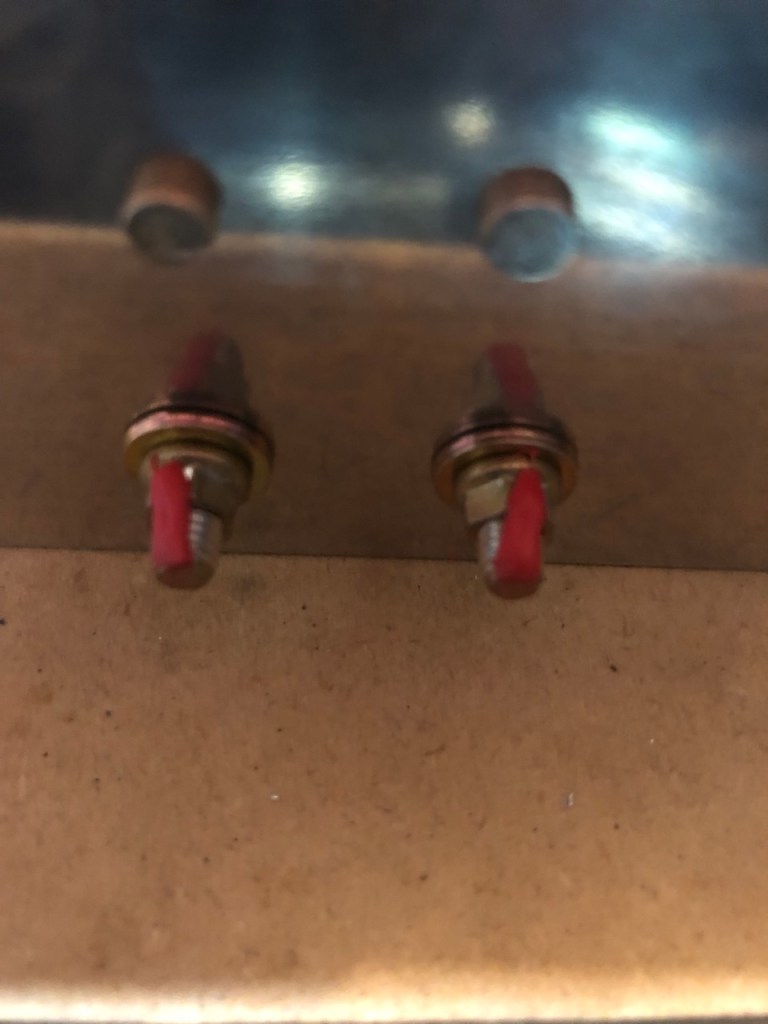
In the center of the rear spar, a hinge bracket with a bearing is attached via bolts and lock nuts. This was my first attempt with a torque wrench.

The instructions did not say it but I put some Torque Seal on the nuts. This is a wax like substance used to indicate if the nuts have moved.
The before mentioned Spar Caps are clamped to the rear spar, and then final drilled using the holes in the spar as a guide. There were about 120 holes to drill. It was amazing the amount of aluminum shavings that collected from all this drilling.


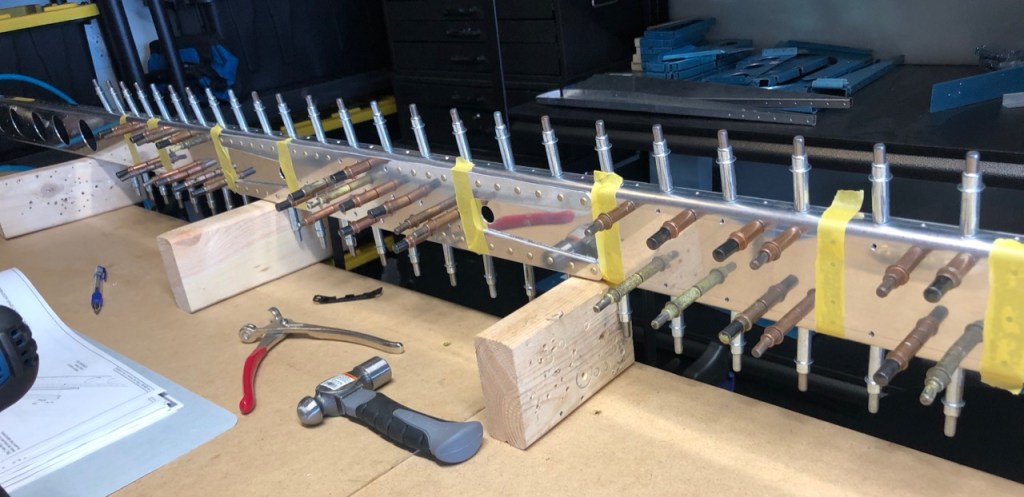
Nine holes on each side of the spar were countersunk. This section is not covered by the skin. Thus, flush rivets are installed.
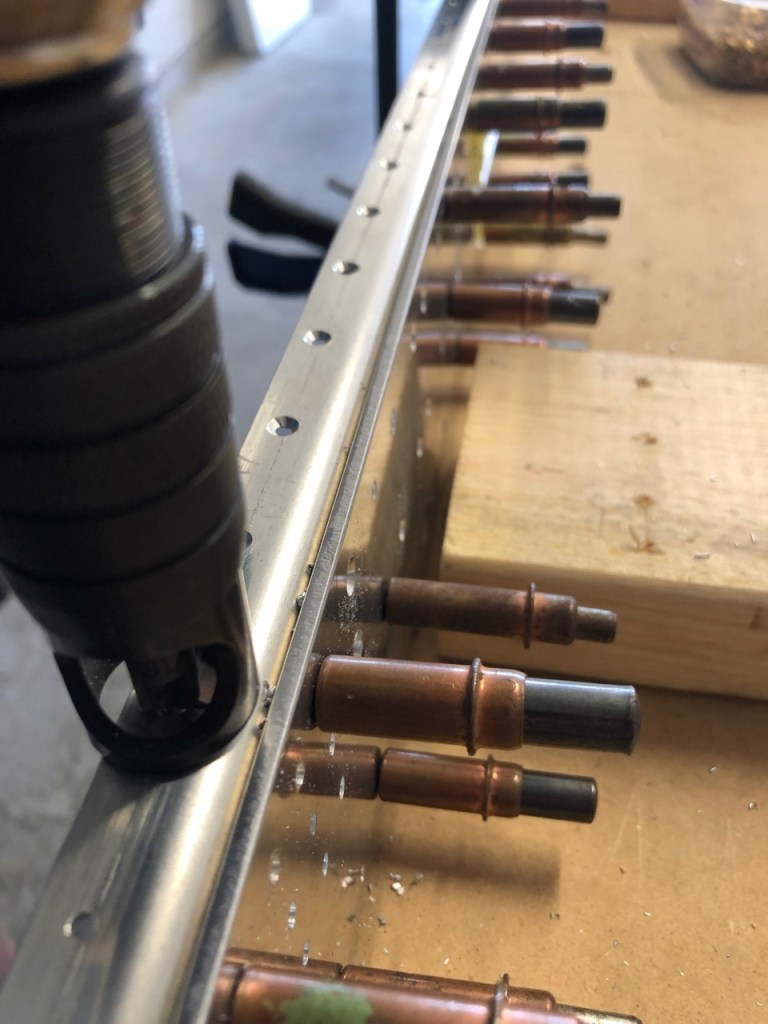
All that match drilling and final drilling resulted in a bunch of clecos. At the end of the day, the rivets went in very well. Once again, the pneumatic squeezer saved the day.

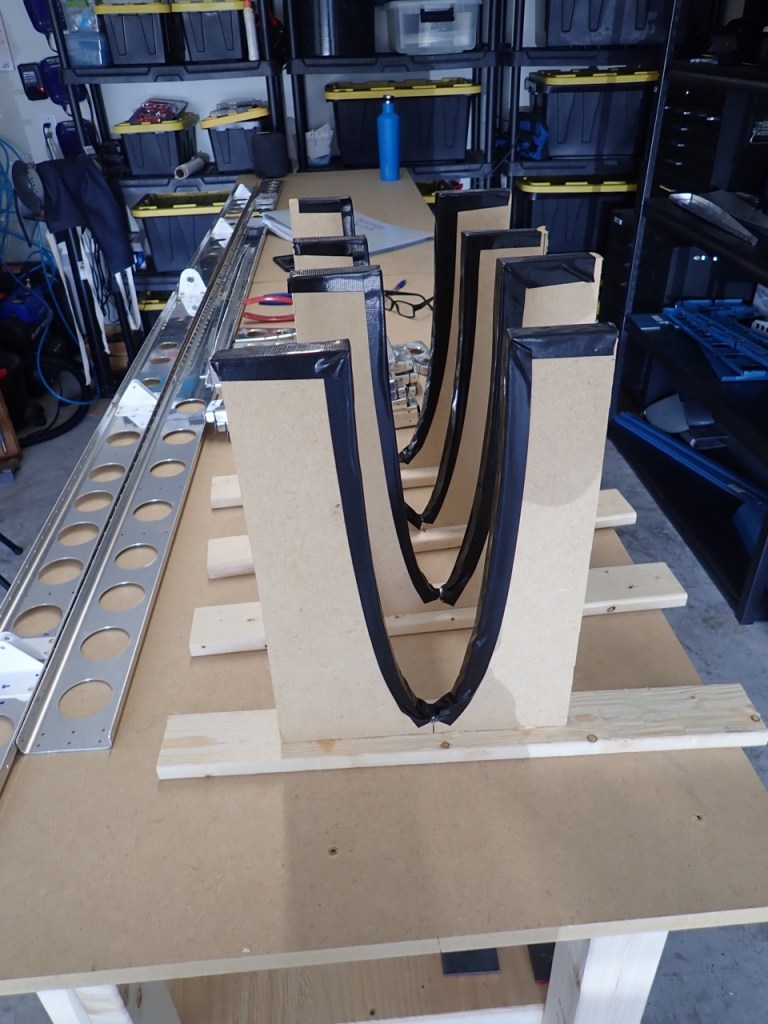
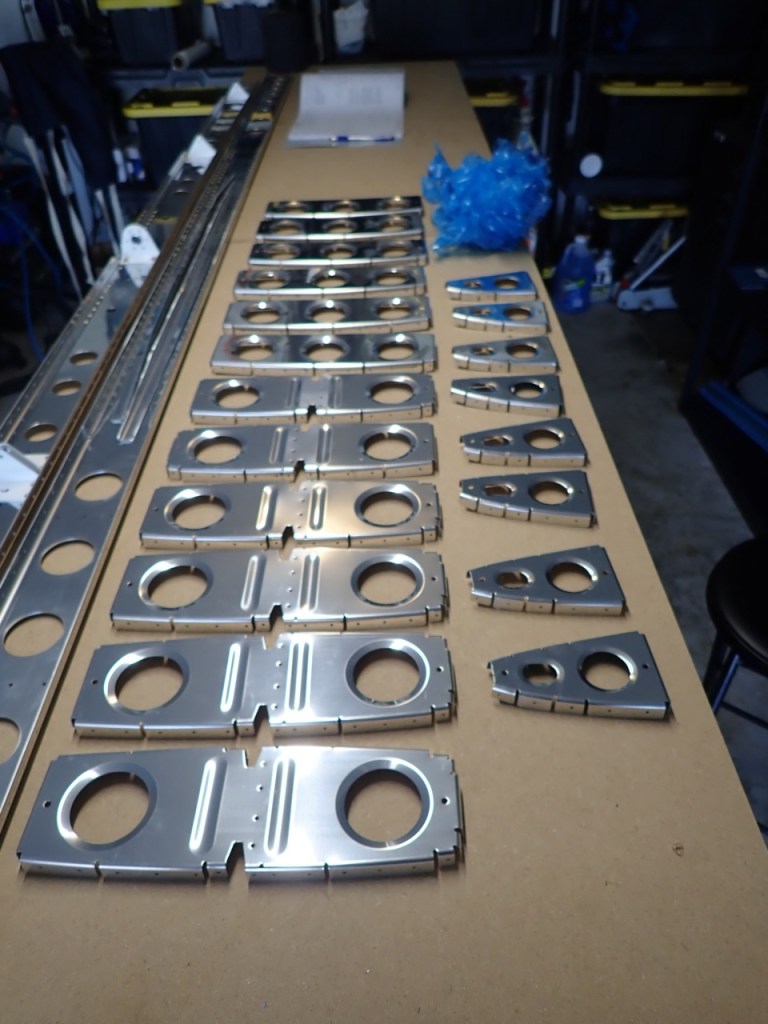
Once the spars are ready, it was time to work on the ribs. When I mean work on the ribs, I mean deburr, deburr, deburr. Each of these rib parts have little nooks and crannies which are demanding attention in the deburr process. After the fun of making a ball of “blueing” (removed from the rib parts), I settled down to an 6 hour session of deburring.
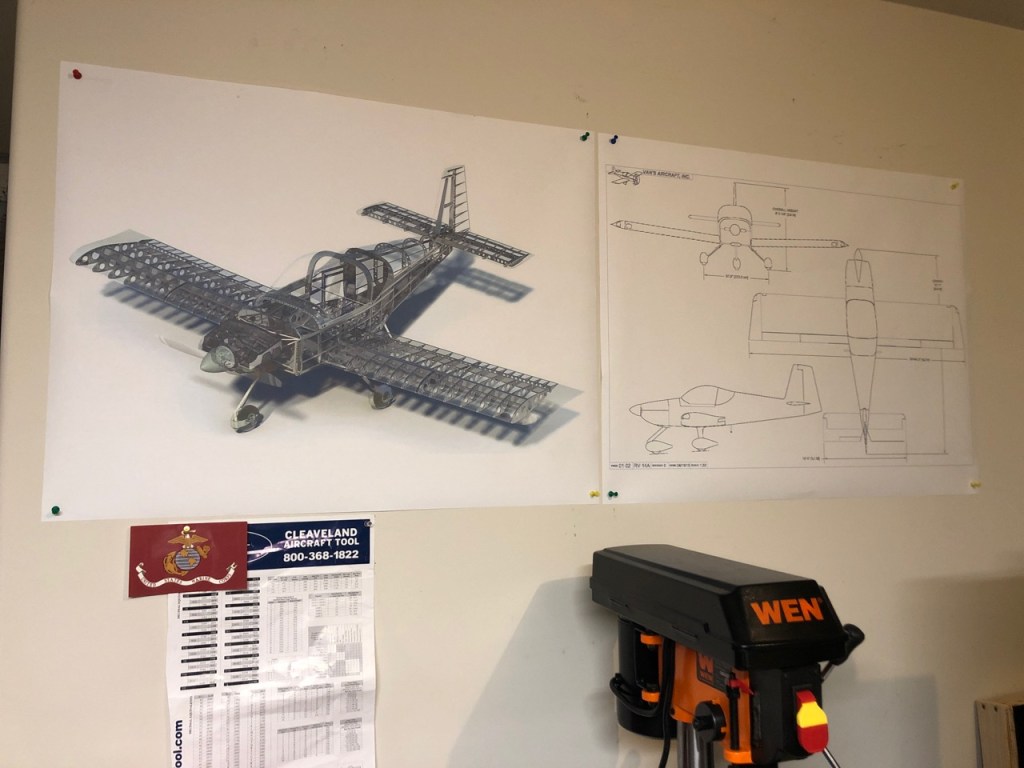
I decided to print out a large cutaway of the RV-14A so that I could pin point what parts I am working on. It also is a bit of a motivator that perhaps someday I will have something that resembles what is on the wall.
Having had enough of the feel of aluminum, I fashioned some cradles out of left over MDF board. This will be used to hold the horizontal stabilizer as I rivet the skin. Stay tuned….