Over the course of these two sections, I made the other two mistakes but the 2nd mistake allowed me to erase the one previously described because I ended up replacing parts including the VS-702 and doubler. I “dimpled aft” the correct way this time with the new parts.
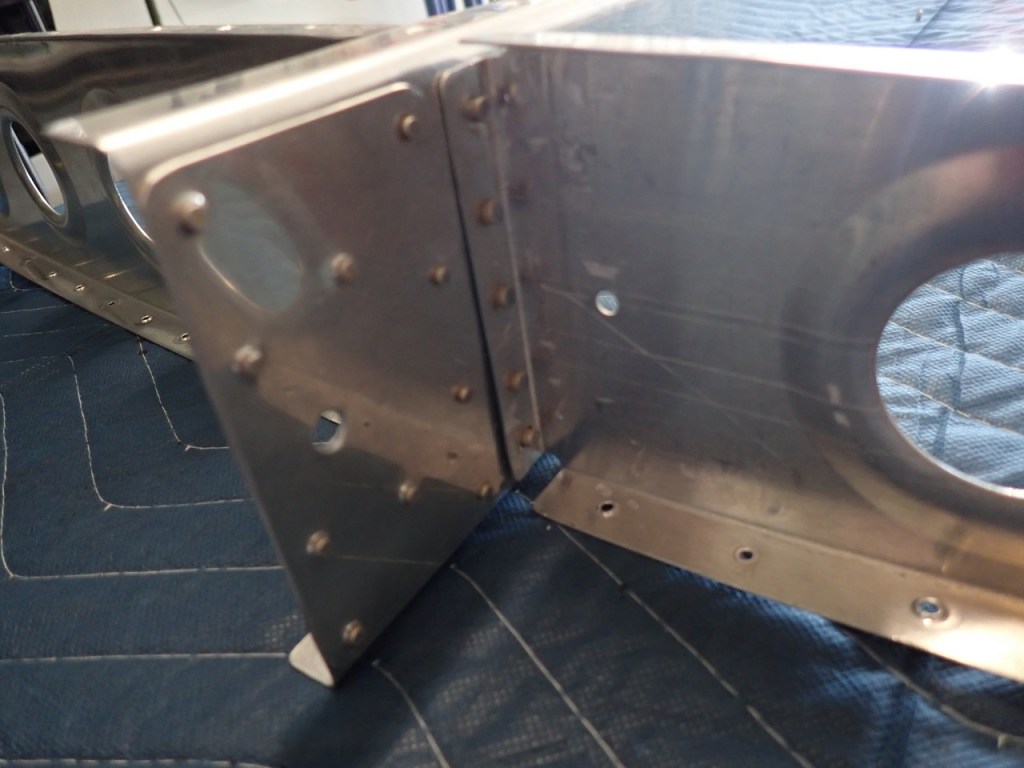
This is a little out of order from the plans because I didn’t write this blog immediately. I will first describe the VS-803PP and its doubler and hinge brackets. This was actually quote enjoyable because mainly I did not have to drill out any rivets.
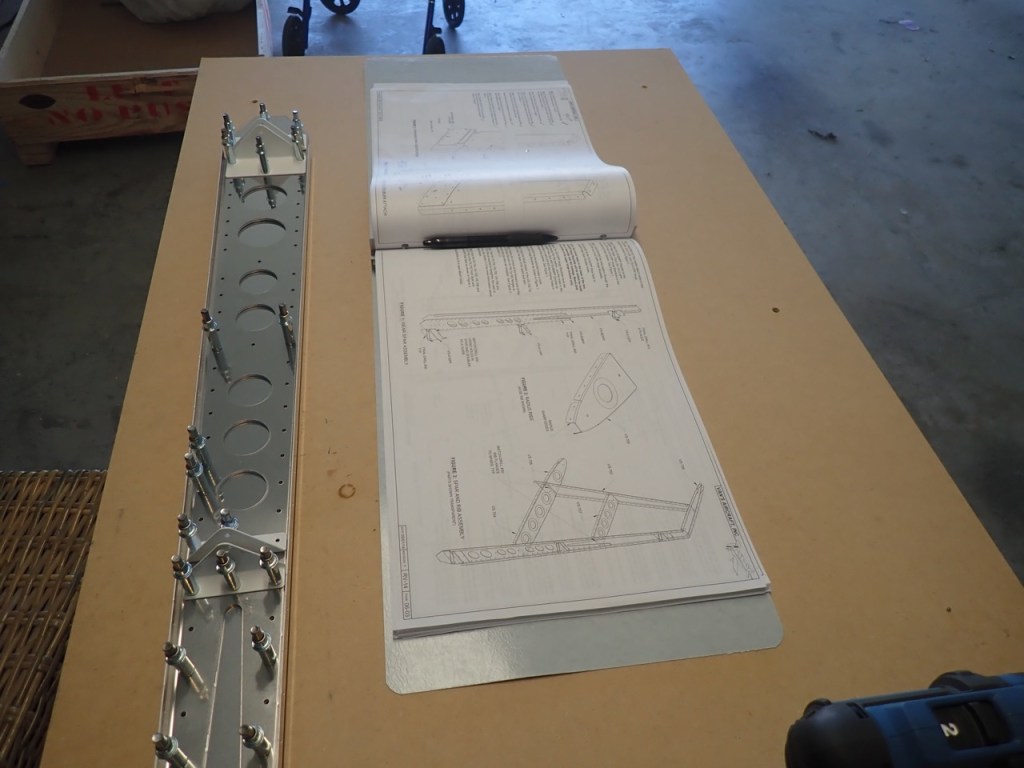
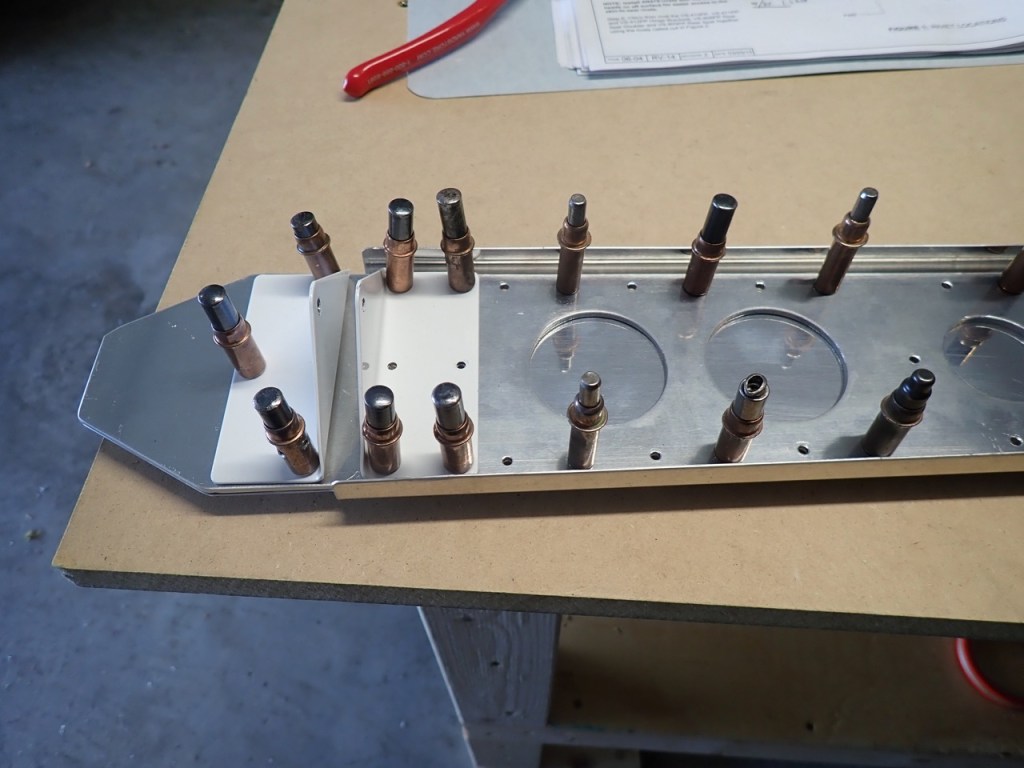
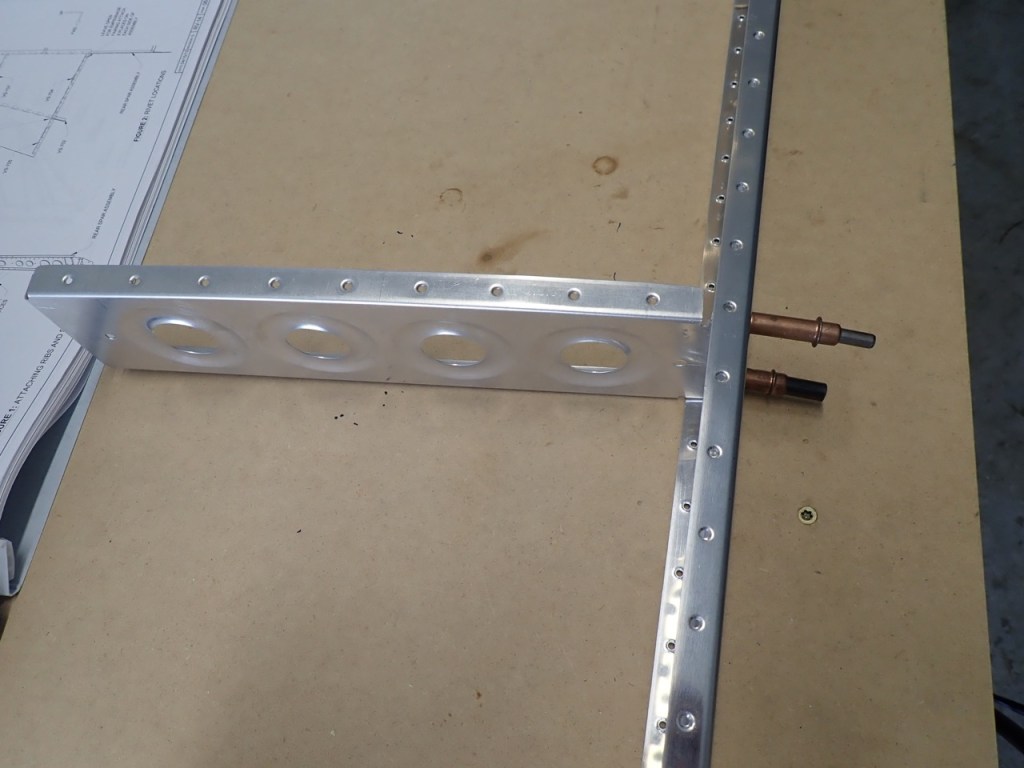
The first steps involved clecoing the VS-808PP doubler to the VS-803PP spar followed by attaching the 3 sets of rudder hinge brackets (the parts that are powder coated white).
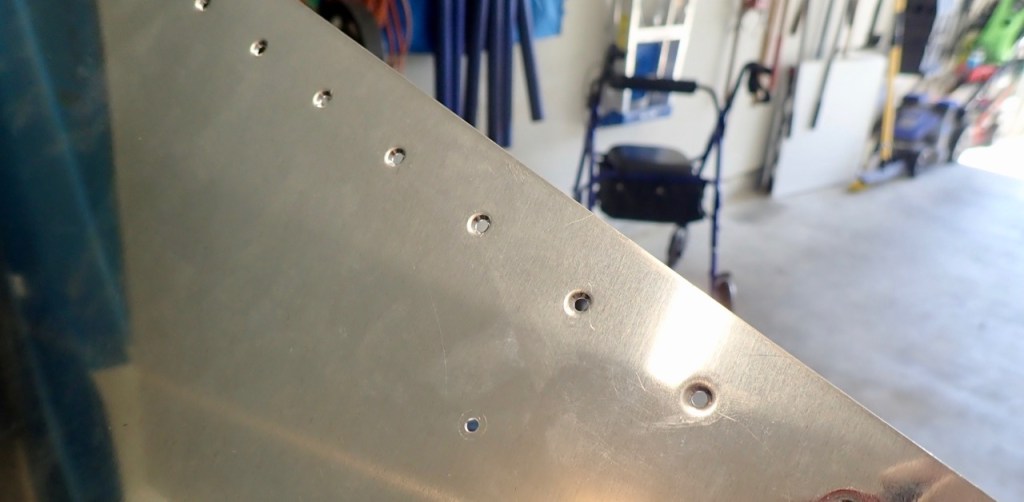
This was followed by match drilling all the holes between the doubler and spar.

Then the back of the doubler was countersunk, and the spar was dimpled. Amazingly, no mistakes so far.

The pneumatic squeezer I found on eBay is going to be the most valuable tool in the shop. It makes things so much easier. It is used for riveting and dimpling. Its limitation is that it can only reach 3″. At least it does now because I subsequently purchased a 3″ yoke.
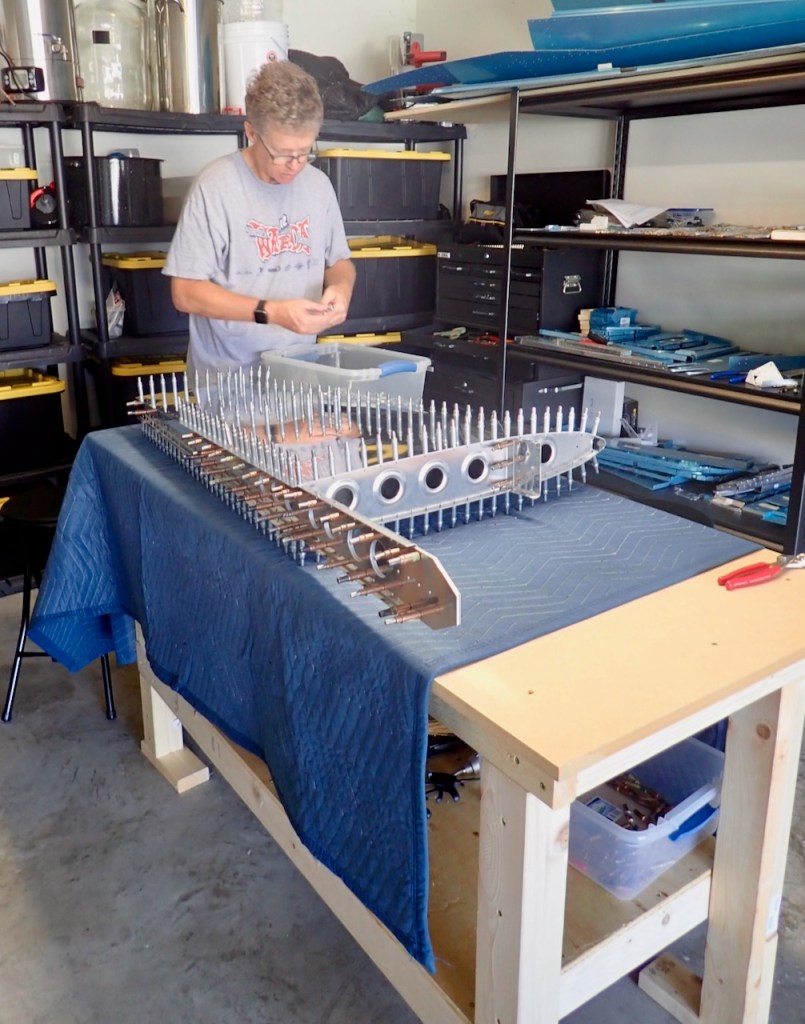
You can see here I am dimpling the spar. I am also either shamelessly promoting a certain team or hiding my bed head.

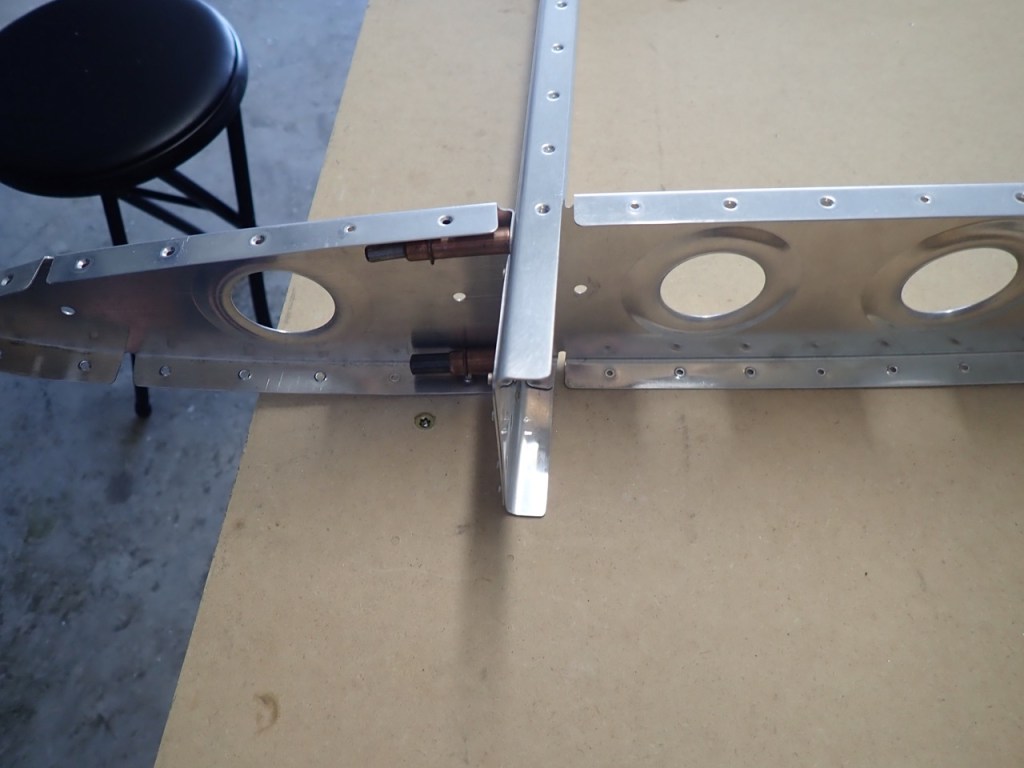
The attachment of the doubler and hinges to the spar used a combination of 5 different rivets both flush and the round head type. They were installed correctly the first time and they all look good to me. Such a relief.
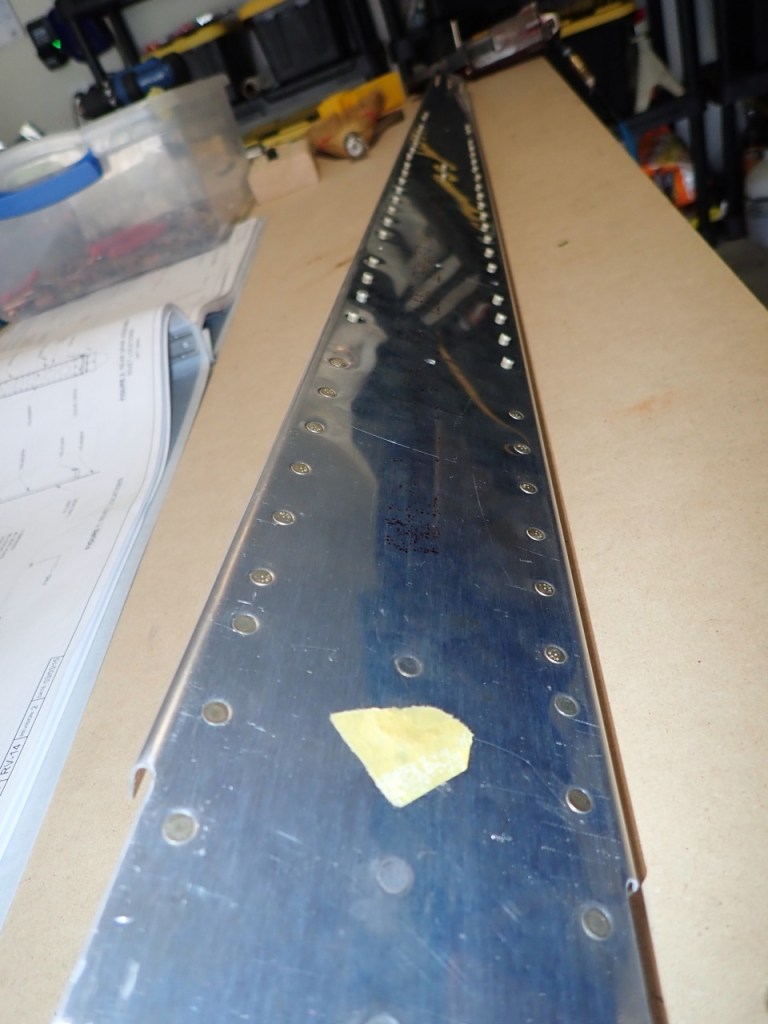
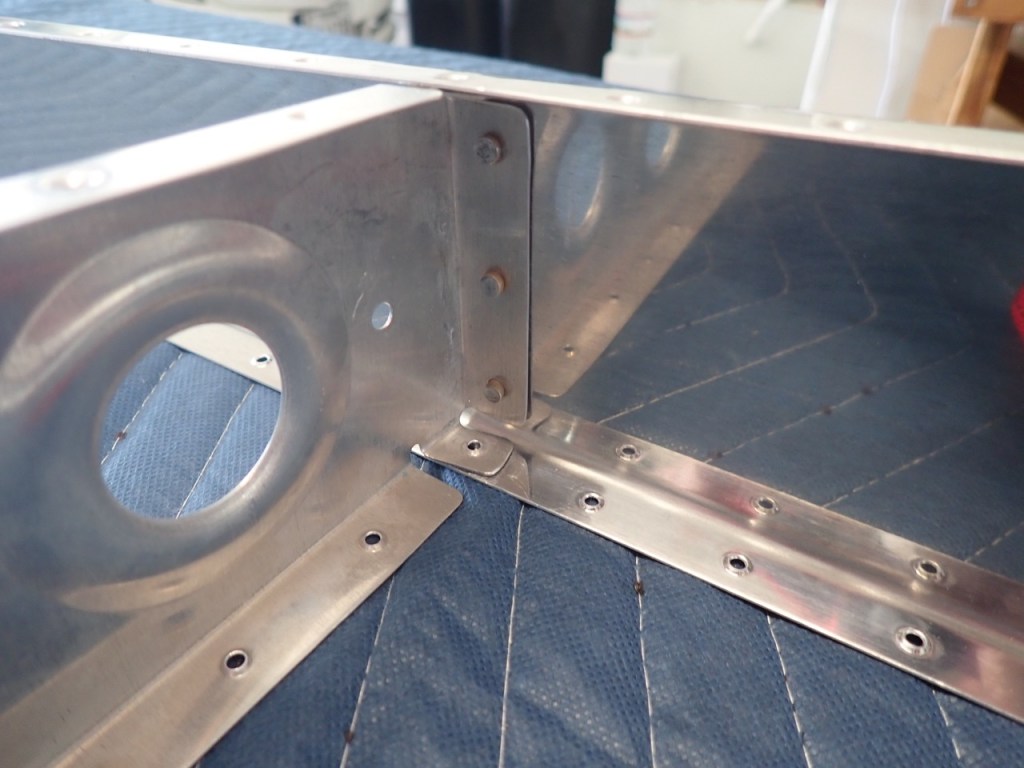
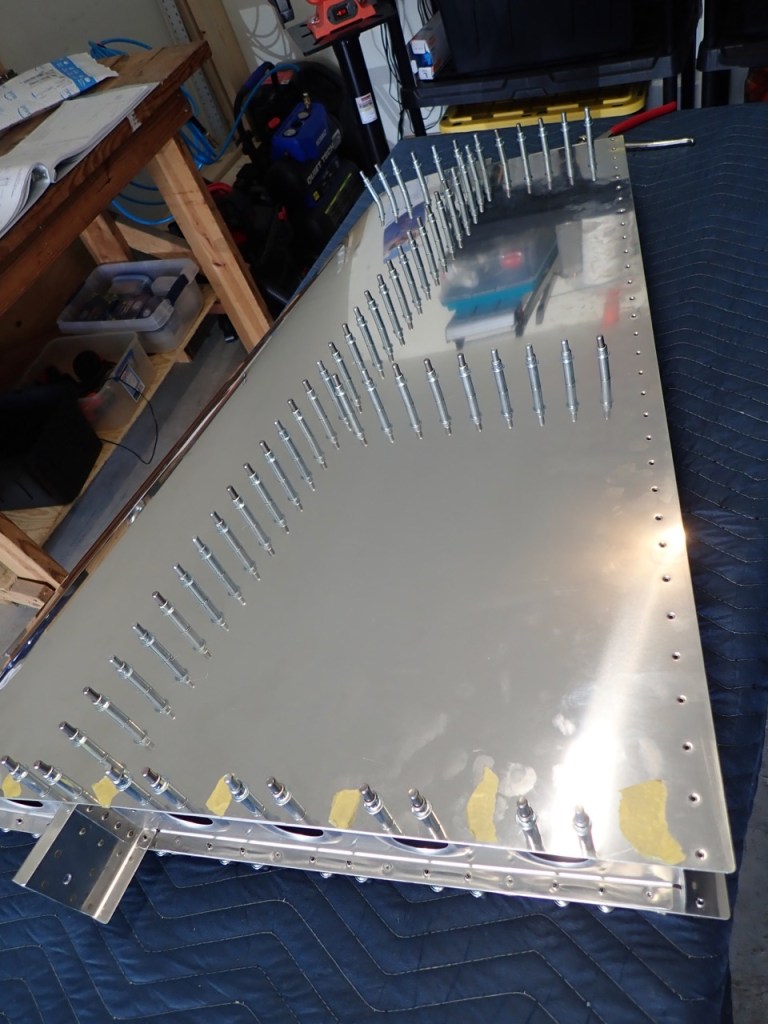
The yellow tape was put there to remind me to not install rivets in those holes. They are the holes that attach the spar to the other structure of the Vertical Stabilizer.


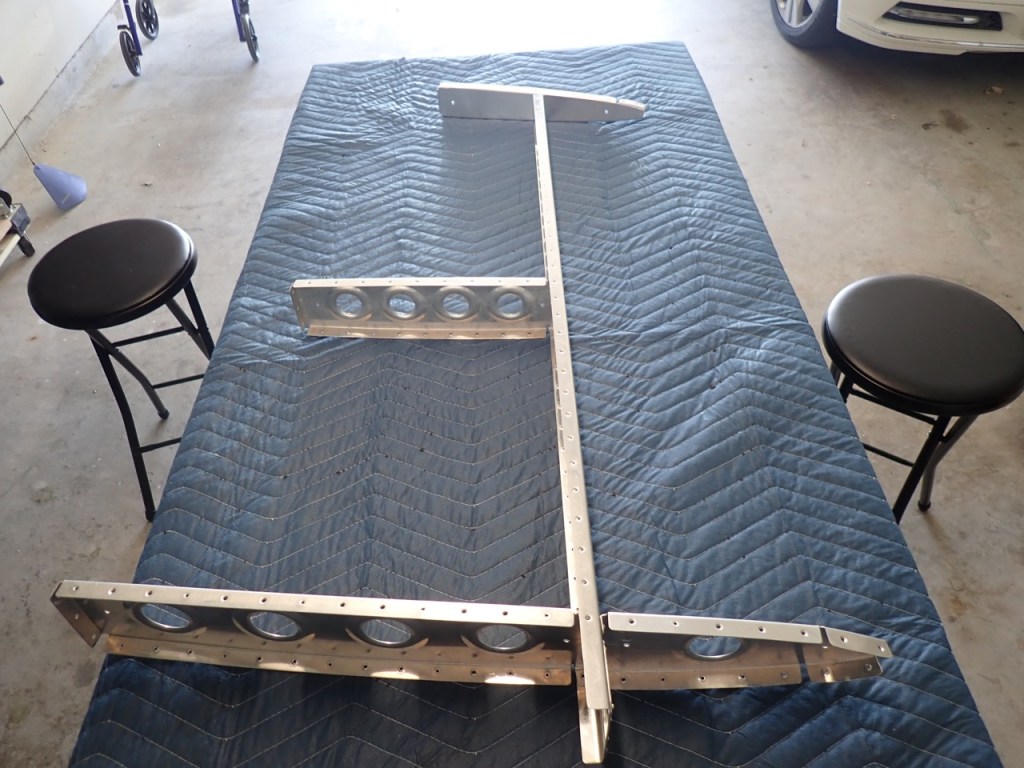
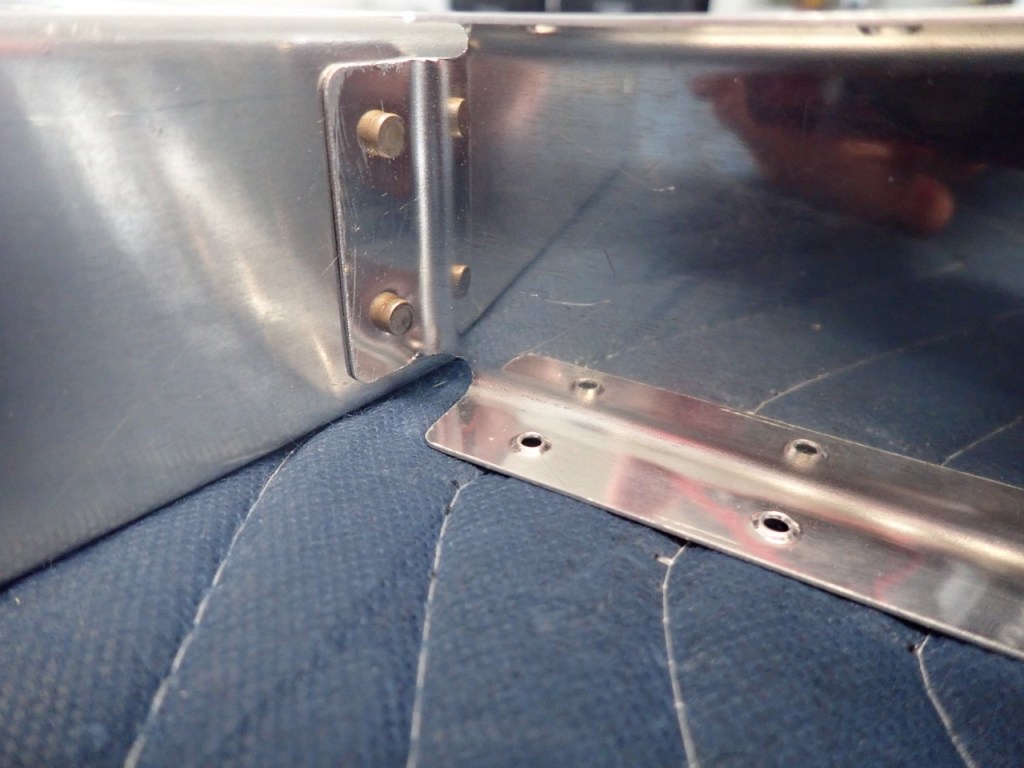
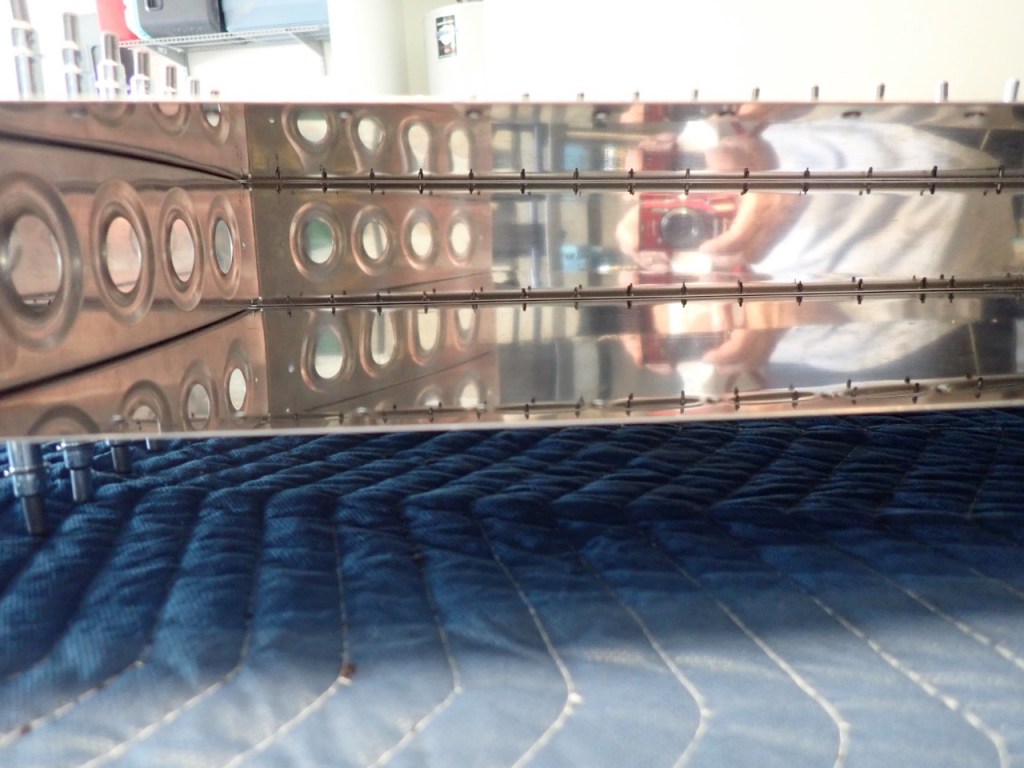
The next series of photos shows the assembly of the VS-702 spar being attached the VS707, VS-706, VS-704, and VS-705 rib. Before riveting, the parts were cleo’d and then the VSVS-801PP skin was attached. I then match drilled all the holes, took everything apart, and then deburred, and then dimpled all the holes. I used a combination squeezer and c-frame to dimple the holes in all the parts.
This is where mistake #2 eventually occurred. Installing rivets between the two lower ribs and spar proved to be extremely difficult. I researched online, and consensus is this is a very difficult step. This, of course, is mistake #2. The main issue is there is no room for the squeezer, and if a rivet gun is used, I need to use a double offset rivet set. This is what I eventually used.
I was so unhappy with the riveting, I added two additional rivets as seen below. But then I decided to scrap these parts and order a new spar and VS-704 and VS-705 ribs. I eventually achieved acceptable riveting which enabled me to move on. It costs an additional $30 for the parts but the peace of mind is a bit priceless.


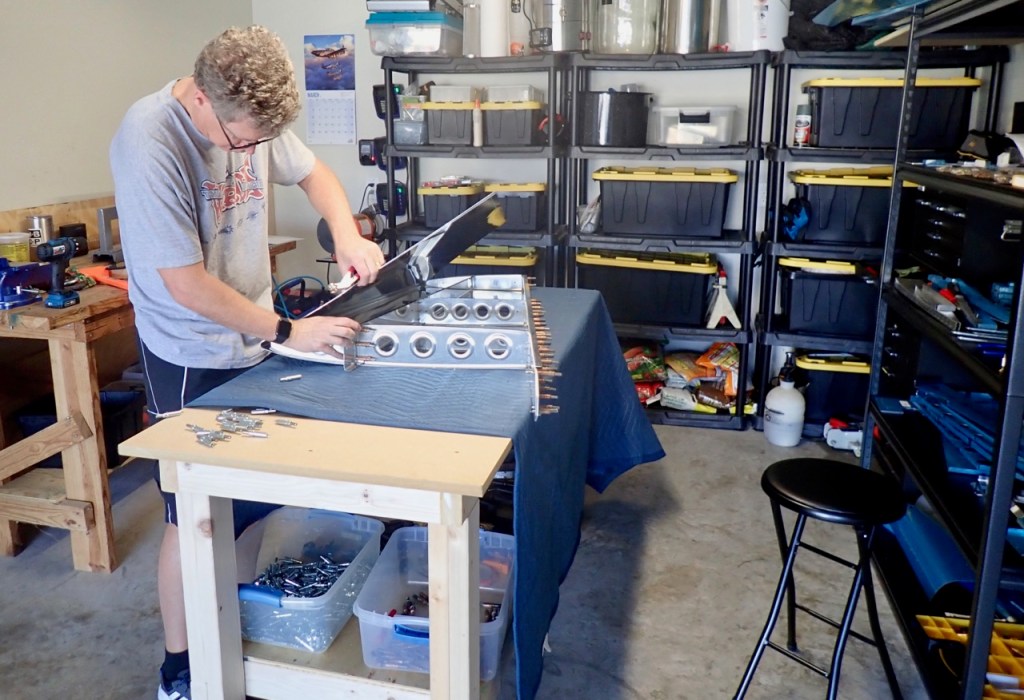
After getting the Vertical Spar framework riveted, deburred, and dimpled, it was finally time to attach the skin one final time. This will be a theme for this build: cleco everything in place with dozens or hundreds of clecos, then take it apart, and then cleco everything back together. Hopefully this is only done once for each section but I believe I had this skin on and off 4 times before getting to the final riveting of the skin.
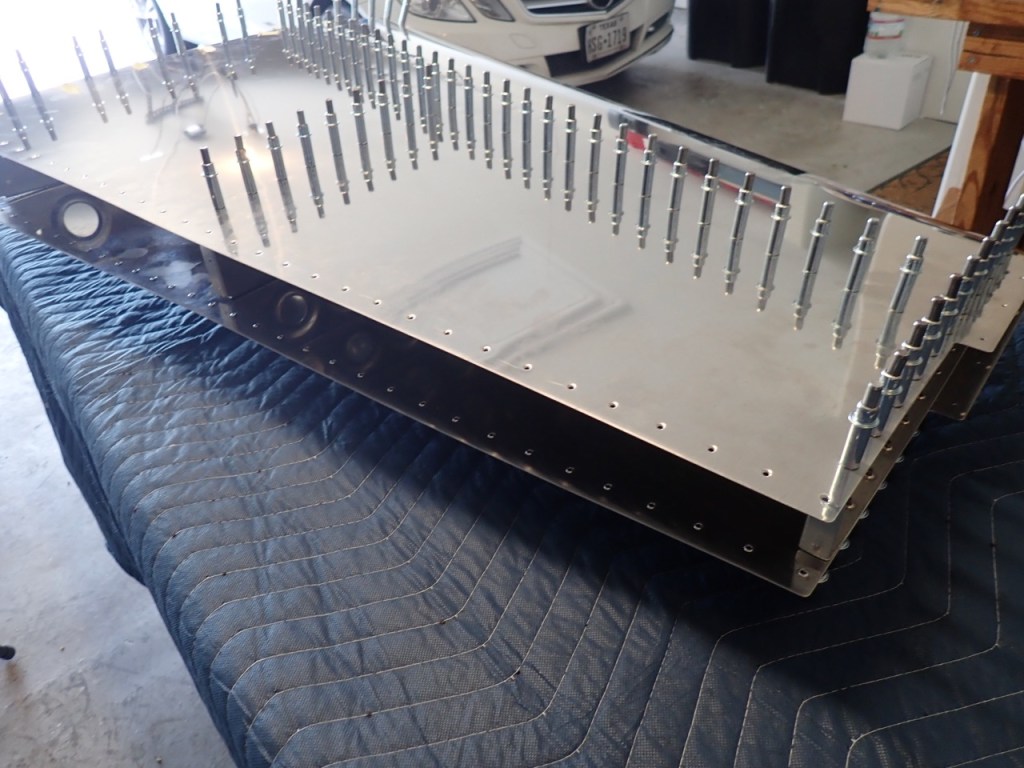


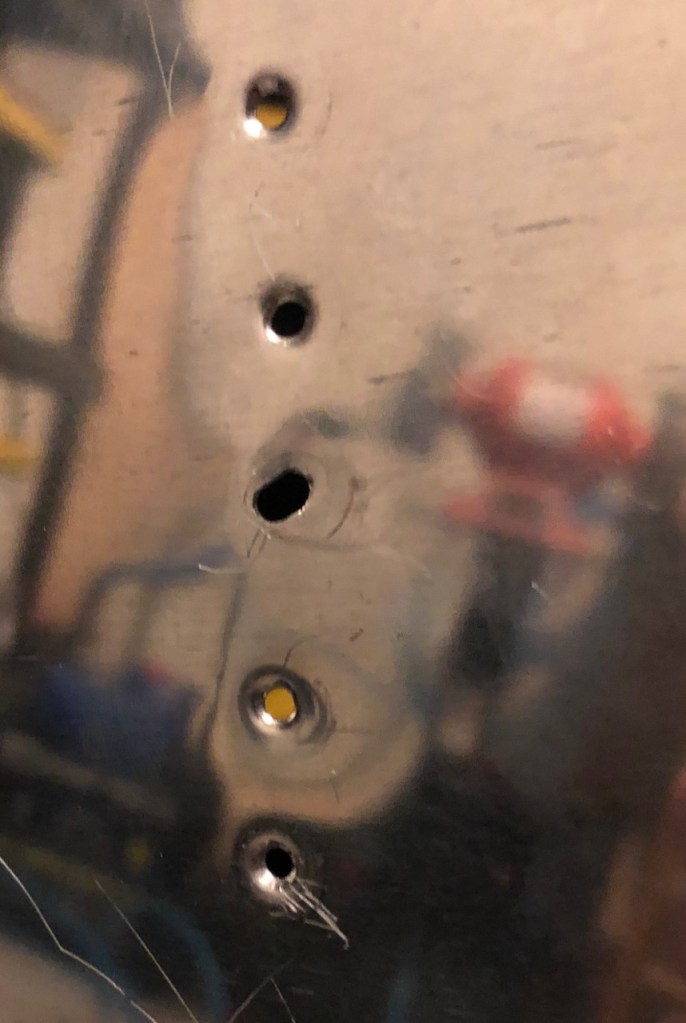
I will cover the skin dimpling later but mistake #3 involved putting in the dreaded double dimple. This was caused by the dimple die not being aligned properly and then punching a second hole close to the first. I learned that is a common mistake, and basically “welcomes me to the club”. I learned that a fix is to install new rivets to either side and perhaps leave the double dimple hole open or install an “oops” rivet to cover the hole. I will try the latter. Nevertheless, I will always look at the tail section and see this little mistake.