
I started a few days ago but today, Saturday, April 27, 2019, I made substantial progress. However, some words from the instructor of the EAA Sheetmetal Course, Jack Dueck, that I took about a month ago, rings true:
“When you start making your airplane, you want to make the perfect airplane. Well, that lasts about 5 minutes. Then you want to make a good airplane.”
So far, 13 hours in, I made 3 mistakes. One of the mistakes was erased by another. All are recoverable. I will explain below.
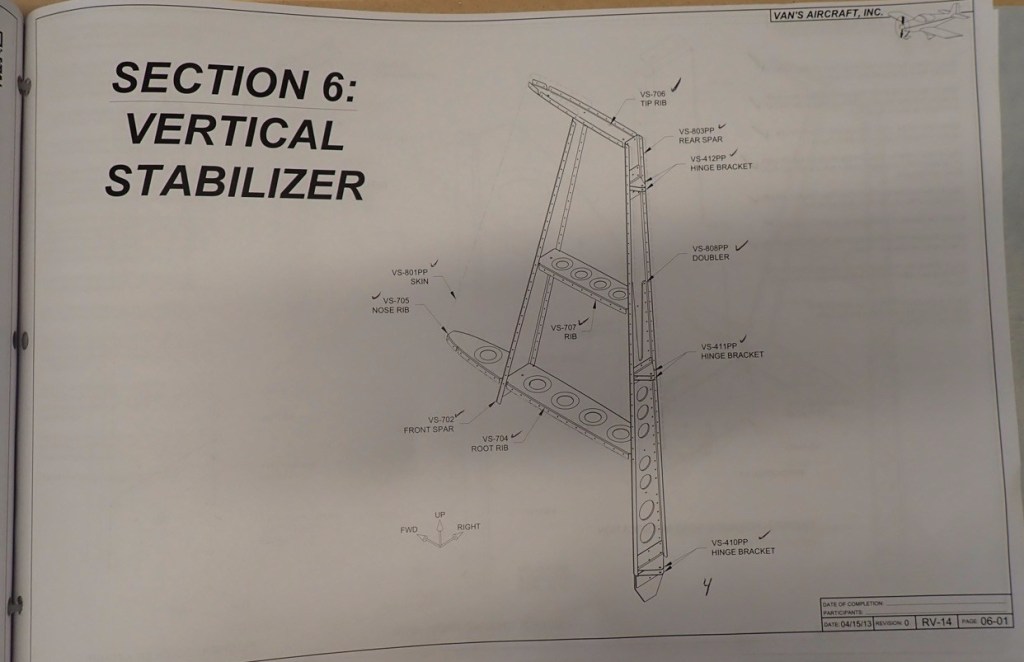
The very first step is to attach a doublet to the VS-702 Front Spar. Then trace a line at the bottom of the doubler and cut off the section below the line. Once I started cutting, I knew I was committed.
I bought a grinder and a 3M Scotch Brite Wheel (the wheel was surprisingly expensive) for deburring edges. I am still not quite sure which method to use: wheel, files, deburr tool, or scotchpad or combination of all. After cutting the excess below the line as described above, I used the grinder (Scotch-Brite wheel only with aluminum) to radius the corners and smooth and deburr the edges.

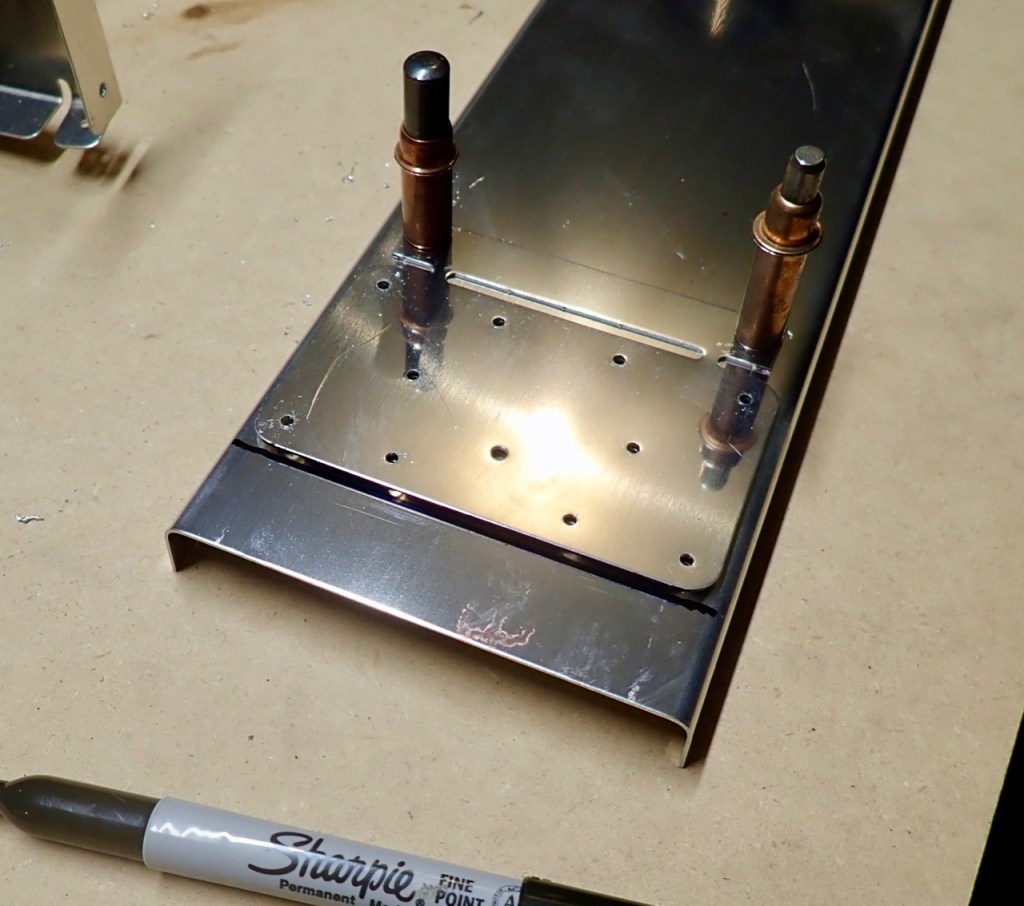
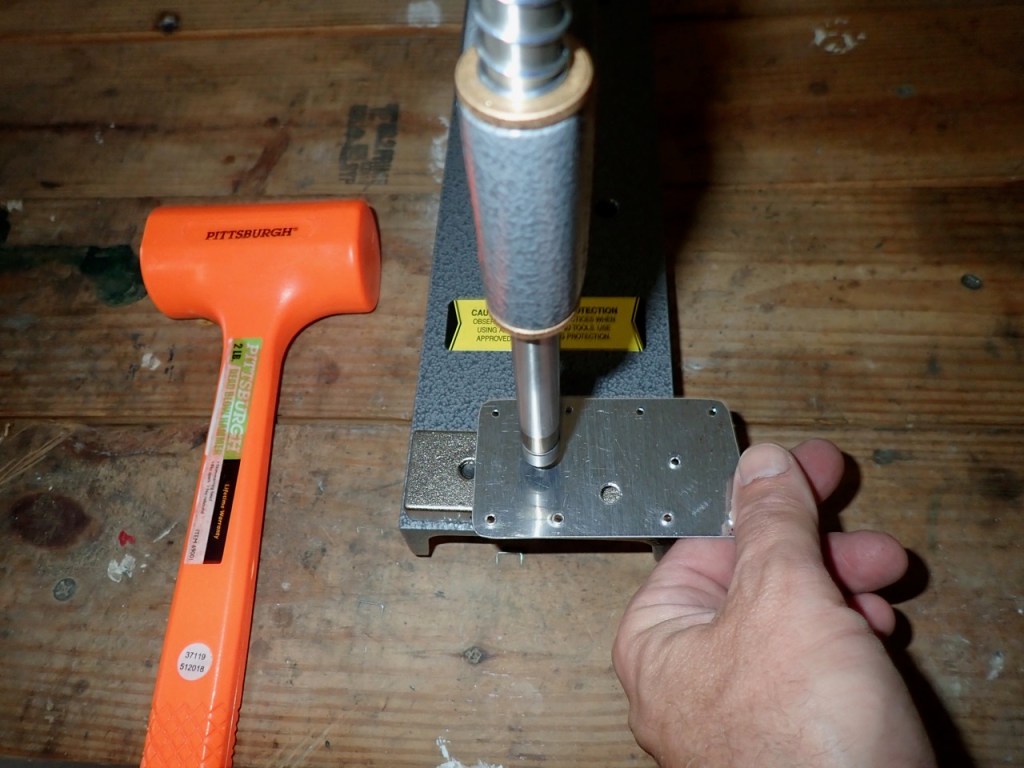
After deburring the edges of the cut, doing some match drilling, and then dimpling some of the holes, it was time to do my first rivets. I used a combination of the squeezer and C-Frame. Hopefully soon I will purchase a longer yoke for the squeezer to reach the holes further in.

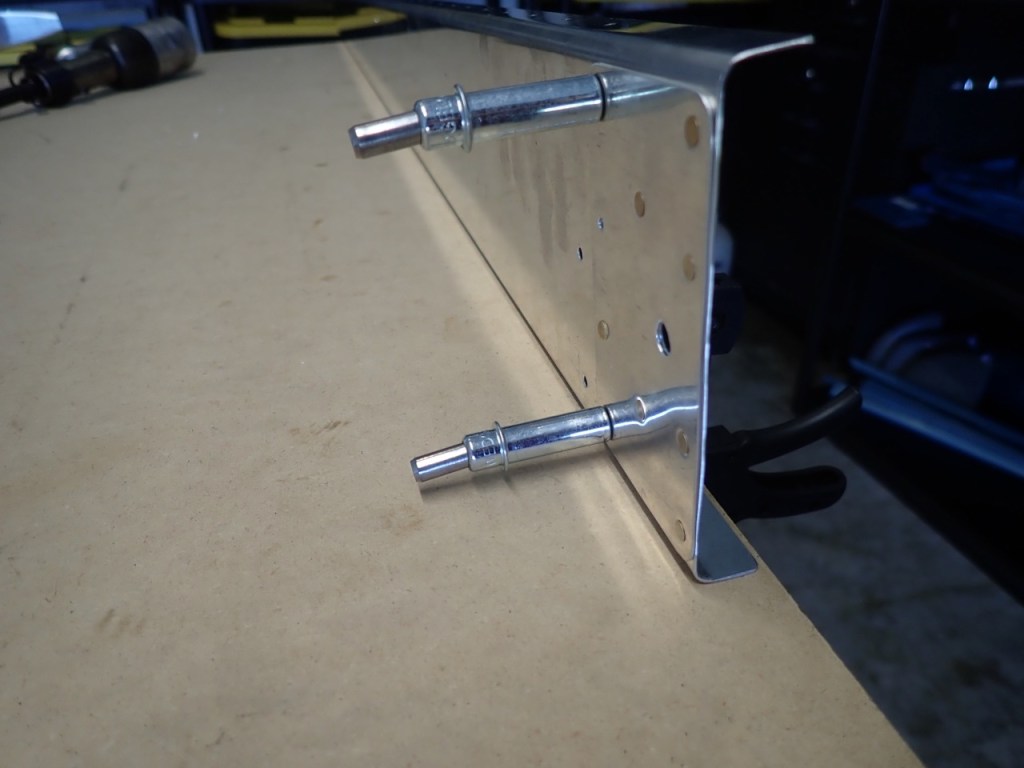
Mistake #1, the rivets are in beautifully but they are backwards. I was confused with 06-02 Step 6 which says “Dimple Flush Aft”. I thought it meant the dimple direction should be Aft. No, it means the dimple should be on the aft face. In other words, the wide part of the dimple is towards the aft.
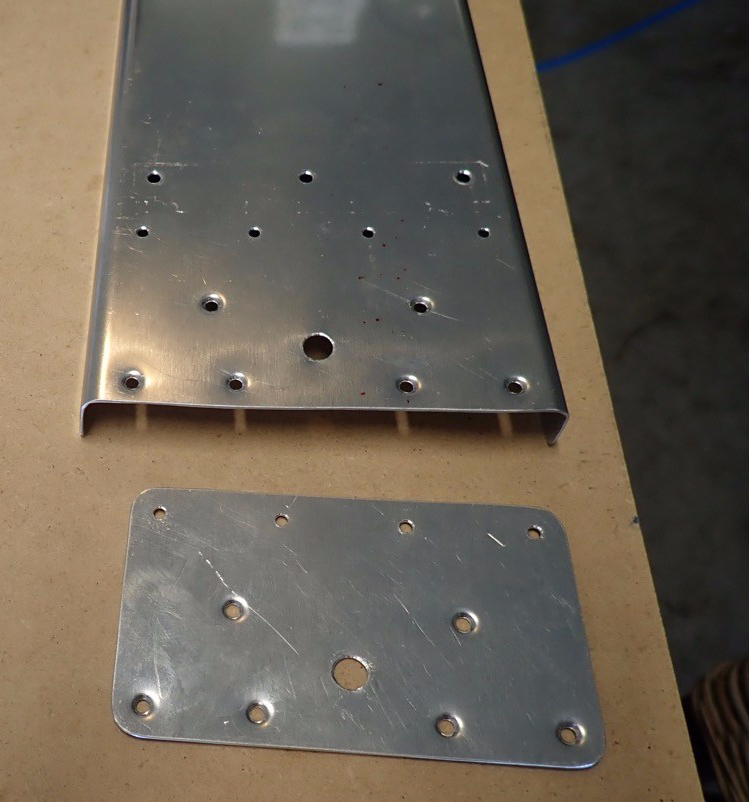
I ended up drilling the rivets out and reinstalling them correctly as per the below photo:
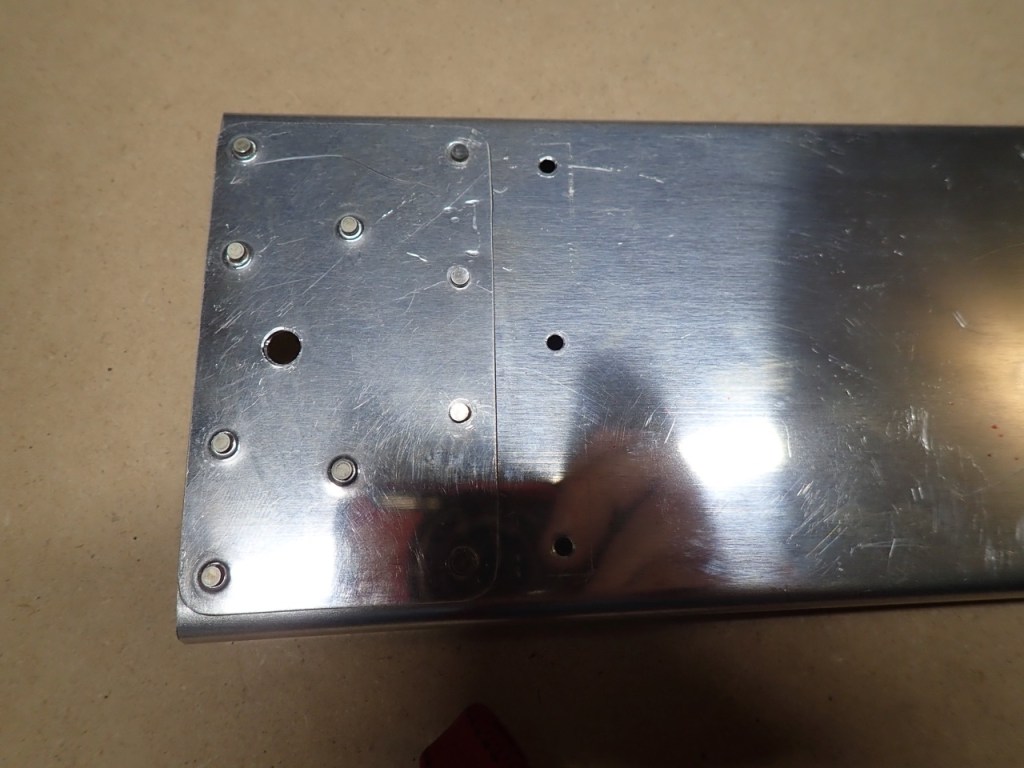
But all this was for naught due to mistake #3 which is explained below. I ended up replacing the vertical spar and the doubler which meant I dimpled and installed the doubler the correct way as per the instructions.
